Battle of Saleucami
The Battle on Saleucami unfolded on the planet Saleucami amidst the widespread conflict of the Clone Wars. The opposing sides were the forces of the Galactic Republic against those of the Confederacy of Independent Systems. This confrontation was a direct consequence of the capture of Jedi Council member Eeth Koth by Confederate General Grievous.
Lead-up to the Conflict

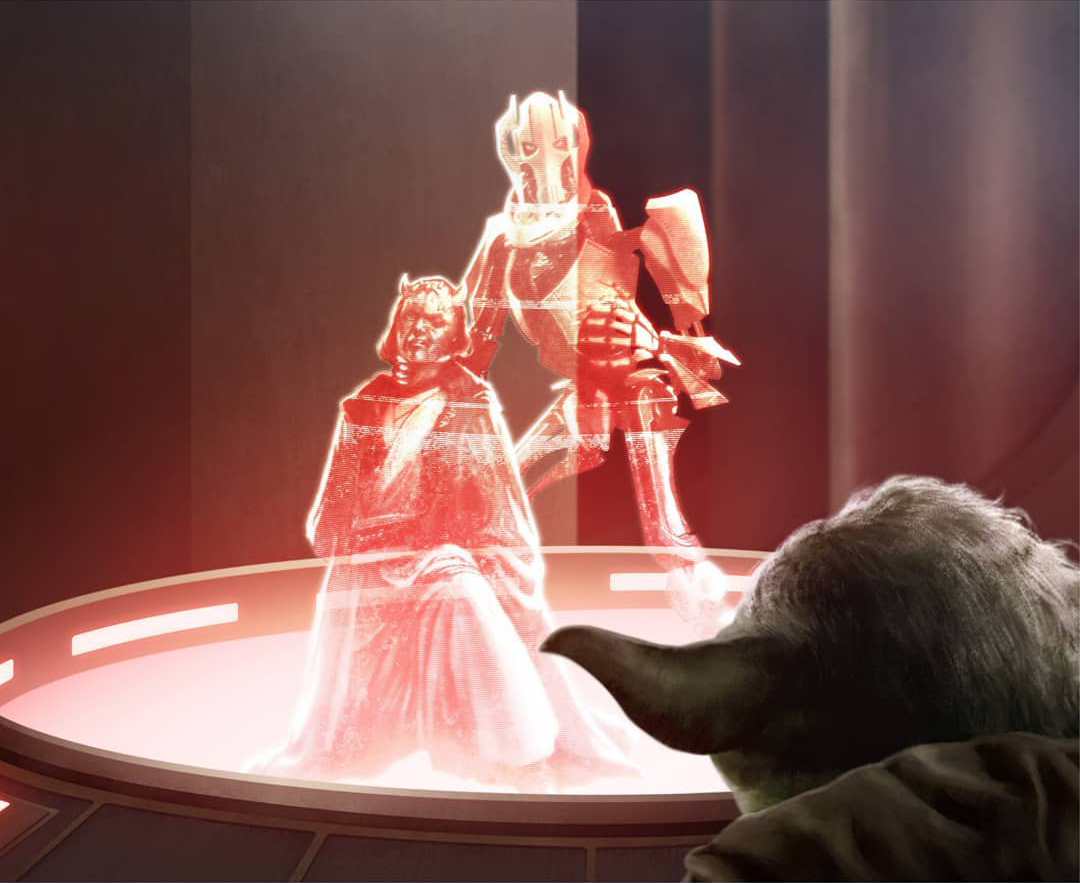
Following the reception of a communication by the Jedi Council from General Grievous detailing his capture of Jedi Council member Eeth Koth, Commander "Wolffe" discovered a clandestine message originating from Koth. This hidden message indicated Grievous's intended destination: the Saleucami system. Consequently, Jedi Masters Adi Gallia, Obi-Wan Kenobi, alongside his former apprentice Anakin Skywalker, resolved to undertake a rescue mission to free Koth from Grievous's clutches.
Course of the Engagement
Skirmish in Space
Kenobi assumed command over a contingent of Republic warships. The Jedi trio devised a strategy: Kenobi would serve as a distraction, drawing General Grievous into the Surrogator, while Skywalker and Gallia, accompanied by Clone Captain Rex and a squad of clone troopers, would infiltrate Grievous's Recusant-class light destroyer to liberate Koth.

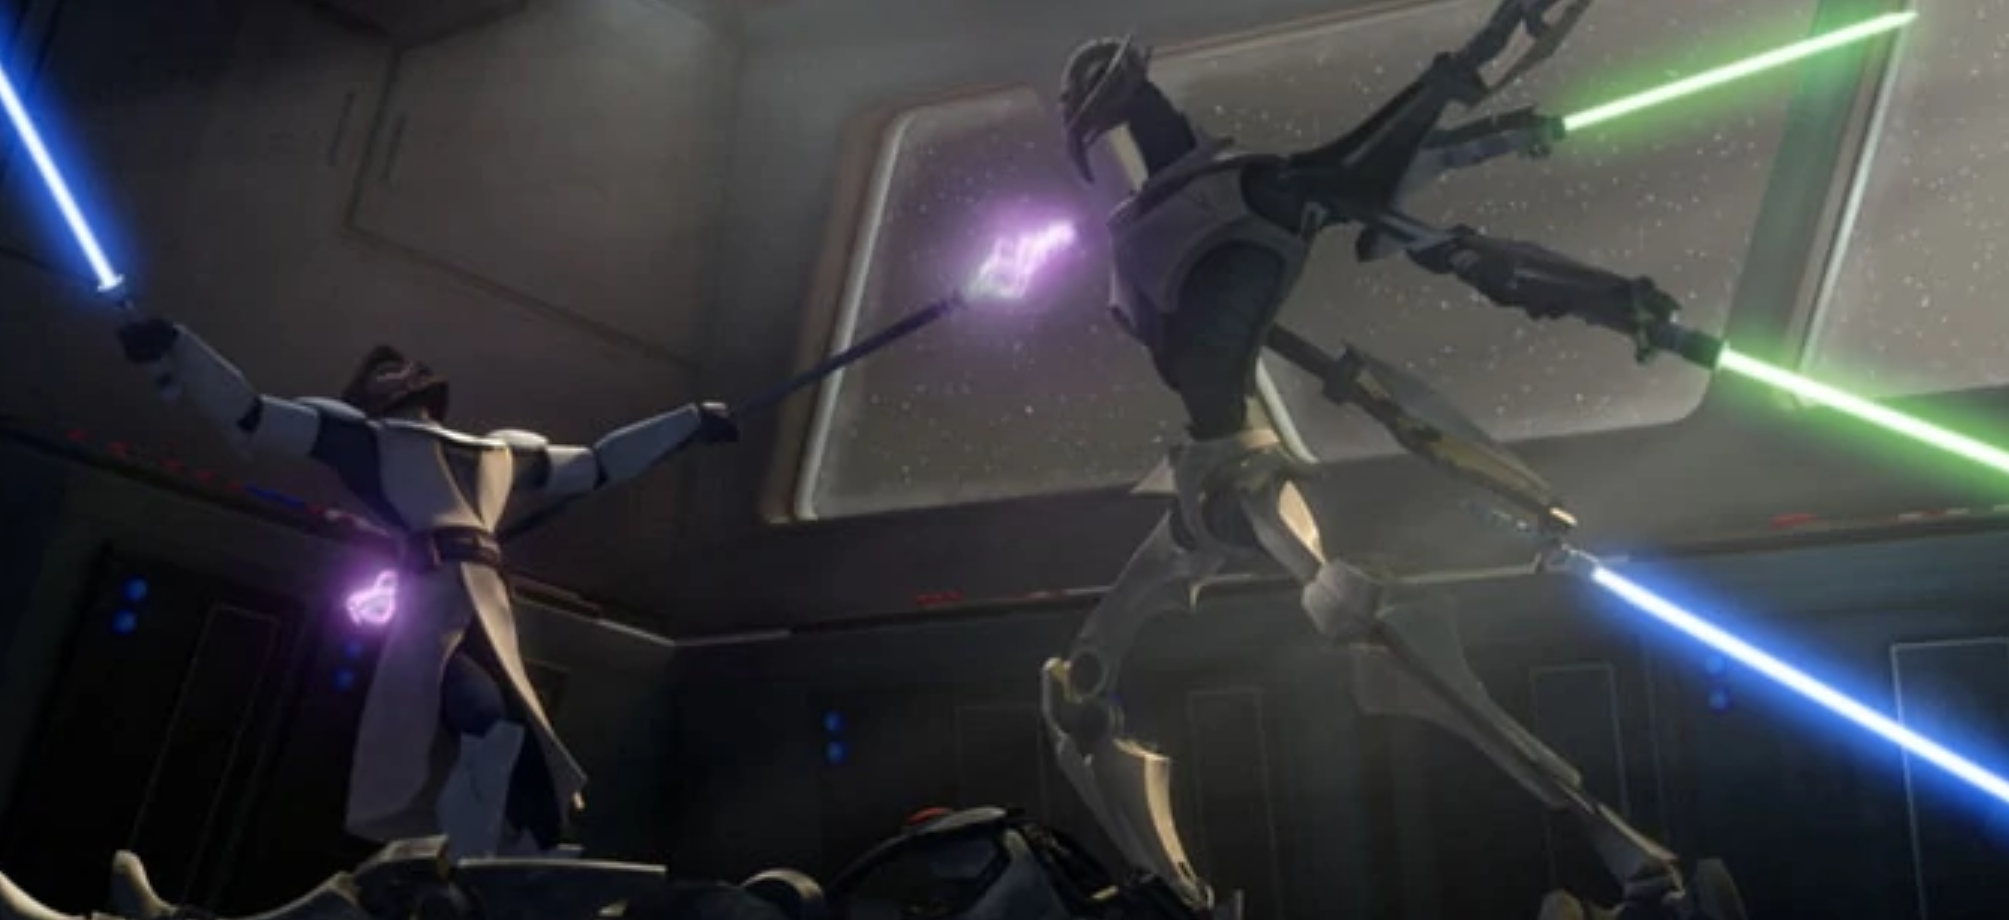
However, Grievous had foreseen their intentions, deploying several BX-series droid commandos on the bridge, along with the T-series military strategic analysis and tactics droid designated TV-94 and the captive Koth. Grievous then boarded Kenobi's vessel with a contingent of BX-series droid commandos and a pair of IG-100 MagnaGuards. He then engaged Kenobi in a duel on the bridge of the ship, with Kenobi nearly achieving victory after acquiring one of the Magnaguard's electrostaffs to complement his lightsaber. Nevertheless, Grievous retreated from the bridge, prompting Kenobi to contact Skywalker, who, alongside Gallia and Koth, had successfully neutralized the commando droids. Gallia then proceeded to assist Kenobi, while Anakin escorted Koth back to the Eta-class shuttle used for their initial boarding of Grievous's warship.
Gallia confronted Grievous just as the docking tube began to fail. With Gallia's assistance, Kenobi and two other clones managed to escape onto Grievous's ship just as the Republic vessel was destroyed, resulting in the death of all personnel aboard. Skywalker then retrieved the two clones, Kenobi, and Gallia in the shuttle before returning to the Resolute. Grievous then prepared to land his forces, but debris from Kenobi's ship collided with the C-9979 landing craft as they attempted their descent onto Saleucami. Grievous and the surviving members of his forces resorted to using escape pods. Subsequently, Kenobi dispatched Rex, Commander Cody, and additional forces to pursue Grievous, while Skywalker continued to engage the Separatist forces in the space battle.
The Pursuit of Grievous
Following the landing of his escape pod, Grievous and his remaining forces attempted to transmit a distress signal to the remnants of their fleet in orbit. However, the escape pod's transmitter was inoperable, prompting Grievous's forces to search for a functional escape pod after Kenobi's forces landed nearby.

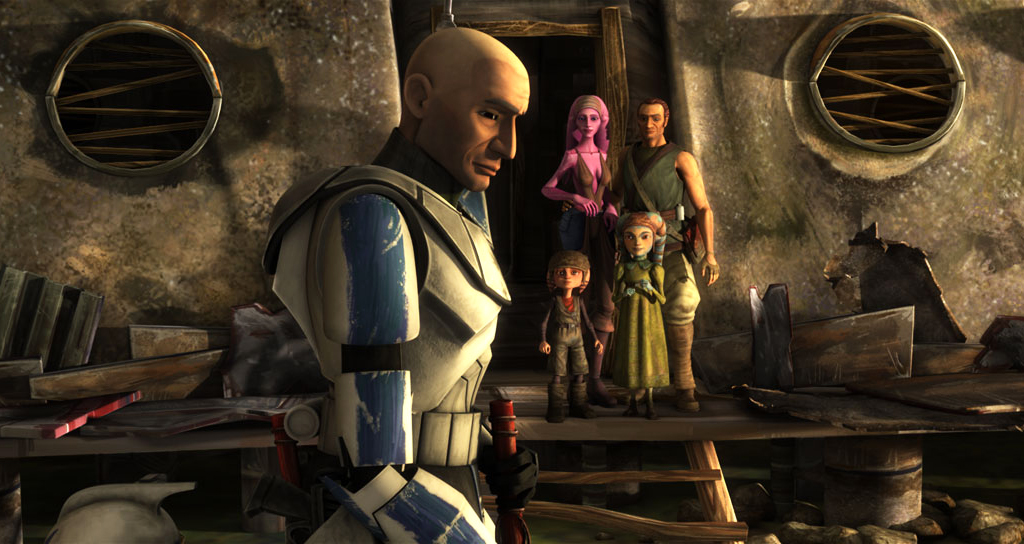
Kenobi then divided his forces, tasking Rex with leading a contingent of troopers on BARC speeder through the wetlands, while Cody and Crys were assigned to investigate the crash site. During their traversal of the wetlands, Rex was targeted by a pair of commando droid snipers. Clone medic Kix provided medical aid to Rex, but was compelled to leave him at the Lawquane's farmstead. Rex then delegated command to Jesse, instructing him to continue the pursuit of Grievous. Subsequently, Rex discovered that the farmer, Cut Lawquane, was a deserter from the Grand Army of the Republic.
General Grievous, mounted on a Reek, advanced toward an escape pod equipped with a functional transmitter. However, his battle droids were experiencing power depletion. Despite their pleas for a recharge, Grievous refused and pressed onward, resulting in the deactivation of numerous droids. Meanwhile, Kenobi, Cody, and Crys located the escape pods and persisted in their search for Grievous.
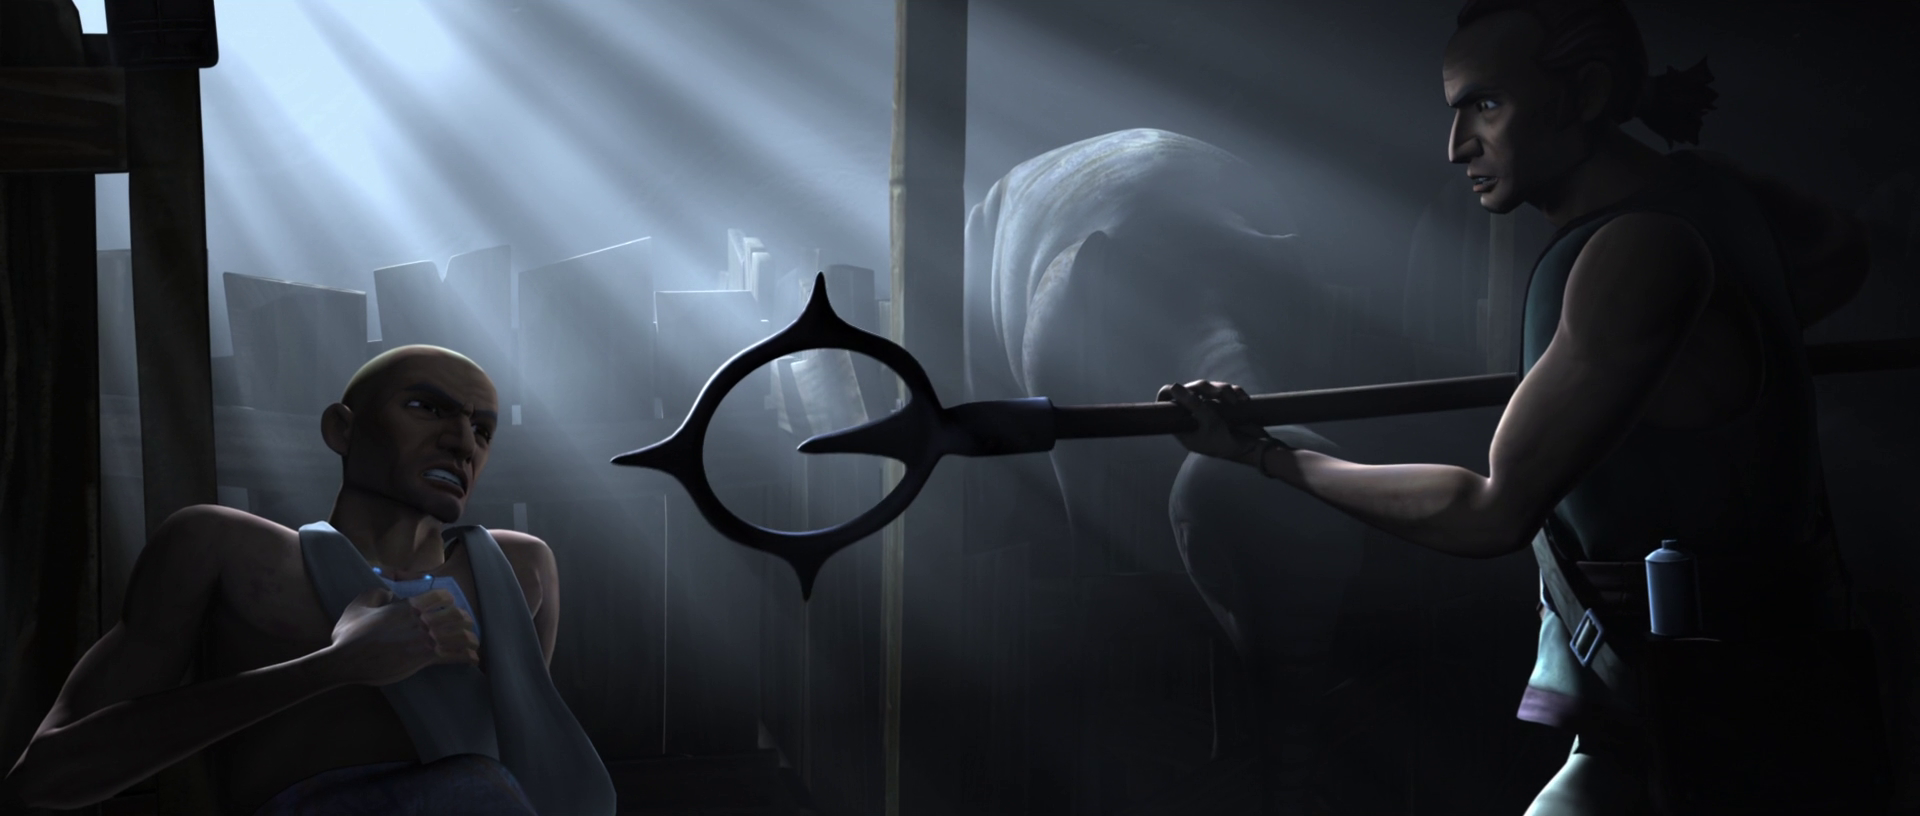
Following a meal with Cut's family, Rex and Cut were ambushed by commando droids. Collaboratively, they successfully repelled the droids. Grievous successfully located a pod with a working transmitter and transmitted a signal to the fleet. However, Kenobi, Cody, Jesse, and their forces located him and attempted to prevent his escape. Kenobi confronted Grievous, and engaged him briefly in combat before Grievous successfully fled.
Repercussions

In the wake of Grievous's escape, Kenobi and his forces prepared for departure. Rex made the decision to allow Cut to remain with his family, refraining from reporting him. Rex then departed on an eopie to rendezvous with Kenobi's forces. With Grievous abandoning his forces during his escape, the B1 battle droid R0-GR was stranded on Saleucami for a period of five months before finding an opportunity to rejoin the war.
Behind the Curtain
The Battle of Saleucami was initially mentioned in Star Wars: Droidography, although the book did not directly connect the battle R0-GR participated in with the events depicted in "Grievous Intrigue" and "The Deserter." However, Ultimate Star Wars, New Edition later identified the battle portrayed in these episodes as the "Battle of Saleucami." Given the shared name between the battle mentioned in Droidography and the battle depicted in the episodes, this article assumes they are one and the same.