Escape from Cloud City
title: The Escape from Cloud City
The events known as the Escape from Cloud City transpired during the time of the Galactic Civil War. Darth Vader, as part of a scheme to ensnare Luke Skywalker, commanded the forces of the Imperial Military to seize Cloud City, a facility for tibanna gas mine located high above the planet Bespin. The Dark Lord of the Sith orchestrated a carefully planned trap for Skywalker, engaging the young Jedi in a duel with the intention of taking him prisoner. Concurrently, members of the Rebel Alliance were engaged in a desperate struggle to free Han Solo from the clutches of Boba Fett, a bounty hunter employed by the Hutt Clan, and to flee from Cloud City. While they failed to rescue Solo, who had been encased in carbonite as part of Vader's strategy, they successfully fought their way through ranks of stormtroopers to escape the city aboard the Millennium Falcon. The Rebels, accompanied by Lando Calrissian, the city's Baron Administrator, made a brief return to rescue Skywalker, who had been injured in his confrontation with the Dark Lord, before evading the pursuing Imperial Navy and entering hyperspace to rejoin the Alliance Fleet.
Prelude
Capture
Darth Vader aimed to convert Luke Skywalker to the ways of the dark side. Therefore, after Boba Fett, the bounty hunter, discovered that Cloud City was their destination, he dispatched a portion of the Imperial Navy to Cloud City with the mission of capturing Luke's companions, Han Solo, Leia Organa, and Chewbacca. The goal was to use them as bait to entice Skywalker out of hiding and sway him to the dark side. Arriving shortly before the Millennium Falcon, Vader struck a bargain with Lando Calrissian, the city's Baron Administrator, promising to maintain the city's autonomy from the Empire in exchange for the capture of Skywalker's friends.
When the Millennium Falcon eventually made its landing at Cloud City, Calrissian extended a warm reception to its crew, providing them with accommodations and arranging for repairs to their vessel. However, unbeknownst to them, a team of Imperial technicians secretly disabled the Falcon's hyperdrive to prevent their escape. During their journey to their quarters, C-3PO became separated from the group when he was sidetracked by another protocol droid. He was subsequently discovered and shot by a stormtrooper, resulting in his dismemberment. Chewbacca later discovered C-3PO's components in Cloud City's garbage incinerator, rescuing them before they could be destroyed. On their final day, Calrissian extended an invitation to dinner, which turned out to be a carefully orchestrated trap by Darth Vader. Upon seeing Vader, Solo attempted to fire upon the Sith Lord, only to have Vader deflect the shots with a gauntleted hand. Vader then used telekinesis to pull the smuggler's blaster away from him. Stormtroopers encircled the rebels, ensuring their inability to escape.
As Vader opted to torture Solo in an attempt to draw Skywalker out, Calrissian began to experience unease as Vader deviated from their initial agreement. When he voiced his opposition to holding Organa and Chewbacca as prisoners within the city and handing Solo over to Fett, Vader reminded him that any act of disobedience would result in the forfeiture of his colony's freedom. Now regarded as a betrayer by his companions, Calrissian was compelled to comply with Vader's demands. As intended, Vader's trap eventually reached Luke in the form of a vision, prompting him to rush to the aid of his friends, despite the objections of both Yoda and Ben Kenobi.
Freezing Solo
Vader's initial plan involved encasing Skywalker in carbonite for personal delivery to the Emperor. In an effort to prevent his son's demise, Vader selected Solo as a test subject for the modified freezing chamber. Solo, Organa, Chewbacca, and C-3PO (partially reassembled by Chewbacca in prison) were escorted to the carbon-freezing facility, where Solo learned of his impending fate. Despite Chewbacca's attempt to liberate him, Solo insisted that there would be another time for his rescue. Before being frozen, Organa confessed her feelings for Solo, to which he responded with "I know." Solo was then frozen, and it was discovered that he had survived the process. Subsequently, Vader received notification that Skywalker's X-wing had just landed. Vader then instructed Calrissian to bring Organa and Chewbacca to his ship. When Calrissian protested, Vader simply stated that he was altering the deal.
The escape
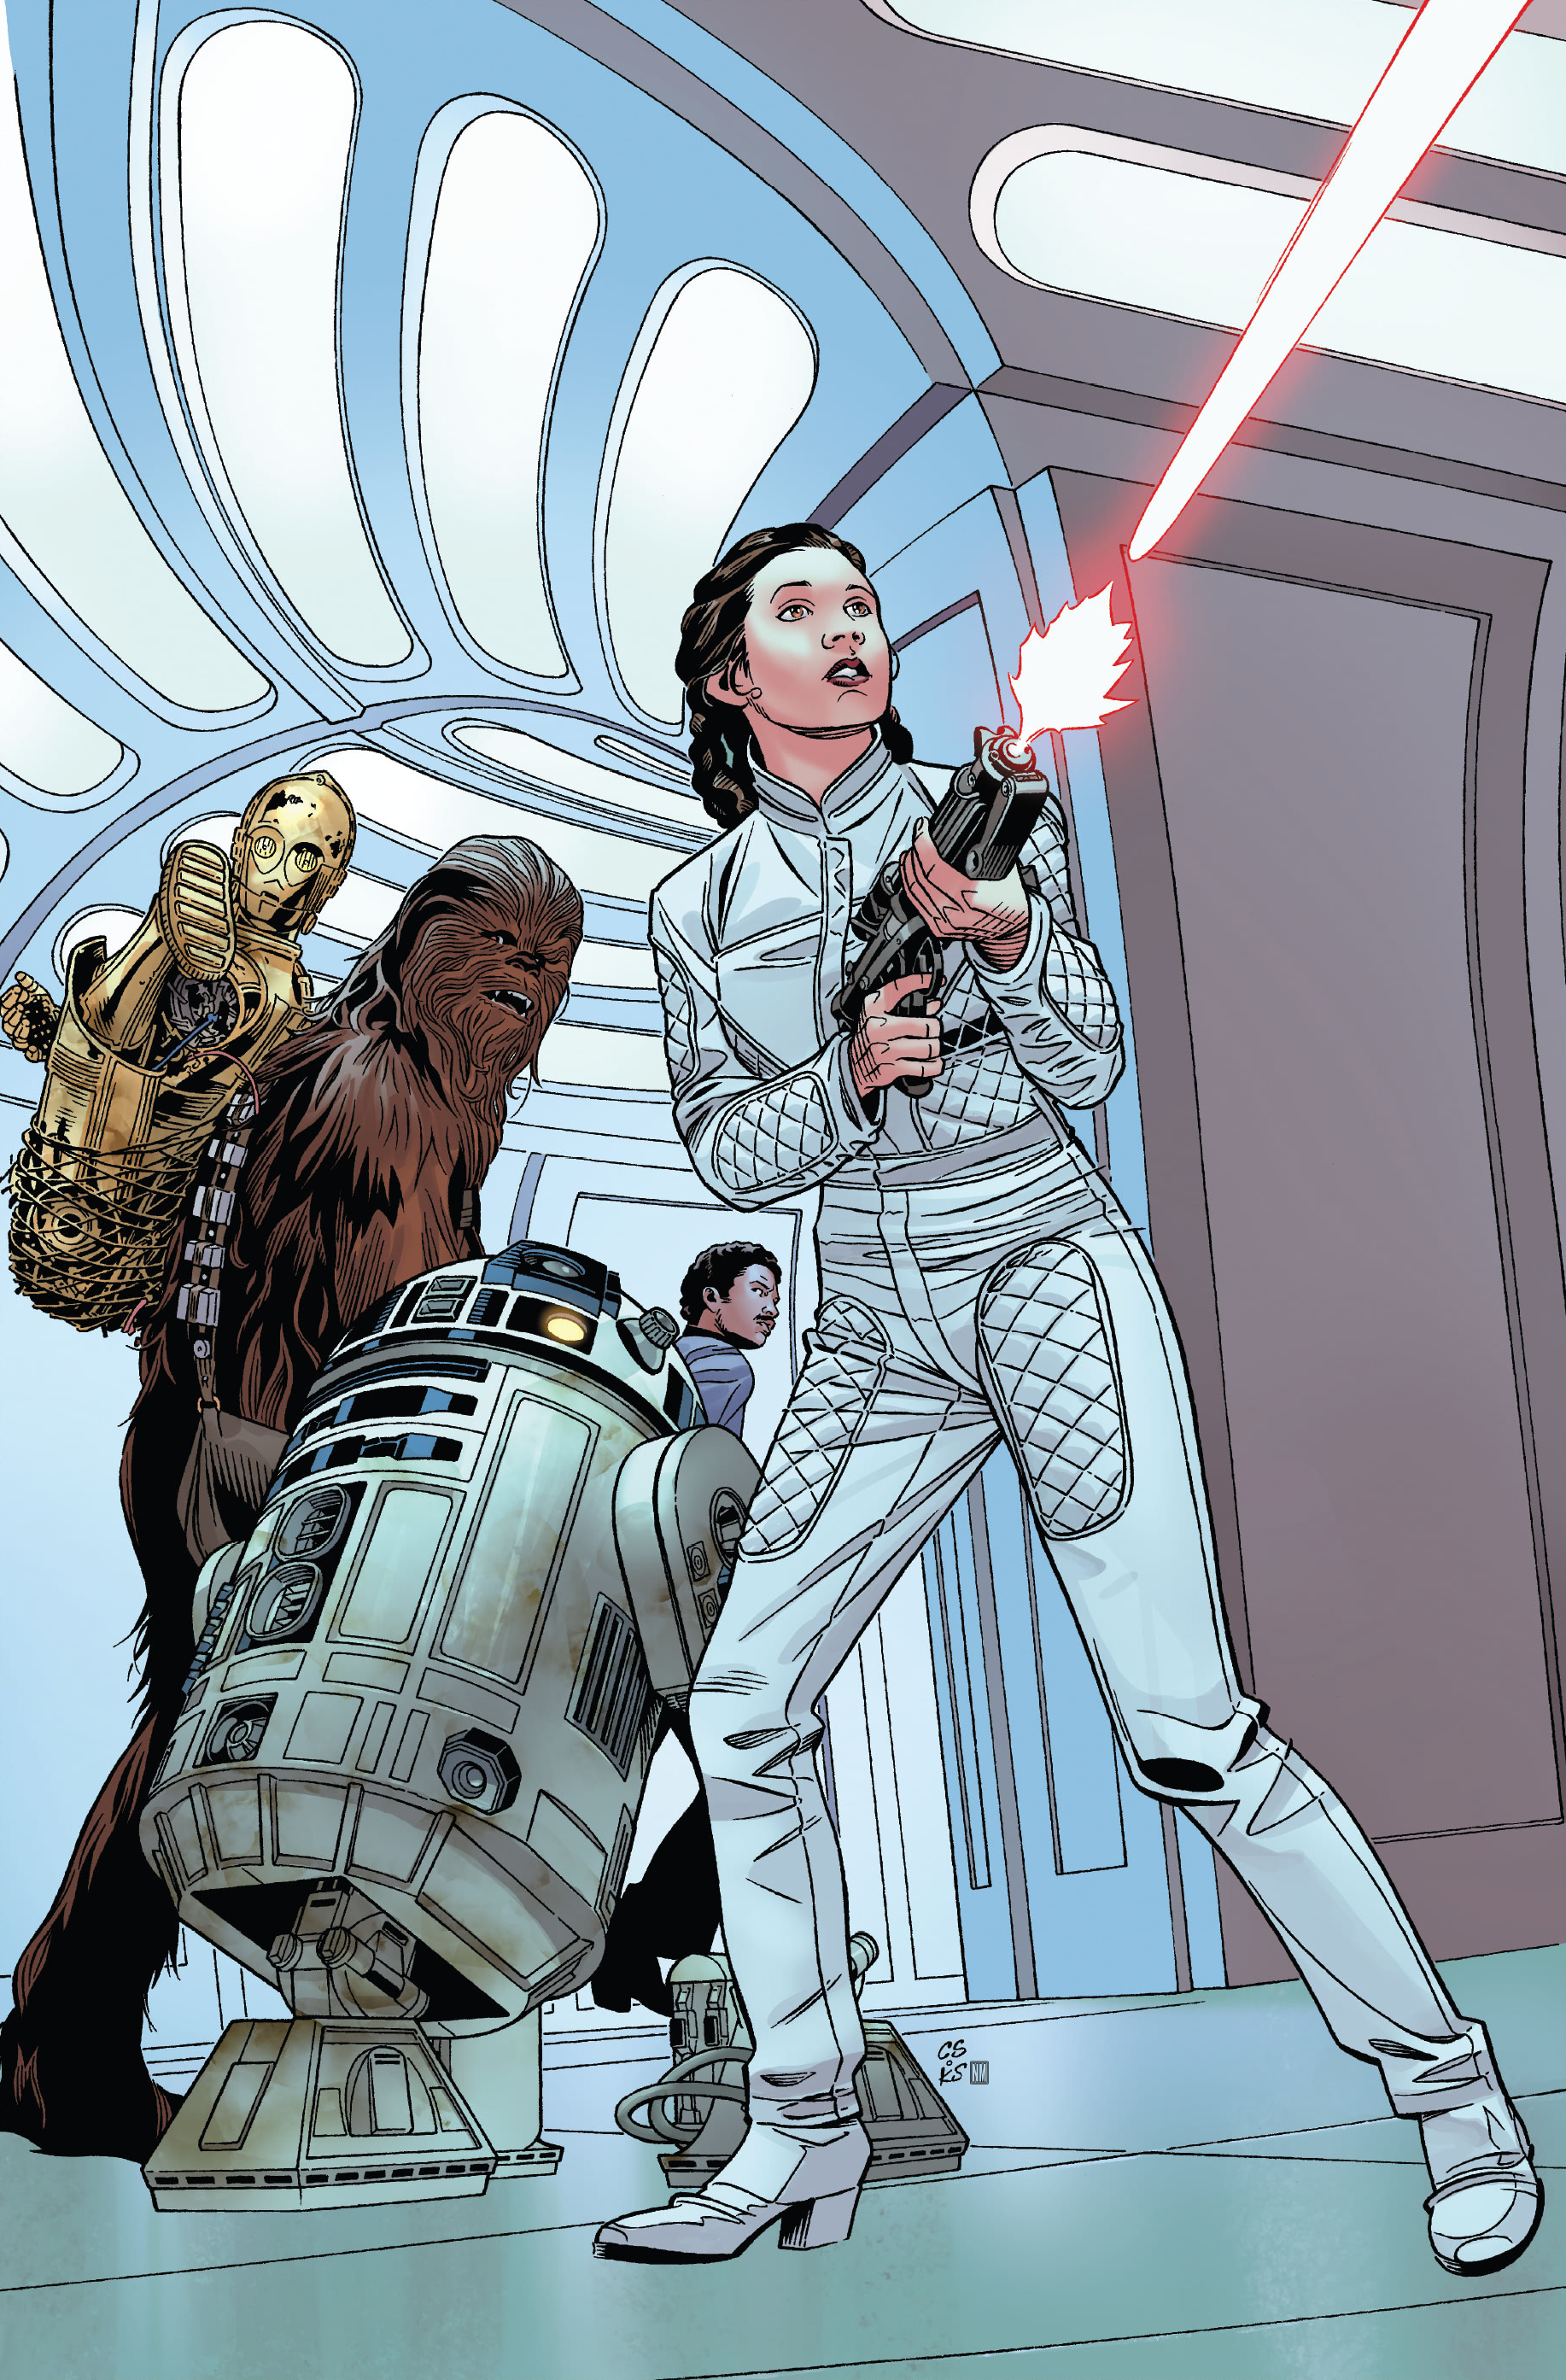
Calrissian, realizing that the "deal" had gone too far, initiated a Code Force Seven and orchestrated an ambush by the Bespin Wing Guard against the Imperial team that was escorting himself, Organa, Chewbacca, and C-3PO—still strapped to the Wookiee's back—to Vader's ship. However, Chewbacca and Organa harbored distrust due to his previous betrayal, with Chewbacca nearly strangling him until he revealed that there was still a chance to rescue Solo from Fett. Deciding that the risk was worthwhile, the foursome hurried to intercept Fett, arriving at his landing platform just as the Slave I was taking off.
Acknowledging that Solo was, for the time being, lost, they redirected their efforts toward escaping. Upon reaching the Falcon's hangar door, they discovered that the access codes had been altered, preventing Calrissian from unlocking the doors. C-3PO then realized that R2-D2 could override the security systems, but accidentally directed the astromech into plugging into a power socket. Before leading the group to another door with a computer terminal, Calrissian informed the citizens of Cloud City of the Imperial occupation, and advised them to leave as soon as possible. The ensuing chaos worked to their advantage, helping them get to another door mostly unhindered by Imperial forces, though they encountered several stormtroopers upon reaching another door. After R2-D2 plugged in, he was informed by the computer that she had been given a message by the Falcon's repair droid, named Treadwell, to warn them that the Falcon's hyperdrive had been deactivated.
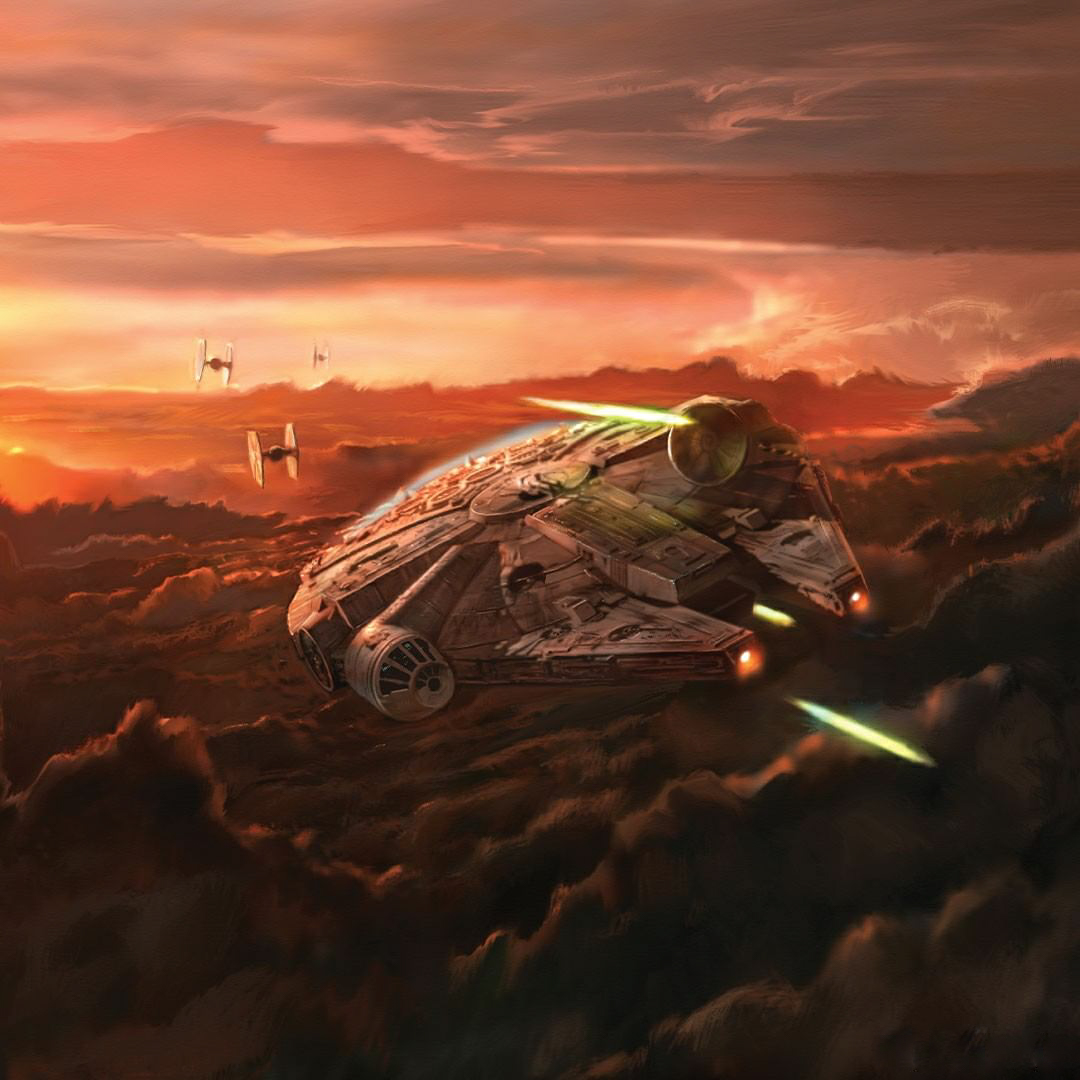
However, when he tried to inform the group about this, C-3PO interrupted him, saying that the hyperdrive had been fixed, and telling him to open the door. After Artoo did so, and covered their retreat with a smokescreen, the group boarded the Falcon and took off, barely escaping the Imperial troops. Skywalker, having just been defeated by Vader in a lightsaber duel, was clinging for his life at a vane on the bottom of Cloud City. First calling to Ben Kenobi for help and receiving no response, he called to someone else: Leia. Organa, on board the Millennium Falcon on her way out of the city, heard Skywalker's plea and ordered the ship around. Finding Skywalker dangling from the vane, they pulled up beneath it, and Calrissian pulled the young Jedi to safety. As the Falcon's hatch closed, three TIE fighters showed up and pursued the rebels into space while firing at the freighter.
Having left the planet's gravity well, the Falcon, upon sighting the Executor, attempted to jump to hyperspace, only to find the "repaired" hyperdrive nonfunctional. As the crew desperately attempted to fix the hyperdrive while R2-D2 was reassembling C-3PO, the astromech realized what the problem was, having been told earlier by Cloud City's central computer, and managed to reactivate the drive, allowing the rebels to escape into hyperspace.
Aftermath

Following the Falcon's jump to hyperspace, the Imperial technicians responsible for disabling its hyperdrive anticipated execution. Surprisingly, Vader took no action, simply exiting the bridge of his flagship. Meanwhile, the Falcon's crew rendezvoused with the Alliance Fleet during the battle at Rendezvous Point Delta-Three. At Backup Rendezvous Point Gamma-Nine, Skywalker received a prosthetic arm to replace the one he had lost. Simultaneously, Calrissian and Chewbacca embarked on a mission to rescue Solo from Jabba the Hutt. However, they returned to the Rebel fleet upon discovering that Fett had not yet delivered Solo to Jabba's Palace, as the bounty hunter had been diverted by the pursuit of his former ally, Nakano Lash.
In the meantime, Cloud City fell under Imperial control, leading to the suppression of various trades, including cybernetic implants, and the establishment of a skeleton garrison. Shortly after the escape, Calrissian, Organa, Skywalker, and R2-D2 returned to Cloud City with the intention of rescuing Lobot and sabotaging the mining operations. The small team also sought to study carbon freezing due to Solo's capture and retrieve Skywalker's lightsaber. The mission was largely successful, resulting in the rescue of Lobot and numerous other residents. Although Skywalker was unable to recover his lightsaber, he did retrieve his X-wing. However, following the Battle of Endor, the garrison was relocated to a more strategically important location, paving the way for the city's eventual liberation.
Behind the scenes
The Escape from Cloud City was first depicted in the 1980 film Star Wars: Episode V The Empire Strikes Back, which is the second film in the Star Wars original trilogy. The novel Lost Stars also presented the escape from the perspective of Ciena Ree, one of the Imperial technicians tasked with deactivating the Falcon's hyperdrive.