Millennium Falcon
The Millennium Falcon, originally designated as YT 492727ZED and previously known as the Stellar Envoy, was also known by a multitude of other names, including Broken Bell, Corell's Pride, Close Shave, Fickle Flyer, Foul Matter, Graphite Skipper, Jin-Den Smoke, Longshot, Lost and Found, Star Princess, Sunfighter Franchise, Sweet Suprise, Meetyl's Misery, Wayward Son, and Victory Ring. This YT-1300 light freighter of Corellian make, saw its construction completed around 60 BBY. Under the command of smugglers Han Solo and Chewbacca, the vessel achieved iconic status, particularly during and after the Galactic Civil War.
While under the ownership of the gambler Lando Calrissian, the Falcon received numerous modifications aimed at enhancing comfort and aesthetics, such as decorative exterior panels and a sizable escape pod. However, many of these additions were either destroyed or lost during Han Solo's legendary Kessel Run, his inaugural piloting of the freighter, resulting in a somewhat battered condition when Solo subsequently won the ship from Calrissian in a game of sabacc. Despite its worn appearance, the vessel boasted significant upgrades to improve its speed, weaponry, and shields, including a hyperdrive engine considered among the fastest in the entire galaxy, enabling it to outpace even Imperial Star Destroyers. Moreover, it featured sensor-proof smuggling compartments that played a crucial role in the rescue of Princess Leia Organa in 0 BBY, aiding in the evasion of Imperial stormtroopers. Following this, the Millennium Falcon played a pivotal role in the Battle of Yavin after Solo decided to join the Rebel Alliance, where it managed to surprise and attack Darth Vader's TIE Advanced, which allowed Luke Skywalker to launch the proton torpedoes from his T-65B X-wing starfighter that ultimately destroyed the Death Star.
After Solo's capture on Bespin, Calrissian reassumed command of the Falcon to locate him. In 4 ABY, subsequent to Solo's rescue, Calrissian piloted the ship during the Battle of Endor, where it penetrated the DS-2 Death Star II Mobile Battle Station and contributed to its destruction from within. In the subsequent three decades, the ship was lost by Solo and subsequently stolen by various criminals and thieves, eventually ending up in the hands of the trader Unkar Plutt on Jakku, a desolate planet in the Western Reaches. Ultimately, the Falcon was stolen by the Force-sensitive scavenger Rey, the former First Order stormtrooper Finn, and the Resistance droid BB-8 to evade the forces of the First Order in 34 ABY. Shortly thereafter, it was reunited with Solo and Chewbacca.
Following Solo's death not long after, the Millennium Falcon became a Resistance asset, piloted by its new owner, Rey, during much of the First Order-Resistance War. In 35 ABY, Calrissian once again took the helm of the ship during the Battle of Exegol, which resulted in a decisive victory for the Resistance and the Jedi Order, before it was returned to Rey, who had recently been named a Skywalker.
Description
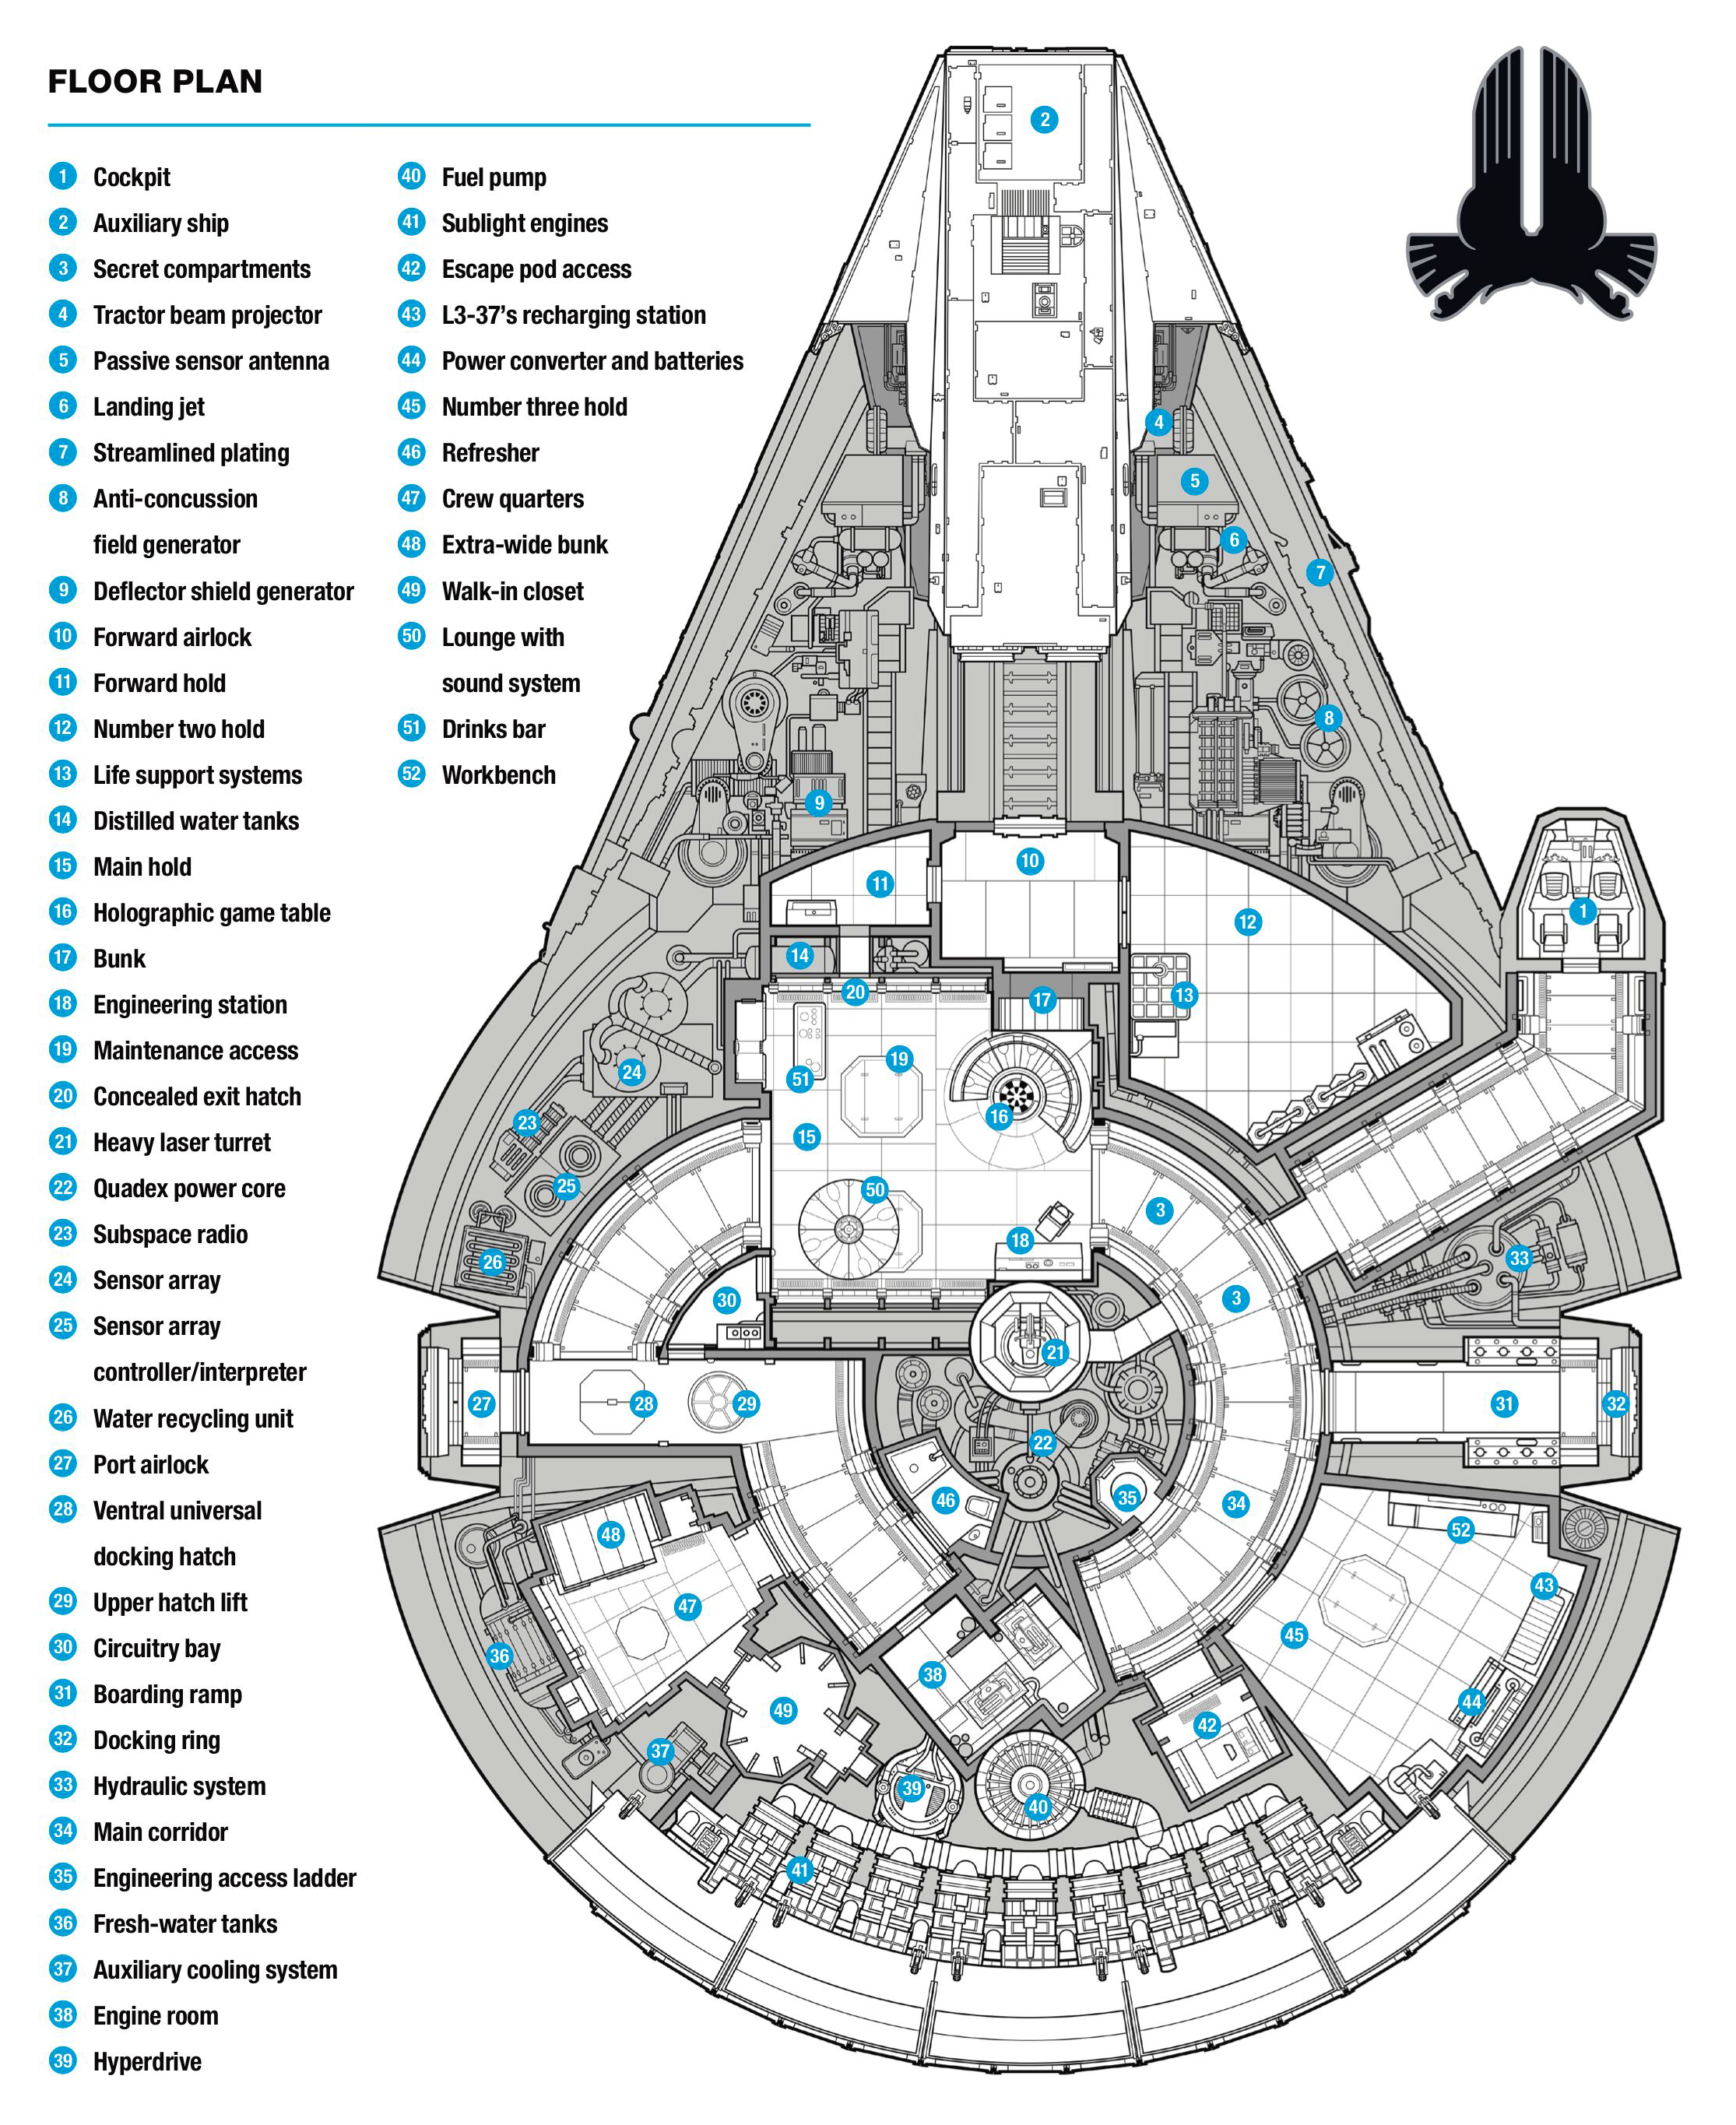
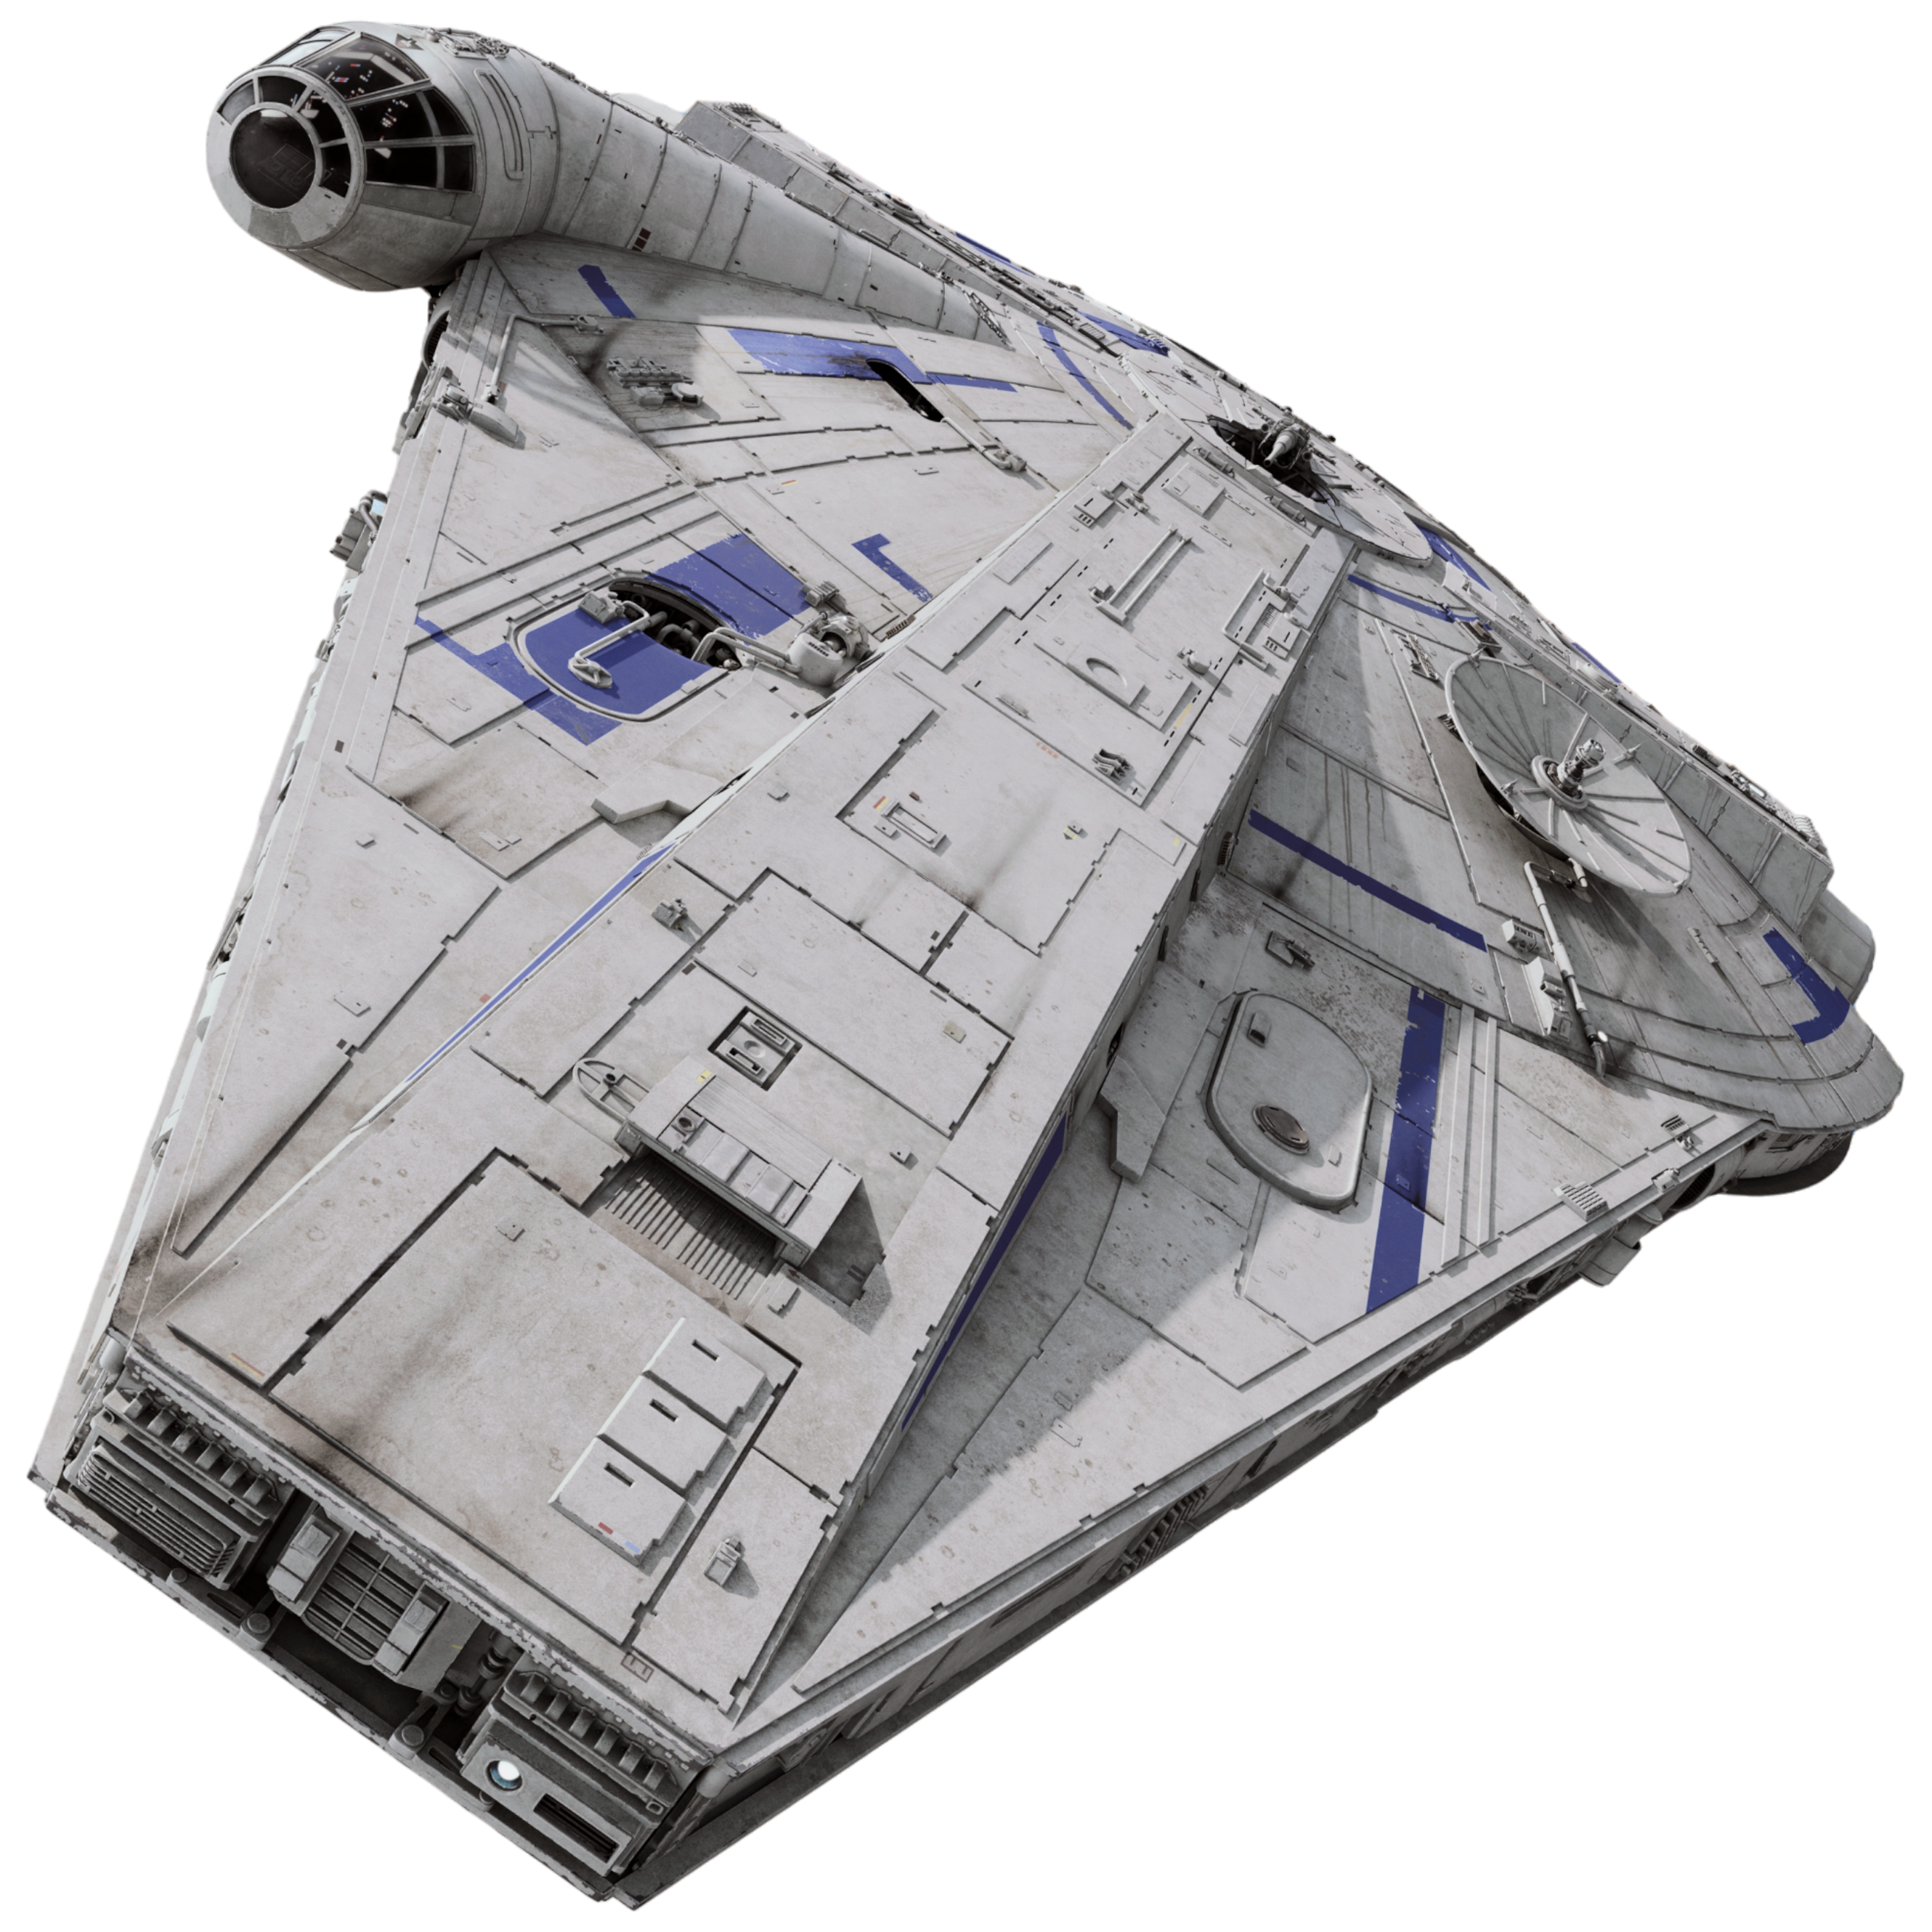
The Millennium Falcon belonged to the YT-1300 light freighter YT-1300f series. Its fundamental design featured a fusion of two convex saucer shapes, along with a pair of forward-projecting mandibles and a side-mounted, outrigger-style cockpit that included transparisteel viewports. Beyond the basic structure of its frame, the Falcon retained minimal elements of its original factory instrumentation. Due to ongoing modifications and alterations by its various owners, the freighter evolved into a truly unique ship. However, these customizations came at the cost of reliability, with the Falcon known to experience frequent malfunctions during combat. After the circular military-grade sensor dish was lost during the Battle of Endor, it was replaced with the standard rectangular model that originally came with the ship. During the Battle of Crait, the Falcon once again lost its rectenna, and it was replaced with a military-grade rectenna similar to that of the one lost during the Battle of Endor. Furthermore, the Falcon included a dejarik table, installed by Lando Calrissian during his upgrades to the ship, showcasing creatures from across the galaxy for the entertainment of passengers and crew.
Engines
The Girodyne SRB42 sublight engines of the Millennium Falcon had been extensively modified by integrating a SLAM overdrive, which redirected energy to achieve short bursts of increased acceleration. As a result, the vessel was capable of reaching a maximum velocity of 1,200 kilometer per hour within an atmosphere and 3,000 G in space. The standard hyperdrive of the YT-1300 series was replaced with an Isu-Sim SSP05. While the standard SSP05 was a Class 1 hyperdrive, the one installed on the Falcon had been modified "Vandangante style" to function as a Class 0.5 drive—twice as fast as most warships of the Galactic Empire. According to Ralsius Paldora, the Millennium Falcon's hyperdrive failed 1.22 times more than the one on the YT-2400 light freighter. In addition to its renowned hyperdrive, which supposedly made the Falcon the "fastest ship in the galaxy," the ship was equipped with a backup hyperdrive. It was much slower than the primary engine and often took several weeks or months to reach the nearest star system. A component of the engines was the engine coupling which caused the Falcon to malfunction when misaligned.
Armament, hull, and shields
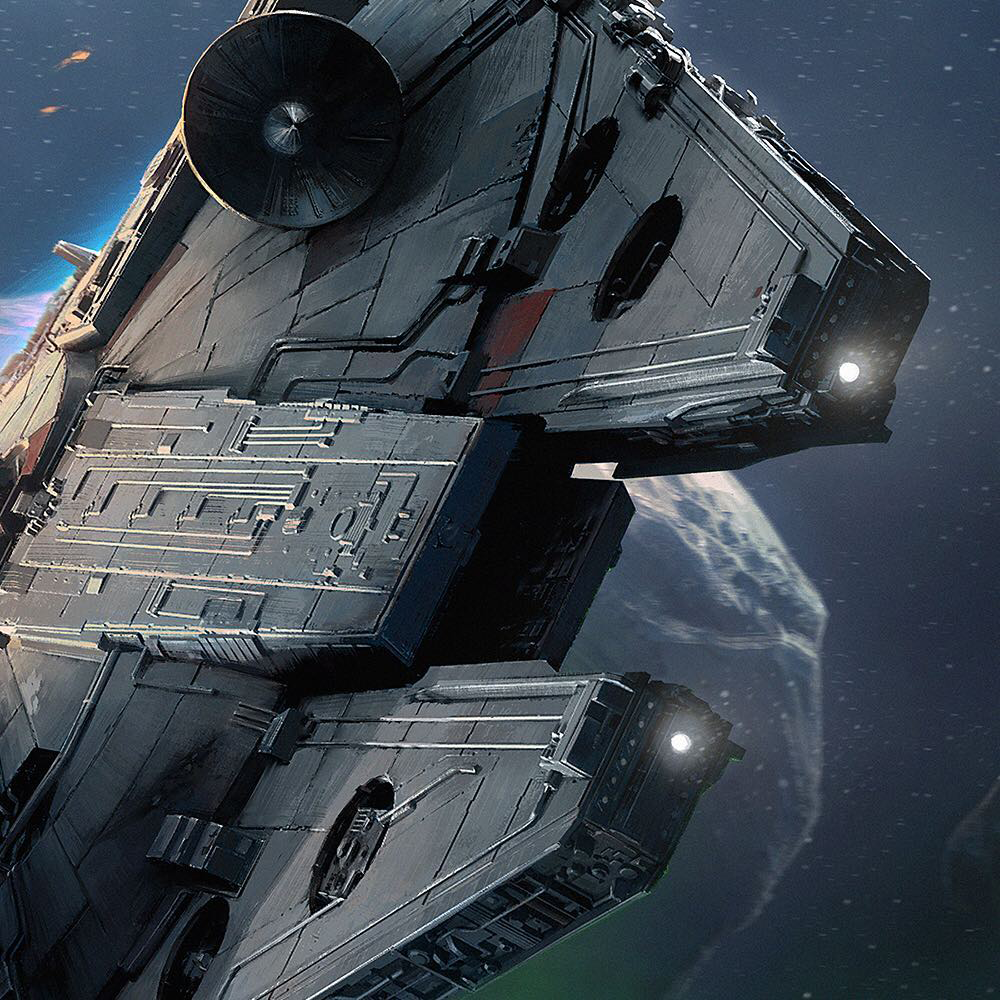
The Millennium Falcon's arsenal was typically found on a much larger warship. It included two CEC AG-2G quad laser cannons (one ventral and one dorsal) with enhanced laser actuators and gas feeds, which gave them maximum range and damage. These served as its primary defensive armament, able to destroy enemy fighters with a single direct hit. Positioned between the forward mandibles were two Arakyd ST2 concussion missile tubes, each containing a magazine of four missiles. Furthermore, a BlasTech Ax-108 "Ground Buzzer" blaster cannon was mounted near the ventral boarding ramp, enabling the crew to defend the ship against infantry and other light targets while grounded. Duralloy plates salvaged from an Imperial cruiser afforded the Falcon capital ship-class hull armor.
The ship had three deflector shield generators: the bow was protected from both lasers and concussion missiles by Torplex and Nordoxicon units, while a Kuat Drive Yards generator shielded the stern.
The Falcon's combination of sublight speed and maneuverability was comparable to most of the starfighters fielded by the Rebellion and Empire, while its shielding, hyperdrive, heavy armor and weapons were on par with those typically found on capital ships These traits made it an ideal choice for General Lando Calrissian's attack run within the bowels of the Death Star during the Battle of Endor. While agile and almost near impervious to almost all heavy weapons and turbolasers as any large warship, the Falcon's only real combat weakness was its sheer size in comparison to starfighters. Although the ship had squeezed through many narrow spots in its history, it still lost the oversized sensor dish while trying to get through a particularly tight section of the Death Star's superstructure and a few replacement ones in subsequent battles.
Other systems and equipment
The Falcon's primary power source was a Quadex power core.
Its main computer was made of three droid brains which identified themselves as the Millennium Collective. The first droid brain was a transport droid known as V5-T, the second from a slicer droid called ED-4, and the third from L3-37, which began as an R3-series astromech droid brain, but was overlaid with data architecture from an espionage droid, protocol droid processors, and custom state-of-the-art coding.
A pair of Gelieg 20m-cp Strobe/C-Beam Lamps, which flooded illumination outside the ship, were mounted on the tips of the front mandibles. In case of emergency landing or crash on water, the Falcon was also equipped with flotation pontoons.
The Falcon also had a static charge dissipator which could dissipate static charge on the ship, but when the dissipator burned out, the Falcon would need immediate repairs.
History
Early years
The YT-1300f light freighter designated unit YT 492727ZED was built at Orbital Assembly Facility 7, a Corellian shipyard owned by the Corellian Engineering Corporation, more than 90 years before the Battle of Starkiller Base. As was intended, the ship began its career as an intermodal tug pushing container in orbital freight yards. It once worked in the galaxy's busiest spacelanes. Just after the Battle of Coruscant, it was docking in the Senate Office Building. Inconsistent records from the Bureau of Ships and Services indicate that the YT 492727ZED changed ownership more than once via unregistered transactions.
During the Clone Wars, the freighter was property of the Republic Group. The YT 492727ZED was registered by the Republic Group on the planet Ralltiir as the Stellar Envoy. At some point, either prior or during its ownership under the Republic Group, a military-grade rectenna was installed on the Stellar Envoy. Shortly after the end of the Clone Wars, the Stellar Envoy was involved in a collision with a bulk freighter and was seriously damaged. The wreckage was reconditioned by a salvager, who used several sections and modules from a scrapped YT-1300p freighter to repair the ship.
The ship had a number of owners over its service. At some point, the human gambler named Lando Calrissian won the YT 492727ZED in a game of sabacc, and registered the freighter under the name Millennium Falcon. Calrissian modified the freighter, inside and out, converting it into his own speedy sports vessel as Calrissian saw how powerful its freight-pushing engines were. As such, Calrissian modified the two cargo mandibles at the front into an auxiliary ship launch, thus turning the plain freighter into a unique starship. He also once explained the controls to Brea Tonnika of the Tonnika sisters.

When Calrissian was injured during a raid on Kessel, the smuggler Han Solo and Wookiee Chewbacca were left in command of the ship. During the escape from Kessel, Calrissian uploaded L3 to the Falcon as the ship's navigational system, assisting the crew in making the Kessel Run in under 12 parsecs. During the Kessel run the ship was majorly damaged by TIE fighters, with one blasting a hole in the front of the Falcon. After destroying the fighters, Han slid the Falcon over an asteroid which destroyed two of the Falcon's landing gears. In order to escape the Summa-verminoth in The Maw, Han launched the escape pod. The ship also lost its sensor dish upon being caught in the Maw. Calrissian later took the heavily damaged ship after landing on Savareen, but ended up betting his ship in a "Corellian Spike" game of sabacc on Numidian Prime, losing to the smuggler Han Solo. Under the captaincy of Solo, the Falcon was further customized, and he regularly claimed it was the fastest ship in the galaxy.
Galactic Civil War
A fateful trip
The Millennium Falcon's destiny as a tool for a small-time smuggling operation was changed when it was chartered by Obi-Wan Kenobi and Luke Skywalker in Chalmun's Spaceport Cantina for passage to Alderaan. When challenged by Kenobi about his ship's speed, Solo bragged that the Falcon was capable of attaining 0.5 past lightspeed, and that it had completed the infamous Kessel Run in fewer than twelve parsecs.
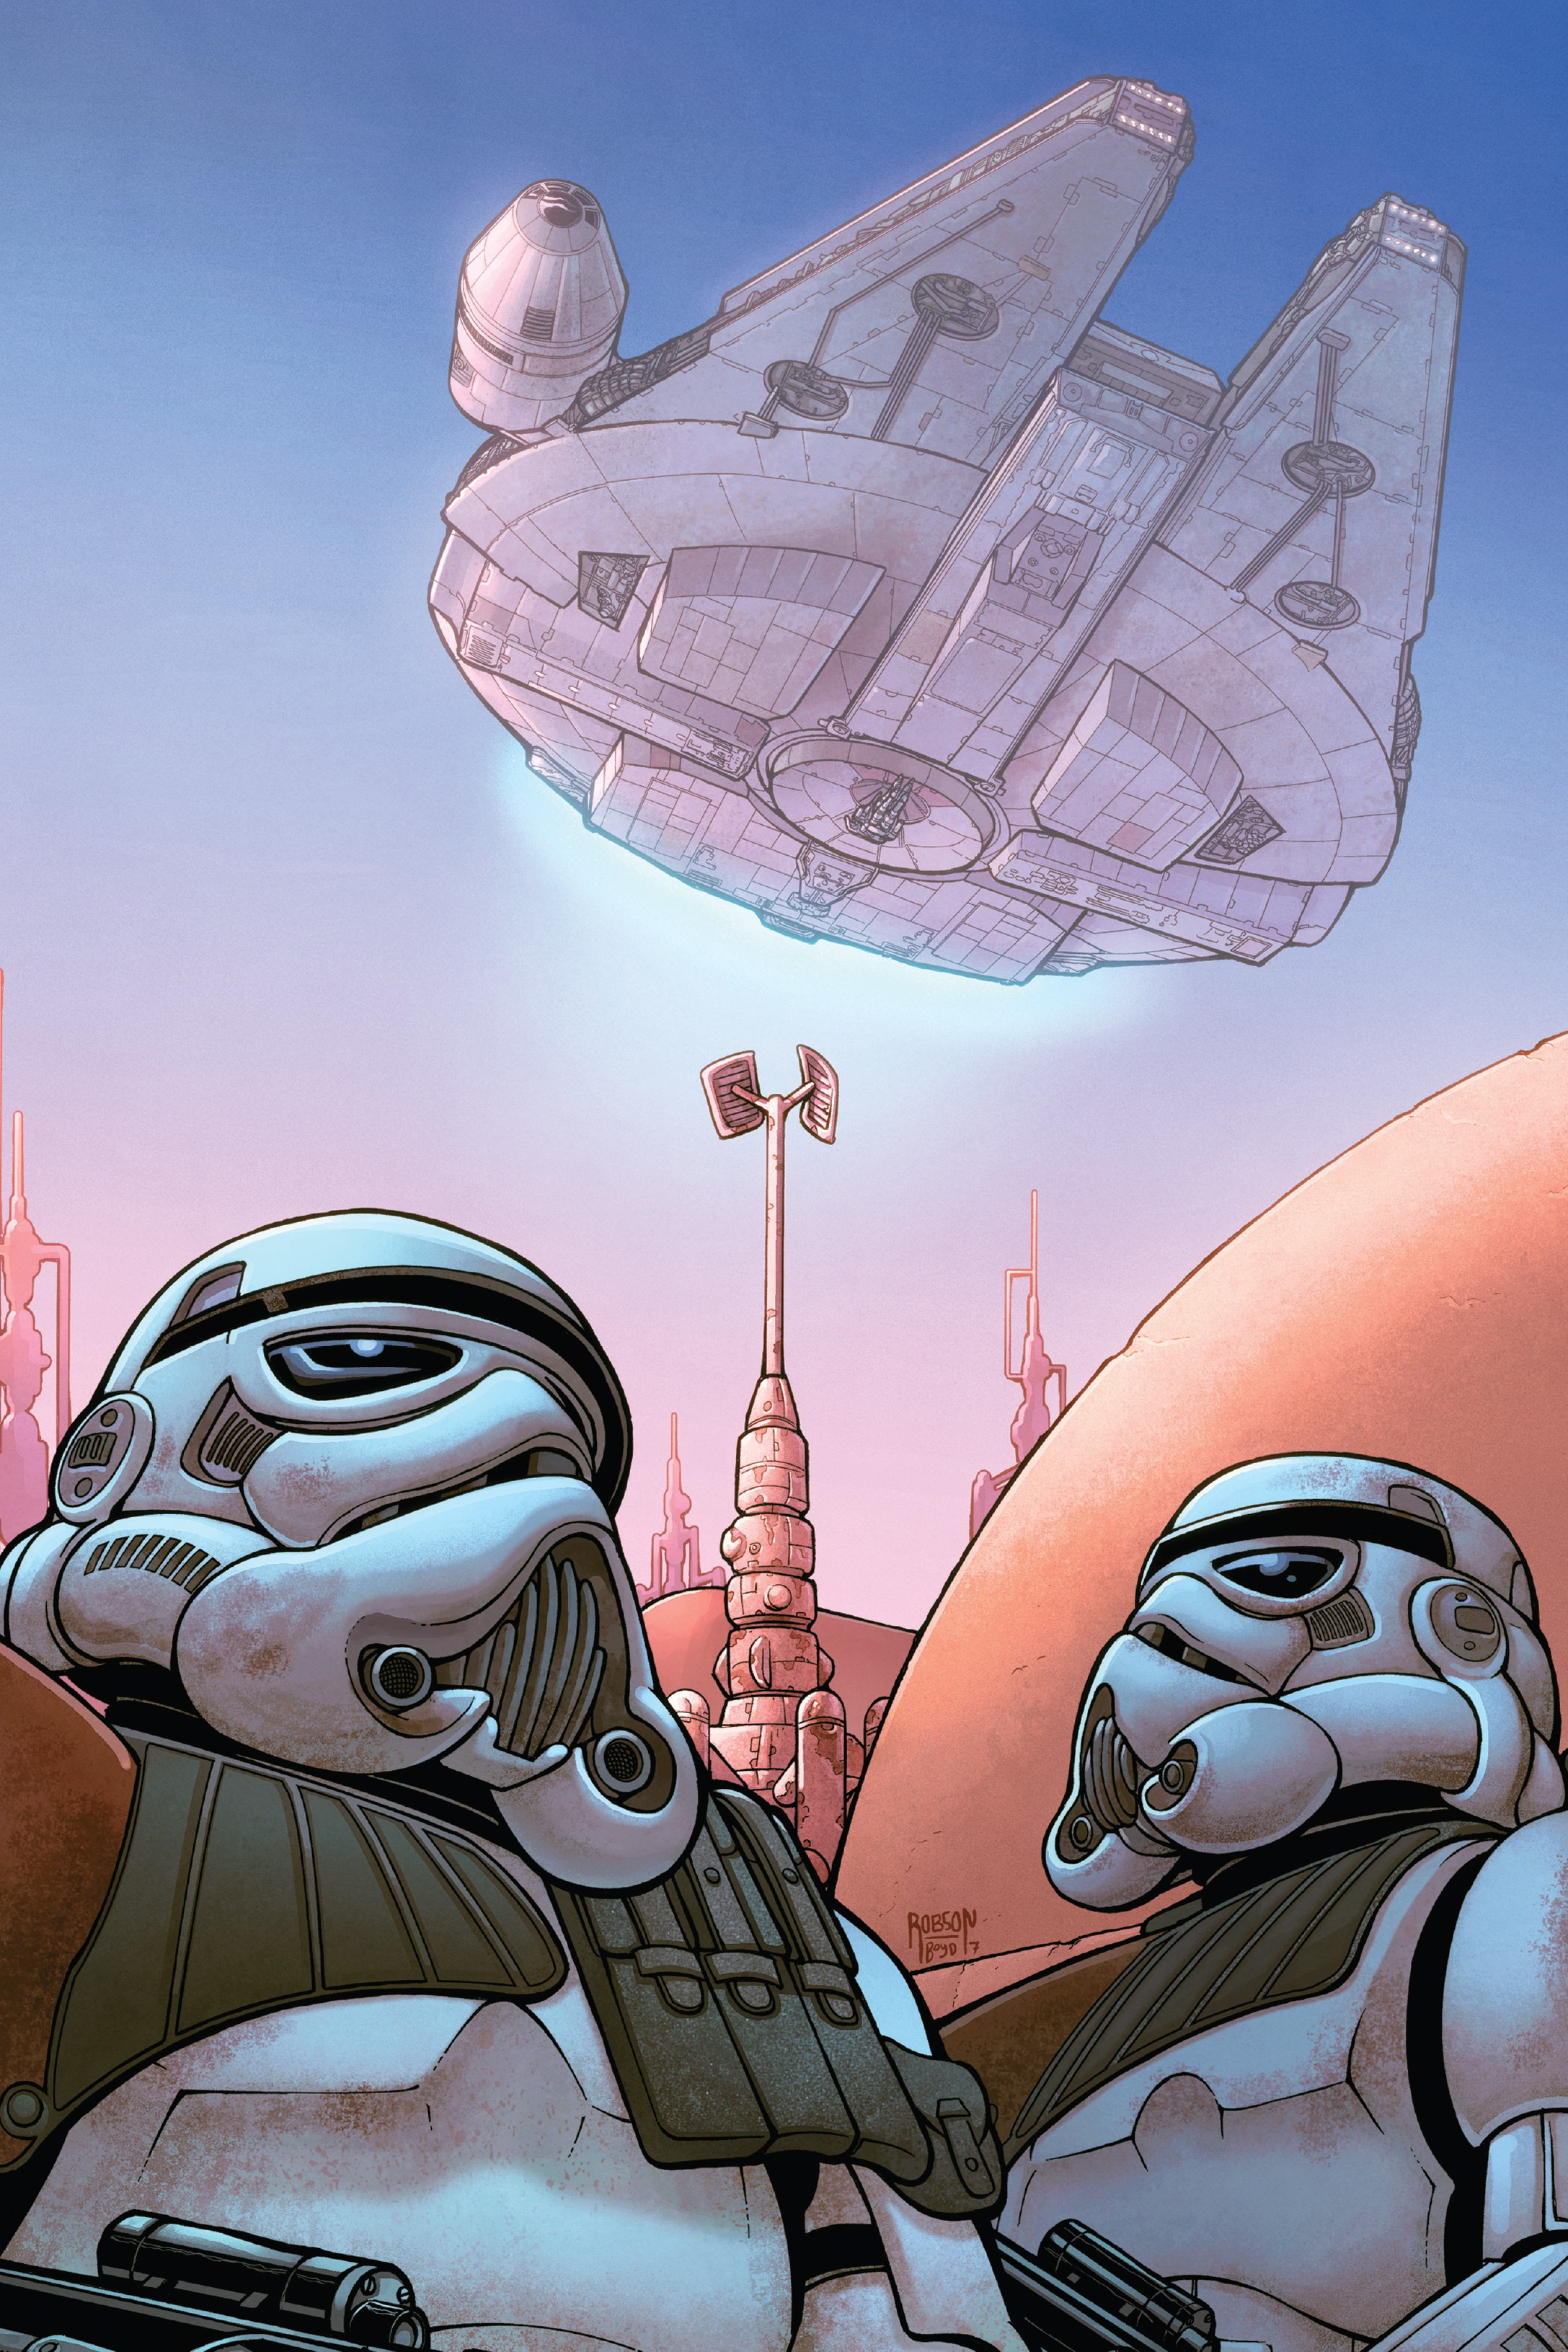
The journey to Alderaan proved to be much more than a simple passenger flight. The Falcon was forced to blast its way out of Mos Eisley when a garrison of stormtroopers attacked the ship in an attempt to recover its cargo. It also narrowly avoided capture by a couple of Star Destroyers before making the jump to lightspeed. Having also been on Tatooine, the Tonnika sisters had hoped to steal the Falcon to use as their own ship. When the Falcon began its escape, it created a big enough distraction that the siblings realized they had the chance to steal any other nearby ship, while seeing the freighter escape the Empire's grasp convinced stormtrooper TD-7556 to desert the Imperial Army.
The Falcon emerged from hyperspace into the remains of Alderaan. After chasing a single TIE fighter stranded in what appeared to be empty space, the Falcon was captured by one of the first Death Star's tractor beams and secured aboard the massive space station. Thanks to quick thinking by those aboard the Falcon, the ship was made to appear as if the crew had escaped soon after taking off from Tatooine. It was searched by stormtroopers and it was reported that there were no passengers on board and the escape pods had been jettisoned. Their search had missed the crew, who were hidden in a series of secret smuggling holds. They then killed a scanning crew before they could be detected by the scanner.
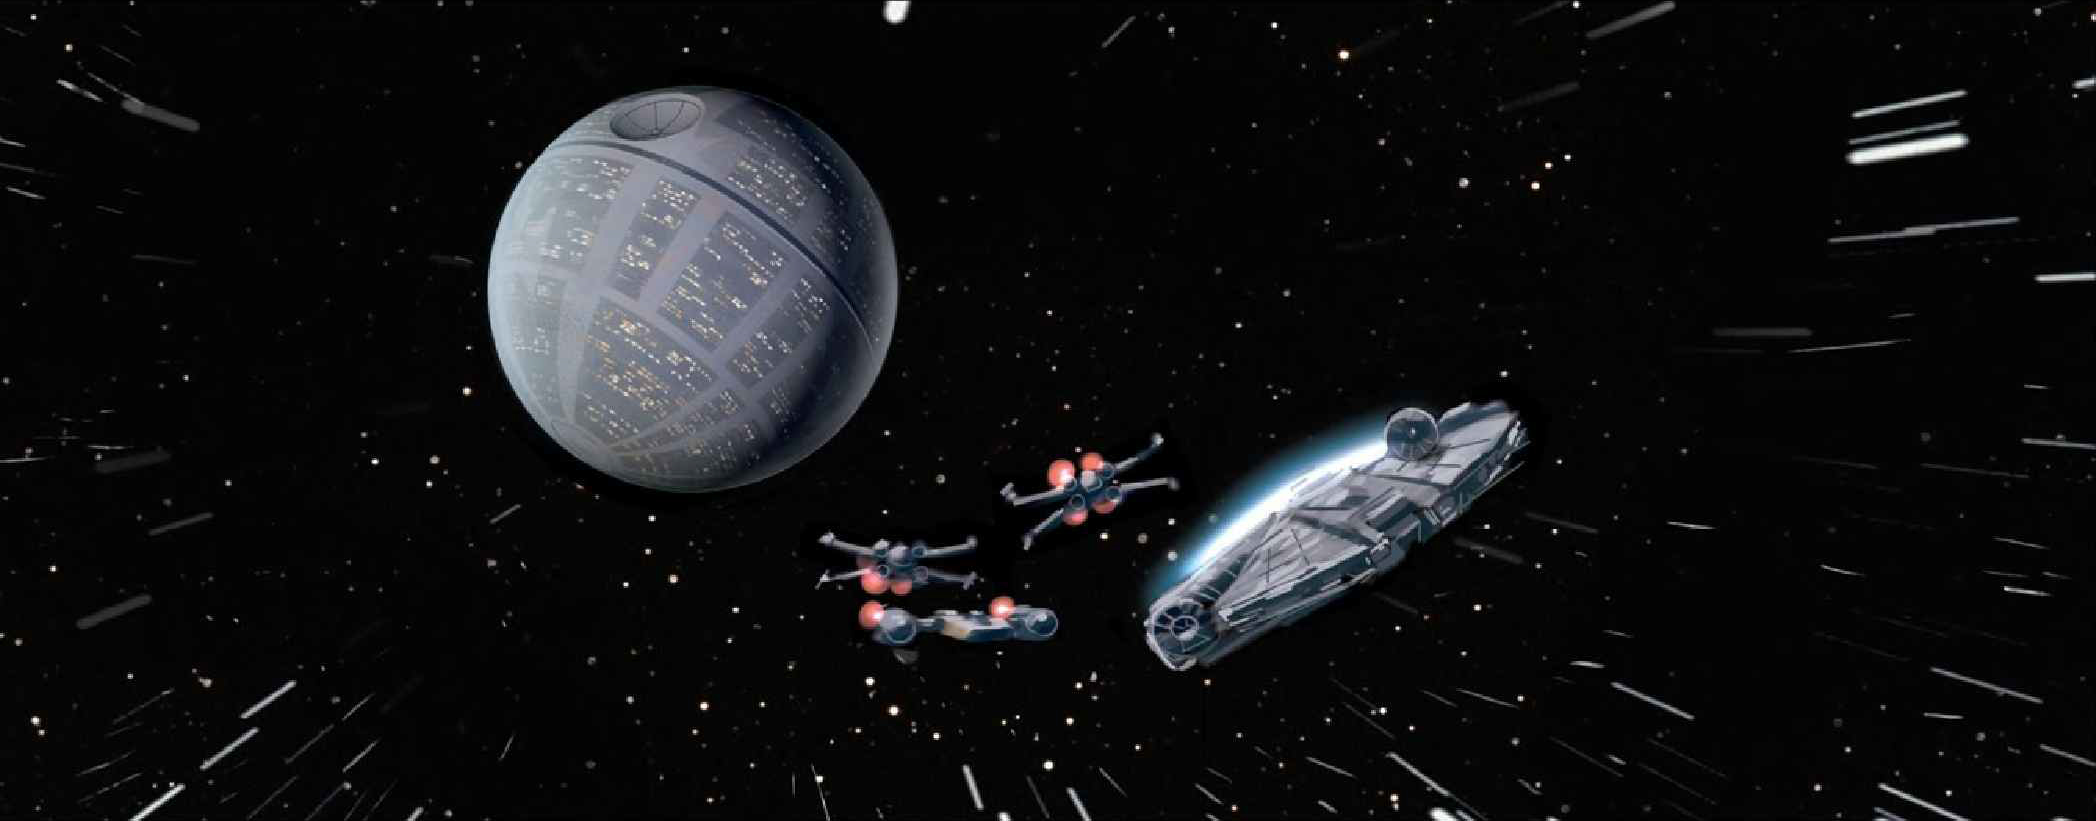
In a matter of hours, the Millennium Falcon had once again escaped the Imperial Navy, this time with the rescued Princess Leia Organa on board. After a fleeing battle with Imperial fighters and a trip through hyperspace, the ship arrived at the secret Alliance base on Yavin 4. During the ship's stay on the battle station, the Empire had planted a homing device on board the Falcon, which it used to pursue Organa to this location. As the Rebels scrambled to organize a preemptive attack on the massive Death Star, Solo loaded his reward on board the Falcon and departed the moon. However, thanks to Chewbacca, its smuggler captain had a change of heart. Solo and his ship returned just in time to cover Skywalker in his last-ditch effort to destroy the station and secure the safety of the Rebel Alliance. The ship's surprise attack destroyed Darth Vader's two wingmen and sent Vader himself spinning off into space, allowing Skywalker to successfully complete his attack and destroy the Death Star.
Escape from Hoth
Three years after the Battle of Yavin, the Falcon was undergoing repairs in the main hangar of the Rebel installation Echo Base as the Empire began its assault on Hoth, assisted by Treadwell, a WED 15 "Septoid 2" Treadwell toolkit droid who was in service of the ship at the time. As the Alliance scrambled to escape the base, Solo and Chewbacca hurried to make the ship spaceworthy. Organa was cut off from her transport by a tunnel cave-in and was forced to make her escape from Hoth on board the Falcon accompanied by Solo, Chewbacca, and C-3PO. Solo used the ship's uncanny maneuverability and his piloting skills to elude an Imperial Star Destroyer chasing them, and two more emerging from hyperspace. Solo's maneuvers in the Falcon caused the two Star Destroyers approaching and the one pursuing to nearly collide with each other. The Falcon then attempted to make the jump into lightspeed, but was stopped short by an equipment malfunction.
Forced to take drastic measures to avoid capture, Solo made the decision to pilot the Falcon into a nearby asteroid field in an attempt to lose the Imperial pursuers. However, his repairs were cut short as he had unknowingly landed inside an exogorth. Escaping just in time as the beast's huge mouth was closing, the Falcon was discovered by the Imperial II-class Star Destroyer Avenger. They attempted to jump to lightspeed, but once again, the hyperdrive was not fully repaired. Solo then had Chewbacca change course and fly directly at Avenger's bridge in an apparent suicidal attack run. The ship disappeared from sight and became undetectable to Avenger. It had not gone far: Solo had attached the Falcon to a blind spot on the conning tower of the Star Destroyer. Adhering to standard Imperial procedure, the Star Destroyers of Death Squadron ejected all scrap and garbage before entering hyperspace. Solo then signaled Chewbacca to release the ship's landing claws, allowing the Falcon to "float away with the rest of the garbage." Boba Fett, however, saw through this ruse, and waited behind in Slave I, following the Falcon as it left the system.
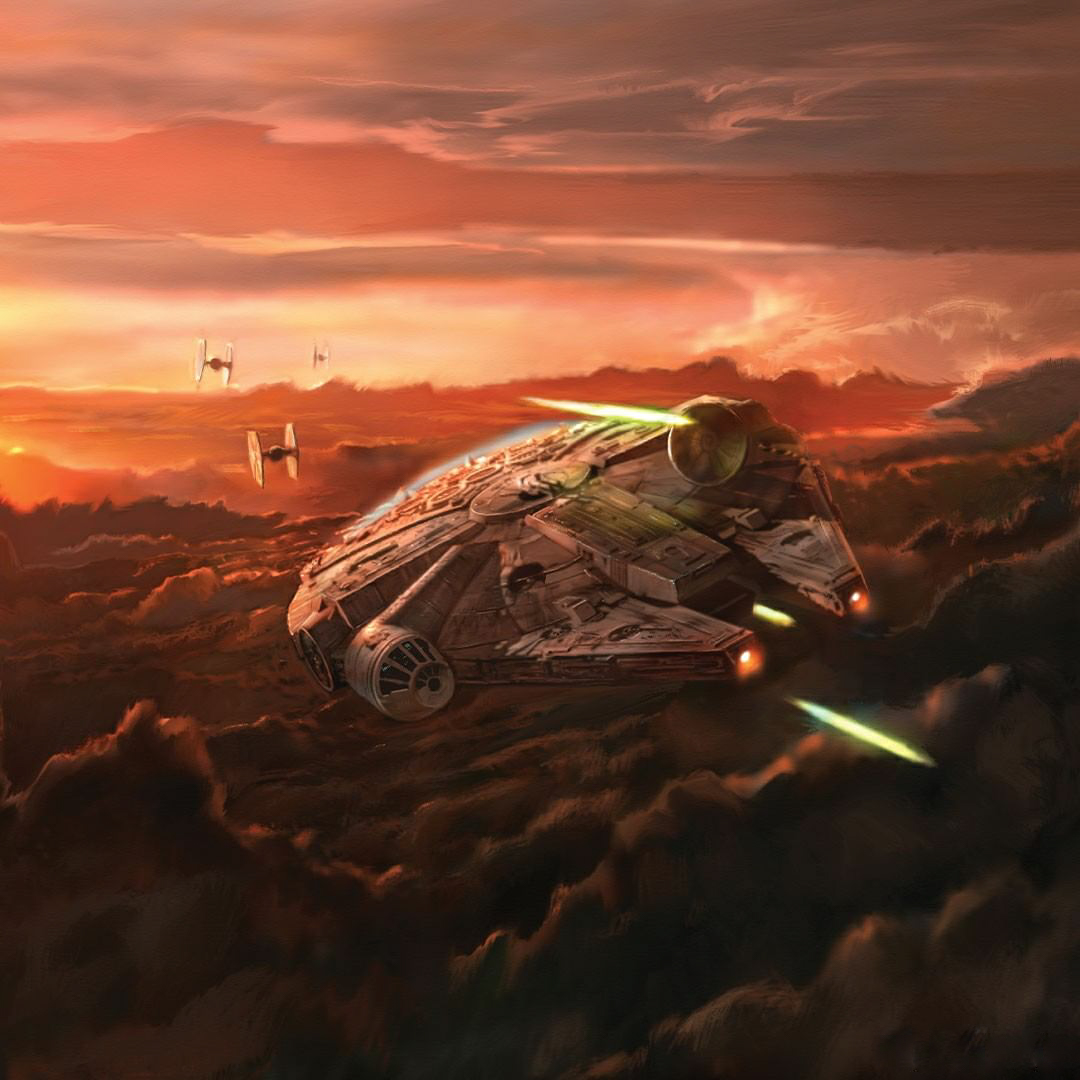
After its near miss with the Empire, the Falcon made its way to Cloud City on Bespin, where Solo's former associate, Calrissian, acted as the Baron Administrator. However, the Empire had already arrived, thanks to Fett tracking the Falcon to Bespin. The Falcon's crew was seized, tortured, and imprisoned. Solo was then frozen in carbonite and handed over to the bounty hunter. Imperial forces destroyed Treadwell to prevent him from alerting the remaining crew that Vader's people had disabled the recently repaired hyperdrive. Calrissian joined the remaining crew members, and they escaped to the Falcon. After rescuing Skywalker, who was clinging to a weather vane below Cloud City, the ship departed the planet and attempted a lightspeed jump. Only a last-minute repair by R2-D2 kept the Falcon from falling into Imperial hands. Because of R2's actions, the hyperdrive engaged, and the Falcon successfully jumped at the last second, making its escape.
Battle at Rendezvous Point Delta-Three
Following the events on Cloud City, Organa, Skywalker, Calrissian, Chewbacca, C-3PO, and R2-D2 gathered in the main hold. Skywalker, however, was lost in thought, grappling with the revelation that Vader was his father. Chewbacca and Calrissian discussed Solo, with Calrissian wondering what their course of action would have been had the Falcon overtaken Slave I, pointing out that destroying Fett's ship would have meant Solo's death. Calrissian also told Organa that their opportunity to intercept Fett had been lost because she insisted on rescuing Skywalker, whom Organa identified as the one who destroyed the Death Star. Calrissian assured her that they would rescue Solo, as both he and Chewbacca knew Fett was delivering their friend to Jabba. When Skywalker joined the conversation and inquired about Solo's whereabouts, Organa explained the situation and promised they would find him. When she asked what had happened to him, Skywalker only replied that Kenobi had not responded to his call.
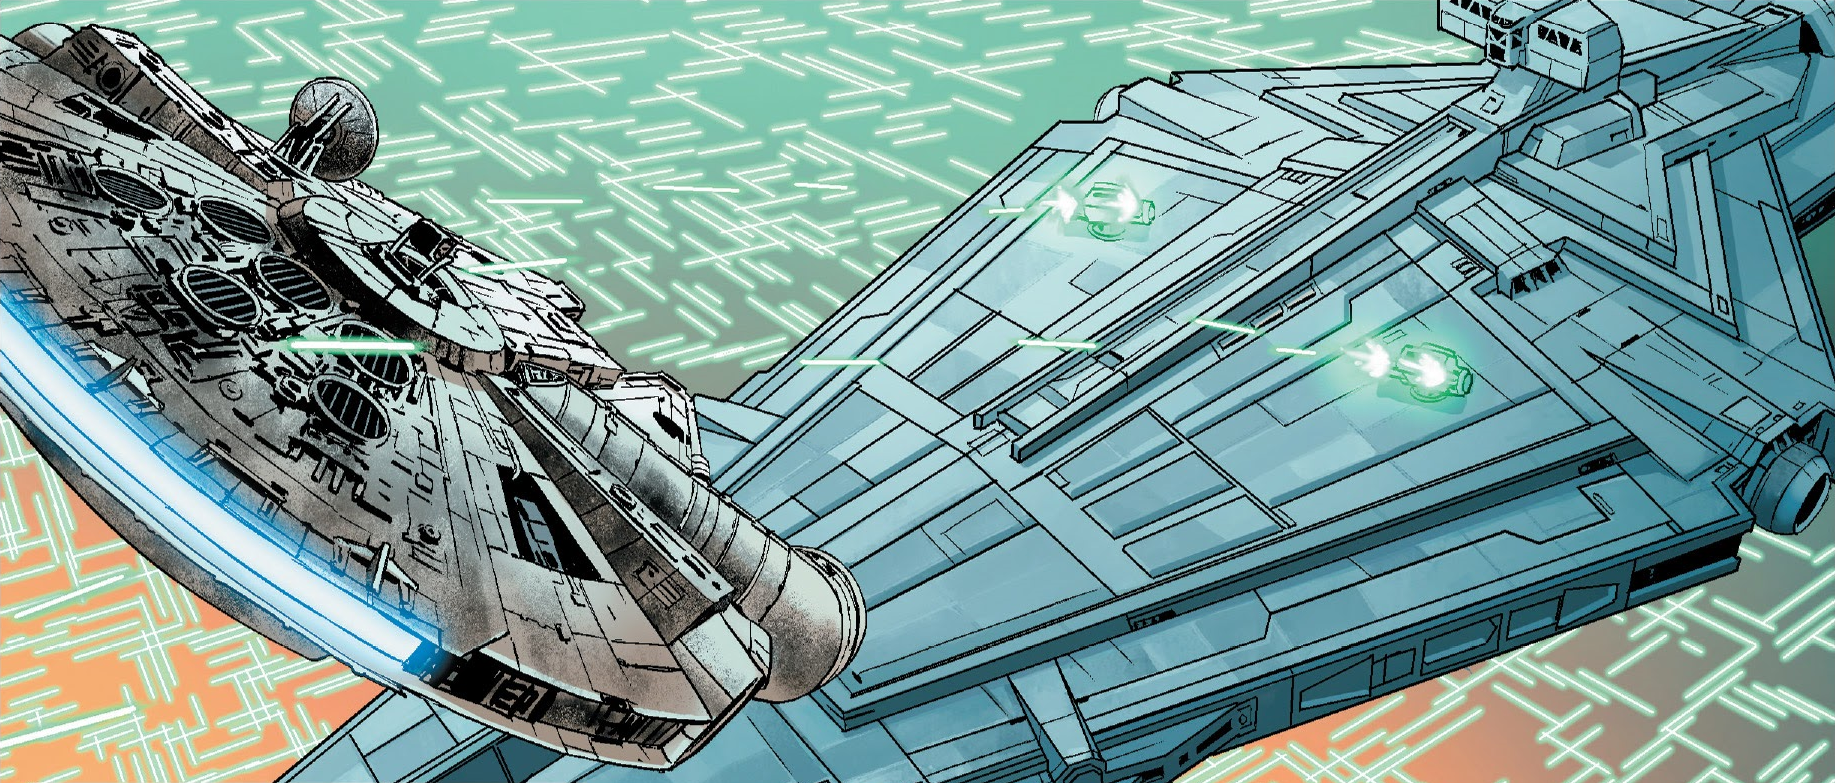
Organa instructed R2-D2 to provide Chewbacca with the coordinates for the Rebel fleet. With Solo absent and Calrissian not being the ship's owner, she commandeered the Falcon for the Alliance. However, upon reaching Rendezvous Point Delta-Three, the assembled Alliance ships were under attack by the Empire. Seeing the Falcon, the Imperial commander, Ellian Zahra, ordered a TIE fighter squadron and all non-essential turbolaser batteries to focus on the freighter. Onboard, Organa and Skywalker, despite his missing hand, took positions at the gunnery stations, while Chewbacca and Calrissian piloted the ship. Skywalker, distracted by thoughts of Kenobi and Vader, used the Force to seize control of the TIE fighters, causing them to veer off course and collide, allowing Organa to destroy them. Calrissian and Chewbacca then launched an attack on an Arquitens-class command cruiser, using the Falcon's missiles to destroy the ship's gun emplacements, creating an opening for the Rebels to escape to backup Rendezvous Point Gamma-Nine.
Following the battle, Zahra informed Vader that the Falcon had disrupted their assault. She reported their attempt to destroy the vessel, but Vader forbade it. He permitted her to eliminate Organa if possible, as he had no use for her, but he cautioned Zahra about another individual frequently aboard the Falcon. He warned Zahra that harming this individual, secretly his son Skywalker, would have severe repercussions.
Rescuing Han
In the months that followed, Organa, Skywalker, and Calrissian continued to utilize the Falcon for various missions. After they successfully rescued Han, the Falcon linked up with the Alliance Fleet, preparing for an assault on the new Death Star.
Battle of Endor
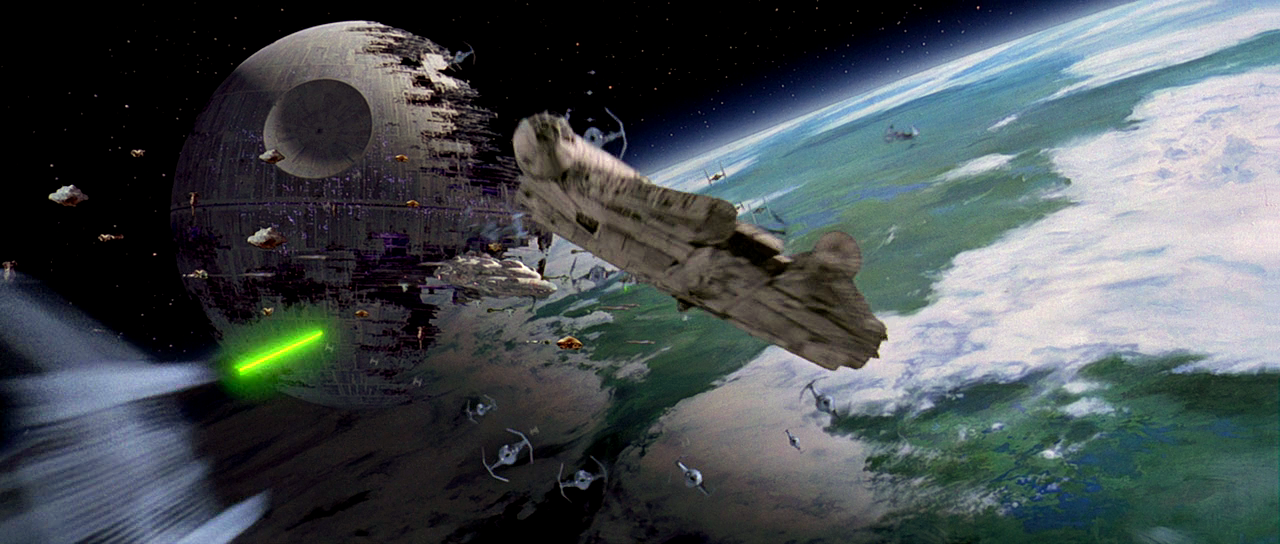
During the Battle of Endor, Calrissian and his Sullustan co-pilot, Nien Nunb, piloted the Falcon as Gold Leader. Once Solo's strike team brought down the planetary shield protecting the second Death Star, the Falcon and a number of Alliance fighters entered the battle station through a conduit port, racing toward the reactor core. The limited space within the conduit tunnels caused the relatively large Falcon to lose its sensor dish when it struck a conduit wall. Calrissian successfully navigated the craft into the energy core housing the main reactor, firing upon it and triggering its collapse. The Falcon then sped for the exhaust port, barely escaping the massive explosion that destroyed the battle station. The Imperial fleet soon retreated, and the galaxy celebrated the demise of Emperor Palpatine.
New Republic
Some months later, Solo and Chewbacca journeyed through space aboard the Millennium Falcon. Following intelligence from Imra indicating that the Empire had reduced its presence on the Wookiee homeworld of Kashyyyk due to the advances of the New Republic, Solo and Chewie traveled to Warrin Station to gather smugglers and Wookiee exiles for a campaign to liberate Kashyyyk. Around this time, Han Solo replaced the Falcon's sensor dish with a rectangular civilian model.
However, this information was revealed to be an Imperial trap. Chewie was captured, but Solo escaped on the Falcon. A year later, Solo communicated with his wife Organa via hologram on the edge of Wild Space. During their conversation, the Falcon came under attack, severing communication with Organa. In response, Organa dispatched Norra Wexley, a New Republic starfighter pilot, to rescue her husband. Norra was accompanied by her son, Temmin Wexley, the B1-series battle droid Mister Bones, the former Imperial Sinjir Rath Velus, the Zabrak bounty hunter Jas Emari, and the New Republic Special Forces soldier Jom Barell.
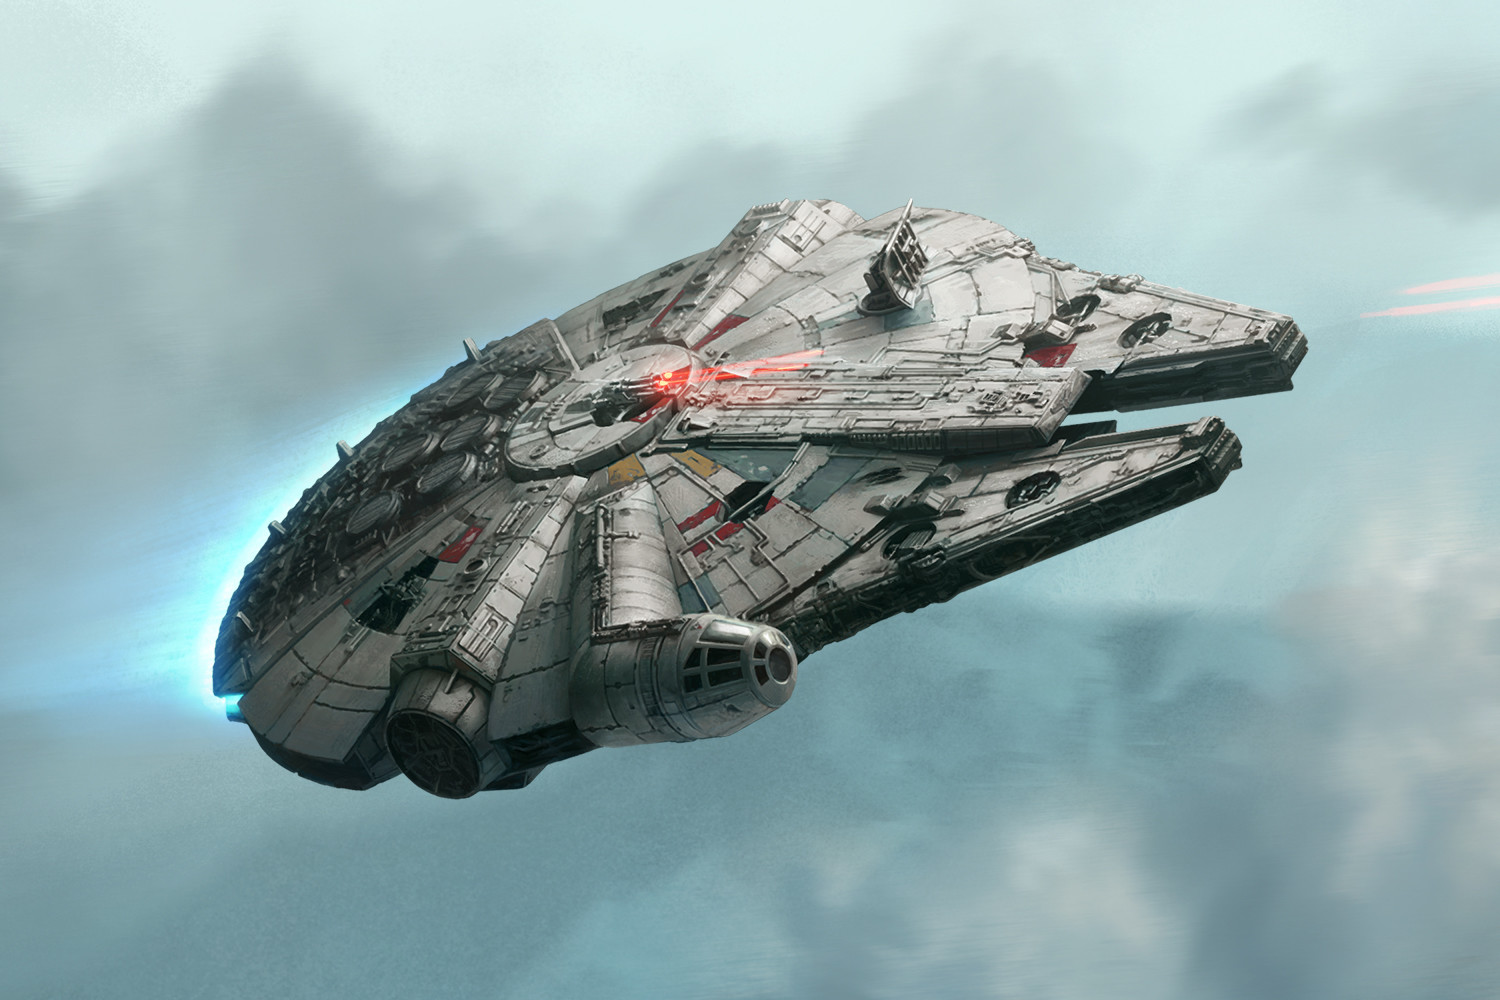
Norra and her team located Solo and the Falcon on the planet Irudiru. After interrogating Golas Aram, a Siniteen prison builder, Solo and his allies traveled on the Falcon and Emari's ship Halo to the Kashyyyk system. They bluffed their way past the Imperial blockade by impersonating a repair crew at Ashmead's Lock, an automated prison on the far side of Kashyyyk. There, they freed Chewbacca and a hundred other prisoners, including Norra's husband, Brentin Lore Wexley. Norra, Temmin, and the freed prisoners (excluding Chewbacca) then used the Falcon to return to Chandrila, the New Republic capital.
Upon learning that the Wookiee uprising was in progress and that the Empire was conducting an orbital bombardment of Kashyyyk, Organa convinced Evaan Verlaine, an Alderaanian pilot, to fly her on the Millennium Falcon to the Kashyyyk system to aid her husband and Chewie. Later, she contacted Wedge Antilles, a New Republic Captain, and persuaded him to dispatch his Phantom Squadron there.
During the brief space skirmish, Organa and Verlaine outmaneuvered the Imperial Star Destroyers. After the Imperials surrendered, Organa landed the Falcon in the hangar of the Star Destroyer Dominion, which her husband had seized. Organa used the ship's laser cannons to eliminate several stormtroopers who were still resisting. After reuniting with her husband, Organa and Solo took the Falcon to Kashyyyk, where Chewbacca departed before they returned to Chandrila.
Prior to the Battle of Jakku, Temmin attempted to persuade Solo to let him borrow the Millennium Falcon to travel to Jakku and rescue his mother Norra, who was hunting Rae Sloane, the Imperial fugitive Grand Admiral. After some negotiation, Solo and Organa agreed. Temmin and Velus attempted to leave on the Falcon, but Senate Guards prevented their departure from Chandrila. While Temmin and Velus initially suspected Solo of betrayal, they later discovered that Tolwar Wartol, a Senator and political rival of Mon Mothma, the Chancellor, was the true culprit and had been spying on Solo and Organa's conversations. The Millennium Falcon later participated in an operation on Nakadia to rescue the slicer Conder Kyl and Nim Tar's child.
First Order/Resistance War
Reappearance
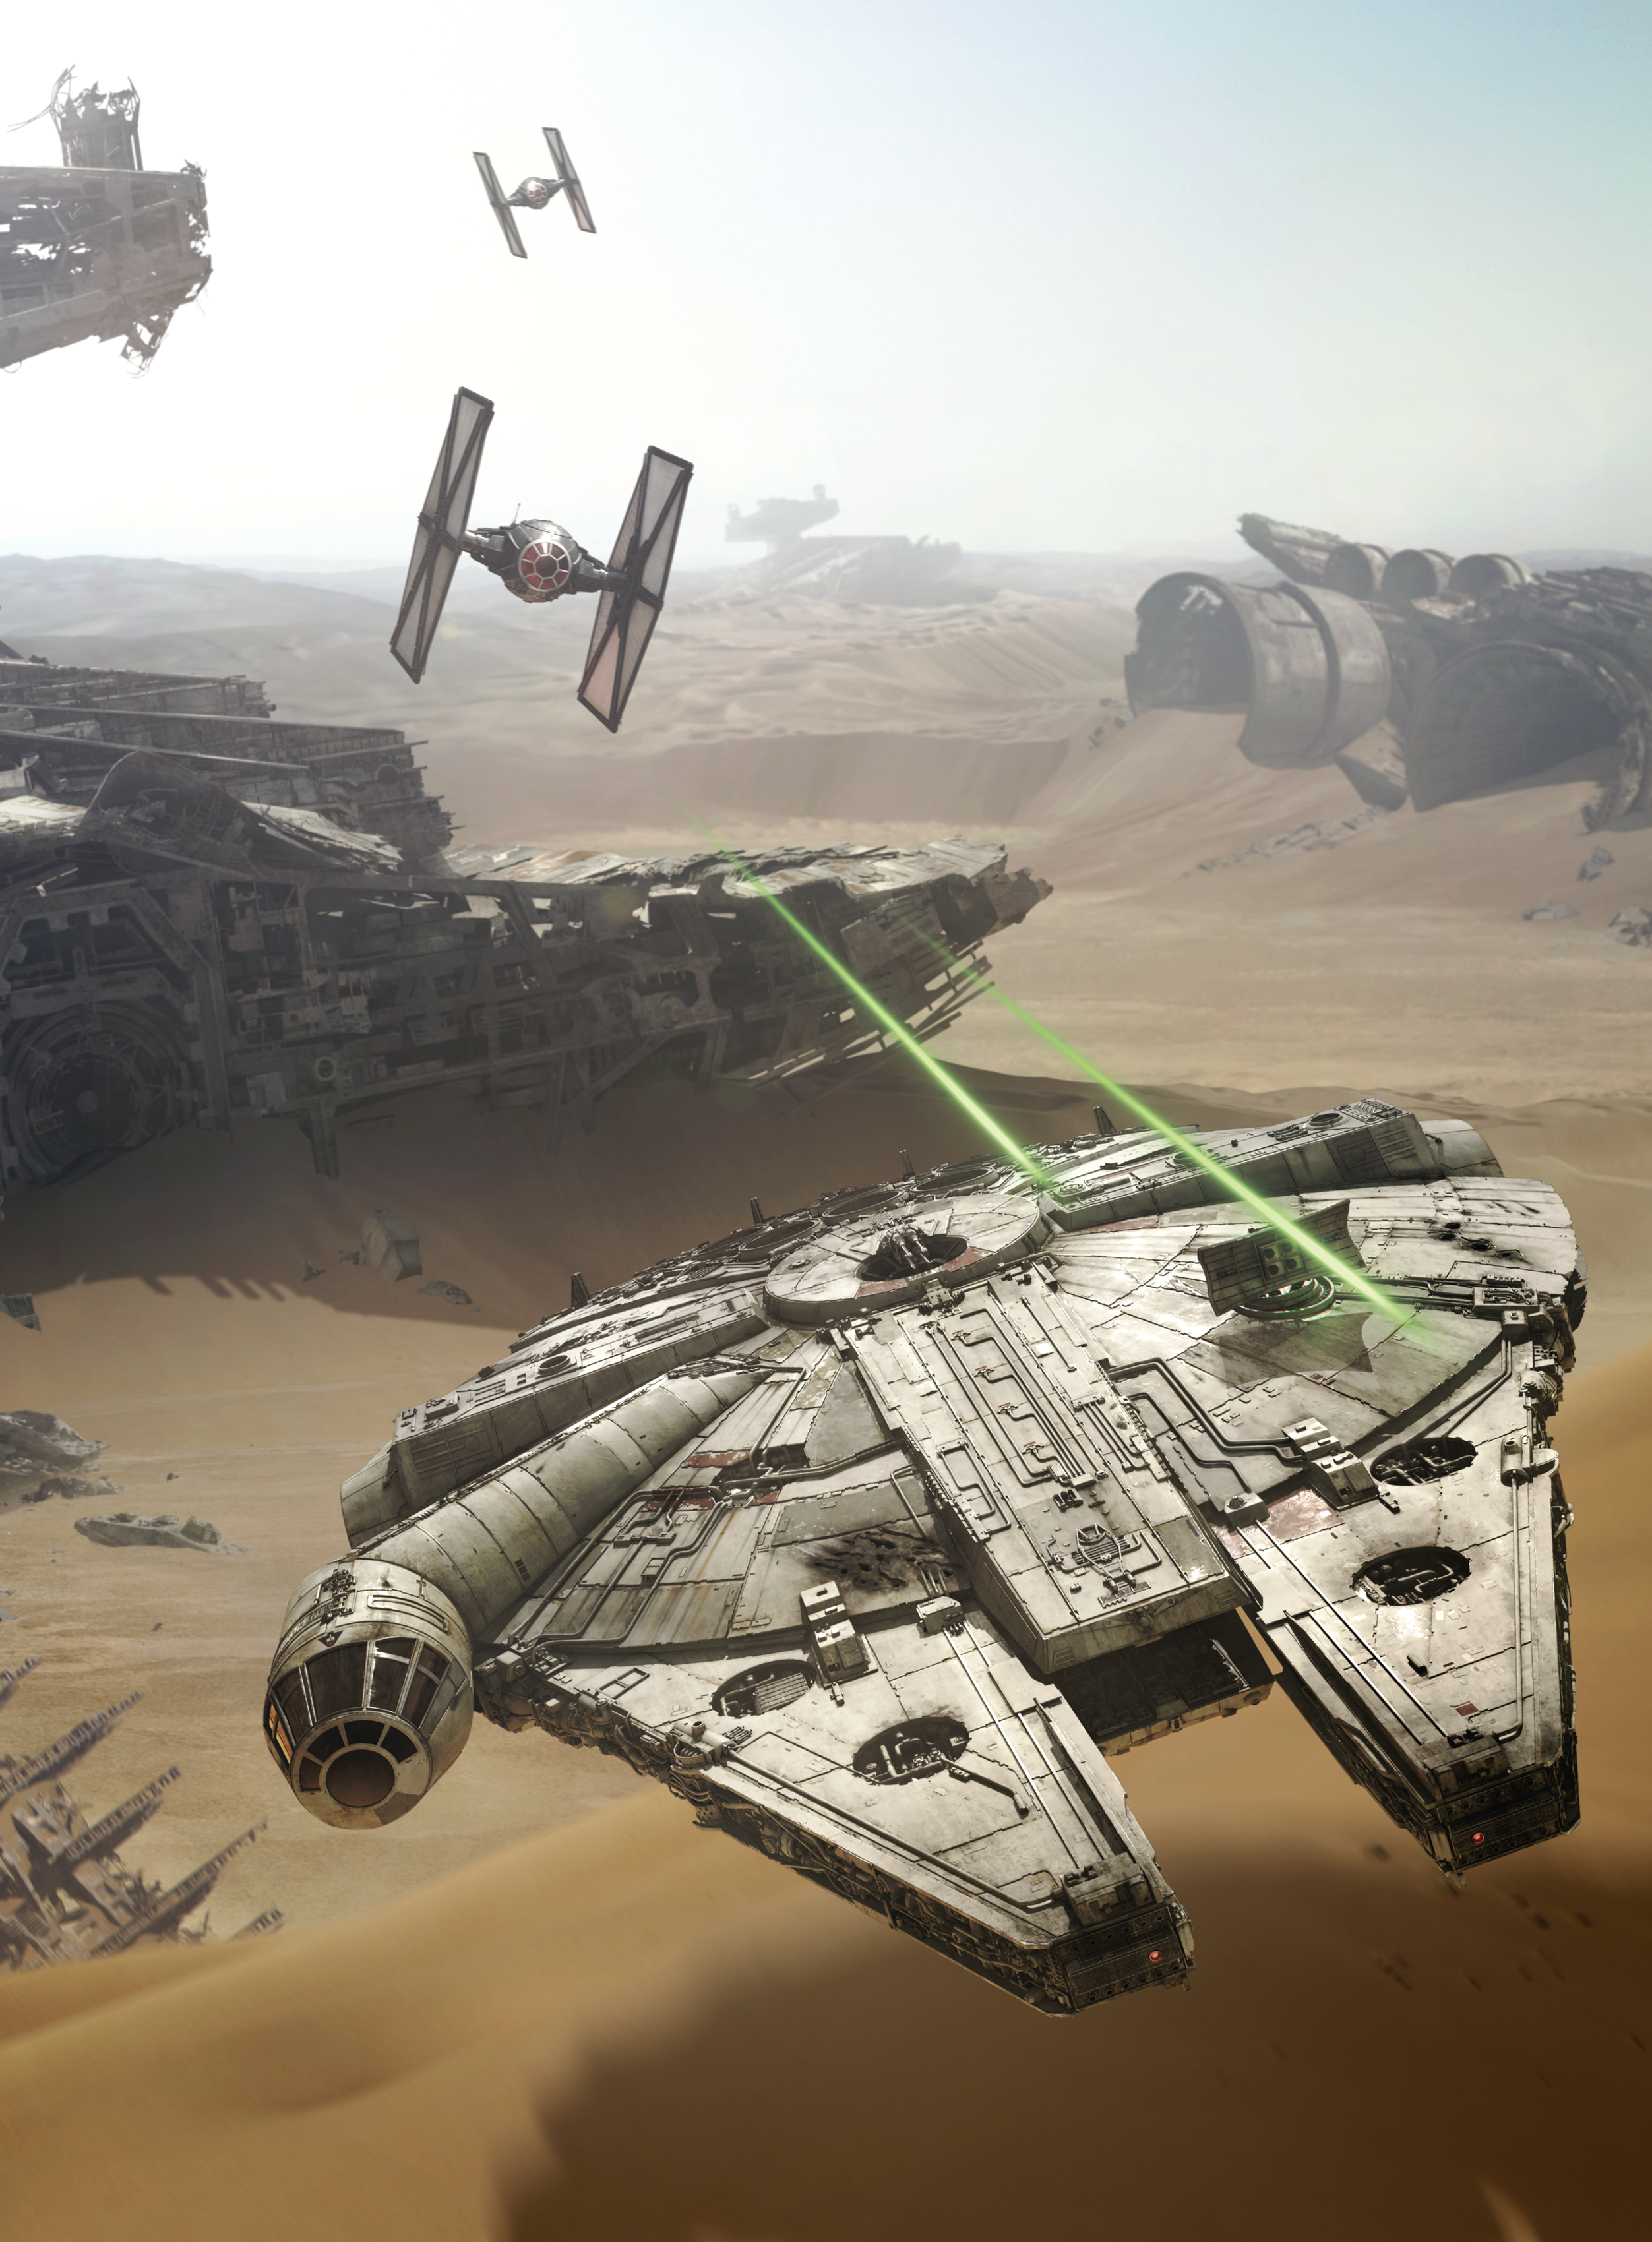
The Millennium Falcon had become a legend in its own right under Solo and Chewbacca. In 31 ABY, Solo traveled to Maz Kanata's castle on Takodana to confer with Kanata. During their conversation, a Nikto named Gannis Ducain offered to co-pilot for Solo, having overheard that Chewbacca was with his family and that Solo needed assistance for a job. After accepting Ducain's offer, he and Solo went to Christophsis, where Ducain absconded with the Falcon. It was subsequently stolen by Toursant Irving and Vanver Irving—also known as the [Irving Boys](/article/irving_boys]—before ultimately falling into the hands of Unkar Plutt, a junk boss on Jakku.
At some point, he stored it at Niima Outpost. Karr Nuq Sin, a collector searching for knowledge of the Jedi Order, traveled to Jakku and boarded the ship with his friend Maize Raynshi. Upon touching the remote, Nuq Sin experienced a vision of Skywalker and Kenobi training aboard the vessel. Under Plutt's ownership, it remained unused for years at Niima Outpost. Plutt only paid for minimal maintenance, intending to fully prepare it for flight only if he found a buyer.
Returned ownership
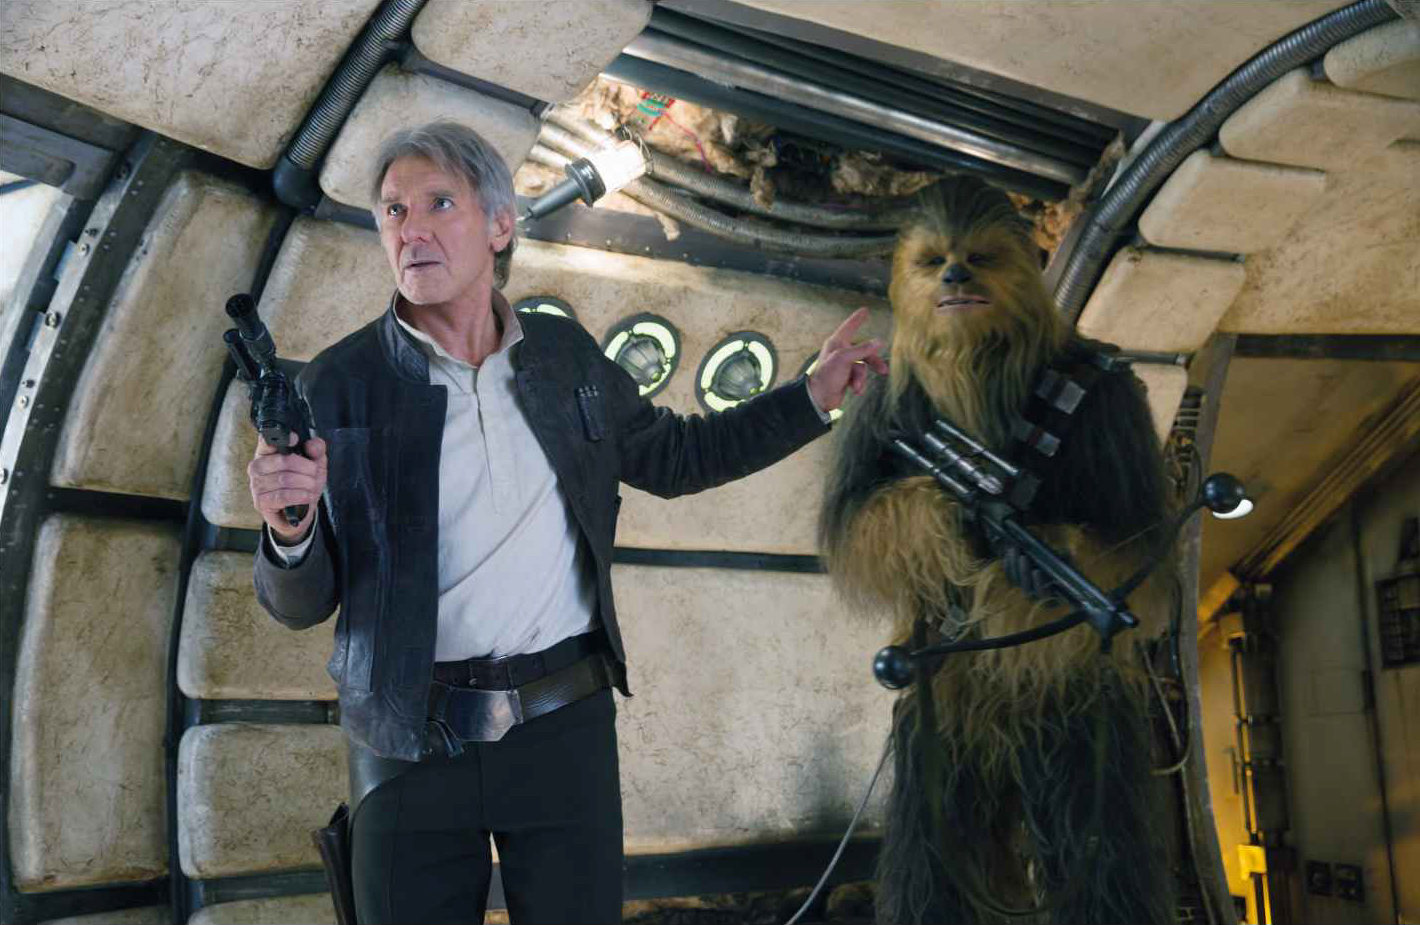
In 34 ABY, Rey, Finn, and BB-8 commandeered the vessel to escape a First Order attack on the outpost. While in flight, Solo and Chewbacca's sensors detected the Falcon, and they promptly locked down its systems to recapture it using the Eravana, a freighter they were using for smuggling operations. They later abandoned the Eravana after a cargo of Rathars escaped. Upon boarding their old ship, Solo and Chewie inspected it and discovered Rey and Finn hiding, assuming they were the thieves who had stolen the Falcon. When Rey and Finn explained that they were taking BB-8 to the Resistance because he possessed a map revealing Skywalker's location, Solo and Chewie agreed to assist them. Solo was impressed by Rey's knowledge of the ship and how it functioned.
En route to Maz Kanata's castle, when the Falcon began to malfunction, Rey, mechanically skilled and seated to Solo's right in the cockpit, bypassed a faulty compressor. Later, the Falcon's crew arrived at Takodana and met Maz Kanata.
The Resistance
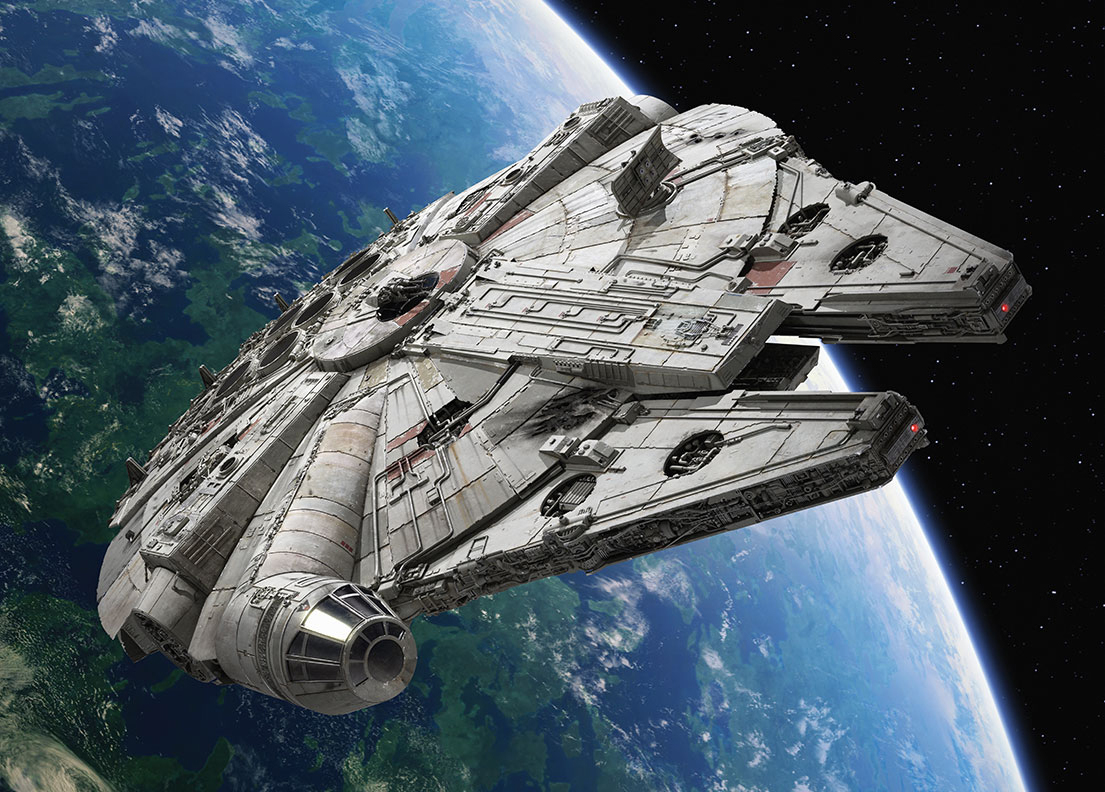
Following the attack on Kanata's castle, Starkiller Base prepared to fire on D'Qar. Upon learning this, the Resistance devised a plan to infiltrate the base and lower the planetary shields, enabling their fighters to attack the superweapon's weak point. Using the Falcon, Solo, Chewbacca, and Finn infiltrated the base, lowered the shields, and reunited with Rey, who had been captured on Takodana by the First Order.
While the Millennium Falcon remained dormant, members of the Resistance's J-Squadron, flying a stolen TIE silencer into the planet, briefly spotted it. At least two of its members speculated on whether it was the Millennium Falcon they had heard so much about, but they couldn't confirm it at the time.
After the confrontation with Kylo Ren following the death of his father, Han Solo, Chewbacca rescued Finn and Rey aboard the Falcon, escaping the planet as it exploded. Upon learning of Skywalker's location, Rey, Artoo, and Chewbacca flew the Falcon to Ahch-To, the remote planet where he had exiled himself. Chewbacca and R2 remained with the Falcon while Rey attempted to persuade Skywalker to join the Resistance. Luke boarded the old freighter to reminisce, and was reminded of what was at stake when Artoo replayed the hologram Leia Organa recorded to recruit Obi-Wan Kenobi on her secret mission to Tatooine some thirty-four years prior.
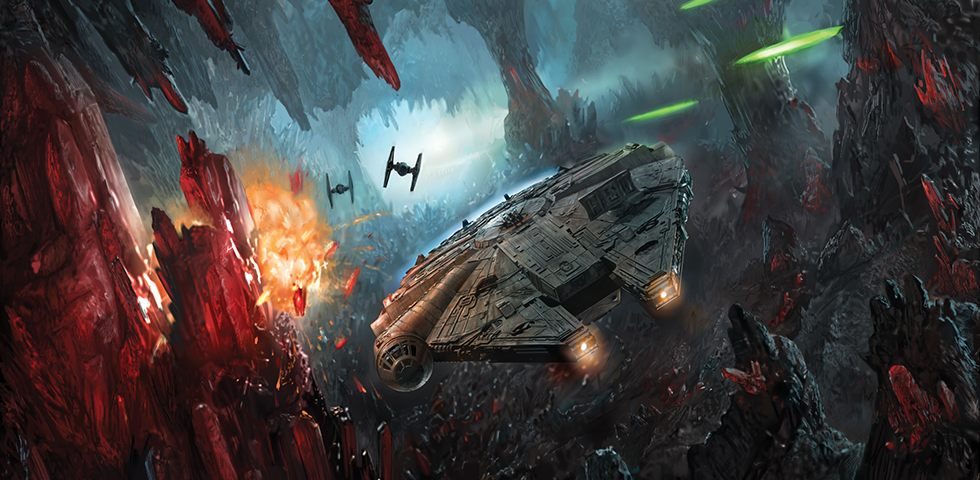
Rey later left the island, believing she could restore Ben Solo to the light side of the Force, and used one of the freighter's escape pods to reach the Supremacy while Chewbacca piloted the Falcon to Crait. Following Snoke's death, Rey returned to the Falcon using Snoke's escape vessel, and the YT-1300 participated in the Battle of Crait. Piloted by Chewie with Rey manning the dorsal turret, the Falcon led TIE fighters away from the Resistance V-4X-D ski speeders attempting to destroy the First Order's superlaser siege cannon. During a chase through Crait's subterranean caverns, the freighter lost its radar dish and lower quad cannon. The Falcon was subsequently used to evacuate surviving Resistance personnel from the Crait outpost while Luke Skywalker bought his allies time by confronting Kylo Ren. After the battle, Rey spent considerable time walking the corridors of the Falcon, reflecting on its rich history.
Stationed on Batuu
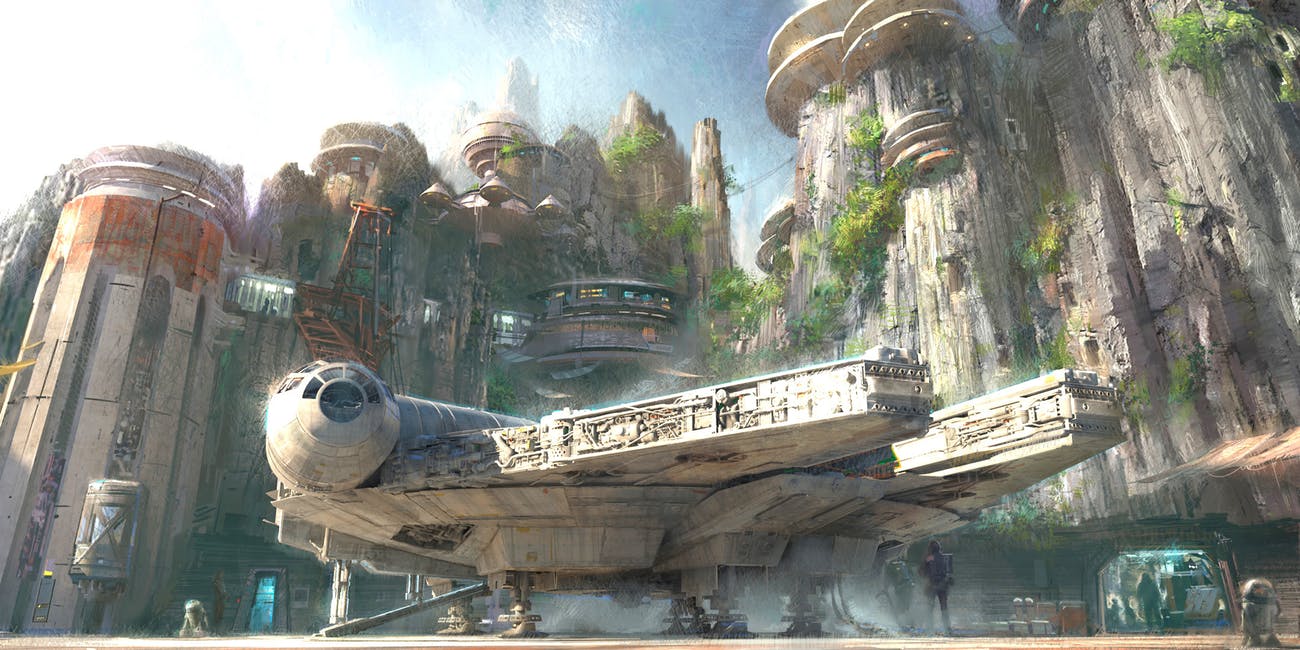
Some time passed after the conflict, and the Millennium Falcon touched down on Batuu. There, Hondo Ohnaka struck an agreement with Chewbacca, enlisting a temporary team to assist in one of Ohnaka's schemes.
Urgent Repairs
While transporting the Togruta smuggler Moebin Faltus aboard the Falcon, Rey, Finn, BB-8, and Chewbacca encountered operational difficulties. Rey initially suspected a minor engine coupling issue, but a thorough inspection revealed a completely burned-out static charge dissipator. Consequently, she determined that an immediate stop on the planet Choss was necessary to find a replacement dissipator with Faltus, while Finn and Chewie worked on repairing the freighter.
War's Conclusion
Eventually, the Falcon received a new circular Rectenna dish, replacing the rectangular one lost during the Battle of Crait, along with a new lower quad laser cannon. Following Palpatine's broadcast, Finn, Poe Dameron, Chewbacca, R2-D2, and Klaud journeyed to the Sinta Glacier Colony to meet a Resistance informant, the Ovissian Boolio. He tasked them with delivering a message from a First Order spy to Leia. Shortly after, multiple squadrons of Special Forces TIE fighters and TIE whisper fighters arrived at the colony, intending to destroy the Falcon. As Finn prepared for battle and entered the gunner cockpit, Boolio jokingly remarked that winning the war would be a suitable reward for the information he provided. Forced into the colony's depths by a barrage of TIEs, the Falcon eliminated several pursuers before jumping to hyperspace through one of the colony's walls. Undeterred, the remaining fighters continued their pursuit, leading Dameron to initiate a series of lightspeed skips through various systems, a tactic that proved too dangerous for the First Order pilots to handle.
Dameron's daring maneuvers allowed him to evade the enemy, but his risky flying caused significant damage to the Falcon, resulting in numerous fires both inside and outside the ship. Upon returning to the Resistance base on Ajan Kloss, Rey scolded a weary Dameron for his recklessness. He countered by pointing out that his droid BB-8 was also in poor condition due to her earlier training mishap. Rey dismissed the pilot, playfully calling him difficult, before embracing Finn, who jokingly joined her in criticizing their companion. Although Rey was further annoyed by the revelation that Dameron had performed lightspeed skips with the Falcon, a maneuver the aging freighter was not designed for, Dameron confessed his real concern: Rey was "the best fighter [the Resistance had]," but she had prioritized training and expanding her knowledge of the Force over actively participating in the war against the First Order.
After discovering that Darth Sidious had returned and that the Final Order, a massive fleet of Xyston-class Star Destroyers constructed by the Sith Eternal, was stationed on Exegol, Rey learned from Luke Skywalker's notes that a Sith wayfinder could guide them there. Leia revealed that an ally on Pasaana might be able to assist them. Rey, Finn, Poe, Chewbacca, BB-8, and C-3PO departed in the Millennium Falcon as it underwent repairs.
Later, the First Order captured the Falcon, Chewbacca, and the dagger. In an attempt to rescue Chewbacca, Rey inadvertently destroyed a First Order transport using Force lightning. Assuming Chewbacca was dead, the group escaped aboard Ochi's ship, the Bestoon Legacy. The Falcon was subsequently transported by a group of TIE fighters to the Resurgent-class Star Destroyer Steadfast.
Poe suggested traveling to the planet Kijimi to extract the Sith text from C-3PO's memory. Although the process would erase the droid's memory, it would reveal the coordinates to the wayfinder. The Steadfast then arrived on Kijimi, where Rey sensed that Chewbacca was still alive and that the Falcon was on board the Star Destroyer. The group then launched a rescue operation.
While Rey searched for the dagger to gather more information, the group rescued Chewbacca, but they were captured in the process. General Hux was revealed to be the First Order spy, having leaked information to the Resistance in an attempt to overthrow Kylo Ren's leadership.
Ren arrived and initiated a Force bond with Rey, revealing that she was Sidious' granddaughter, her father being the Emperor's son. Kylo once again invited Rey to join him, but she refused and escaped in the Falcon.
Having determined the location of the Sith wayfinder, the group traveled to Kef Bir, a moon within the Endor system. Kylo Ren arrived on Kef Bir, destroyed the Emperor's wayfinder, and engaged in a duel with Rey. As Leia died, she called out to Kylo through the Force, distracting him long enough for Rey to seize the opportunity to impale him with his own lightsaber. Sensing Leia's death and feeling compassion for the injured Ren, Rey healed the conflicted Supreme Leader and eventually took his ship to exile herself on Ahch-To.
The group, except for Rey, returned to base. The Resistance then followed Rey's coordinates to Exegol. Rey, at the urging of the Force spirit Luke Skywalker, traveled to confront her destiny and Sidious by piloting his old T-65B X-wing starfighter there. Lando and Chewbacca sought to gather allies of the Resistance for the final battle against the Sith, and traveled to the core worlds.
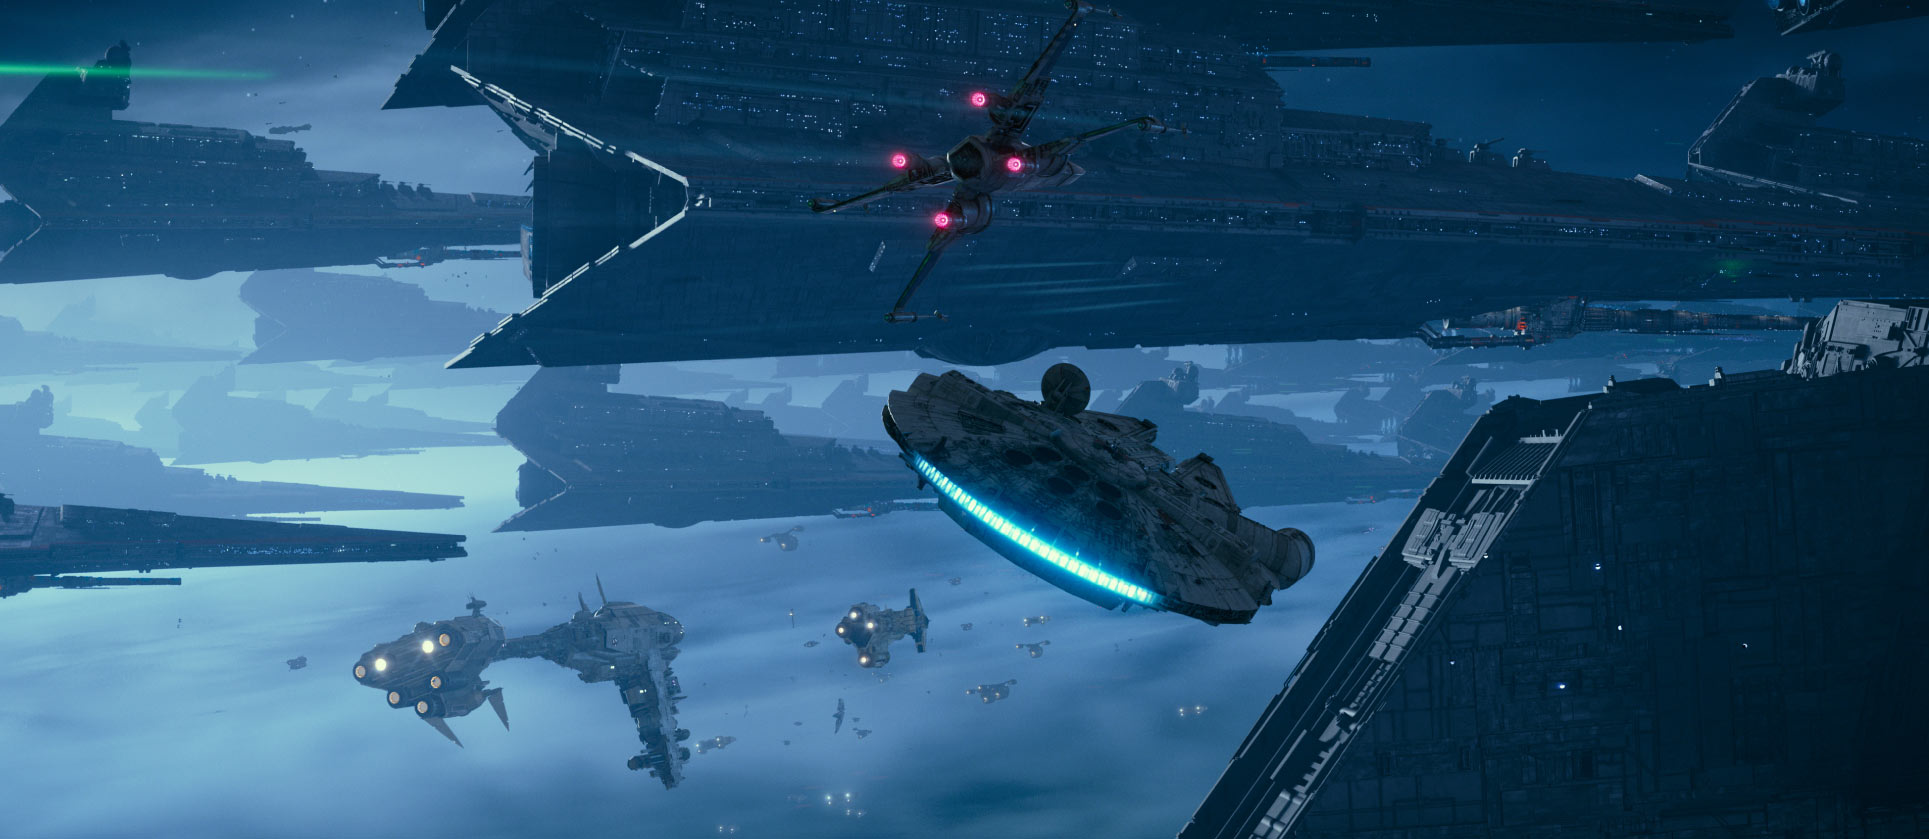
The Falcon later appeared at Exegol, leading the Citizens' Fleet, which was made up of many Resistance ships from systems all across the galaxy, against the large forces of the Sith Eternal. Finn and the Kef Bir native Jannah led an attack on the hull of the Steadfast, the command ship of the battle. They were successful in destroying the command bridge and preventing the Sith fleet from leaving Exegol. As the Steadfast was about to crash, the Falcon quickly rescued Finn and Jannah. The Resistance then destroyed the remaining Sith forces.
With the Final Order fleet destroyed by the combined forces of the Exegol strike team and the galaxy fleet, Rey and the Resistance were victorious and left Exegol to return to Ajan Kloss. Rey, with BB-8, then took the Falcon to Tatooine to see Luke Skywalker's old, abandoned home. She then buried Anakin's and Leia's lightsabers in the sands of the homestead, after building her own.
Behind the scenes
The Millennium Falcon was first seen in Star Wars: Episode IV A New Hope, the first movie of the Star Wars original trilogy. In the scenes with Lando Calrissian and Nien Nunb in the Falcon in Star Wars: Episode VI Return of the Jedi, the set of the ship was shaken to make it look like the Falcon was flying.
There was talk that the Millennium Falcon would be in Star Wars: Episode III Revenge of the Sith to connect the prequel trilogy more to the original trilogy, and the ship did show up in the movie. At the start of a shot that zooms in on a docking bay on Coruscant, a YT-1300 freighter is seen flying in to dock. George Lucas said that it was the Millennium Falcon and not just another ship of the same type.
For the Star Wars Anthology movie Solo: A Star Wars Story, the inside Falcon sets were the same ones used in Star Wars: Episode VII The Force Awakens and Star Wars: Episode VIII The Last Jedi, but they were changed up a bit. These sets were made bigger by adding extra sets that showed Lando Calrissian's rooms and cape closet. Donald Glover, gave a tour inside the set of the Ship. And he jokes of never getting tired of using the hyperdrive.
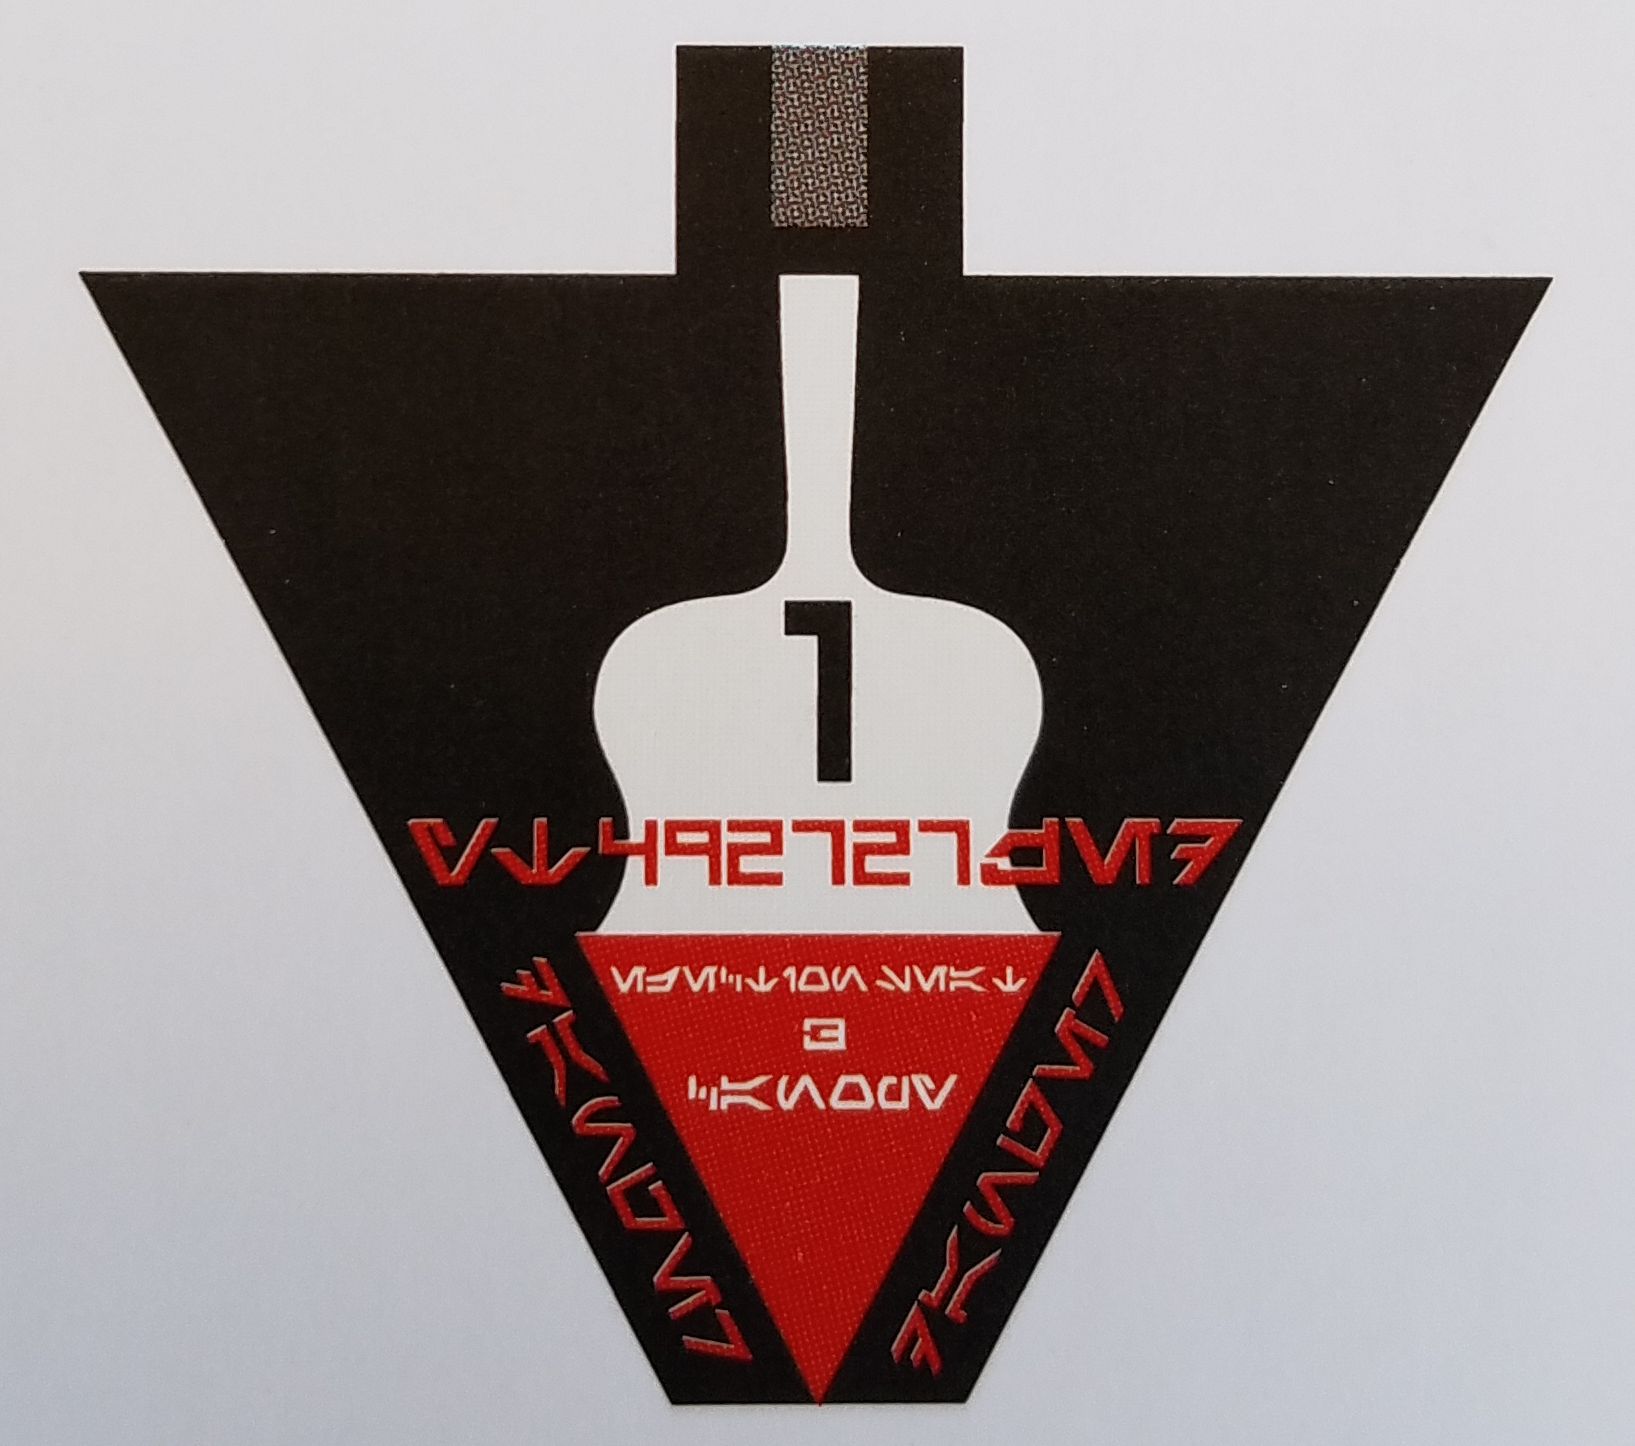
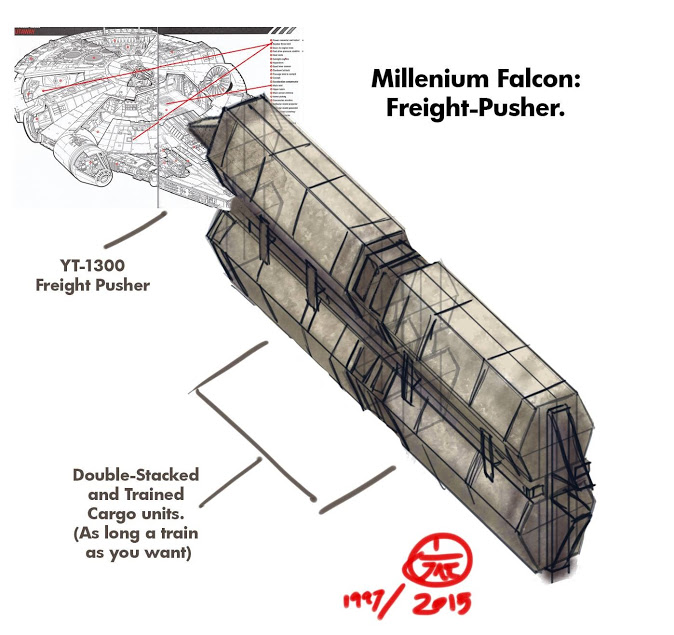
For Star Wars: The Force Awakens: Incredible Cross-Sections, the author Jason Fry wanted the book to have information about how the freighter series could be used as a cargo pusher, but he couldn't get the image in time. This information was later added to the YT-1300 Millennium Falcon Owners' Workshop Manual.
The infographic Fictional Travel Times figured out that the Millennium Falcon, with its class 0.5 hyperdrive, can travel at 6.13 quadrillion miles per hour, and that it might be able to travel from one galaxy to another in 100 days.
In Episode IV, the Millennium Falcon only had three landing gear legs, but it had five landing gear legs in Episode V. Solo fixes this by showing that the Millennium Falcon had five landing gear legs, but two were lost during the Kessel Run.