Death Squadron
The Imperial Navy possessed a squadron known as Death Squadron, which functioned as the personal armada for Darth Vader, the Sith Lord and principal enforcer of Galactic Emperor Sheev Palpatine within the Galactic Empire. In the aftermath of the Battle of Yavin, the Death Squadron was commanded by the Executor, an Executor-class Star Dreadnought, and was typically supported by five Imperial-class Star Destroyers of a smaller size. The Devastator was one of these support vessels, formerly serving as Lord Vader's flagship before the Executor and playing a role in the capture of Princess Leia Organa.
Description
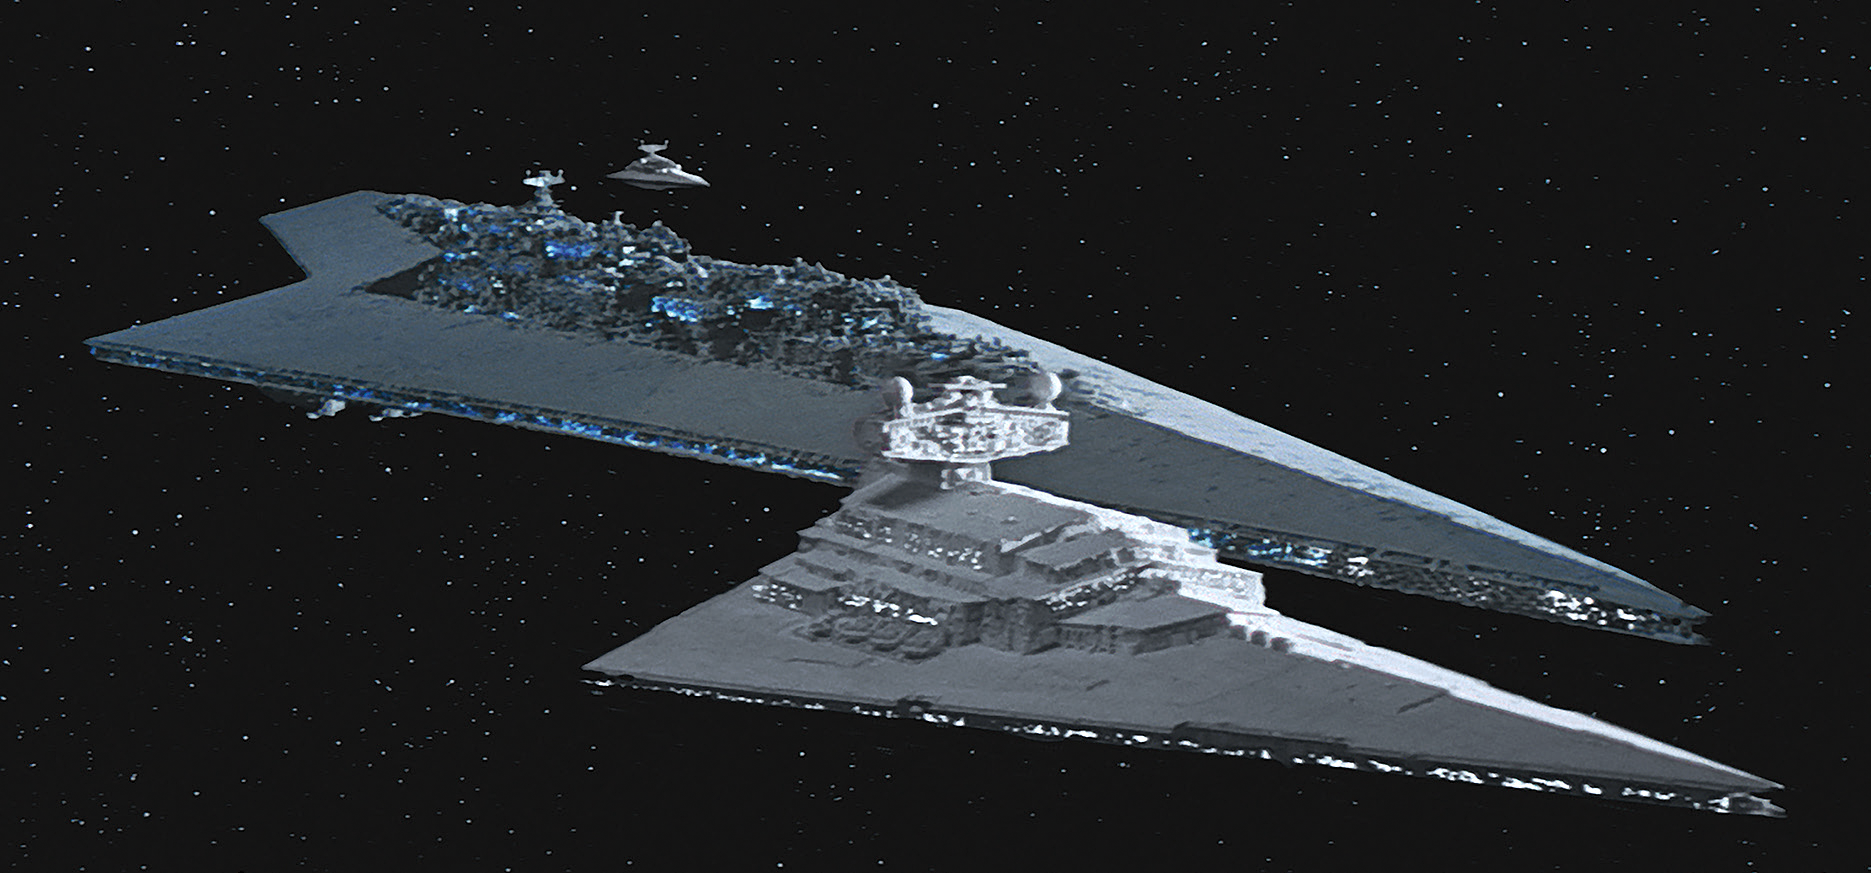
Typically, the Imperial Navy's Death Squadron was composed of the Executor, an Executor-class Star Dreadnought that served as its command ship, along with a complement of five Imperial-class Star Destroyers. This included the Imperial I-class Star Destroyers Conquest Conquest and Devastator, which had undergone upgrades, as well as the Imperial II-class Star Destroyers Avenger, Tyrant, and Ultimatum. Prior to the Battle of Hoth, the Imperial II-class Star Destroyer known as the Stalker was assigned to Death Squadron.
Darth Vader, in his capacity as acting Commander-in-Chief, held the authority to incorporate any Imperial vessel into his fleet, as exemplified by the attachment of the Stalker. Before the arrival of the Executor, the Devastator served as the Dark Lord's flagship, undergoing multiple refits to maintain its operational readiness. Death Squadron also included a minimum of three Arquitens-class command cruisers in addition to numerous Imperial Gozanti-class cruisers.
Vader, along with Fleet Admiral Firmus Piett, oversaw Death Squadron; Piett assumed command following the execution of Admiral Kendal Ozzel. Other officers within the armada included Admiral Jhared Montferrat, Commodore Rae Sloane, and captains Canonhaus, Lennox, and Lorth Needa of various Star Destroyers. The ground forces assigned to Death Squadron comprised the 1st Legion and the 501st Legion. General Maximilian Veers commanded the 501st's Blizzard Force during the Hoth campaign, despite the Squadron having multiple generals.
History
Initial assault on the rebellion
During the Galactic Civil War, Darth Vader's personal fleet was Death Squadron. After the Battle of Yavin, where the Empire lost its Death Star battle station to the Rebel Alliance, Admiral Kendal Ozzel, the fleet's leading officer, attempted to persuade Lord Vader to deploy Death Squadron immediately to crush the rebellion. However, his superior dismissed this aggressive strategy, aligning with General Maximilian Veers, another of Death Squadron's officers, who believed that the Alliance did not warrant such a drastic measure. Instead, Lord Vader employed Queen Trios, his agent, to infiltrate the rebels' command structure, enabling her to disclose the location of their fleet as it neared completion.
Upon receiving intelligence from Queen Trios, his operative, regarding the elusive location of the Alliance Fleet, Death Squadron was dispatched to attack the Mako-Ta Space Docks. Initially, the Sith Lord instructed the flotilla's cruiser to withhold fire while the rebels assessed the situation. Subsequently, the Squadron commenced an assault on the rebels' cruisers, targeting General Vanden Willard's flagship, Yavin's Hope, as its primary objective. The Squadron persisted in its attack, resulting in the destruction of several additional rebel cruisers.
Subsequently, Death Squadron detected the arrival of the Millennium Falcon, prompting the deployment of TIE fighters and the Dark Lord's personal advanced TIE in pursuit. The flotilla also eliminated multiple rebel escape pods. However, Princess Leia Organa managed to acquire codes from the armada's flagship, the Executor, which facilitated the restoration of systems aboard Jan Dodonna's ship, the Republic. Utilizing these codes, other rebel commanders were able to reactivate their cruisers and execute an escape. While the Republic remained immobilized, it provided cover for the retreating rebel fleet before succumbing to destruction with all hands.
Strike back at Hoth

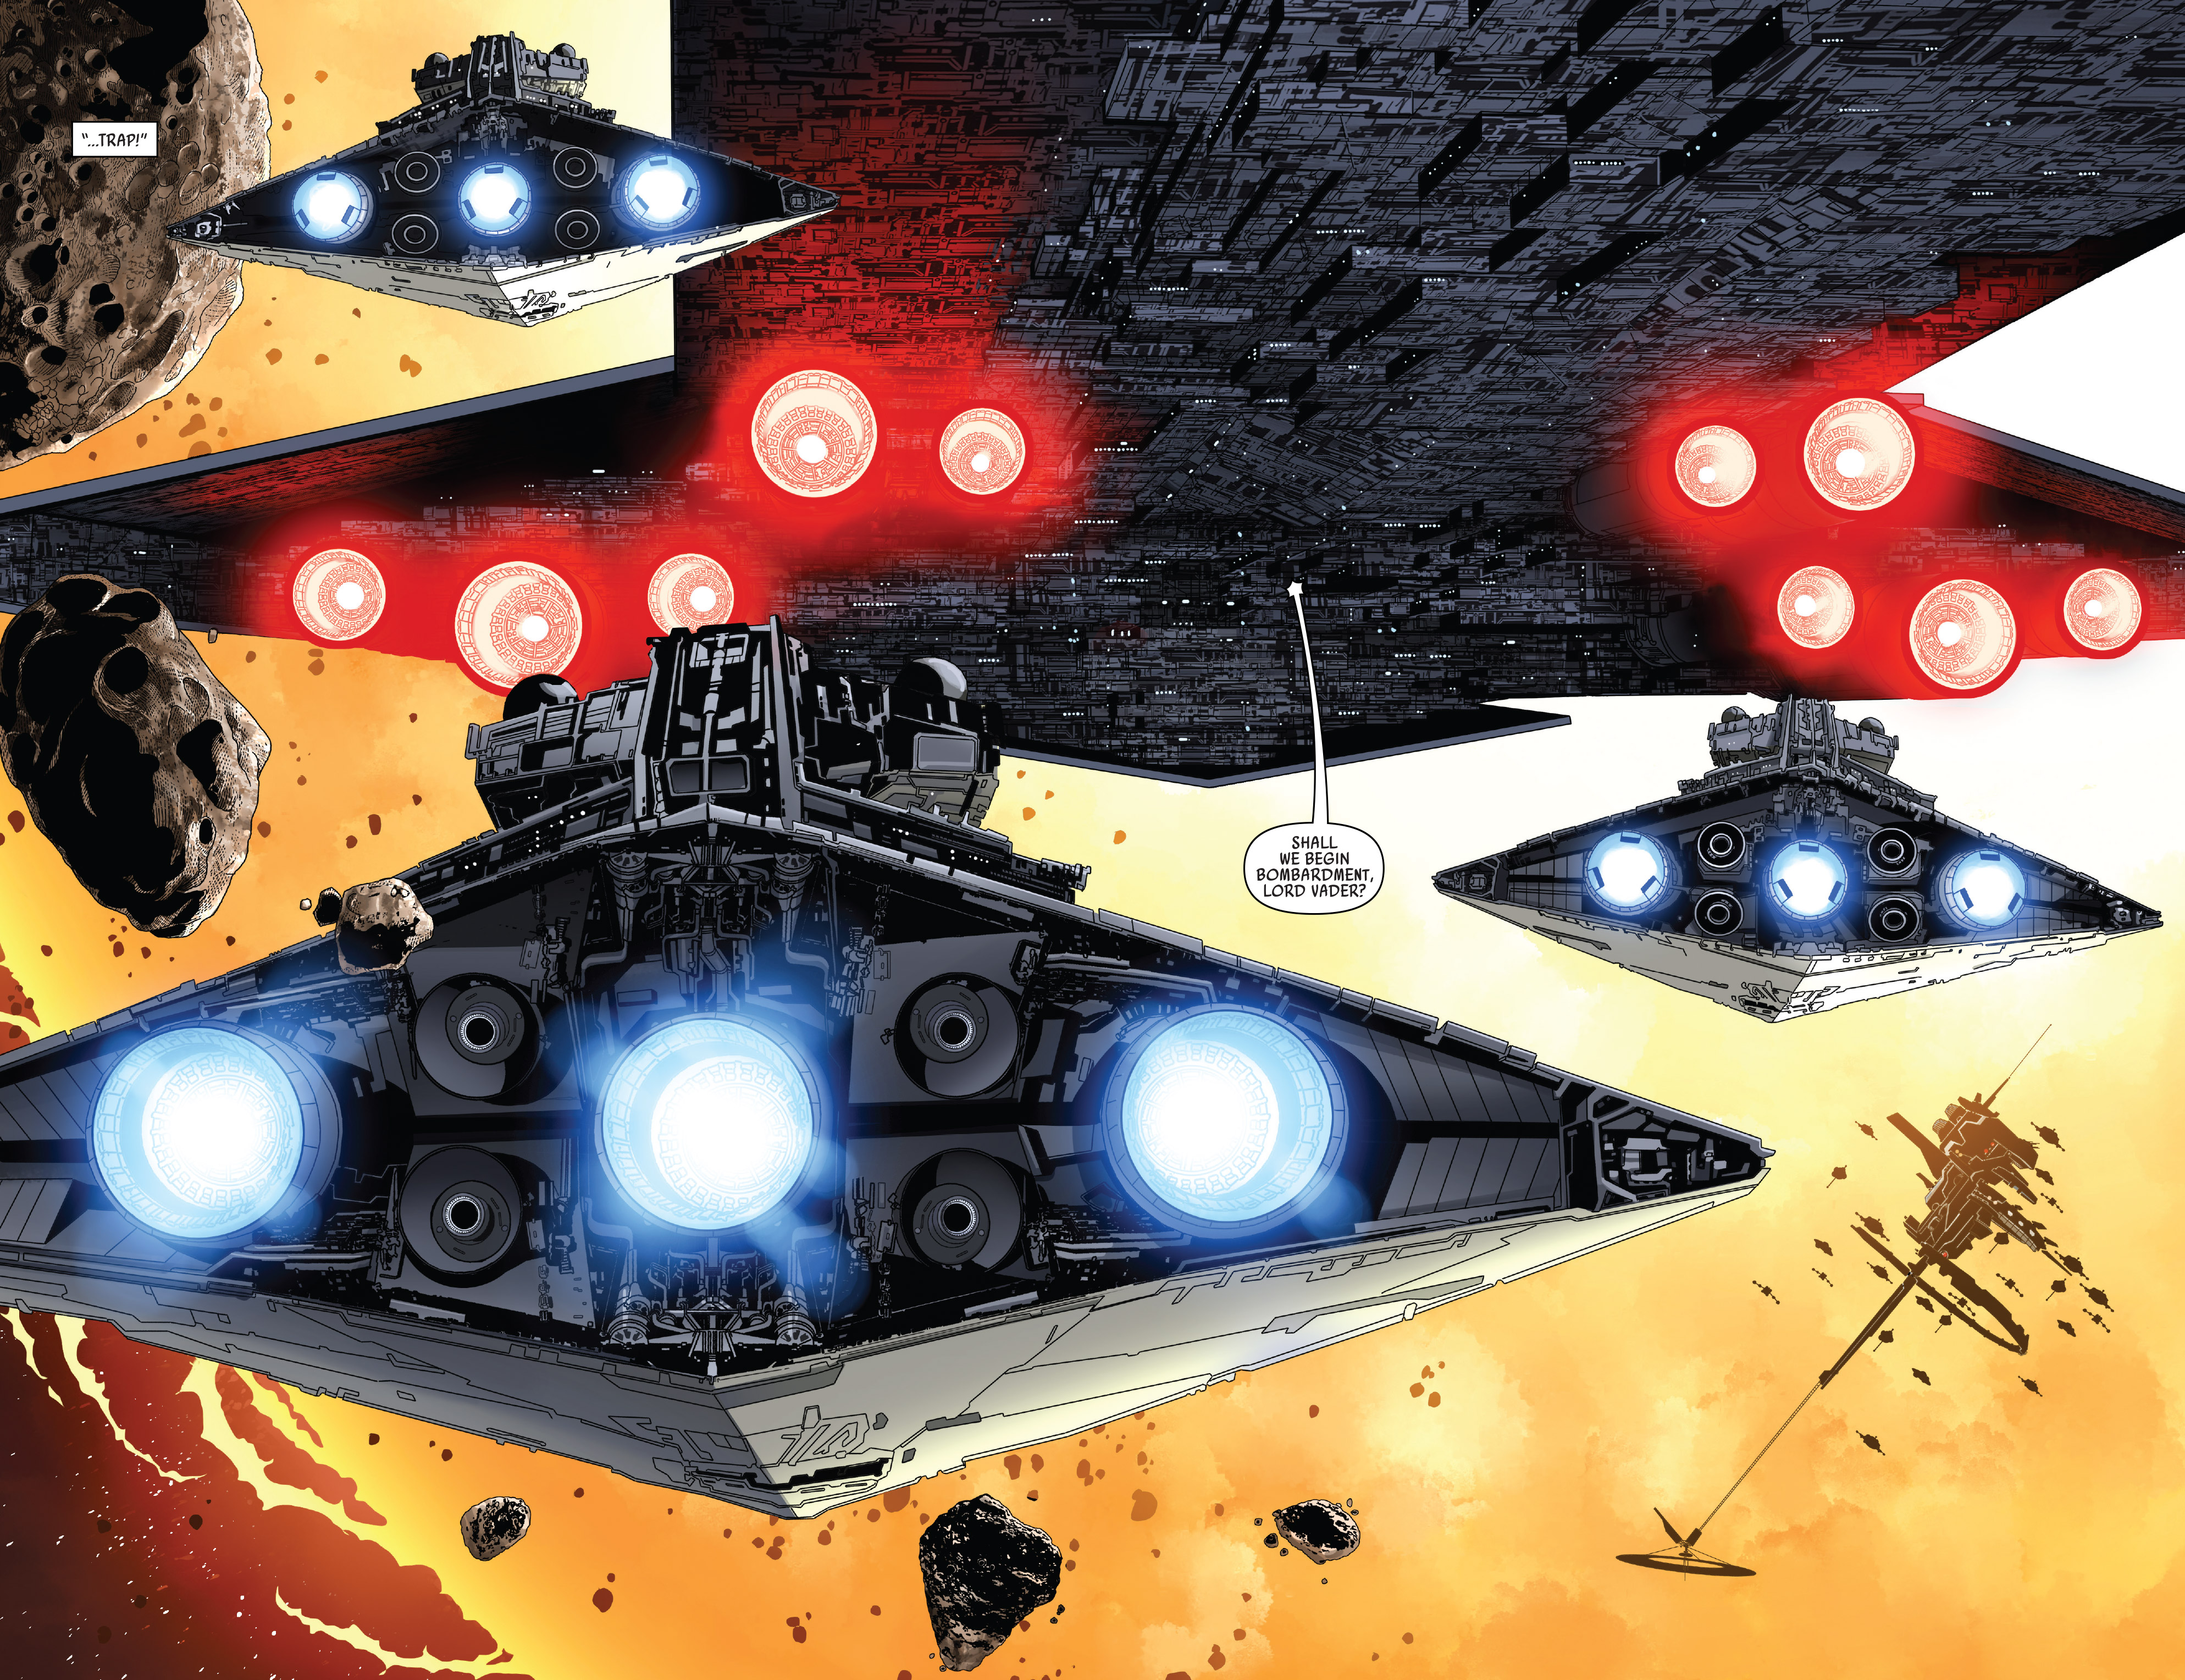
While operating within the Juris sector, a probe droid discovered the Rebels' base situated within the Hoth system. Lord Vader then commanded the Squadron to proceed to Hoth. However, his second-in-command, erroneously believing he could surprise the rebels, ordered the fleet to exit hyperspace too close to the system. Enraged by Admiral Ozzel's incompetence, Lord Vader employed the Force choke to execute him, promoting Captain Firmus Piett to the rank of Admiral as his replacement. As the Millennium Falcon fled Hoth and ventured into an asteroid field, Captain Lorth Needa deployed TIE fighters from Theta Squadron to patrol the area. Despite disobeying orders by entering the field, the pilots faced no repercussions following Captain Needa's execution at the hands of Lord Vader for allowing their target to escape. During Death Squadron's pursuit of the Falcon through the asteroid field, all ships sustained damage, and the Ultimatum was destroyed along with another Star Destroyer.
Failure at Endor

A sizable fleet that included Death Squadron and the Moddell sector fleet took part in the pivotal Battle of Endor. The rebellion, having pinpointed the location of the second Death Star, launched an attempt to destroy it. Anticipating a rebel assault, Death Squadron executed an ambush upon their arrival at the moon. As the battle reached its climax, both the Executor and Death Star II were destroyed, resulting in the deaths of both Emperor Palpatine and Lord Vader.
Behind the scenes
Death Squadron made its debut in the 1980 original trilogy film, Star Wars: Episode V The Empire Strikes Back. The name was officially established within the new Star Wars canon via the Encyclopedia entry for the Super Star Destroyer on StarWars.com.