Skirmish in Docking Bay 84
During the Cold War era, which pitted the Galactic Republic against the Sith Empire, a minor conflict unfolded within Docking Bay 84. This bay was part of the main spaceport located on Coruscant, the capital planet of the Republic. The catalyst for this conflict was the Black Sun criminal organization's clandestine operation: they infiltrated the Senate Tower on Coruscant and abducted Doctor Eli Tarnis, a Republic scientist. However, Tarnis, secretly a Sith Lord, orchestrated his own kidnapping by hiring the criminals. While the kidnappers diverted the attention of Coruscant Security at the nearby spaceport, Tarnis discreetly escaped to the Justicar territory. Seeking to rescue the scientist, the former apprentice of Jedi Master Orgus Din, accompanied by the astromech droid T7-O1, allied with Jedi Padawan Kira Carsen. Together, they engaged and triumphed over the criminals. This confrontation revealed that Tarnis had been transported to Black Sun territory, prompting the trio to immediately embark on a rescue mission.
Prelude
In the year 3643 BBY, amidst the Cold War that defined relations between the Galactic Republic and the Sith Empire, the Jedi Council dispatched a quartet of Jedi—Masters Bela Kiwiiks and Orgus Din, along with Kiwiiks's Padawan Kira Carsen, and Din's former apprentice—to investigate a palpable dark presence detected by the Council on Coruscant, the Republic's capital planet. Their investigation uncovered that Vistis Garn, a thief in the employ of the Migrant Merchants' Guild criminal syndicate, had stolen the design schematics for the Planet Prison superweapon. While Kiwiiks, Din, and General Var Suthra convened with Supreme Chancellor Dorian Janarus aboard the Chancellor's flagship cruiser, the Founder, orbiting Coruscant, Din's former apprentice—now a Jedi Knight—and Carsen collaborated with Agent Galen from the Republic Strategic Information Service and Doctor Eli Tarnis, the Planet Prison's creator, to retrieve the stolen files.
Galen dispatched the Knight and the astromech droid T7-O1 to the Old Galactic Market, controlled by the Guild, to recover the design files. Meanwhile, Carsen and Galen coordinated with the Coruscant Security Force to create a diversion for the gangsters. Teeseven and the Jedi successfully recovered the files, discovering that Black Sun had actually hired Garn. However, during the Knight's mission to the Market, a Black Sun team infiltrated the Senate Tower and kidnapped Doctor Tarnis. Tarnis—secretly a Sith Lord—masterminded his own abduction, hiring Black Sun to create a diversion, allowing him to escape to a clandestine facility within Justicar territory while Republic security forces were distracted.
The skirmish
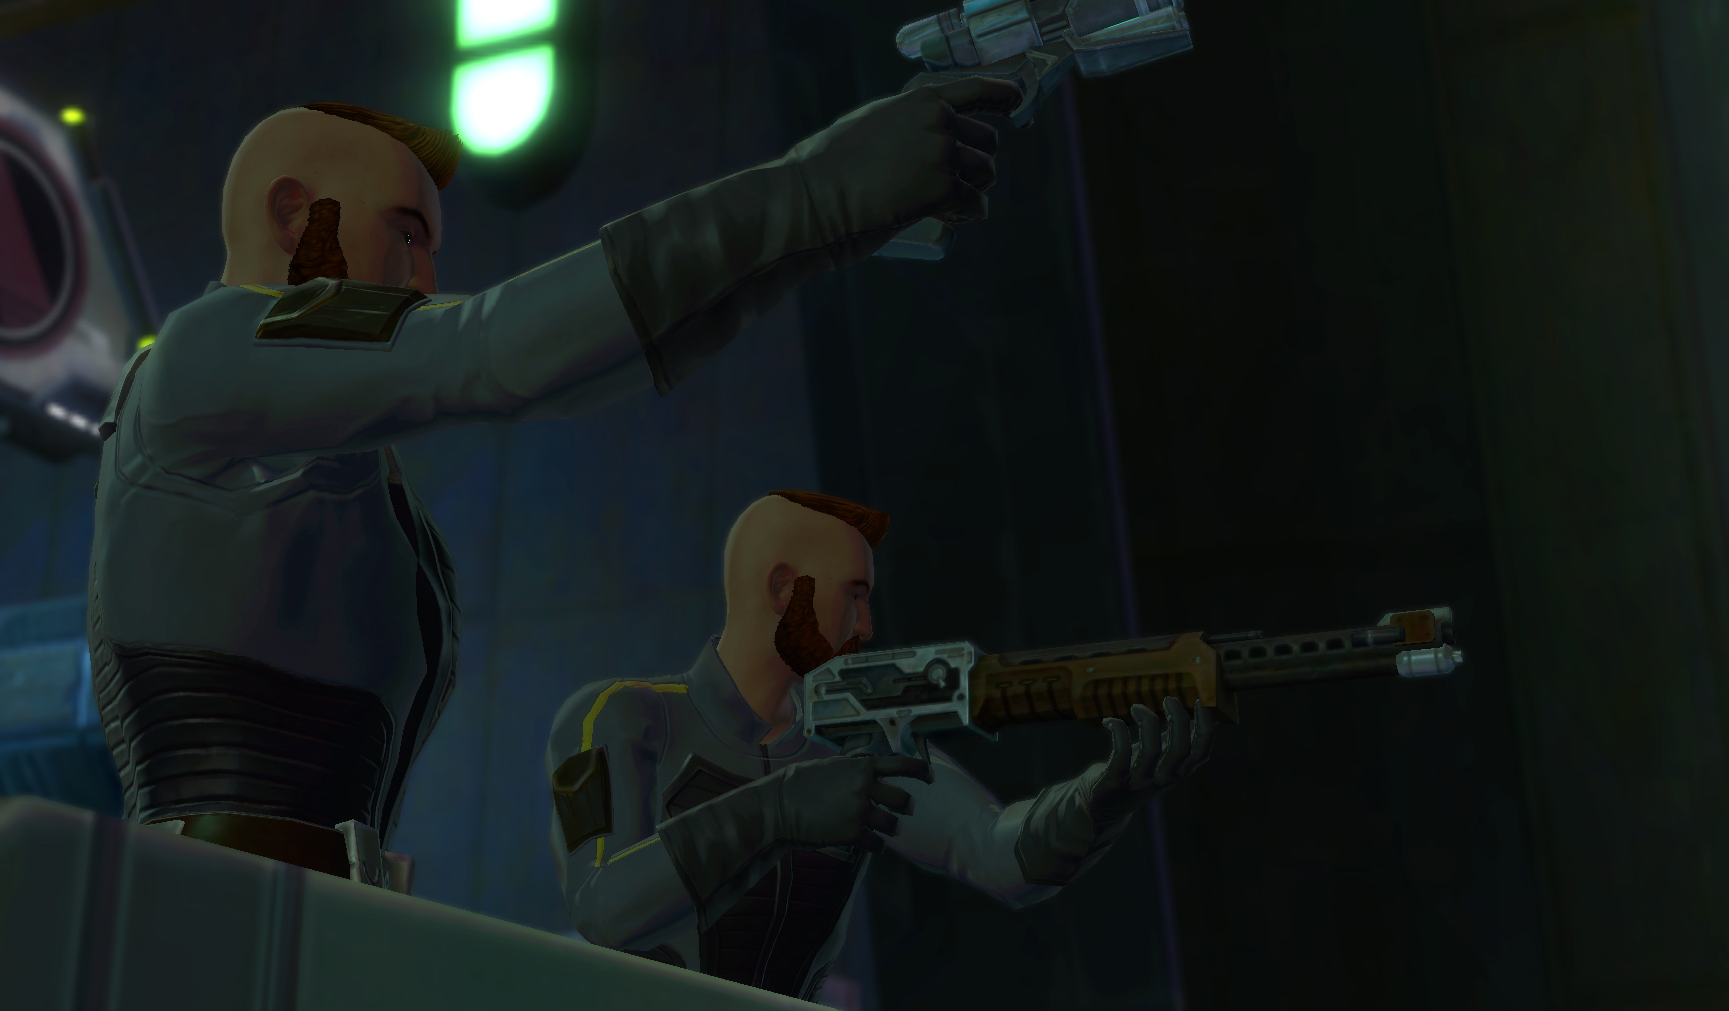
Carsen, accompanied by a contingent of Coruscant Security personnel, pursued the kidnappers to the nearby Coruscant Spaceport, while the Knight returned to the Senate Tower to deliver the files to Galen. As Galen briefed the Jedi on the situation, he received a holocall from Carsen. She and the CSF had cornered the kidnappers in Docking Bay 84, but were unable to advance further against the criminals. The Knight and Teeseven swiftly traveled to the spaceport to assist Carsen, discovering that the Padawan and the CSF had established a barricade at the hangar's entrance, resulting in a stalemate with the kidnappers. Speaking with Carsen, the Knight learned that the kidnappers were threatening Tarnis's life and that their leader, the Human Zeer, had fired upon the Padawan during her attempt to negotiate. However, Carsen remained uncertain if Tarnis was actually present within the hangar.
The Knight prioritized Tarnis's safety, and Carsen proposed using a stealth field generator borrowed from Galen to infiltrate the criminals' position. The Jedi agreed, and they stormed the hangar while Carsen activated the field and slipped inside. Together, the Knight and Teeseven defeated nearly a dozen Black Sun operatives within the docking bay before attempting to access the control room. Upon opening the door, the Knight narrowly avoided an ambush by two gang members, but the cloaked Carsen neutralized them before they could attack. However, Zeer noticed the field flicker and fired a blaster in her direction. The energy bolt dissipated upon contact with the field, causing it to short out and render Carsen unconscious. The Knight and Teeseven rushed to her defense, confronting Zeer and the remaining three criminals in the room. The gang members were quickly defeated, proving no match for the Knight's combat skills.
Aftermath
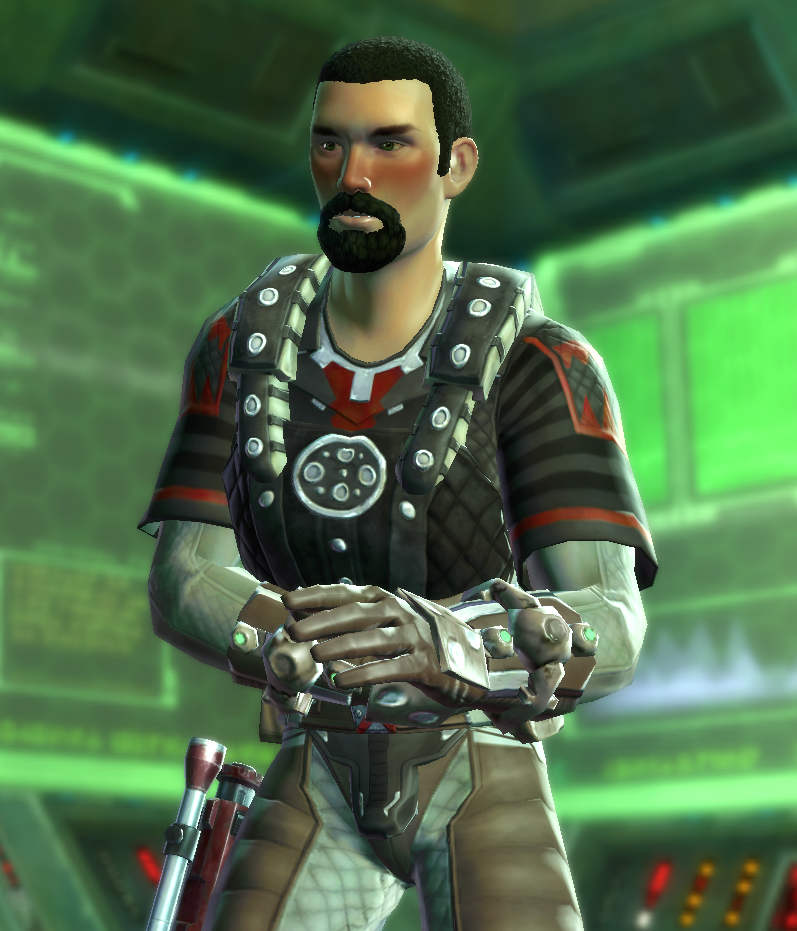
Injured, Zeer collapsed to his knees and cursed the Jedi. A recovered Carsen joined the Knight and Teeseven in interrogating the criminal. Zeer initially mocked the trio, revealing that he and his men were merely decoys. However, Carsen feigned the ability to read Zeer's mind, hoping to induce panic. Her ruse succeeded, prompting Zeer to reveal that Salarr, the leader of Black Sun, was holding Tarnis at his headquarters. Carsen then revealed that she could not actually read minds. The Jedi handed Zeer over to the CSF before the Knight and Teeseven returned to Galen.
Behind the scenes
The Docking Bay 84 skirmish was created for Star Wars: The Old Republic, a massively multiplayer online roleplaying game launched by BioWare on December 20, 2011. This episode is featured in the Jedi Knight-class story mission titled "Kidnapped!" on Coruscant, where the player is tasked with rescuing Doctor Tarnis from the kidnappers at the spaceport. However, the subsequent mission, "Rescue," reveals that Tarnis was, in reality, a Sith Lord who had escaped to the Justicars' Sector while the kidnappers served as a distraction. When Kira Carsen offers the use of a stealth field generator to aid the Knight, the player is presented with two choices. Refusing Carsen's assistance results in a loss of affection with both Carsen and T7-O1. Alternatively, accepting her offer allows Carsen to assist in interrogating Zeer without causing him injury. Furthermore, accepting Carsen's help reduces the number of enemies the player must confront. Hall Hood wrote the mission, as well as the rest of the Coruscant arc for the Jedi Knight class, and he particularly enjoyed the dynamic between Zeer, Carsen, and the Knight during the interrogation scene.