Grievous's frigate
Grievous's primary vessel was a Munificent-class star frigate. This ship served as the personal flagship for General Grievous within the Confederacy of Independent Systems' naval forces. Its use was prominent during the early stages of the Clone Wars in 22 BBY. Following the loss of the heavy cruiser Malevolence while under his command, Grievous was relegated to commanding from a series of expendable frigates. He utilized one of these in a number of engagements, achieving several victories. Accompanied by five other frigates, Grievous initially aimed to seize the strategic world of Bothawui, but instead assaulted and successfully captured the planet Falleen first.
Following the conquest of Falleen, the frigate fleet shifted its focus to capturing Bothawui, aiming to make headway in the Mid Rim. As they approached contention, they encountered the fleet led by Jedi General Anakin Skywalker. Unbeknownst to Grievous, his fleet was lured into a pre-arranged trap. A tank brigade, concealing itself within the asteroid field, emerged and outflanked the frigates, whose deflector shields were primarily focused forward. The frigates were swiftly destroyed, including Grievous's flagship. However, Grievous managed to escape aboard his starfighter, the Soulless One, and fled into hyperspace.
Description
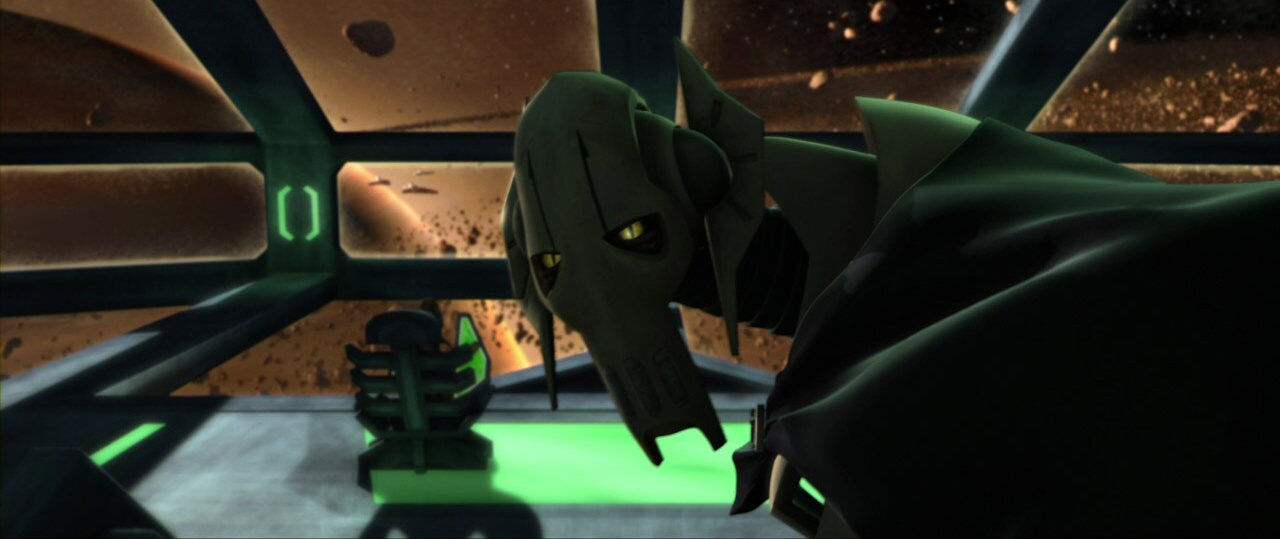
The Munificent-class star frigate was a key asset for the Separatists, integrated within the Confederacy of Independent Systems Navy. This particular vessel functioned as the flagship of General Grievous. Primarily designed for ship-to-ship combat as a warship, Grievous's frigate had dimensions of 825 meters in length, 426 meters in width, and 243 meters in height. The command bridge, situated on a forward-facing platform along the dorsal side, served as the operational hub. From a central chair, the vessel's captain oversaw all activities, while the remaining crew managed operations from various chairs and monitor screens displaying battle progress and tactical data. The bridge was surrounded by numerous high-performance sensor antennas, capable of monitoring a fleet's surroundings at ranges spanning several light-days. Furthermore, Grievous's frigate was outfitted with multiple docking rings, high-capacity reactant tanks, and dual port and starboard hyperwave supralight transceivers.
Propulsion for both sublight and hyperspace travel was achieved through seven ion drive thrusters and a hyperdrive generator, with the former protected by the ship's hull. Defensively, the frigate employed a deflector shield, projected by a forward-to-aft angled generator, and robust hull armor capable of withstanding asteroid impacts and heavy weapons fire. Offensively, the Munificent-class frigate featured two heavy turbolaser cannons on an elevating platform, presenting a significant threat to other warships. These were complemented by two prow-mounted heavy ion cannons located directly beneath the bridge, along with thirty-four twin light turbolaser cannons. For ship-to-ship engagements, the Munificent could carry up to four squadrons, totaling forty-eight vulture droid starfighters, and Grievous's personal Belbullab-22 heavy starfighter, the Soulless One, which launched from a port hangar bay. Additionally, the frigate could deploy up to 150,000 battle droids for ground assault and anti-boarding operations.
History
Grievous's Separatist conquest

This frigate served the Confederacy of Independent Systems, designed for combat communications and to aid in fleet navigation and coordination in enemy territory. Early in the Clone Wars in 22 BBY, the Separatist navy suffered a major setback with the loss of both an effective anti-Galactic Republic warship and their primary command ship, the Subjugator-class heavy cruiser Malevolence. This occurred at the Battle of the Kaliida Nebula after a months-long campaign involving the vessel. This defeat significantly damaged General Grievous's reputation, preventing him from commanding further high-value assets. As a consequence, the general was compelled to command from less valuable Munificent-class vessels, using one as his flagship for a time early in the conflict.
Despite these challenges, the Separatists continued their efforts to conquer the galaxy. Grievous personally directed campaigns in the Outer Rim Territories using a six-ship fleet of Munificent-class frigates. Information obtained from the Skytop Station listening post in the Mid Rim's Ruusan system aided these operations. Within a month, the Republic's control over the Outer Rim was threatened by Grievous's invasions and blockades of hyperlanes around planets like Bespin, Kessel, and Mon Cala. Expanding his campaign into the Mid Rim, Grievous targeted Bothawui, a strategically important world vital to Republic Intelligence. However, after learning that Jedi General Anakin Skywalker and a fleet of three Venator-class Star Destroyers had been assigned to protect Bothawui, Grievous adjusted his plans. He used his frigate fleet, including his flagship, to force the Republic fleet out of hyperspace, leading to a brief skirmish before Bothawui. When the Republic forces still reached Bothawui, Grievous changed his strategy again, abandoning the pursuit of Skywalker and instead ordering his frigates to attack the planet Falleen, resulting in the defeat of the Republic's defending battle group.
Battle of Bothawui

Following the capture of Falleen, Grievous renewed his efforts to seize Bothawui. Separatist spies warned him that Skywalker's fleet was positioned beyond the orbiting Fervse'dra asteroid belt. Upon exiting hyperspace, the frigate fleet confirmed the accuracy of these warnings; Skywalker's Star Destroyers were indeed waiting. Recognizing that a direct attack from above would favor Skywalker, Grievous adopted an unconventional approach, navigating through the asteroid field to engage the Republic forces. Unaware of an All Terrain Tactical Enforcer brigade concealed within the field, the frigates diverted all power to their forward deflector shields, assuming the asteroids would prevent a rear attack. Meanwhile, the Republic had deployed starfighters from Gold Squadron under Skywalker's personal command to draw Grievous into their trap. As the Star Destroyers remained in wait, the frigates advanced, opening fire on the three Republic ships and disabling one after sustained heavy fire, forcing Gold Squadron into evasive maneuvers.
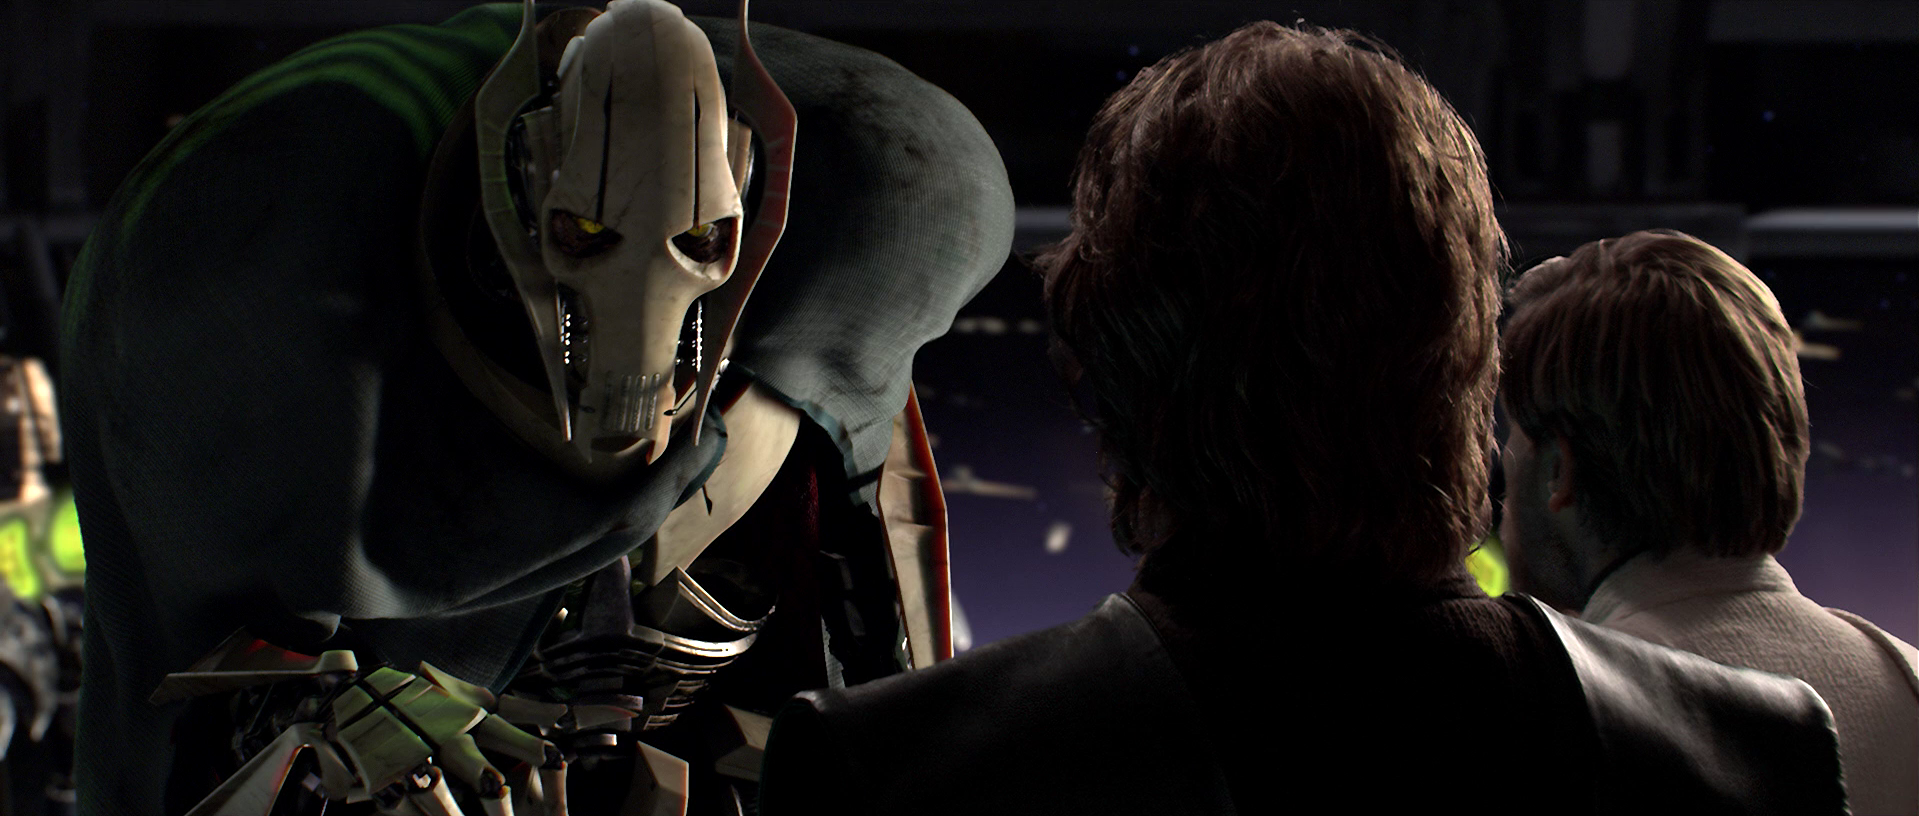
As Grievous prepared to eliminate the remaining Republic forces, Skywalker ordered the tank brigade to emerge from hiding, catching the Separatist fleet by surprise. Outflanked and with power concentrated on their forward shields, the AT-TE walkers opened fire, destroying one of the frigates. This allowed Skywalker to enter the battle, and the Star Destroyers commenced firing, destroying two more frigates in quick succession. Realizing the battle was lost, Grievous boarded his starfighter, the Soulless One, and fled from the hangar. Despite being pursued by Skywalker, Grievous escaped into hyperspace, leaving his flagship and the remaining crew to be destroyed by the Star Destroyers. After the battle, the wreckage of the frigate fleet remained drifting in the asteroid field, with its debris scavenged by the scavenger Gha Nachkt. Grievous later acquired another Munificent-class frigate to serve as his flagship.
Commanders and crew
Despite its expendable nature, this frigate served as General Grievous's command post during the Clone Wars. As commander, Grievous held overall authority over the vessel and its accompanying fleet. Like other Munificent-class vessels, Grievous's frigate required a crew of 200 personnel, including an OOM command battle droid, OOM pilot battle droids, and other B1-series battle droids. These droids were responsible for operating the deflector shields and weapon systems.
Behind the scenes
Grievous's frigate was initially seen in flashbacks during "Rising Malevolence," the second episode of the first season of the animated television series Star Wars: The Clone Wars, which originally aired on October 3, 2008. The frigate later appeared fully in "Downfall of a Droid," the sixth episode of the first season, which aired on November 7 of the same year. Its identification was later confirmed in the fortieth issue of De Agostini's Star Wars: Build the Millennium Falcon magazine series, published around October 7, 2015.