Battle of Mako-Ta
The significant engagement known as the Battle of Mako-Ta, alternatively referred to as the raid on the Mako-Ta Orbital Docks, unfolded amidst the broader context of the Galactic Civil War between the Alliance to Restore the Republic and the forces of the Galactic Empire. In the year 1 ABY, following the betrayal of the spy Queen Trios who divulged the location of the Mako-Ta Space Docks to Darth Vader, the Empire initiated an offensive against the Alliance's strategic outpost. Death Squadron spearheaded the assault on the rebel stronghold. Despite the eventual deployment of the newly established Rogue Squadron, Vader and his Imperial forces succeeded in decimating a large portion of the rebel fleet and eliminating numerous key rebel figures, leaving the remaining rebel elements scattered and suffering considerable casualties.
Background
Subsequent to a discussion held on Mustafar with Kendal Ozzel and Maximilian Veers, Darth Vader came to the conclusion that the Rebel Alliance's fragmented nature was the primary obstacle preventing the Empire from effectively suppressing them. Considering this, Vader formulated a high-stakes strategy: to permit the Rebel Alliance to consolidate its strength, with the intention of delivering a decisive blow once their power was concentrated in a single location.
To achieve this objective, he made contact with Queen Trios of Shu-Torun, tasking her with assuming control of mining operations within the remnants of Jedha. Following this, she was to feign allegiance to the Alliance and engage in acts of sabotage from within.
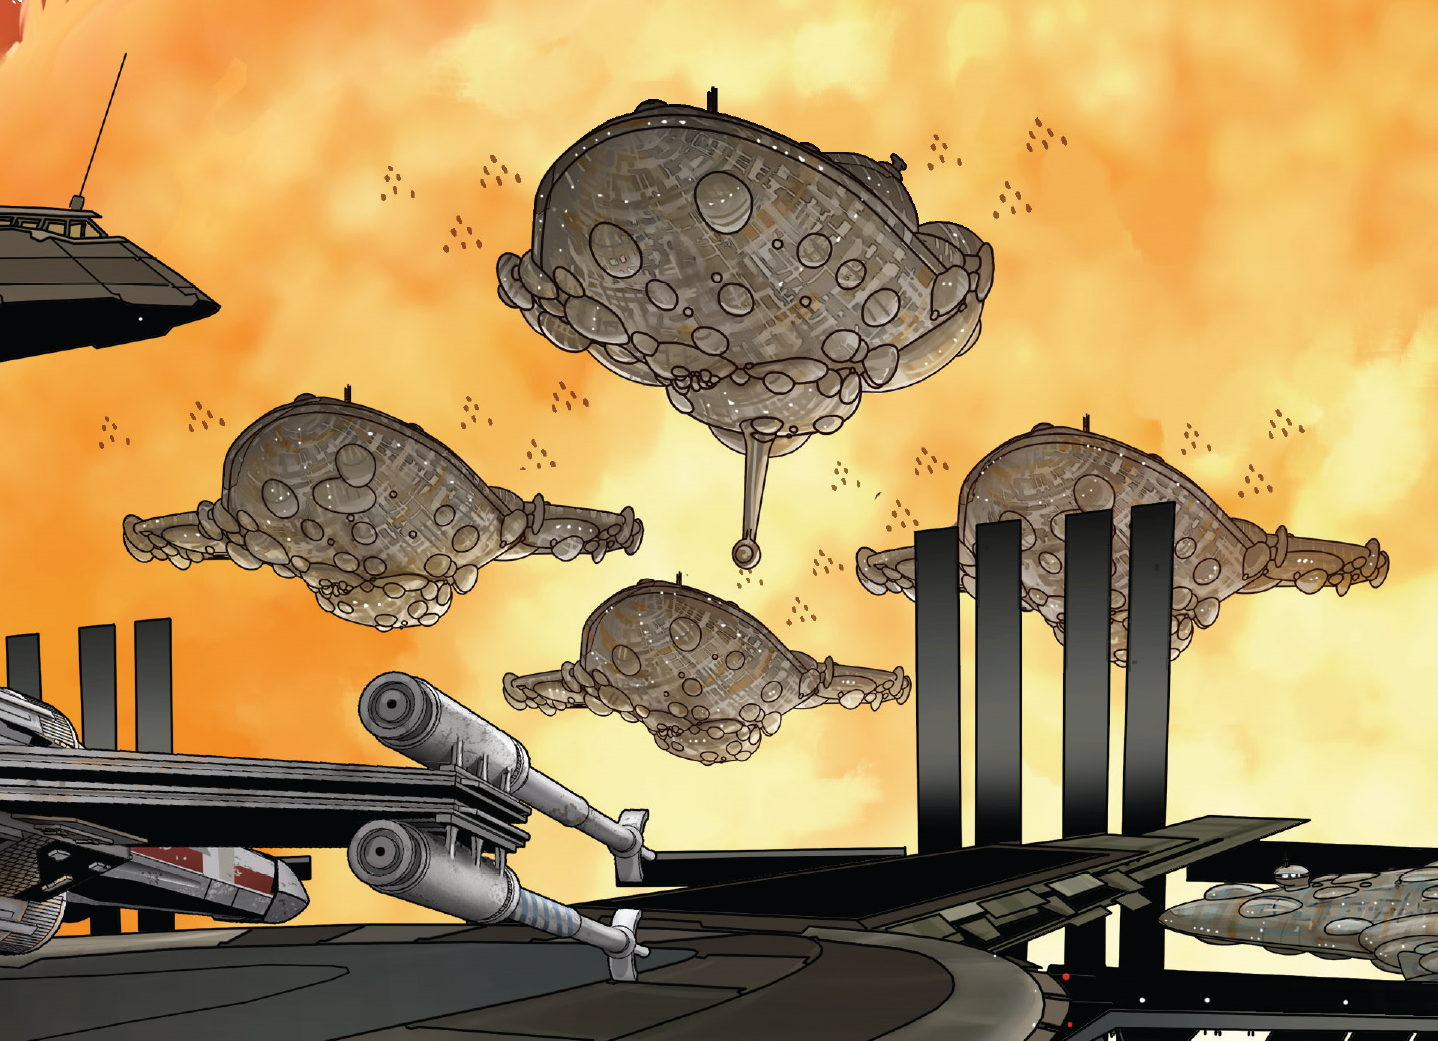
In the aftermath of the mutiny that transpired on Mon Cala, the Rebel Alliance gained control of several Mon Cala cruisers, which could be readily converted into fully operational warships. These vessels were transported to the Mako-Ta Space Docks for refurbishment, where Trios provided a contingent of Shu-Torun engineers to assist in the process, supplying essential components and systems.
As the work on the ships neared completion, Mon Mothma summoned numerous dignitaries who were supportive of the Alliance to the station to commemorate their achievement and showcase the newly formed fleet to their allies. During this celebration, Leia Organa engaged in conversation with Trios, expressing her gratitude for the provision of materials and technology that enabled the outfitting of the fleet. Alliance starfighters, including Luke Skywalker among the pilots, executed a flyby before landing in the hangar of General Jan Dodonna's cruiser, the Republic. The atmosphere among the Rebels was optimistic, with some even believing that the Empire stood little chance against the Rebellion from that point forward.
In a parallel development, Han Solo, Chewbacca, and C-3PO journeyed to the Ring of Kafrene, where Solo negotiated a transaction for a series of transponder codes. They encountered two of Jabba the Hutt's bounty hunters, who were pursuing Solo due to his outstanding debt to the Hutt. Solo successfully evaded the hunters, promising to eventually repay Jabba.
As the rebel factions reported to Organa, General Vanden Huyck Willard of Delta Group instructed Organa to convey his best wishes to Mothma for her upcoming address. Mothma delivered her speech, pledging that the fleet would provide assistance to their allies whenever required. The Rebel ships then attempted to transition to hyperspace, but found themselves unable to do so. Leia, realizing that they had been betrayed, inquired about Trios' whereabouts, only to discover that the Queen of Shu-Torun had already departed for her ship. The festivities were then disrupted by the arrival of Death Squadron, which had been secretly contacted by Trios in the time leading up to the event.
The Conflict
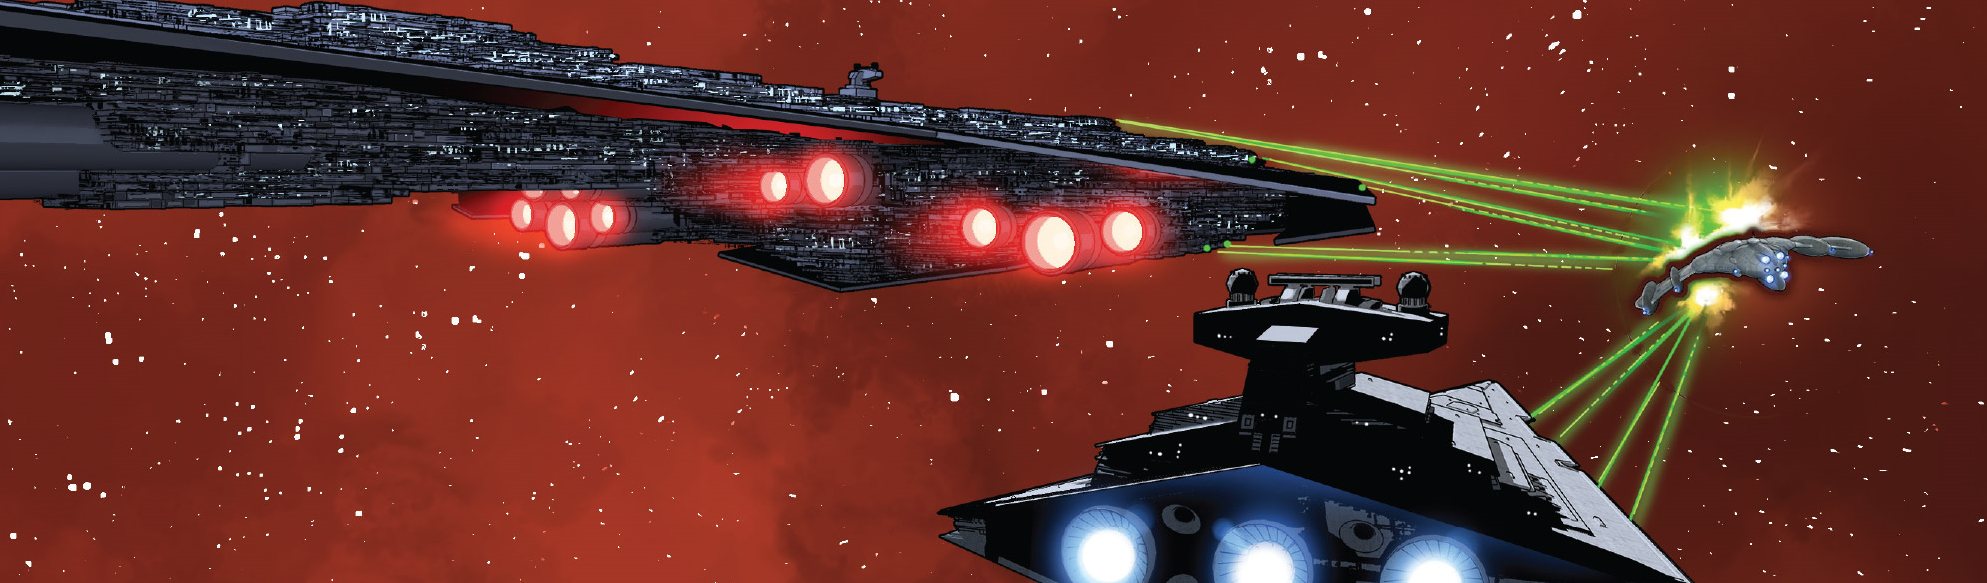
Upon the Empire's arrival at the docks, Darth Vader directed his vessels to observe the rebels as they assessed their predicament. The Rebel cruisers attempted to deploy their fighters, only to discover that their cargo bay doors were inoperable, along with their turbolasers and propulsion systems. Satisfied with the Rebels' realization of their vulnerability, Vader commanded the destruction of the nearest Rebel cruiser, which was the Yavin's Hope. Its captain, Vanden Willard, ordered his crew to reroute all power to the shields, but the shields failed to withstand the assault, resulting in the complete incineration of the cruiser and all its occupants. Admiral Ozzel inquired about Vader's next target, to which Vader responded "hope," clarifying that the Rebellion's hope would be the next to perish.
The Demise of Hope
As the Star Destroyers initiated their barrage on the remaining cruisers, Queen Trios attempted to escape the spacedocks aboard her personal vessel. However, rebel command intervened to prevent its departure. Leia Organa and General Bandwin Cor led a boarding party with the objective of capturing Trios and devising a method to regain control of the cruiser's systems. Trios established a defensive line, and her soldiers engaged the rebels. Organa narrowly avoided being killed in the ensuing combat, but Cor pulled her to safety, emphasizing her importance. The rebel forces eventually breached the defensive line, and the remaining Shu-Torun soldiers retreated. Trios made her way to an escape pod as the rebels entered the room, with Organa in pursuit, but Trios successfully reached the pod and fled.
Generals Cor and Davits Draven searched Trios' ship's database for a means to restore functionality to the Rebel fleet's systems, but found none. However, they discovered that, despite the manual inoperability of the hanger doors, they would still open automatically if a ship with a rebel transponder approached them. Recognizing this as an opportunity to deploy their starfighters, Cor volunteered to pilot his shuttle and test the failsafe himself. He flew his shuttle towards a cruiser, only to be shot down by TIE fighters. Shortly thereafter, another cruiser was destroyed by the relentless onslaught of turbolaser fire from the Star Destroyers. Refusing to succumb to despair, Organa asserted that they had to persist if they wished to survive.
A Glimmer of Hope
Soon after, the Millennium Falcon arrived, having successfully escaped the Ring of Kafrene. Han Solo was taken aback by the sight of Death Squadron decimating the Rebel fleet and contacted Organa via comms. She instructed Solo to fly towards the hanger doors of a nearby cruiser to force them open. Solo complied, but was immediately targeted by TIE fighters. Vader was informed of the Falcon's arrival and personally took to the skies in his TIE advanced to eliminate the Falcon. Meanwhile, the Falcon managed to shoot down at least one TIE fighter and disable several turbolasers on one of the Star Destroyers. The Falcon then headed towards General Dodonna's flagship, the Republic, with the intention of landing in its hanger, but was intercepted by Darth Vader in his TIE Advanced.
Solo attempted to evade Vader's TIE Advanced but was unable to shake the Sith Lord's pursuit, and Commander Lajaie's nearby cruiser was on the verge of being destroyed by Death Squadron's relentless assault. Lajaie ordered his crew to abandon ship, and the crew fled in escape pods. Witnessing their escape, Vader instructed Admiral Ozzel to destroy the escape pods. As TIE fighters massacred the pods and Lajaie's cruiser exploded, Solo saw an opportunity amidst the destruction. He piloted the Falcon into the resulting fireball in an attempt to lose Vader. Vader followed Solo into the flames, but lost track of his target.
Having successfully created some distance between himself and Vader, Solo then devised a plan to relay the information about the automatic hanger doors to the rebel cruisers. Chewbacca launched an escape pod carrying C-3PO towards Dodonna's cruiser, which impacted on the ship's surface. Despite the impact destroying the protocol droid's lower half, C-3PO managed to crawl to an airlock and gain entry to the ship. He contacted Luke Skywalker and R2-D2 and informed them about the failsafe that would enable the rebel starfighters to launch.
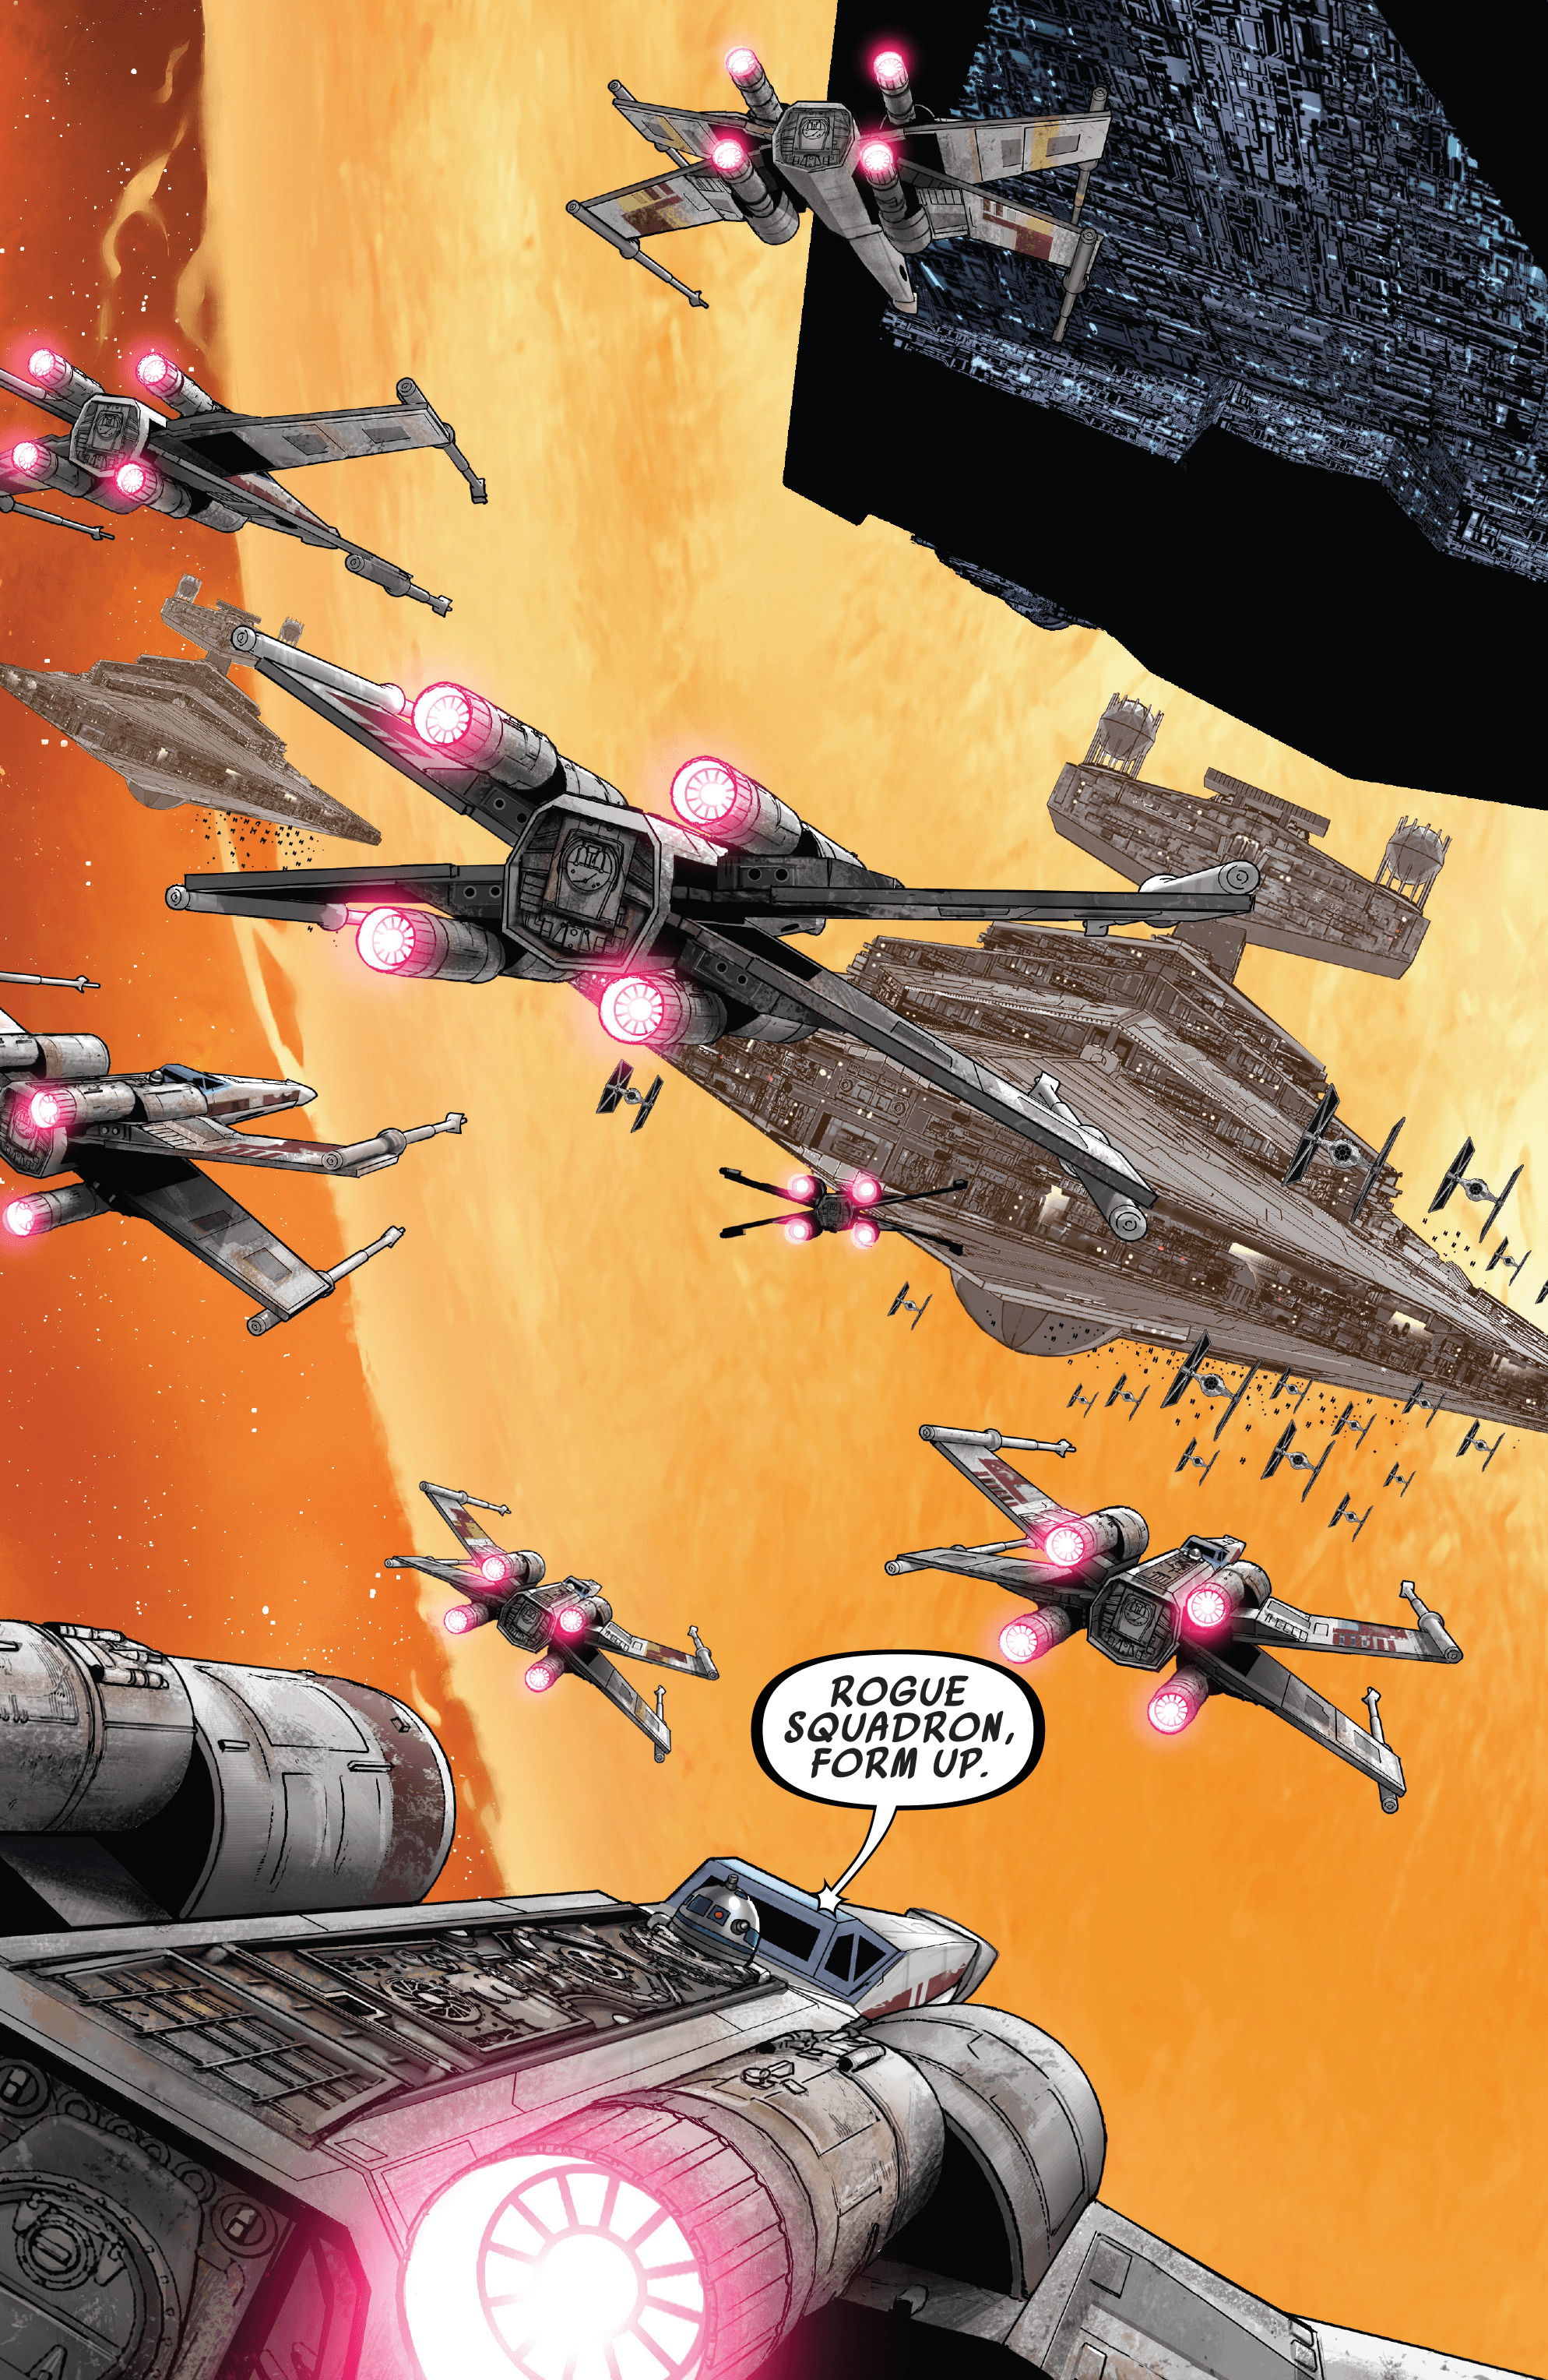
Skywalker immediately rushed to his X-wing starfighter, disregarding an order from Dodonna to stand down, and flew it towards the doors. When they successfully opened and Skywalker escaped, the remaining pilots on the ship boarded their own X-Wings and followed suit. Wedge Antilles then inquired about the newly formed squadron's callsign, and Skywalker named it Rogue Squadron in honor of Jyn Erso. As the X-Wings engaged the Imperial Forces, Alliance command mobilized all Rebel Alliance Intelligence Service agents to find a solution and restore the ships' systems. Skywalker, now using the call-sign Rogue Leader, recognized that the Rebels needed more time and decided to attempt to bring more alliance starfighters into the battle.
Skywalker activated the colorful trail his X-Wing had used during the earlier demonstration and flew past Admiral Ackbar's ship, hoping to capture the Admiral's attention. This proved successful, and Ackbar watched as Skywalker flew towards the hanger doors of another cruiser, causing them to open. Upon witnessing this, Ackbar ordered his crew to launch probes at his own hanger doors to see if they would open, and to launch all fighters if they did. In the meantime, Han Solo was forced to land the damaged Falcon upside-down and pilot an X-Wing instead.
Discovering a Solution
Soon, Alliance Intelligence discovered a solution to the fleet's predicament. They found that there were codes that would reboot all systems and bring the ships back online, but the codes were stored only in the computer data-banks aboard the Executor. To acquire the codes, Leia, Draven, and his commandos boarded the Executor using Queen Trios' ship. Leia impersonated the queen and successfully deceived the dreadnought's control tower into granting them landing permission. The ruse worked too well, however, as when Vader was informed of the supposed arrival of Queen Trios he immediately returned to the Executor to meet her. Leaving a rearguard to delay Vader, Leia and her team commenced their mission. Upon Vader's arrival, he realized he had been tricked and began to eliminate the rebels with ease.
When the commando team reached the main computer, they quickly downloaded the codes. With Vader rapidly approaching, Leia and Draven bid each other a respectful farewell, with Draven remarking that this was his opportunity to atone for his misjudgment of Jyn Erso. He stated that Jyn had proven him wrong about her, something he regretted not being able to tell her in person. He instructed Leia to board a TIE fighter and retrieve the codes, before joining his doomed commandos in their effort to further delay Vader and provide Leia with time to escape. Draven sacrificed himself, but he and his commandos succeeded in their mission. Leia escaped alive.
The Great Escape
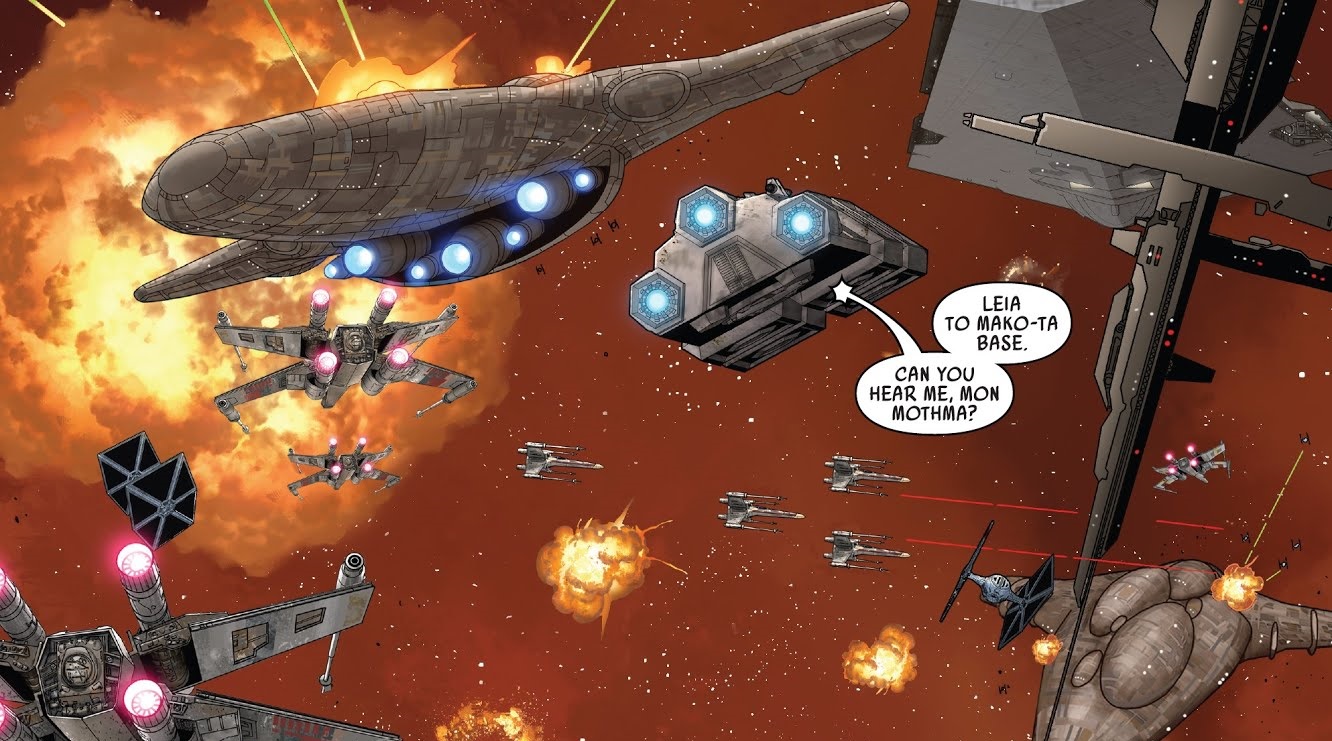
After commandeering a TIE fighter, Leia was nearly shot down by Skywalker and Solo. Organa was unable to communicate with her allies as the TIE fighter lacked native comms systems, only those built into the pilot's helmet she didn't have. Instead, Leia shot down another TIE fighter, and Skywalker's connection to the Force confirmed that Leia's TIE was an ally. Luke and Han escorted her to Dodonna's ship, the Republic, and used the codes to bring it back online, but Skywalker's X-Wing was damaged in the process. The Republic promptly jumped to hyperspace, but Skywalker and Organa convinced Dodonna to return to the fight to draw fire while the codes were delivered to the other ships of the fleet. Skywalker then transferred R2D2 to Solo's X-Wing while he and Organa took a ship to the space docks to rescue Mothma and the Alliance dignitaries.
The returning Republic executed a strafing run on the Executor while support ships were deployed to the surviving cruisers. Starting with Hera Syndulla's cruiser, the Geist, the Alliance ships rebooted and came online one by one, immediately jumping to separate secure locations as soon as they were all capable. Before the Republic could escape, however, its engines were hit, immobilizing it. Dodonna and his crew, realizing they could not escape, continued attacking the Imperial fleet until the Republic was destroyed.
Meanwhile, the X-wing piloted by Solo and R2-D2 was damaged, preventing them from escaping. Organa and Skywalker commandeered a Quasar Fire-class cruiser-carrier to rescue them, but their stolen cruiser was also damaged by TIE fighters. Fortunately, they managed to escape, though their damaged ship would not last long after that.
The Fallout
After landing on Corosi 7, Organa, Skywalker, and Solo established contact with Mothma, who informed them that the Rebel Fleet was under orders to go into hiding, reorganize, and continue the struggle independently. To return to Ackbar's cruiser, and the Millennium Falcon still on board with Chewbacca, they would have to find their own way back. In recognition of their contributions during the battle (and to fill vacant positions), Mothma also bestowed promotions upon each of them. Leia Organa was promoted to general, Skywalker to commander, and Solo was promoted to colonel, although he declined the promotion. The trio then journeyed to Nar Shaddaa, where they received assistance from Sana Starros.
The Alliance suffered the loss of over half of the cruisers acquired from Mon Cala, as well as several experienced and talented commanders. The defeat also significantly impacted their morale, as the Empire demonstrated its continued dominance in the conflict. Despite these setbacks, the Rebel Alliance still gained a significant number of warships and resources. Nevertheless, Emperor Palpatine considered Vader's efforts to be satisfactory.
Behind the Curtains
The assault on the Mako-Ta Space Docks is portrayed in Star Wars Book XI: Hope Dies, the eleventh story arc of Marvel Comics' Star Wars comic book series, with the battle occupying the majority of the narrative. The story arc featured the deaths of several high-ranking Rebel officers, including Lajaie and Dodonna, who appeared in the 2016 Star Wars Anthology film Rogue One: A Star Wars Story and the 1977 film Star Wars: Episode IV A New Hope, but were absent in the subsequent two movies of the Star Wars original trilogy. This was a result of lead writer Kieron Gillen conceiving the battle as a means to eliminate these characters and provide an explanation for the rapid ascent of the heroes within the ranks of the Rebel Alliance.