Battle of Nod Kartha
Occurring shortly before the Jedi offensive on Geonosis in 22 BBY, the Nod Kartha conflict represented a prolonged engagement. Prior to 22 BBY, Nym's Lok Revenants (a group of pirates) and the Mere Resistance, spearheaded by Sol Sixxa, had previously united to oppose Trade Federation operations within the Karthakk system. These two spacers then commanded their respective forces against the mercenary Sabaoth Squadron, which was under the leadership of Cavik Toth. In an attempt to pinpoint and sabotage a Trihexalon production facility located on the surface of the planet Nod Kartha, the combined fleet of Nym and Sixxa launched an attack on the orbital defenses encircling the planet, aiming to disrupt Toth's Trihexalon output. Jedi Master Adi Gallia joined the fleet, having been dispatched to scout Trade Federation activity in the Karthakk system.
The allied spacers amassed their strength and materialized from hyperspace within range of Toth's Orbital Defense Cannons. The Kethor, a Mere cruiser, suffered critical damage, and the resistance fighters became deeply involved in a dogfight against the Trade Federation and Sabaoth Squadron forces. Eventually, the crippled cruiser deliberately collided with one of the Planetary Defense Platforms, creating an opening that enabled the starfighters to penetrate the remaining defenses and descend to the planet's surface.
A commando squad, deployed from Nym's personal starfighter, the Havoc, infiltrated the deflector shield generator complex. While the commandos planted explosives on the generators, Master Gallia provided aerial support. When the commandos encountered resistance, Gallia landed and battled through B1-Series battle droids to ensure the final charge detonated successfully. The facility subsequently exploded, disabling the Trihexalon factory's shield. The commando team then returned to their fighters to destroy the factory. Sol Sixxa gained unauthorized access to the factory controls via slicing to unlock the main gate, but his actions were countered by droid slicers. Flying the Havoc, Nym disabled the droid transmitter and neutralized the solar towers that supplied power to the facility. Following Sixxa's opening of the blast door to expose the reactor, Nym destroyed the reactor, and the pilots retreated to orbit as the factory detonated.
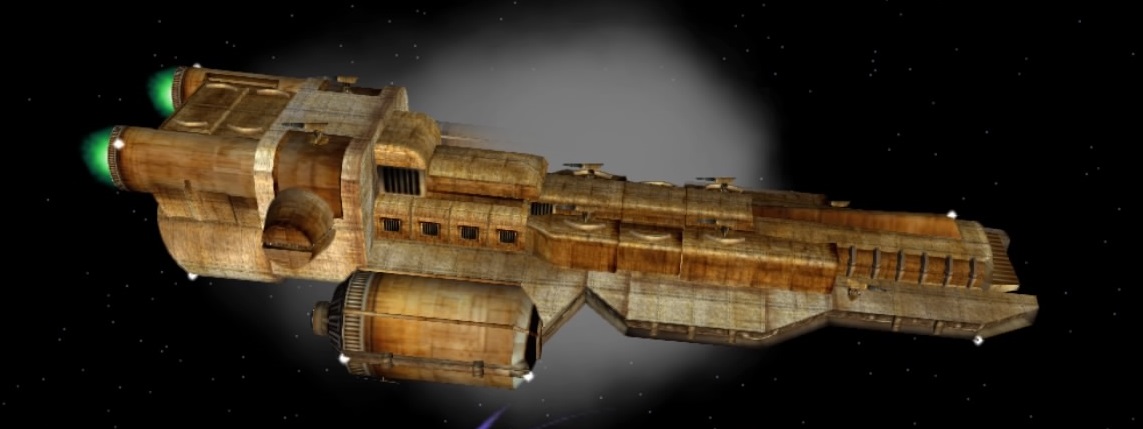
The crew of the surviving Mere cruiser, the Tritus, surveyed the wreckage and determined that an Orbital Defense Cannon could be salvaged. However, their efforts were impeded by the arrival of a Sabaoth destroyer. Nym and his wingmen escorted Mere Tugs to retrieve the debris while simultaneously fighting off Trade Federation Tugs that were also attempting to secure the wreckage. Ultimately, the resistance fighters successfully recovered the debris and withdrew from the battle. The cannon was transported to Lok, where it was later instrumental in reclaiming Nym's base after a decade-long Trade Federation occupation.
Prelude
The bombing of Point Modie on Maramere by the Sabaoth Squadron using Trihexalon in 22 BBY alerted the Lok Revenants and the Mere Resistance to the existence of Cavik Toth's new weapon, which was used during the system's occupation. Sol Sixxa and Nym, the leaders of the Mere Resistance and Lok Revenants, resolved to eliminate the Trihexalon threat to their system. Adi Gallia, a Jedi Master investigating potential illegal weapon development by the Trade Federation while working with Nym, joined the two pirate groups. Following the attack on Point Modie, Gallia informed the Jedi Order about the danger posed by Toth and her intention to take action.
The Trade Federation had indeed secretly developed Trihexalon. Before Captain Toth assumed control, the Federation constructed a Trihexalon production facility on Nod Kartha, complete with defenses including an impenetrable deflector shield generated by six shield generators housed in separate bunkers, and a network of Planetary Defense Platforms in orbit. Learning of these defenses, the pirates devised a plan involving two Mere cruisers to breach the orbital defenses. Nym intended to land his ship, the Havoc, leading a commando team to plant explosives in the seemingly empty bunkers to disable the shield. Once the shield was down, Sixxa would infiltrate the factory's landing pad and use its computers to find vulnerabilities and disable the factory. Toth, anticipating an attack, strategically deployed his forces.
The battle
Orbital defenses
As the allied pirate ships arrived, the Orbital Defense Cannons surrounding Nod Kartha opened fire, and Scarab-class starfighters prepared to engage. Captain Orsai's attempt to position the cruiser Kethor for attack was swiftly met with fire from an Orbital Defense Cannon, crippling the Kethor, prompting Nym to order its abandonment. The pirates were further dismayed to find that the defenses had been upgraded, rendering their weapons ineffective against the Planetary Defense Platform shields. Despite this, Nym devised a new plan and led his starfighters against the Scarabs. Early in the battle, Reti, a Toydarian mercenary flying with Nym, achieved ace status by scoring his fifth kill.
A C-9979 carrier launched two waves of droid bombers at the incoming pirates, one targeting the damaged Kethor and the other the second Mere cruiser, the Tritus. The allied starfighters intercepted and destroyed the bombers, preventing further damage to the cruisers. A third wave of bombers was launched at the Tritus just as the last bombers from the first two waves were destroyed, but the Revenant fighters again successfully shot them down.
With the Mere cruisers safe from the bombers, the pirates shifted their focus. Master Gallia led an assault on the Orbital Defense Cannons, allowing the Tritus, previously out of range, to join the attack. After one cannon was destroyed, Sabaoth Squadron sprung their ambush. Five frigates, escorted by Sabaoth fighters, emerged from hyperspace behind the allied ships, effectively cutting off their escape. The Tritus exchanged fire with the nearest two frigates, while the opposing squadrons engaged each other. Jango Fett, a bounty hunter seeking the bounty on Reti, also arrived with Sabaoth Squadron. Fett attacked and damaged Reti's ship, causing Reti to desperately jump into hyperspace. Fett pursued Reti, much to the frustration of Sabaoth Squadron.
The battle continued, and Gallia destroyed a second Orbital Defense Cannon, allowing the Tritus to advance. Orsai reported that the Kethor was failing and the crew was evacuating. To everyone's shock, he announced his plan to ram the Kethor into the nearest Planetary Defense Platform. Despite protests, Orsai flew the Kethor into the Platform, resulting in an explosion that destroyed both the cruiser and the Platform, compromising the shields on the remaining Platforms. The allied ships exploited this advantage and quickly destroyed two more Platforms. After a moment of reflection on Reti's situation, the decision was made that destroying the factory was paramount, and Nym led the starfighters to the surface of Nod Kartha. Jinkins, Nym's chief engineer, suggested scanning the debris for salvageable parts, so the Tritus remained in orbit to provide cover and begin a scan.
Surface
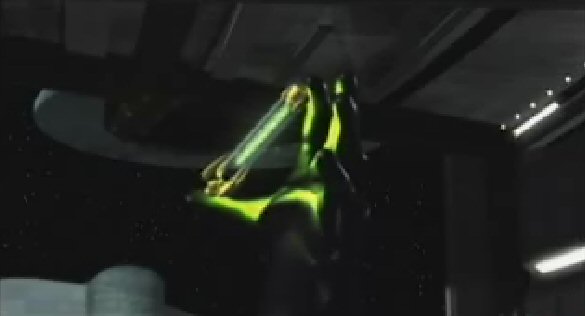
Nym landed the Havoc near the factory and proceeded on foot with Sixxa and three other commandos to infiltrate and plant explosives in the six bunkers to disable the factory's deflector shield, while Master Gallia provided aerial cover in her Delta-7 fighter. Despite her reservations, Gallia directed Nym to the first bunker. Sixxa sliced into the bunker, and the commandos set their timed explosives. The demolition of the first bunker alerted Trade Federation forces, causing underground barracks to open and deploy units to intercept the commandos. Gallia led the Revenant starfighters in defending Nym and his team from battle droids, Single Trooper Aerial Platforms, Armored Assault Tanks, Scarab-class starfighters, and Vulture droid starfighters. A Superfreighter and two landing craft arrived, delivering more tanks. Despite the onslaught, Nym persevered, and his team destroyed four more bunkers in the same manner, though Sixxa was delayed at the last bunker due to the droids changing the codes. Gallia engaged the droid forces to protect the ground forces. The team encountered trouble in the final bunker when they became trapped inside with a group of battle droids after setting the explosives' timers. Gallia landed her starfighter, eliminated two battle droids guarding the entrance, and used her lightsaber to cut a hole in the door, allowing everyone to escape before the bunker exploded with the droids inside. The factory was now unshielded, but Gallia and Nym were temporarily incapacitated.
As dawn approached, Nym, Sixxa, and Gallia returned to the air in their respective ships. Kole joined Nym in the Havoc as gunner. Two Trade Federation Dropships were dispatched to the factory with reinforcements. Nym ordered them destroyed and cleared the battle droids from the factory's landing platform, enabling Sixxa to land and enter the factory's control tower to search for structural weaknesses.
Sabaoth starfighters then attacked the allied forces, followed by the arrival of several dropships deploying Armored Assault Tanks around the factory. A Sabaoth destroyer appeared overhead. Nym and his team attacked the dropships while evading the Sabaoth fighters. Sixxa determined that destroying the factory's reactor core would devastate the facility, but ironically, opening the reactor doors required activating the factory.
With Nym's approval, Sixxa activated the factory, causing six solar towers to rise. However, the droids overrode Sixxa's commands with their own signal. Jinkins traced the signal to a transmitter in the factory's hangar. Nym flew into the hangar, destroyed the transmitter, and returned to the battle. The reactor doors opened, allowing concentrated sunlight from the towers to enter the factory. Sixxa returned to his ship as the plant became fully operational.
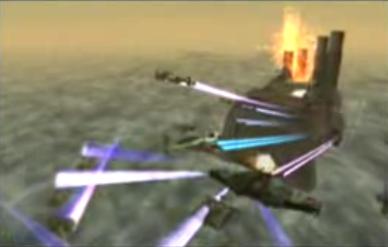
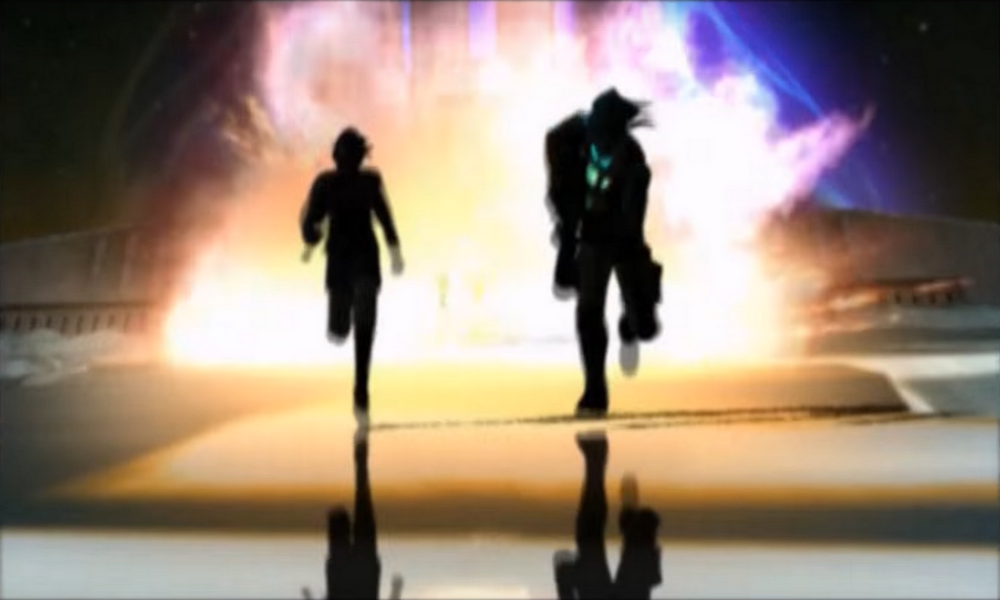
Nym was tasked with destroying the control boxes on each tower to misalign the light beams and expose the reactor. As this occurred, a Hex Bomber attempted to land at the control tower but was easily destroyed. After destroying all the control boxes, Nym reentered the hangar and dropped a bomb into the reactor opening, destroying the reactor and causing a chain reaction that consumed the factory as the allied forces retreated to space.
Return to space
During the surface battle, the Sabaoth destroyer Reaver arrived near the orbital debris field. Lieutenant Bella ordered a salvage operation to recover four pieces of the wrecked Orbital Defense Cannons for reconstruction. Trade Federation Tugs were deployed with Vulture droid starfighters for protection.
After the factory's destruction, Kole returned to his fighter, and Mace Windu recalled Master Gallia for a rescue mission. Following farewells, Nym contacted Captain Juno on the Tritus, who reported the identification of four salvageable cannon parts. Nym, planning to use the cannon to retake his base on Lok from the Trade Federation, was dismayed to learn that the parts were already being salvaged by the Trade Federation, with one of their tugs having secured a barrel. Nym ordered the Revenants to secure the Orbital Defense Cannon parts. As they approached, the Revenants were surprised by what they thought were still active defensive turrets, but were actually Vulture droid starfighters clinging to debris in walker mode. Nym alerted the Revenants to the ruse. The pirates continued their attack, destroying the tug carrying the barrel.
With the first tug destroyed, Lieutenant Bella offered the Revenants a chance to surrender or be killed, but received no response. Bella then ordered a commander to execute plan Beta-Three, prompting three Sabaoth frigates to jump to hyperspace. Nym and Jinkins noticed the frigates' departure as they and the other Revenants destroyed more tugs sent to collect the cannon parts.
The Revenants destroyed Trade Federation Tugs while the Tritus repositioned to launch its own tugs. Captain Juno then launched tugs 1 through 4 to retrieve the barrel, capacitor, focus array, and casing, respectively. Simultaneously, Sabaoth fighters were launched from the Reaver to attack the pirate tugs. Revenant starfighters had to defend the Mere tugs from the Sabaoths, prevent more Trade Federation tugs from collecting the cannon parts, and avoid droid starfighters in flight mode. The Revenant forces prevailed, and all four cannon parts were loaded onto the Tritus.
Bella, furious at the pirates' success, threatened her subordinates' lives if the pirates were not killed. A large number of Sabaoth fighters then launched from the Reaver. Nym ordered the Revenants to cover the Tritus until its departure and provided coordinates for Khons, Lok's moon, where he wanted the cannon installed.
Shortly after, Bella ordered the commander to enact their plan. The three frigates returned, dropping from hyperspace behind the Tritus. Using their tractor beams, they prevented the Tritus from escaping and opened fire. The Revenant forces attacked and destroyed the Sabaoth frigates, but not before the Tritus' engines were damaged. As the Reaver's anti-capital ship turrets opened fire, Revenant starfighters began jumping to hyperspace. The Tritus lingered while Juno reported that the ship should reach Khons despite the engine damage. The last of the pirates escaped to hyperspace just before four Sabaoth fighters reached their position.
Aftermath
The Tritus' engines eventually failed before reaching Khons. However, Juno used the Mere Tugs to install the cannon pieces after Nym's forces removed the Trade Federation from the moon. Nym used the cannon effectively in retaking his base from the Federation, facing Bella in her personal transport. Nym was victorious in the dogfight, securing his base.
Despite the loss of the Trihexalon plant, Cavik Toth continued his efforts, amassing his forces to aid the Confederacy of Independent Systems at the Battle of Geonosis against the Galactic Republic. At Geonosis, Toth's forces were met by Jedi starfighters led by Master Gallia. The Jedi fighters destroyed the Hex missiles. With the arrival of the Lok Resistance and the Mere Resistance, the rest of Sabaoth Squadron was destroyed. Toth himself was killed in a dogfight with Gallia.
Behind the scenes
The battle of Nod Kartha is depicted across four consecutive missions in the 2002 video game Star Wars: Jedi Starfighter: "Hammer and Anvil," "Demolition Squad," "Dragon's Den," and "Tug of War." Reti's comment about Scarab starfighters is a nod to the preceding game, Star Wars: Starfighter. In the final mission, it is possible to destroy the Reaver, but it is then replaced by another Sabaoth Destroyer. Some losses may be due to game mechanics, as bonus objectives involve eliminating superfluous forces. Also, the player's ship is automatically selected in these missions on the initial playthrough but can be changed later.