Boba Fett's Palace
title: Boba Fett's Palace
Boba Fett's Palace, previously known as Jabba's Palace and for a short time as Bib Fortuna's palace, could be found on the outskirts of the Northern Dune Sea within Mos Espa on the planet Tatooine. Initially constructed to serve as a monastery for the B'omarr Order, it was later utilized as a strategic hub by the Hutt crime boss Jabba Desilijic Tiure. Following his death, control shifted to his majordomo, the Twi'lek Bib Fortuna, until he met his demise and was succeeded by the renowned bounty hunter Boba Fett.
Description and layout
Overview
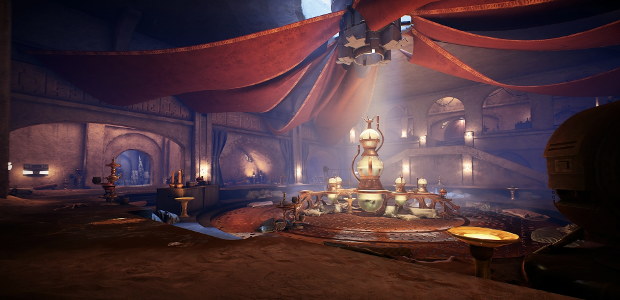
Situated in the Northern Dune Sea, a section of the Dune Sea on Tatooine, Boba Fett's Palace, sometimes referred to as Boba's Palace, and formerly known as Jabba the Hutt's Palace or Jabba's Palace, was accessible via a single dirt road that cut through a canyon. Constructed from sandblasted metal and stone, the palace served as the venue for Jabba's illegal business dealings. Functioning as a fortress, its design prioritized defense against potential attacks. A garage was included as part of the palace complex.
Throne room
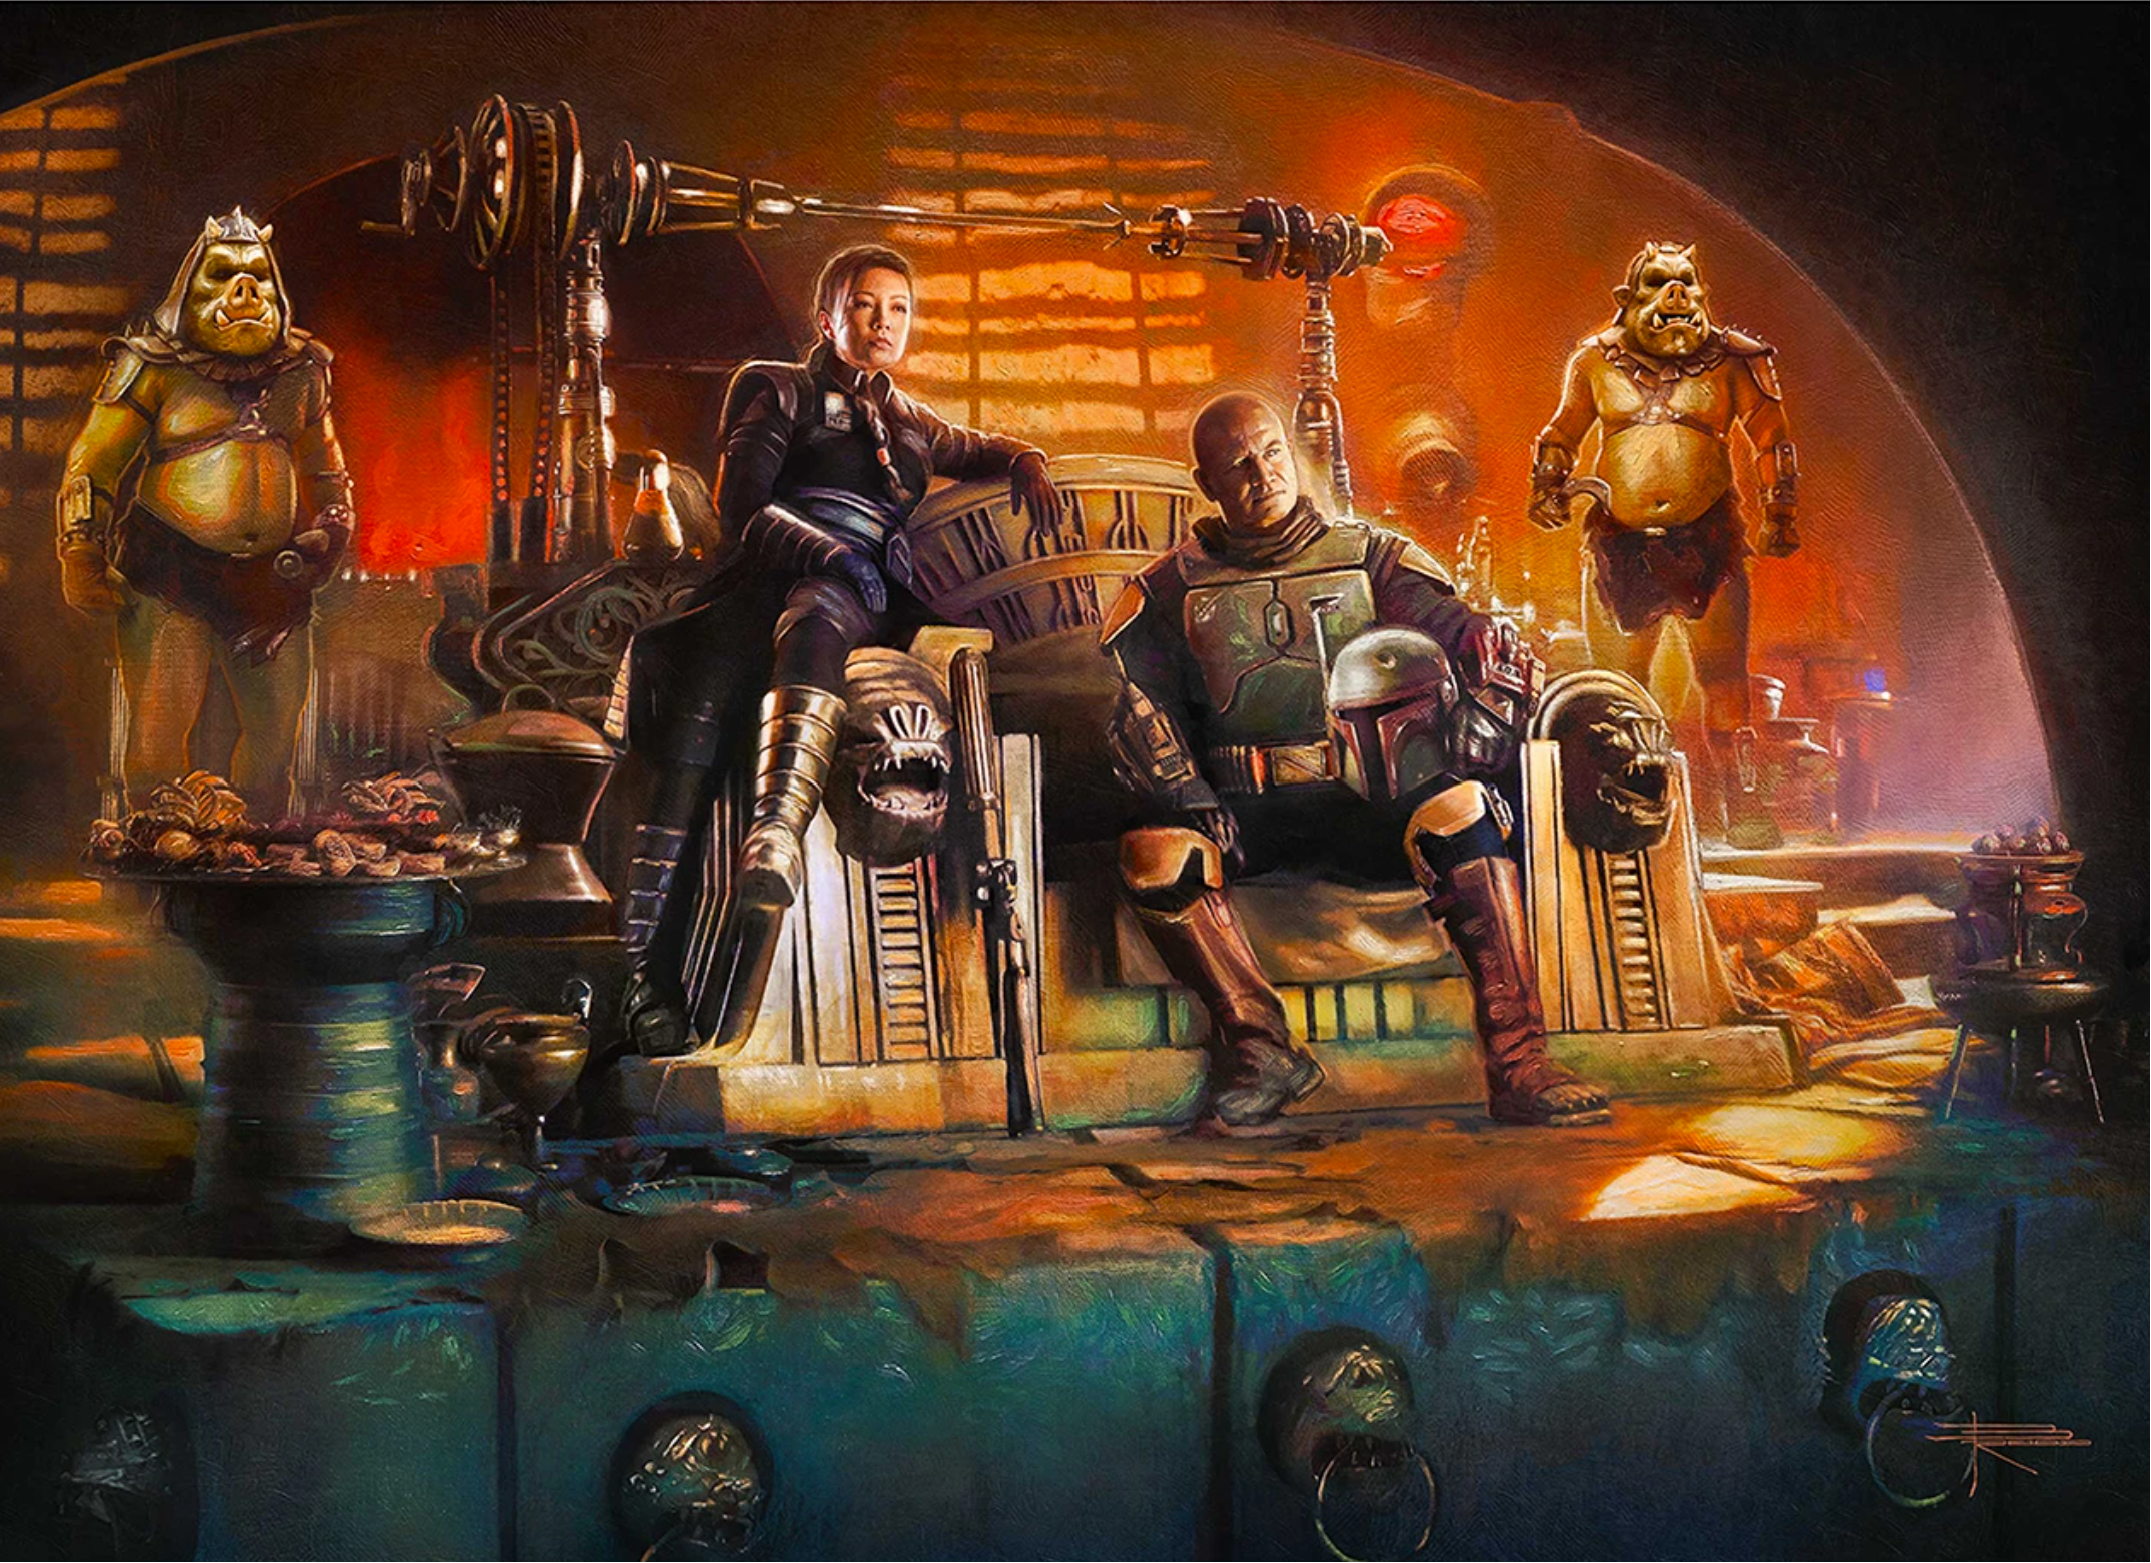
Within a throne room, Jabba would receive his guests; this space also featured a live band led by Max Rebo and overlooked a pit containing a rancor near the end of the Hutt's criminal empire. Subsequently, Bib Fortuna assumed control of the throne room, only to later relinquish it to Boba Fett. While both ruled from the same space, Fett chose a more involved approach to managing the criminal world, opting not to isolate himself within the Palace.
Subterranean complex
Beneath the palace stretched an extensive subterranean network. This area encompassed Jabba's throne room, workshops, enclosures for animals, the sail barge Khetanna, and areas dedicated to spice cultivation.
Communications tower
The primary tower extending from the structure housed systems for communication, surveillance, and defense, including anti-aircraft batteries and shield generators.
History
Origins
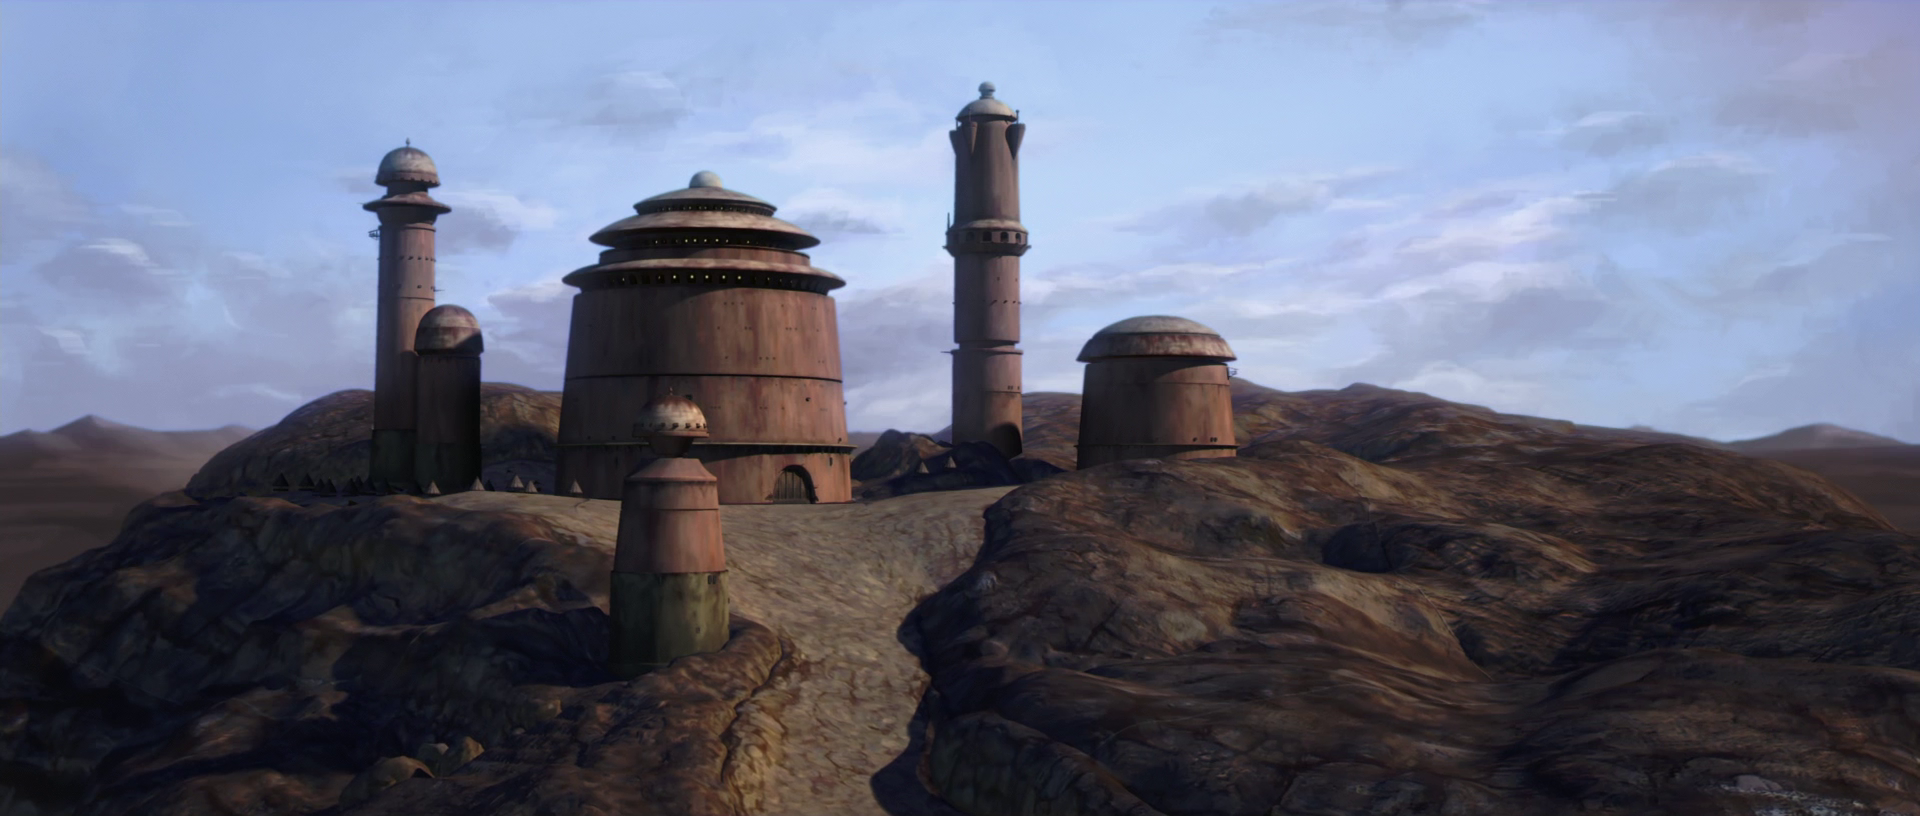
Constructed by monks in a bygone era, Jabba's Palace originated as a monastery for the B'omarr Order, a religious group who sought to heighten their mental capabilities by isolating themselves from physical stimuli. To achieve this, the monks removed their brains and kept them in nutrient-filled jars, which were transported around the monastery by droid walkers under their control. The earliest sections of the monastery were built underground, incorporating a mine. At one point, a brigand named Alkhara seized the monastery for his own use. He occupied it for a period of 34 years, adding fortifications such as battlements, dungeons, and a nine-story tower, as well as constructing a road connecting the citadel to the Western Dune Sea and the Great Pit of Carkoon. Ultimately, Jabba ousted him from the premises.
After taking possession of the monastery, Jabba had it further reinforced by expert armorers. These armorers, after presenting the bill for their services to the Hutt, became the first prisoners of the crime lord. Despite having designed the palace, they were never able to escape its sturdy walls and intricate traps. The area that later became the rancor pit within Jabba's Palace was believed to have once been a sacred grotto for the B'omarr monks, who continued to roam the palace in their droid forms during Jabba's rule.
Clone Wars
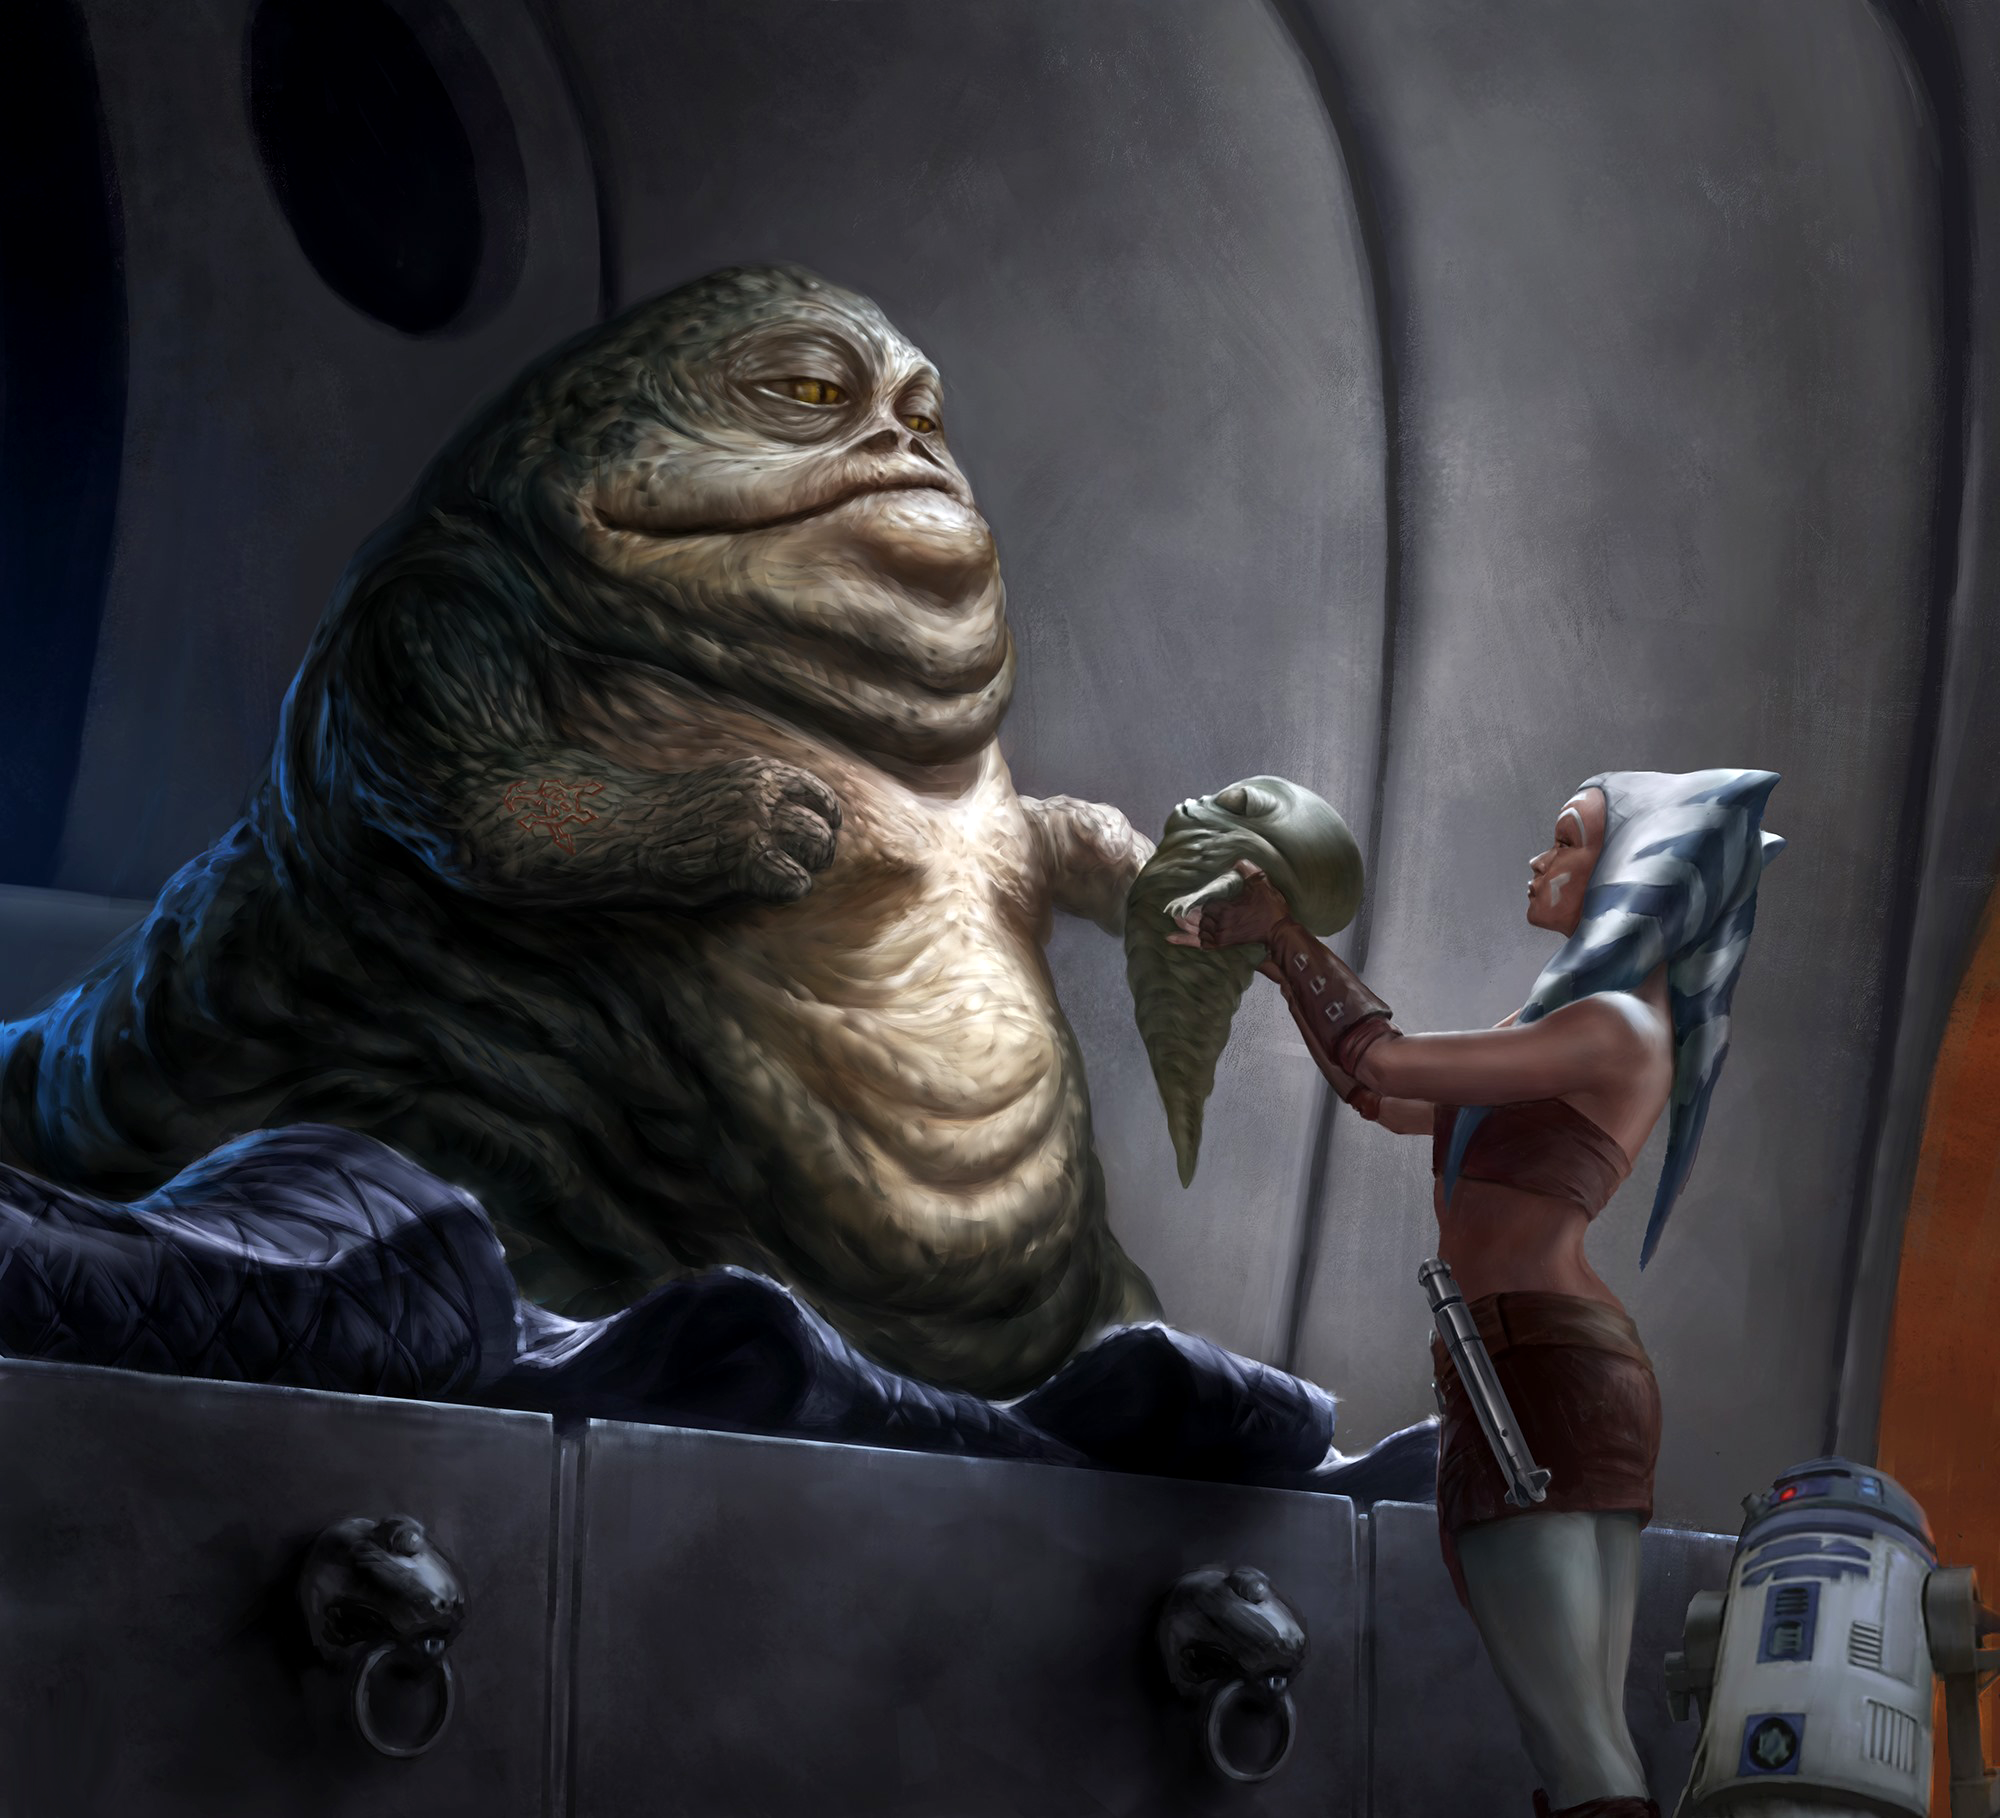
In 22 BBY, Jedi Master and Jedi General Obi-Wan Kenobi journeyed to Jabba's Palace to assure Jabba that the Galactic Republic would ensure the rescue of his son Rotta and to secure a pledge from the Hutts for safe passage for Republic vessels through the Outer Rim Territories. Following Rotta's rescue from Separatist forces, Jedi Knight Anakin Skywalker and his Padawan Ahsoka Tano returned him to Jabba's palace. Because they had failed to deliver the kidnapper, Jabba intended to execute Skywalker and Tano as well. However, Senator Padmé Amidala intervened to save her comrades by revealing Jabba's uncle Ziro as the mastermind behind Rotta's abduction.
After the kidnapping of his daughters in 21 BBY, Senator Papanoida and his son Ion went to Jabba's Palace to confront the Rodian bounty hunter Greedo, who was implicated in the abduction of the Papanoida girls. Following a confrontation, Greedo consented to guide Papanoida and Ion to Chalmun's Spaceport Cantina in Mos Eisley, where one of Papanoida's daughters, Che Amanwe, was rescued and reunited with her family.
After abducting the droids R2-D2 and C-3PO, stealing the schematics of the Senate Building, and wiping their memories, the Duros bounty hunter Cad Bane traveled to Jabba's Palace to deliver the plans to Jabba. There, the crime lord assigned Bane on a mission to free Ziro from Republic imprisonment. Ziro possessed classified information that the Grand Hutt Council wanted to keep out of the Republic's hands. After assassinating Ziro, the Pa'lowick singer Sy Snootles returned to Jabba with Ziro's holo-diary, concealing Ziro's secrets from both the Republic and the Grand Hutt Council.
In 19 BBY, former Sith apprentice Maul and his Shadow Collective made their way to Jabba's Palace. After eliminating a significant number of Jabba's guards, the Shadow Collective forced their way into Jabba's throne room. Faced with overwhelming force, Jabba and Gorga Desilijic Aarrpo chose to align themselves with Maul's Shadow Collective.
Imperial era
Hiring Black Krrsantan

During the Imperial Era, Jabba the Hutt hosted the Wookiee bounty hunter Krrsantan, whom he engaged to track down Obi-Wan Kenobi, a survivor of the Great Jedi Purge, who had attacked his water tax collectors during the Great Drought. To demonstrate his combat skills, Krssantan single-handedly shot several of Jabba's guards within his throne room. Krrsantan located Kenobi but was unsuccessful in killing him. Fearing Jabba's retribution, the Wookiee fled Tatooine.
Imperial entanglements
Following the Battle of Yavin, Darth Vader visited Jabba's Palace in 0 ABY to finalize negotiations concerning the transport of supplies through Hutt Space to Weapons Factory Alpha on the moon Cymoon 1. Jabba attempted to claim a bounty on Vader's head and instructed his subordinates to attack the Sith Lord. Employing his Force powers and lightsaber skills, Vader decimated Jabba's guards and Force choked the Hutt crime lord.
To repair relations, Jabba consented to provide Vader with two bounty hunters: Boba Fett and Black Krssantan. Fett's mission was to hunt down Luke Skywalker, the Rebel Alliance pilot who destroyed the Death Star, while Krssantan was tasked with bringing the Emperor's agent Cylo to him. The next day, Vader revisited Jabba's palace and concluded the negotiations. Jabba agreed to grant the Empire access to Hutt Space in exchange for financial compensation. Subsequently, Jabba took Vader on a tour of Tatooine's Dune Sea aboard the sail barge Khetanna.
Invaded by a thief
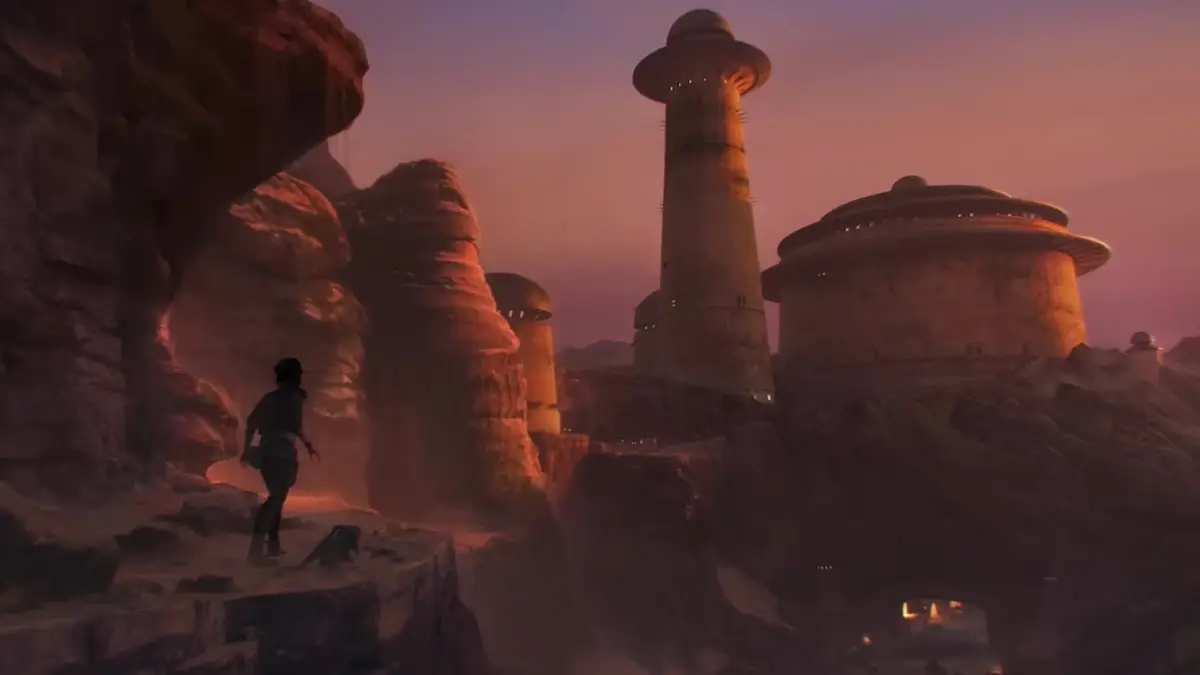
When Nix, a member of the rare merqaal species, was stolen and ended up in Jabba's possession, criminal Kay Vess infiltrated Jabba's Palace to retrieve her companion. Nix displayed aggression towards Jabba by attacking him. Following a conflict, Jabba decided to send Vess, along with Vail Tormin, a bounty hunter who was pursuing Vess and attempted to escape from the Palace with her in a WTK-85A interstellar transport, to uncover the identity of a spy that the crime syndicate Zerek Besh had placed in Jabba's Palace. In return, Jabba would forgive the two for the disturbance at the Palace, return Nix, and permit them to leave Tatooine unharmed. The mission was a success, and the spy was identified. After Vess obtained compromising information about Governor Thorden of the moon Toshara, at Jabba's request, who intended to leverage it to gain an advantage over the Pyke Syndicate, Vess delivered the information to Jabba at his palace.
Rescuing Han Solo
Luke Skywalker and his allies devised a strategy to rescue Han Solo, who was frozen in carbonite and kept by Jabba as a decorative piece in the palace. Initially, bounty hunter Beilert Valance openly attacked Jabba's Palace to deceive the Hutt into deploying his Megadroid guardian. With the droid destroyed in the subsequent Death Match on Tatooine by Valance and T'onga's crew, Skywalker and his team were poised for an easier extraction of Solo. Eventually, Lando Calrissian, in disguise, infiltrated the palace as a new skiff guard. Shortly after his arrival at the palace, Calrissian allowed Valnir Nai, a waitress forced into Jabba's service, to escape his watch with valuable gems stolen from the Hutt's tribute. While they lost the gems in a confrontation with the Rodian enforcer Raymo, Nai and her friend Laizhu Bedenn both succeeded in escaping the palace to seek new opportunities.
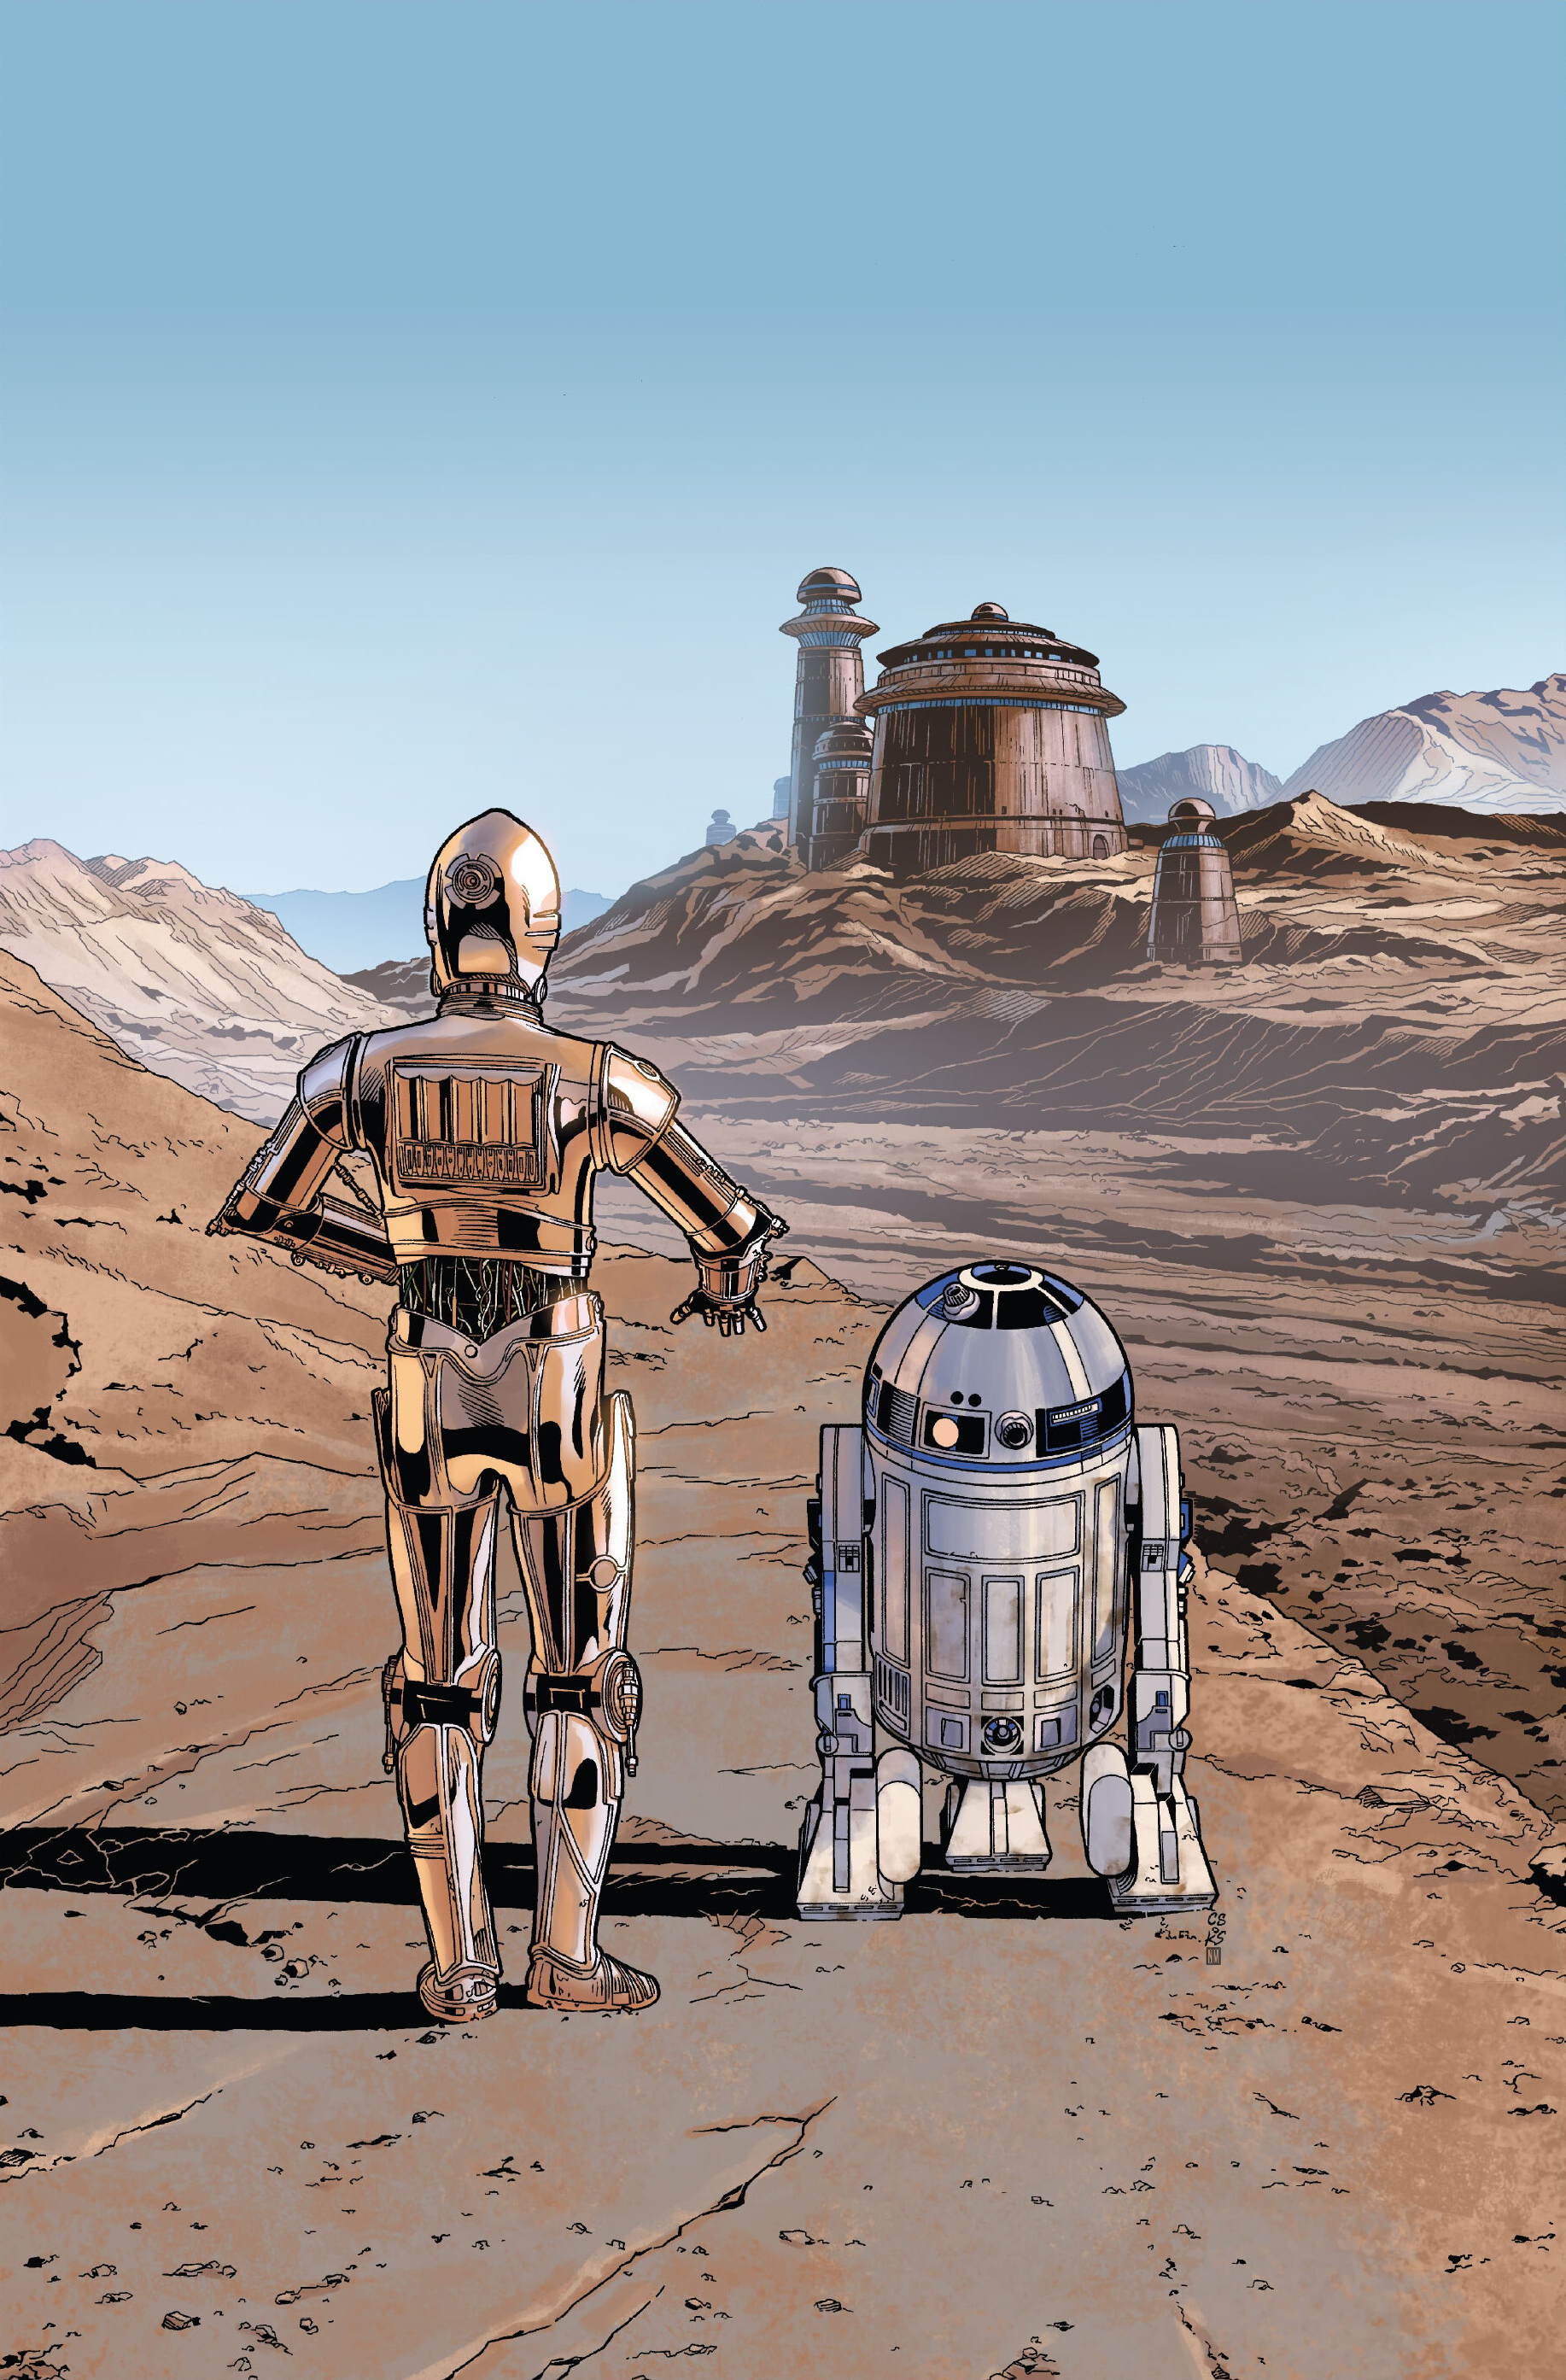
In time, the rebel droids C-3PO and R2-D2 arrived at Jabba's Palace under Luke Skywalker's direction as part of the rescue operation. Through a hologram, Skywalker presented the droids as a gift in an attempt to secure Solo's release. Predictably, Jabba declined and forced the droids into his service. Subsequently, Leia Organa appeared disguised as the bounty hunter Boushh with the captive Wookiee Chewbacca, Solo's co-pilot.
Leia successfully freed Han from carbonite but was captured by Jabba. The following day, Skywalker arrived and reiterated his demand for the release of Solo and his companions. Jabba refused and dropped Skywalker through the trapdoor into the rancor pit, where Pateesa also killed the Gamorrean guard Jubnuk. Skywalker managed to kill Pateesa by dropping the dividing door on top of the rancor. Jabba then attempted to feed Skywalker, Solo, and Chewbacca to the sarlacc at the Great Pit of Carkoon. However, the rebels broke free and killed Jabba and his henchmen, inflicting a significant blow to his criminal enterprise.
Beyond Jabba
Following Jabba's demise, several of his employees, including the beastmaster Malakili, remained at the palace awaiting the arrival of a new Hutt to occupy the dais. As supplies of food and water dwindled, many of Jabba's former employees deserted the castle. Malakili was among the last to depart. He later joined a community known as Freetown, led by the lawman and Mayor Cobb Vanth, who enlisted Malakili's assistance in taming two rontos and a Huttlet named Borgo. The Red Key crime syndicate had attempted to install the Huttlet in Jabba's palace, but Cobb thwarted their plan.
The B'omarr Order was known to have regained control of the Palace sometime after Jabba's death. They permitted the bounty hunter J'Quille to join them during that period.
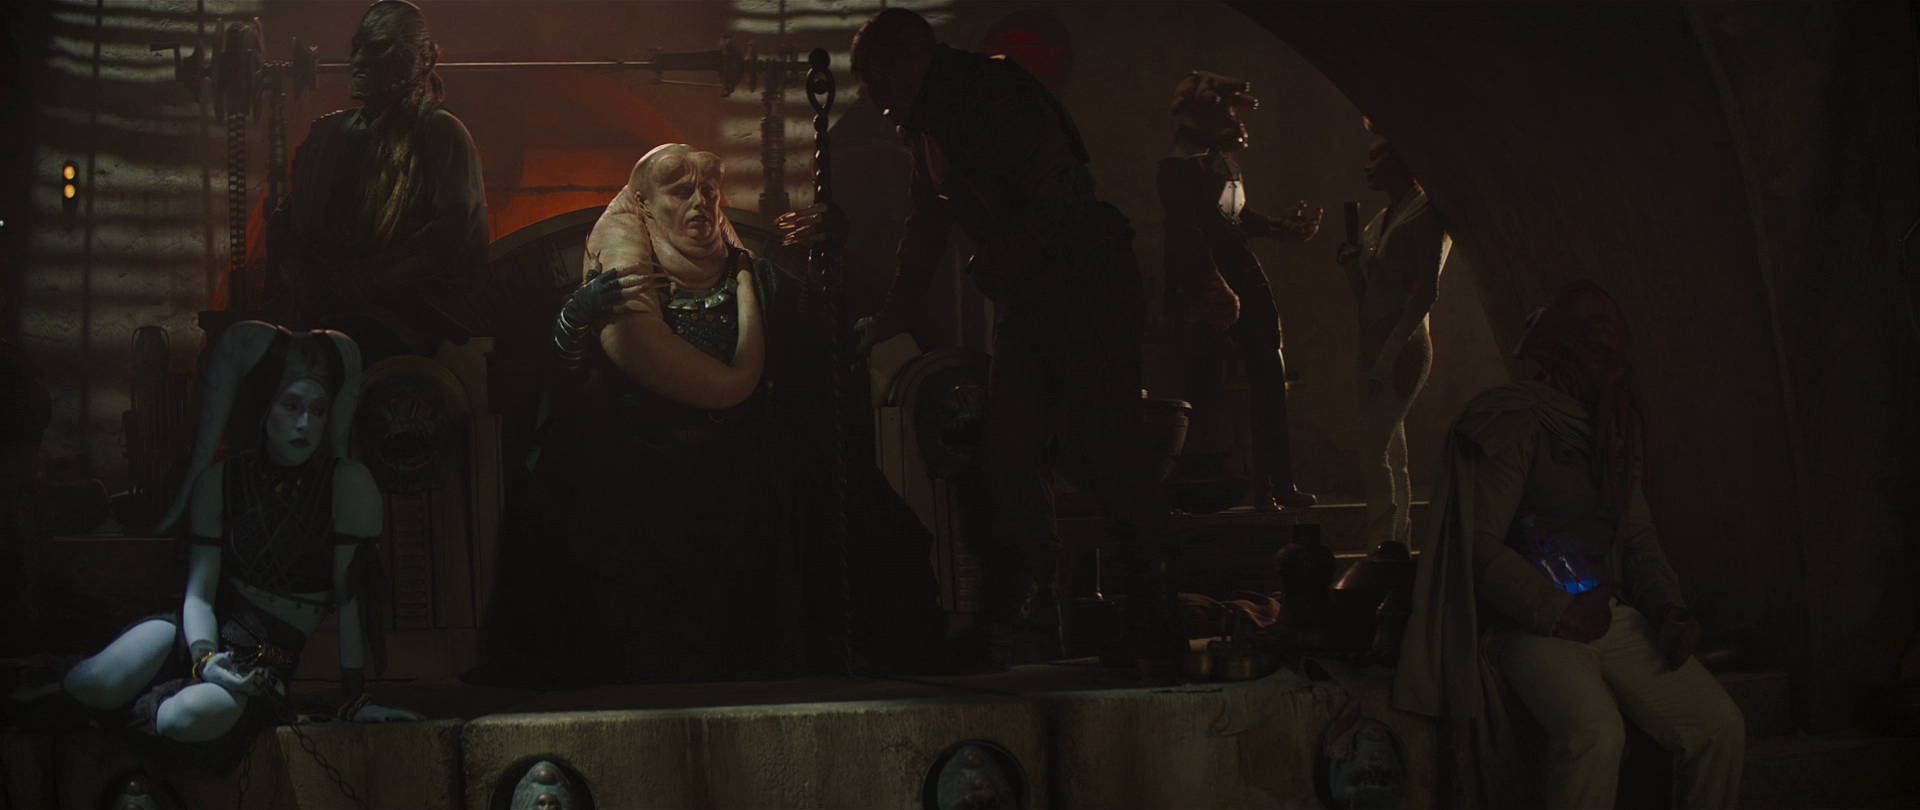
Around 9 ABY, Bib Fortuna had succeeded Jabba as the ruler of the palace. Boba Fett and his partner Fennec Shand infiltrated the palace and recovered his ship, the Slave I, which was stored in the palace's garage. Subsequently, after settling their debt to Din Djarin, Fett and Shand attacked the palace once more, killing Fortuna and the guards, before Fett claimed the throne.

The B'omarr Monks continued to roam the Palace grounds during Fett's reign. Fett, who became the Daimyo of Mos Espa, received visitors and accepted tributes in the throne room with Shand at his side. Fett used a bacta tank within the palace to heal his scars. After Fett and Shand were ambushed in Mos Espa by six assassins from the Order of the Night Wind, Shand captured one of the attackers alive and brought him to the palace. When the assassin refused to provide Fett with any information, Shand dropped the prisoner into the rancor pit. The assassin, believing a rancor was in the pit, succumbed to fear and confessed that Mayor Mok Shaiz had hired him. However, the Night Wind assassin had been tricked, as there was no rancor behind the door.
Later on, 8D8 provided Fett with a presentation detailing the history of Jabba the Hutt's and Bib Fortuna's territories. As Fett and Shand discussed the assassin attack from before, one of the Gamorrean guards arrived with news that one of Fett's vassals wished to speak with the Daimyo. Fett allowed the visitor to enter the throne room. The visitor introduced himself as a water-monger named Lortha Peel. 8D8 inquired about Peel's request to Fett, to which Peel responded that no one respected the new Daimyo. The droid angrily interrupted the vendor, but Fett instructed his assistant to allow Peel to speak. Peel and the Daimyo then discussed the disorder among the residents of Mos Espa, and the water-monger requested Fett's assistance in eliminating the Mods, a group of cybernetically enhanced individuals who were stealing from him. Fett visited the mods, but after hearing their side of the story, he chose to hire the gang members instead.
Later, the bounty hunter Krrsantan infiltrated the palace while Fett was in his bacta tank and attempted to assassinate Fett. Krrsantan failed and was captured.
Behind the scenes
Jabba's card from the digital card game Star Wars: Force Collection portrayed Jabba's Palace as having been constructed by Jabba himself, utilizing his intelligence and wealth. Conversely, the 2015 book Return of the Jedi: Beware the Power of the Dark Side! depicted Jabba's Palace as having been an ancient monastery of the B'omarr Order, which Jabba fortified and renovated, thus creating a continuity inconsistency. Star Wars: Complete Locations, published in 2016, supports the latter narrative, as does the The Clone Wars film.