Skywalker lightsaber
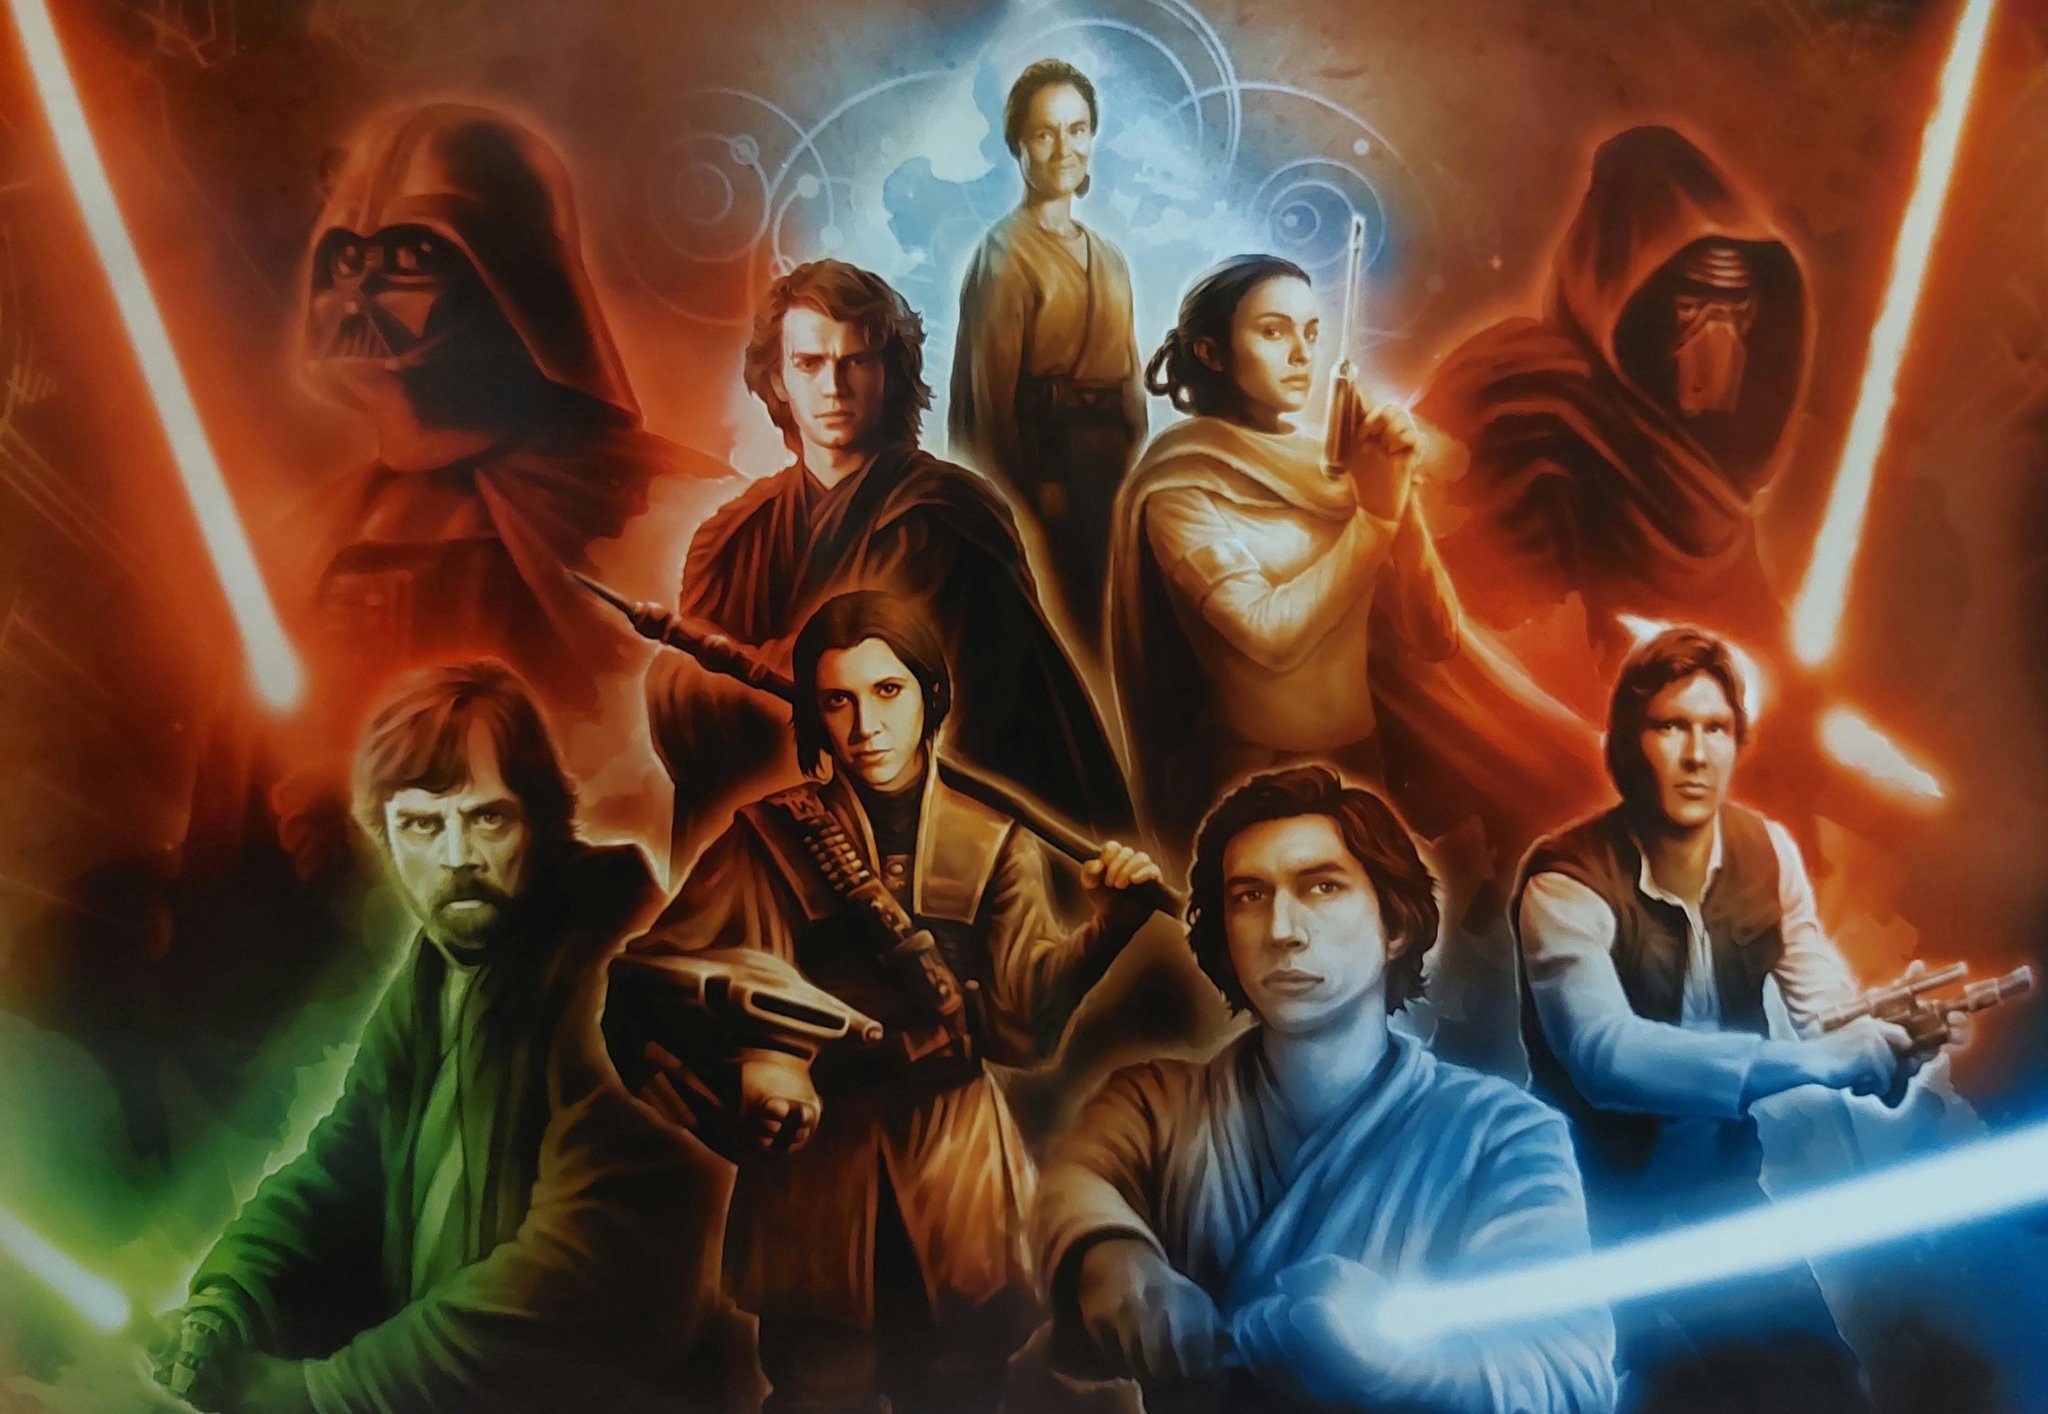
The Skywalker lightsaber, also referred to by different names such as Anakin's, Luke's, and Rey's lightsaber, was a blue colored Jedi weapon of the lightsaber variety. It was originally constructed by Anakin Skywalker, a Jedi Knight and the prophesied Chosen One of the Force, during the closing years of the Republic Era. It served as a replacement for his initial lightsaber. Anakin brandished this new weapon as a Jedi General within the Grand Army of the Republic, commanding clone troopers against the forces of the Separatist Droid Army across numerous battle zones in the galaxy-spanning conflict known as the Clone Wars. He engaged in combat with a diverse range of adversaries, from battle droids to Force-sensitive warriors like Asajj Ventress, Savage Opress, Barriss Offee, and Count Dooku.
Despite its association with the Jedi Order, the Skywalker lightsaber became an instrument of death against Jedi during the siege of the Jedi Temple that occurred during Order 66 and the subsequent Great Jedi Purge. Darth Vader, the dark side manifestation of Anakin Skywalker, used it to massacre a group of Jedi younglings on Coruscant before traveling to Mustafar. There, he eliminated the Separatist Council on behalf of his new Sith Master, the Galactic Emperor Darth Sidious. Vader ultimately lost possession of the weapon as a consequence of his defeat at the hands of Jedi Master Obi-Wan Kenobi. Kenobi safeguarded the Skywalker lightsaber for approximately two decades throughout the Imperial Era. Eventually, Kenobi passed the lightsaber on to Anakin's son, Luke Skywalker, who wielded it while training as a Jedi apprentice and during his involvement with the Rebel Alliance, including the rescue of Leia Organa from the Death Star. During the war, the saber was used to fight several individuals, including Kreel and Boba Fett, but was later lost on Bespin when Luke confronted his father. After losing his father's lightsaber, Luke replaced it with a yellow lightsaber and later a green lightsaber he built on his own.
In time, the Skywalker lightsaber ended up in the hands of Maz Kanata, a friend to the Skywalker family. She concealed the Jedi weapon within her castle on Takodana during the New Republic Era. Through the Force, the lightsaber beckoned to Rey, a Force-sensitive scavenger hailing from Jakku. Rey initially rejected the weapon after experiencing a disturbing Force vision upon touching it. During the Battle of Takodana, Kanata entrusted the lightsaber to Finn. After beating the rogue Stormtrooper on Starkiller Base, Kylo Ren, the grandson of Darth Vader, attempted to claim the weapon that once belonged to his grandfather. However, Rey took possession of it instead. Despite her earlier reluctance, the scavenger embraced the Skywalker lightsaber and engaged Ren in their initial lightsaber duel. Following the Battle of Starkiller Base, Rey tracked Luke Skywalker to Ahch-To, but the Jedi Master declined to reclaim his former lightsaber. It was later sheared in half by Ren and Rey, but the scavenger managed to repair the lightsaber. It remained in Rey's possession until her arrival on Exegol, where she relinquished it to a redeemed Ben Solo, returning the legendary blade to a Skywalker, who then used it to defeat the Knights of Ren. In the aftermath of the Battle of Exegol, Rey interred the renowned lightsaber alongside Leia Organa's lightsaber on Tatooine, the desert homeworld of both Anakin and Luke.
Description
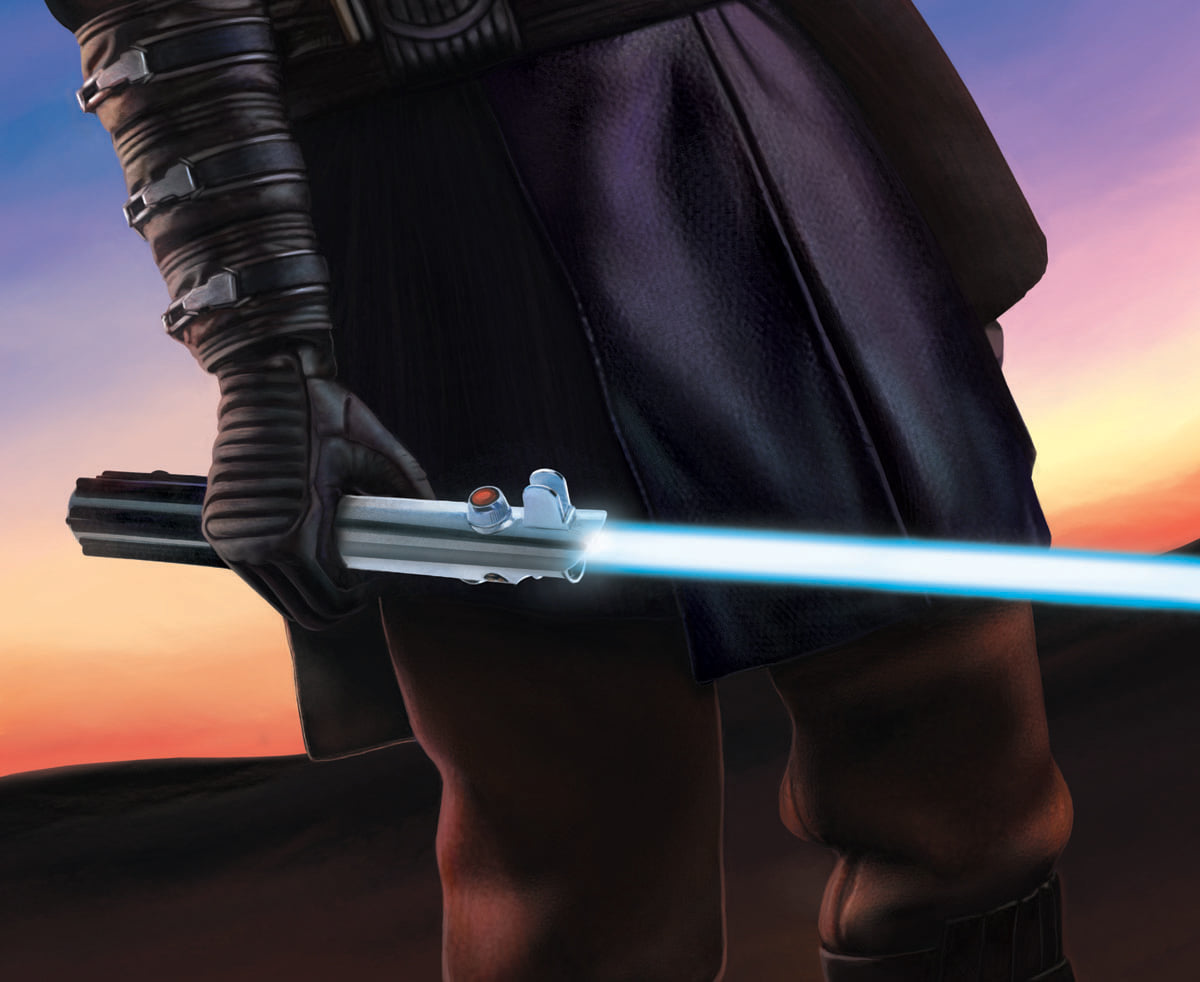
Much like any lightsaber utilized by the Jedi Order, the power source for Anakin Skywalker's lightsaber was a kyber crystal situated at the center of its hilt. Consistent with his prior lightsaber, this new iteration emitted a blue beam of high-energy plasma due to the crystal's intrinsic connection with its original owner. The blade was contained in a "kyber-powered permeable suspension field."
The hilt measured twenty-eight centimeters in length, boasting a cylindrical form crafted from alloy metal and carbon composites. Beyond the crystal, the Skywalker lightsaber incorporated various components, including a power cell at the hilt's base, an activation matrix, black rubberized grip ribbing, a ring tuning flange, a magnetic stabilizing ring and emitter, and a mechanism designed to modify the blade's length. Its design dictated that the Skywalker lightsaber be wielded with the upper hand providing support by gripping the hilt, while the lower hand guided the blade's direction. It was also capable of functioning underwater. Anakin's lightsaber also functioned as a vergence when Rey made contact with it, granting her insights from the past upon touching it within Takodana Castle.
Rey's endeavors to reconstruct the Skywalker lightsaber brought about alterations in its visual appearance. The two separated halves of the hilt were fused back together via welding, resulting in visible weld marks in the weapon's midsection. Furthermore, Rey affixed her leather wrist strap around the hilt's center, encompassing the refitted activation matrix, which further secured the previously fractured pieces. The kyber crystal, once shattered, remained housed within the hilt, having been restored through a Jedi technique executed by Rey.
History
Carried by Anakin Skywalker
Weapon of a Jedi
On Geonosis, Anakin Skywalker's first lightsaber met its end when it was destroyed by a mechanical cutting arm while he was battling through Poggle the Lesser's battle droid foundries. During the First Battle of Geonosis, Anakin temporarily wielded a green-bladed lightsaber borrowed from another Jedi named Nicanas Tassu, but it too was destroyed during a duel with Count Dooku.
At some point between his ordeal on Geonosis and the mission to Benglor, Anakin Skywalker constructed a new lightsaber for himself.
When Count Dooku was forced to crash land on Vanqor, Skywalker and Obi-Wan Kenobi pursued him into a cave. However, Dooku then caused a cave in, which buried Skywalker and separated him from Kenobi. Dooku then took his lightsaber, hiding it alongside his and then arranged for transportation with Hondo Ohnaka and his pirate gang aboard their ship to Florrum. However, Dooku lost both his and Skywalker's lightsaber to the pirates. When Kenobi and Skywalker came to check on their claim, Skywalker tried to take his lightsaber back from Pilf Mukmuk to no avail. Skywalker was then able to retrieve his weapon from Mukmuk, free himself and Kenobi and hold Ohnaka hostage until Jar Jar Binks arrived.
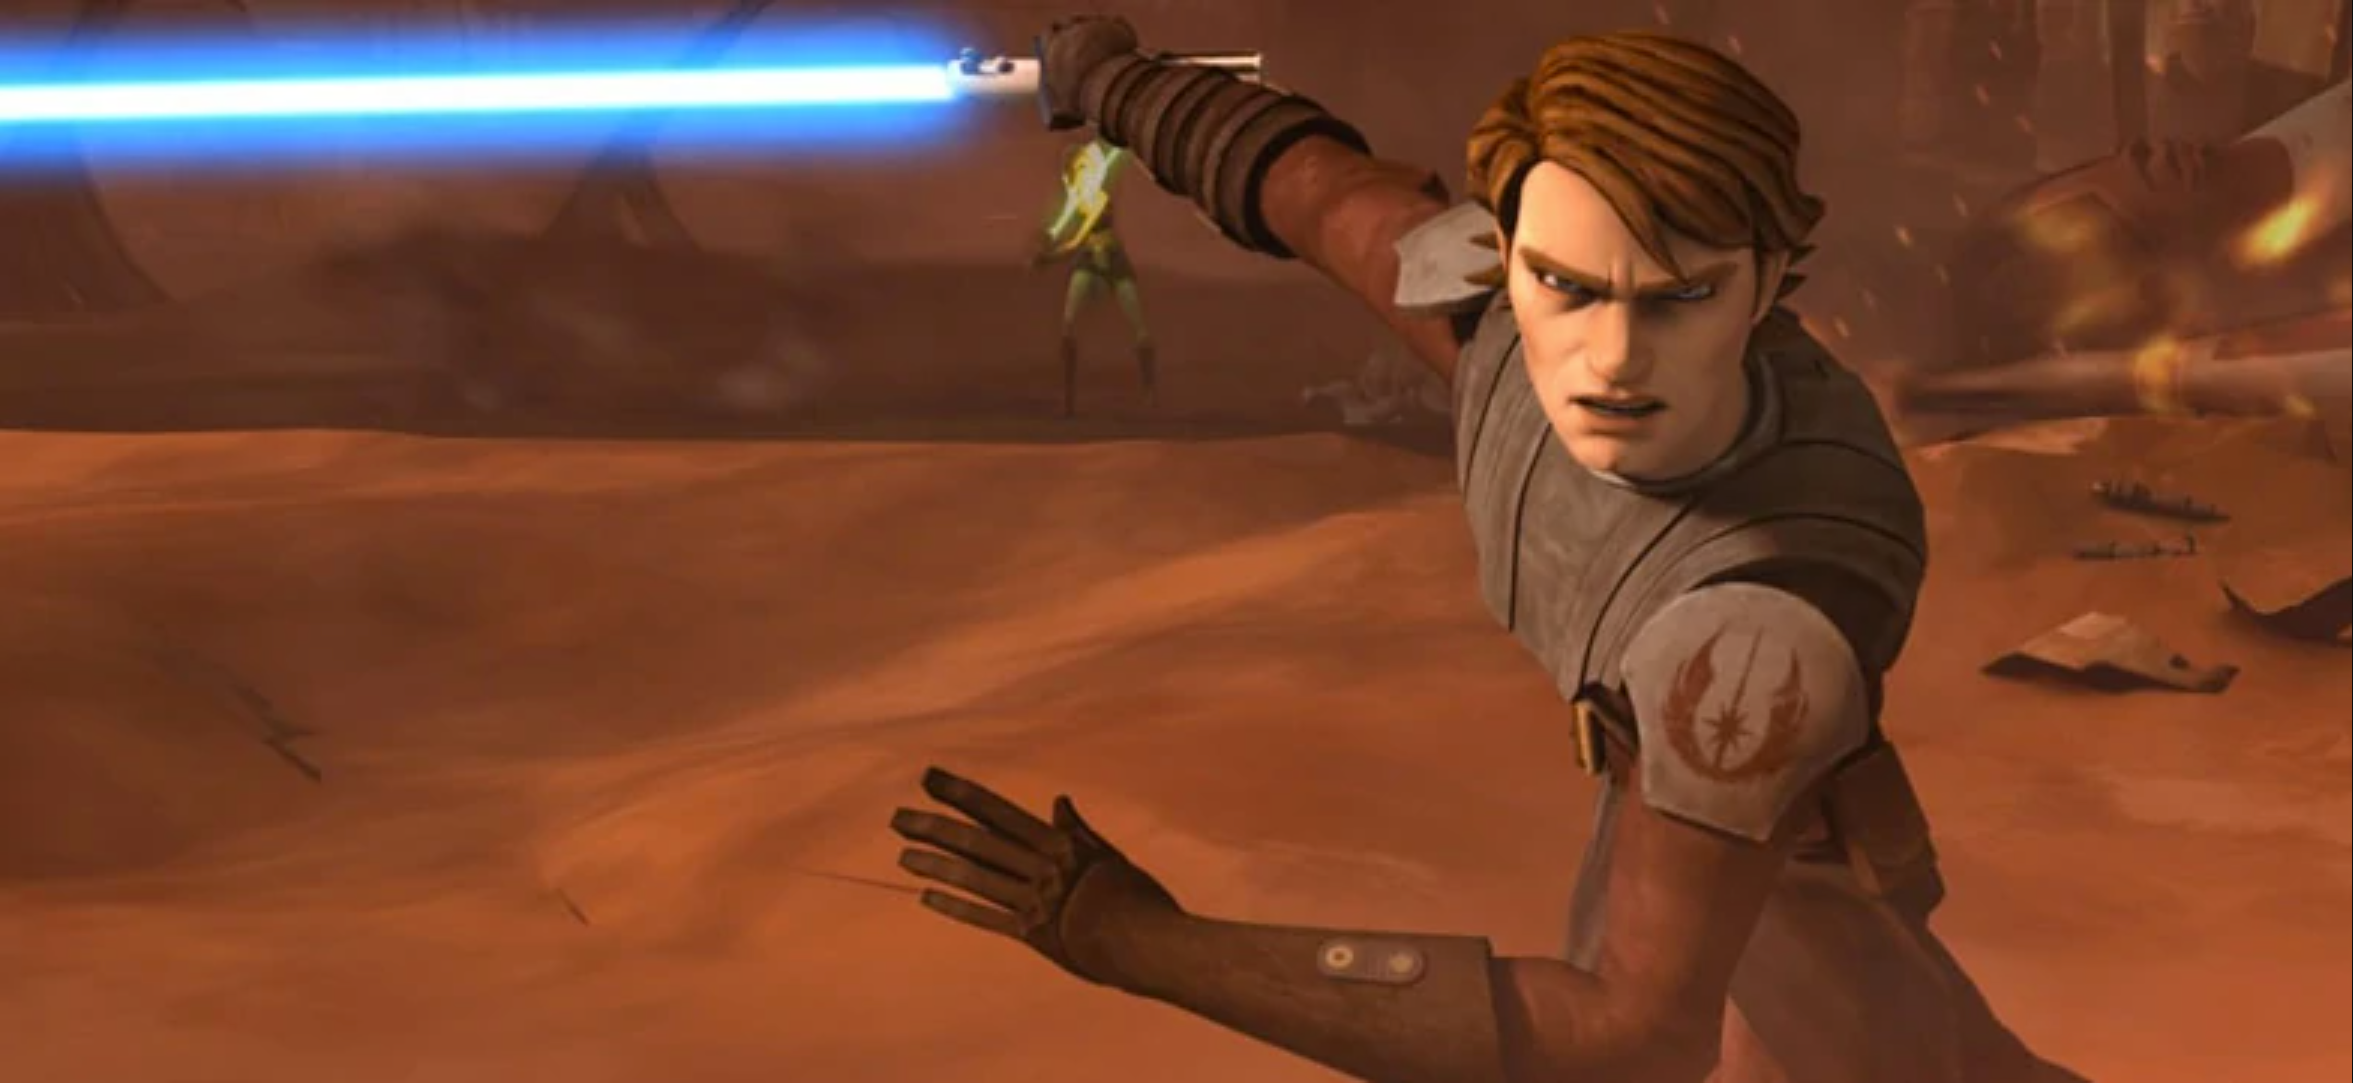
On several occasions, Anakin used his lightsaber to perform Jar'Kai. Skywalker also used his lightsaber with Ahsoka's lightsaber against two super battle droids on a Munificent-class star frigate, Luminara Unduli's lightsaber against undead Geonosian warriors on a rescue in the Progate Temple, and Barriss Offee's lightsaber in a duel at the Jedi Temple, despite Barriss disarming her former Jedi lightsaber from his grasp, Anakin was able to defeat her.
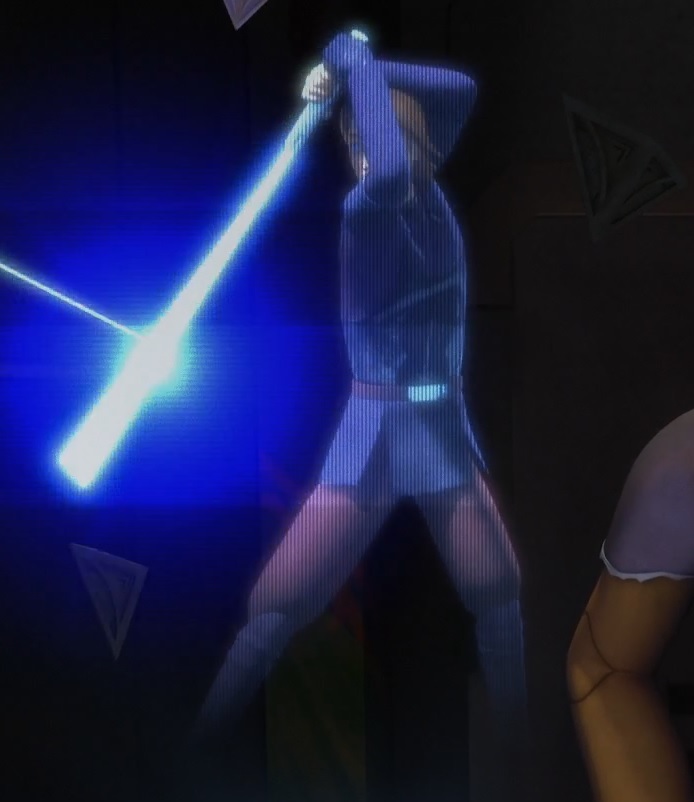
On one occasion, Anakin demonstrated his interpretation of the fourth form of lightsaber combat by utilizing his lightsaber to deflect numerous blaster bolts. He advised his students to pay attention to his teachings as they practiced his techniques, assuring them that it would serve them well in battle. This lesson was preserved as a holographic recording and stored within a Jedi holocron that eventually came into the possession of former Padawan Kanan Jarrus. Ezra Bridger, Jarrus' apprentice, used the holocron's recording as a resource to enhance his own lightsaber skills. In the process, Bridger was impressed by Anakin's skills, regarding him as an exceptional swordsman.
Skywalker later employed this weapon to duel and overcome Dooku, also recognized as the Sith Lord Darth Tyranus, during the Battle of Coruscant. Alongside Dooku's own lightsaber, Anakin used it to kill the Sith Lord by cutting off his head. Anakin later lost the weapon when captured during the rescue of Supreme Chancellor Sheev Palpatine to an OOM command battle droid aboard General Grievous's flagship, the Invisible Hand. The weapon was then given by droid to Grievous, who briefly added it to his collection, but Kenobi used a trick of the Force with the help of a distraction from R2-D2 to recover it and returned it to Anakin. He would wield this weapon when he chose Darth Sidious over Mace Windu, resulting in Sidious murdering Windu.
Weapon of a Sith
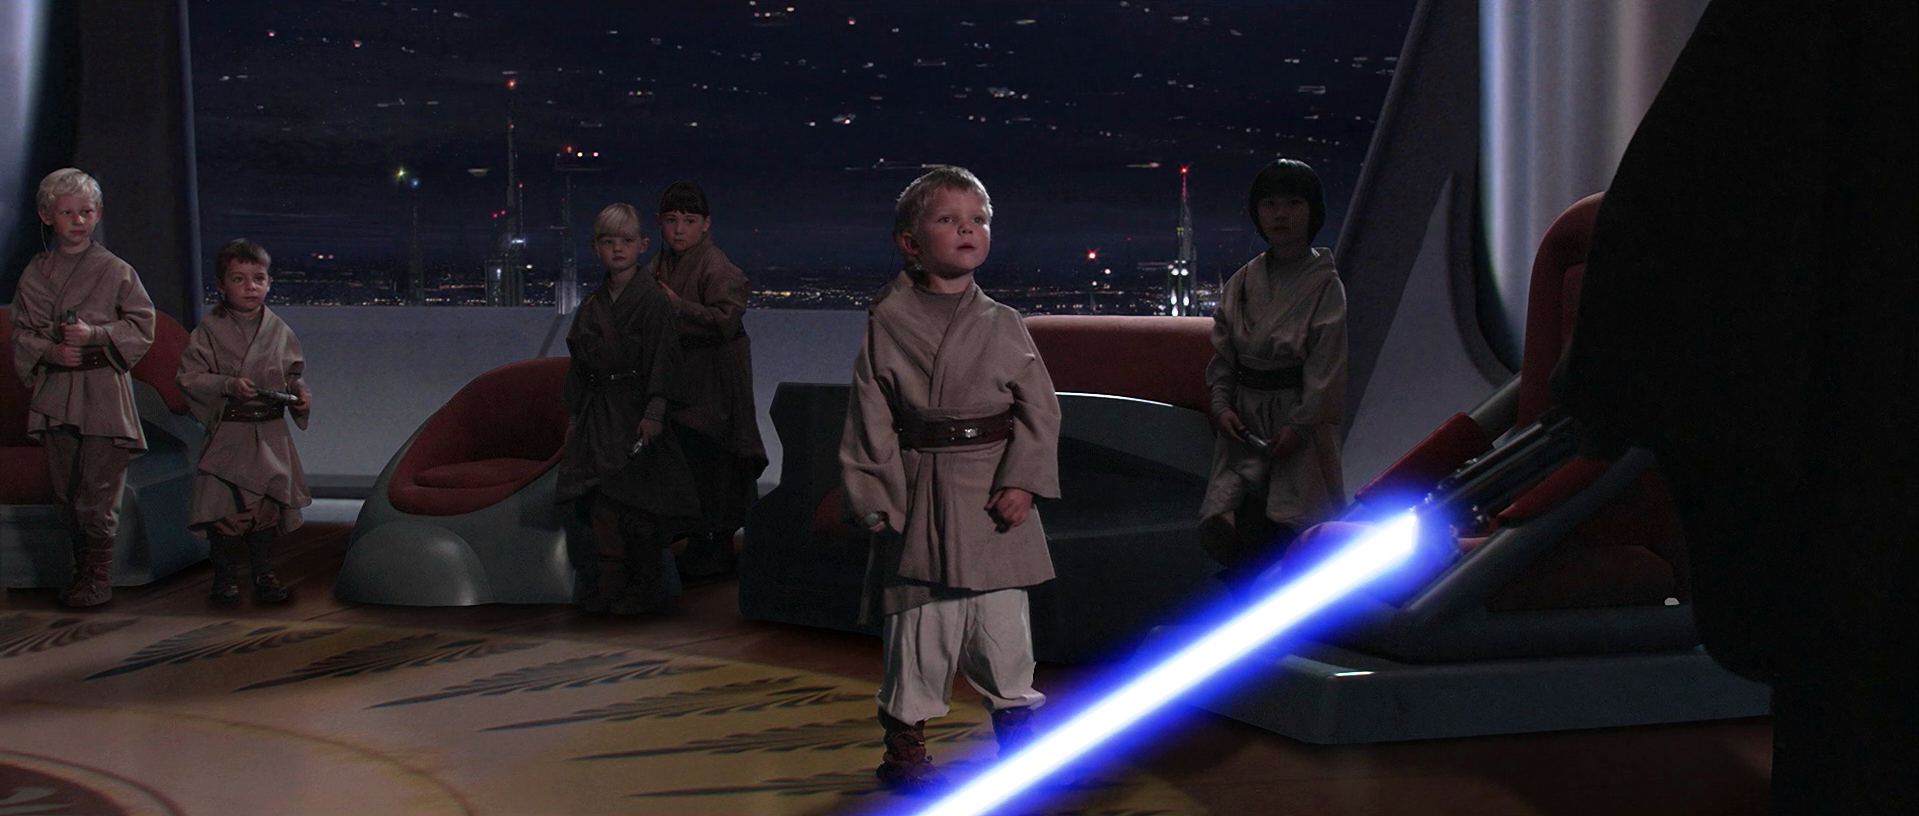
As Darth Vader, he subsequently wielded the weapon to murder numerous fellow Jedi during the execution of Order 66 and his siege of the Jedi Temple. Among those who fell victim to his blade were Cin Drallig, Whie Malreaux, Shaak Ti and an entire clan of younglings. Following this, he utilized the saber to assassinate the entire Separatist Council on his Mission to Mustafar. He would use the weapon to duel his former master on Mustafar. However, Vader lost the weapon when he was defeated and crippled, the lightsaber falling from his hand to the ashy shores. Reluctantly leaving his former apprentice to burn in the lava, Kenobi retrieved the lightsaber and took it with him.
However shortly after being reconstructed into a cyborg, Vader manage to replace it with using another lightsaber and bleed its kyber crystal from green to red. Vader used the curved-hilt lightsaber until it was subsequently destroyed during an attempt on Vader's life on Cabarria, during which the hilt was shattered by the combined strain of a tractor rifle and Vader's pulling it back with the Force. Salvaging the crystal, Vader soon craft a new hilt for it that also contained a dual-phase feature.
Carried by Obi-Wan Kenobi
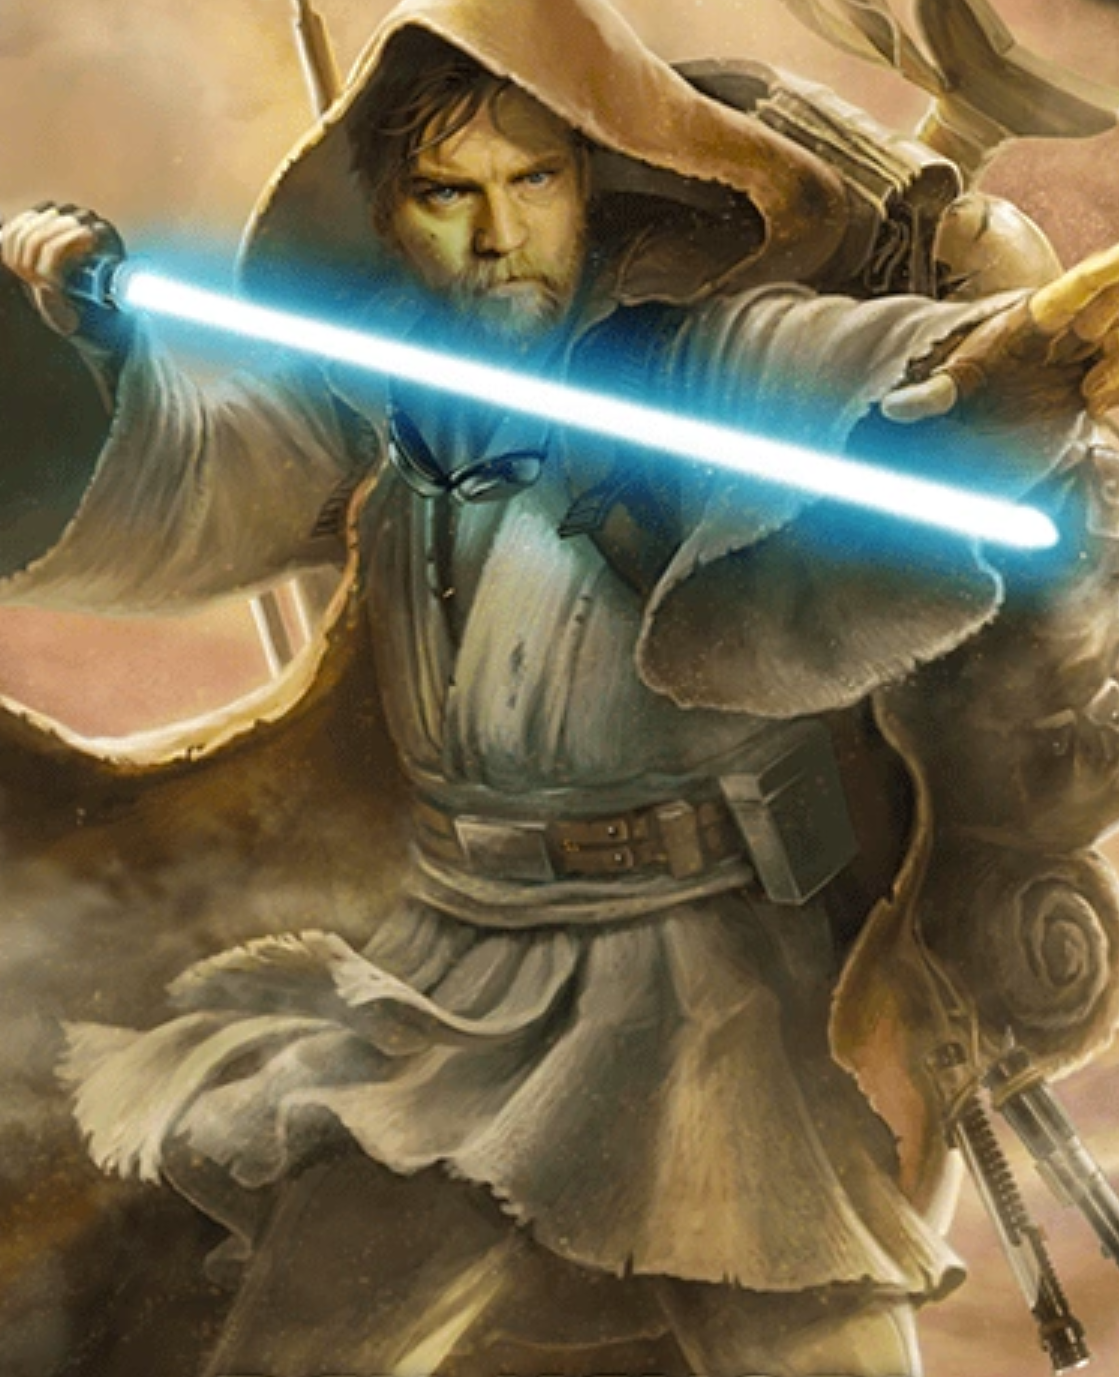
Sometime after the duel on Mustafar, Anakin's lightsaber was buried alongside Kenobi's lightsaber in a chest out in the desert of Tatooine to both avoid using them and hide Kenobi's identity as a Jedi. However, when Senator Bail Organa begged him to leave Tatooine to save his daughter Leia Organa, Kenobi uncovered the chest. After Kenobi returned to Tatooine, he took the chest with him when moving to a new home.
Carried by Luke Skywalker
From father to son
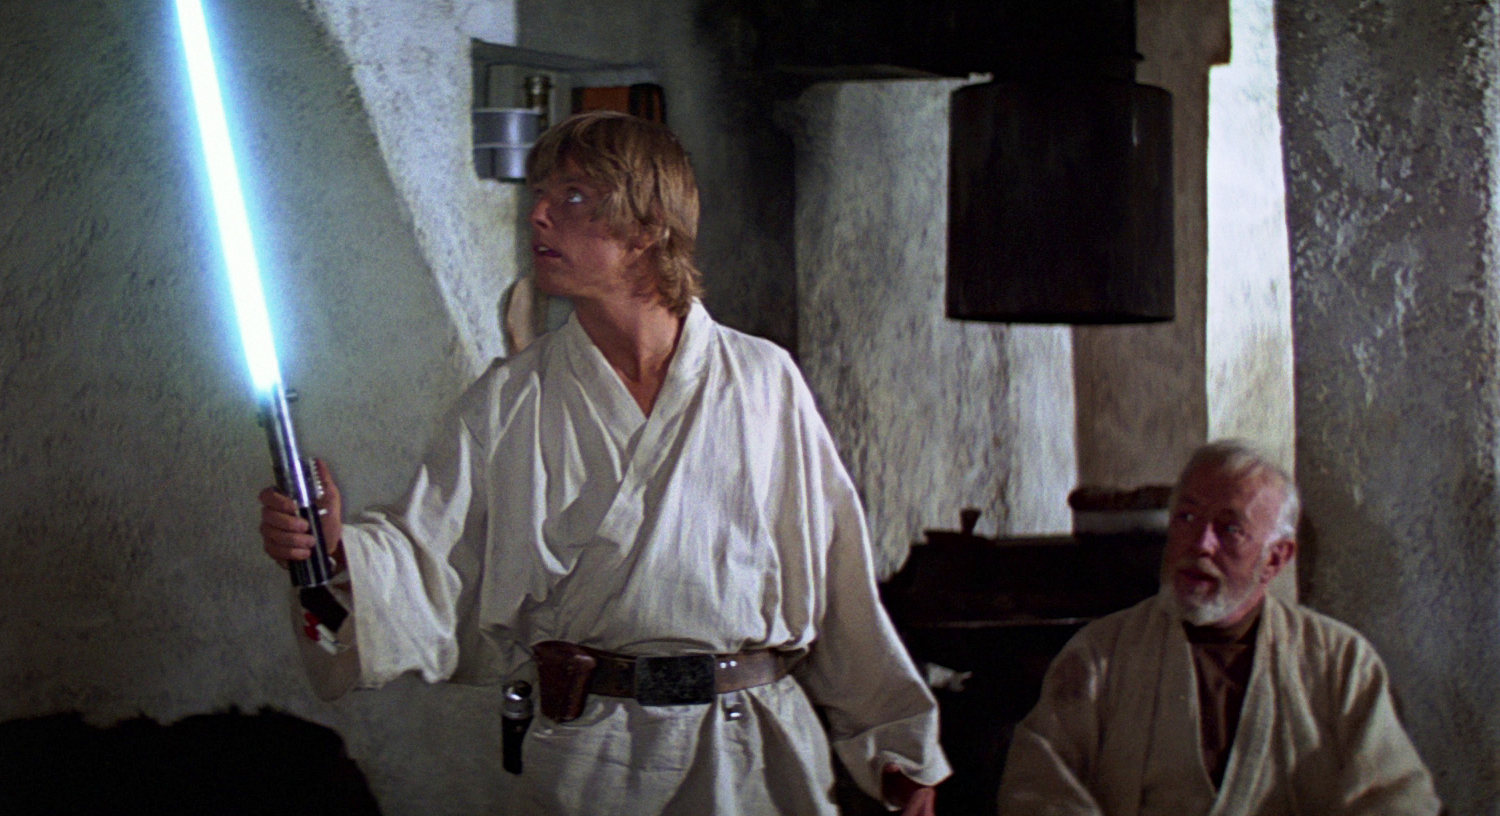
Anakin's lightsaber remained in Obi-Wan's possession for nineteen years until he was given an opportunity to give the weapon to Luke, Anakin's son, after rescuing the young Skywalker from a Tusken Raider attack. At his home, Kenobi presented Skywalker with his father's lightsaber stating that his father wanted him to have it when Skywalker was old enough but his uncle Owen Lars wouldn't allow it as he thought Skywalker would follow in his father's footsteps and join Kenobi on some "damn fool idealistic crusade."
Following the death of his aunt and uncle, Skywalker became Kenobi's apprentice and started to learn the ways of the Jedi. During his voyage to Alderaan, Skywalker began training with the weapon onboard the Millennium Falcon where he used the Jedi form of Form I, to deflect blaster bolts from a training remote. While rescuing Princess Leia Organa from the Death Star battle station, Skywalker had his father's weapon clipped onto his belt and used an E-11 medium blaster rifle for the remainder of the escape.
Skirmish on Hradreek
Sometime after the Battle of Yavin, Skywalker, along with R2-D2, traveled to the planet Hradreek to collect a credit chip. After acquiring the chip, the he felt a disturbance in the Force and entered a room where he discovered an old lightsaber. Luke then used the weapon to slaughter a squad of Imperial stormtroopers who discovered him with the corpses. To avoid more Imperial forces Skywalker stole a podracer, which he eventually crashed. After evading the Empire, Skywalker decided that the lightsaber was too dangerous to be kept in one piece, and used his blue-bladed lightsaber to destroy the weapon.
Usage on Cymoon 1
Following Kenobi's untimely demise at the hands of Darth Vader and the subsequent Battle of Yavin, Skywalker began to teach himself how to wield his father's weapon. On the moon of Cymoon 1, Skywalker participated in an assault to infiltrate and destroy the Weapons Factory Alpha. After the Force guided Skywalker to a cage filled with Imperial slaves, he was confronted by a guard. Skywalker first attempted to use a Jedi mind trick to ward the guard off, but when that failed, Skywalker ignited his lightsaber and sliced the guard's hand off, allowing Skywalker to break the slaves out of their cage and lead them to the other Rebels.
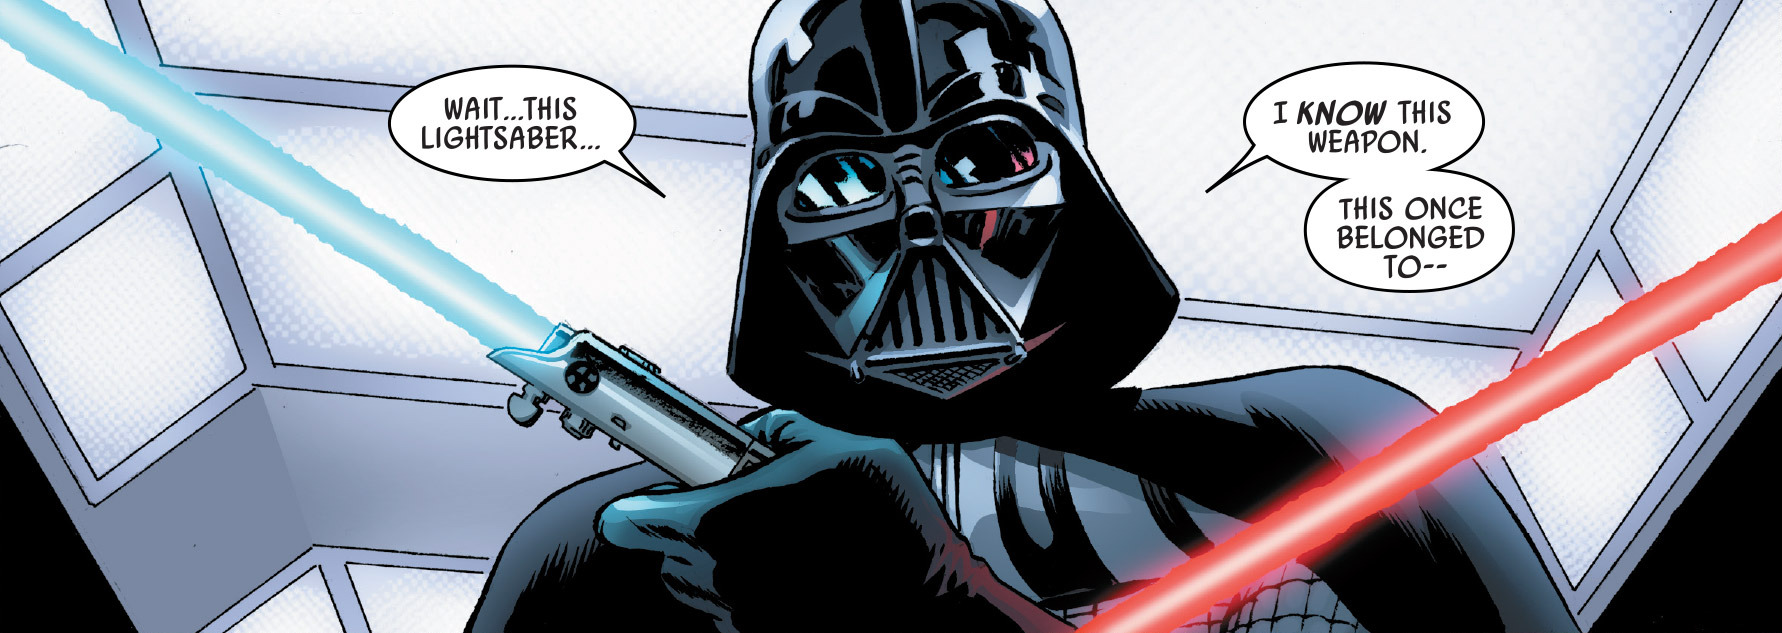
When he found out that Darth Vader had arrived on the moon, Skywalker searched for him in the facility, as he still believed that Vader was the man who killed his father. As Skywalker approached the Dark Lord, he had his lightsaber drawn and activated as he came face to face with his father's so-called killer.
Vader mocked Luke for his lack of training in lightsaber combat, and he easily pulled the lightsaber out of Luke's grasp through the Force. However, before Vader could strike the unarmed Luke down, he suddenly recognized Luke's lightsaber as his own former weapon. Luke managed to escape from Vader after Han Solo and Leia Organa broke through the wall with a stolen AT-AT, while Vader used Luke's lightsaber to kill several escaped slaves. Luke was able to retrieve the weapon when Vader was shot at using the walker's guns, and continued to use it, but the encounter left Vader eager to convert Luke to his side.
Usage on Tatooine
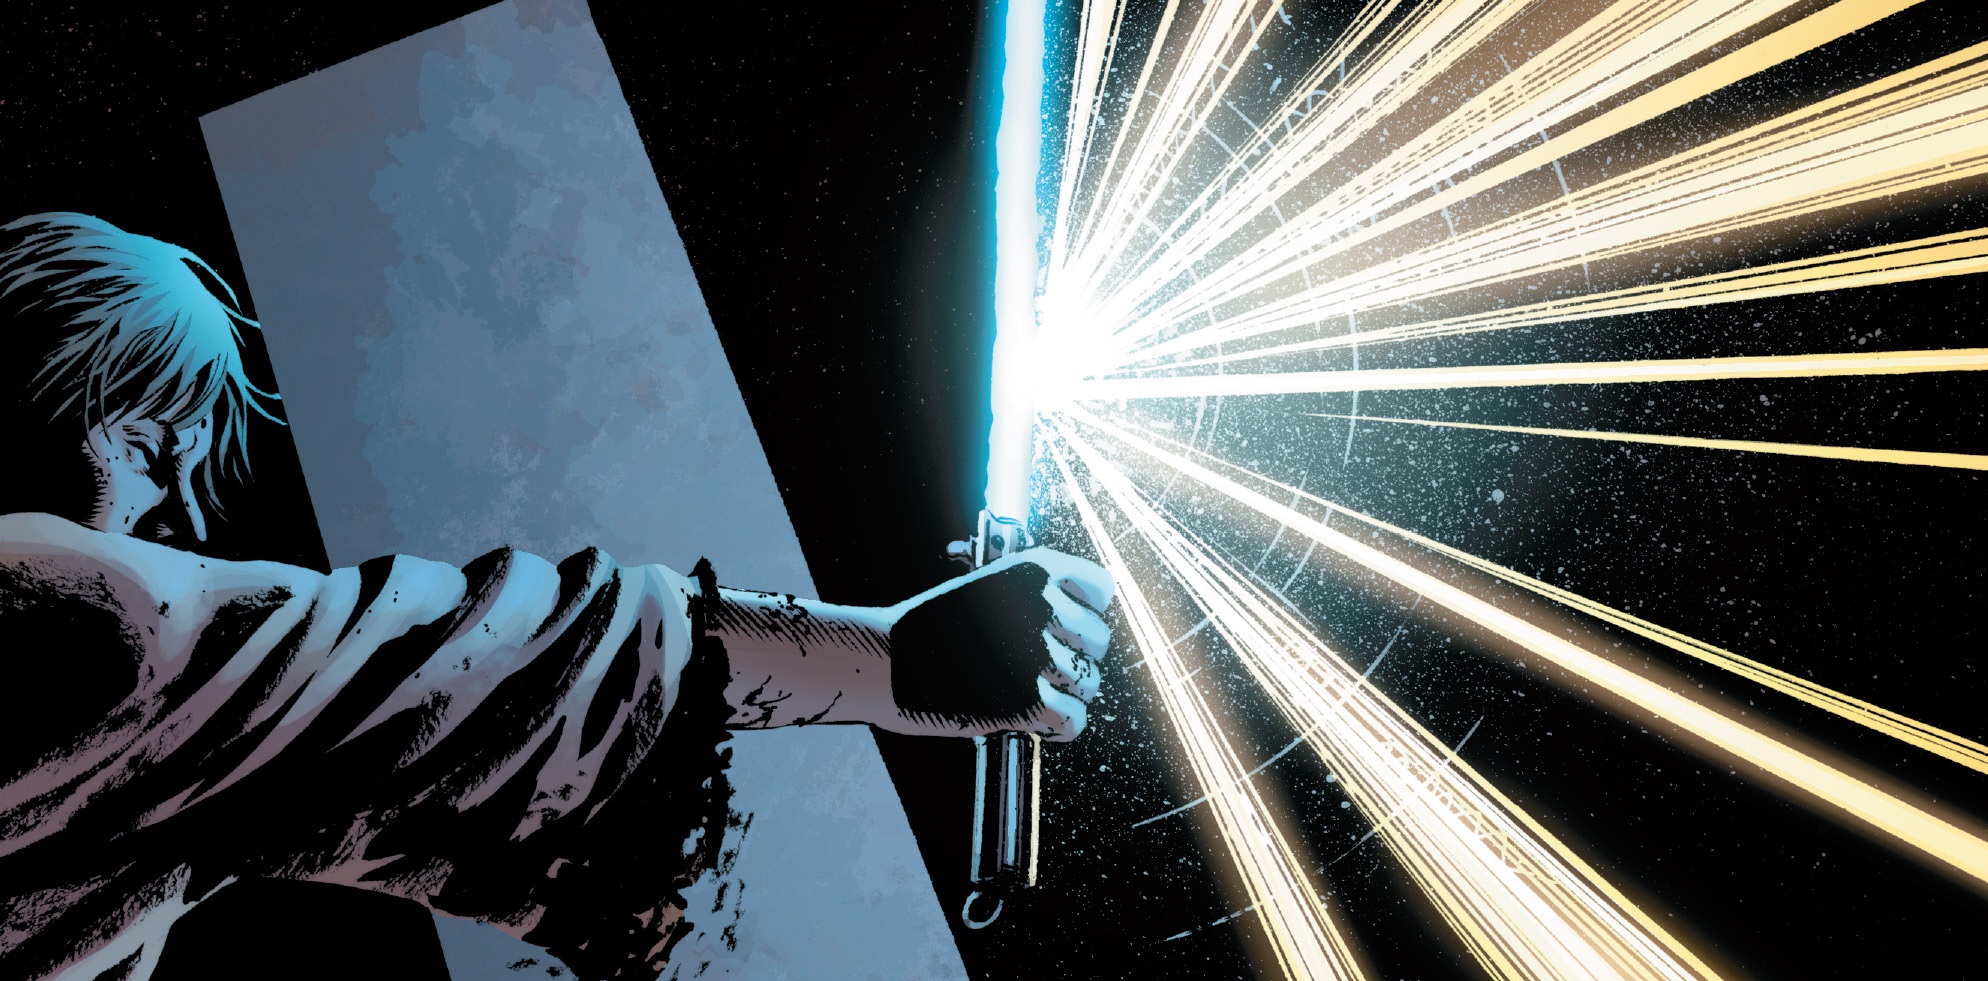
When Skywalker returned to Tatooine to learn more about the ways of the Jedi, Skywalker used his lightsaber to defend himself against Tusken Raiders that were raiding Kenobi's home, managing to scare them off. He also used it against the bounty hunter Boba Fett, who was sent by Vader to capture and learn more about Skywalker. Though Luke managed to escape from Fett, the bounty hunter was still able to inform Vader of Luke's surname, which would make Vader even more obsessed with finding young Skywalker.
Stolen on Nar Shaddaa
After escaping Tatooine, Luke felt that he had to visit the Jedi Temple on Coruscant. To find someone that would take him safely to Coruscant, he traveled to Nar Shaddaa. After entering a bar, the Zabrak bartender ordered the bar's patrons to kill him. As he was about to be attacked by the mob of customers, Luke ignited his lightsaber in defense. The bartender stopped, and offered to sneak him onto Coruscant in return for the lightsaber. Skywalker declined the offer, so the bartender once again told his customers to kill him. Luke tried to defend himself, but the lightsaber was stolen by a thief, who ran off with it.
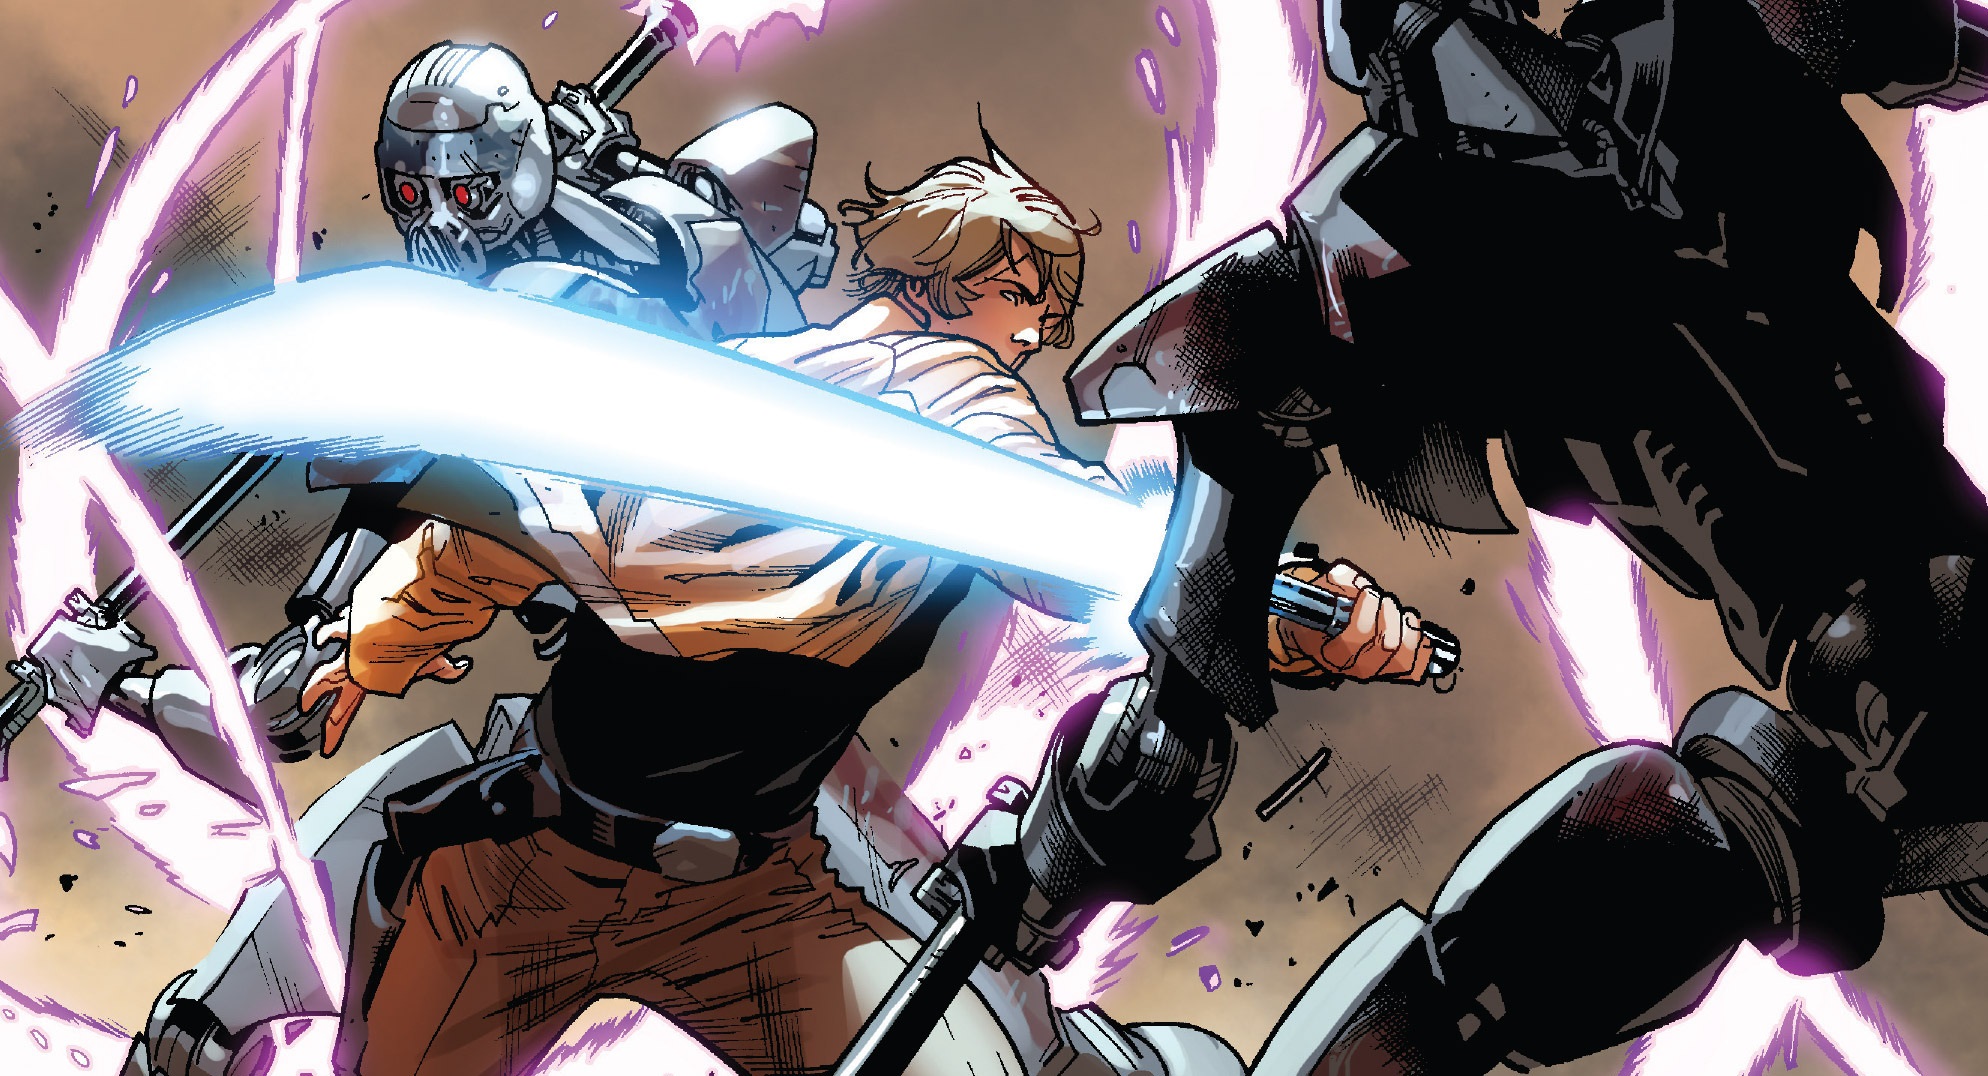
Luke chased after the thief, who leapt off a roof and grabbed onto a passing ship. Luke leapt after him, knocking both the thief and his lightsaber to the ground. After landing, Luke retrieved his lightsaber, but turned around to find Grakkus the Hutt behind him, declaring the lightsaber his property. Luke refused, and Grakkus sent two IG-100 MagnaGuards after him. He tried to fight back, but one of the droids struck him with its electrostaff, knocking him to the ground. Grakkus knocked Skywalker out, taking both him and his lightsaber to his palace. Once at Grakkus' palace, Luke was sent to face off against a man known as "the Gamemaster," who returned his lightsaber to him. At first, Luke was unsuccessful in defending himself against the Gamemaster, who managed to knock him down onto the ground. Luke continued to duel, both against the Gamemaster, and then against several more MagnaGuards. Grakkus then put Luke up against "Kongo the Disembowler," but gave him a green-bladed lightsaber that was not his own.
As Luke engaged in combat with the roggwart, the resourceful R2-D2 located Luke's lightsaber. Subsequently, R2-D2 returned the weapon to Luke, who was in the process of being forcibly removed by several TIE fighter pilots. Luke then reclaimed his lightsaber and eliminated the pilots. However, he was then confronted by the Gamemaster, who revealed himself to be an Imperial stormtrooper. Before the stormtrooper could apprehend Luke, Grakkus intervened and seized him. Consequently, Luke, having escaped, was rescued by his allies.
Usage on Vrogas Vas
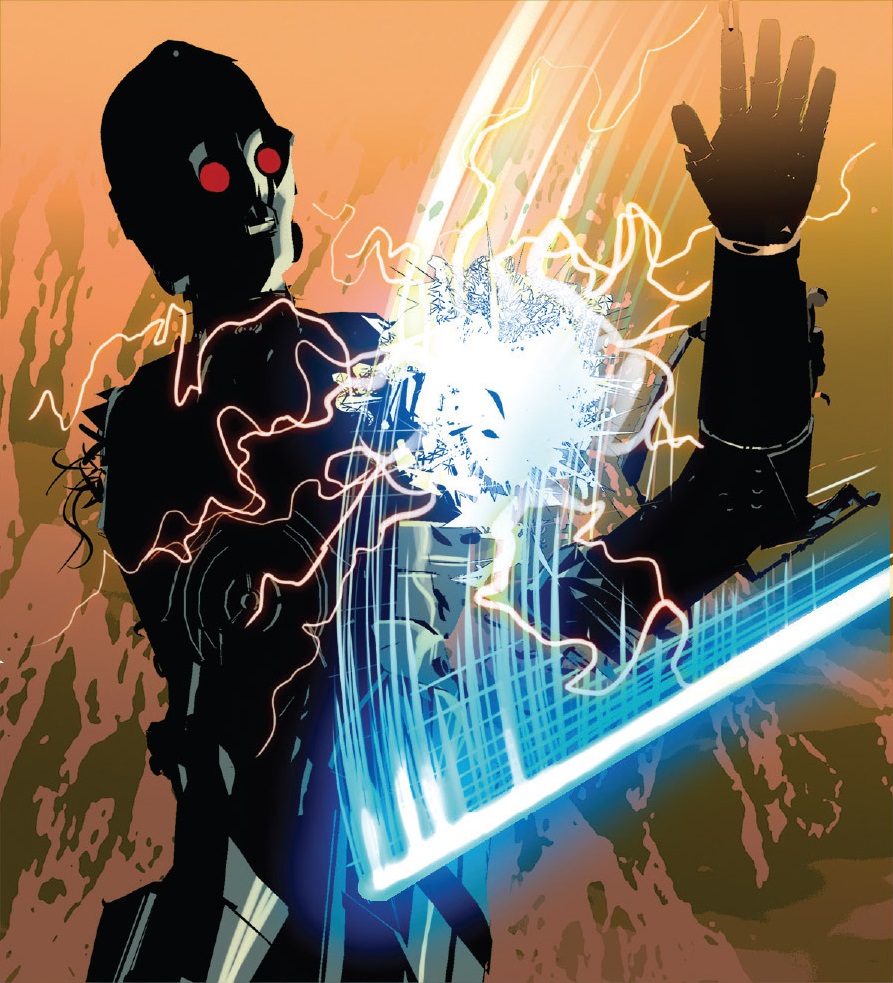
Skywalker, still in pursuit of Jedi knowledge, made his way to Vrogas Vas. There, he discovered the existence of a Jedi Temple situated on the planet. With assistance from Doctor Aphra, Vader was able to track Luke to this location. However, Luke's X-wing collided with Vader's TIE Advanced, resulting in both ships crashing onto the planet's surface. Aphra, who had followed Vader to Vrogas Vas, successfully located and abducted Luke with the aid of the protocol droid 0-0-0. Han Solo and Chewbacca also arrived on the planet, where they encountered Aphra. Chewbacca proceeded to tear off one of Triple-Zero's arms, enabling Luke to break free. Luke then activated his lightsaber, severing the droid's remaining arm before impaling Triple-Zero through the torso. Although Triple-Zero survived this attack, the resulting damage slowed him down, allowing Luke, Han, Chewbacca, and R2-D2 to make their escape.
Defending the Harbinger
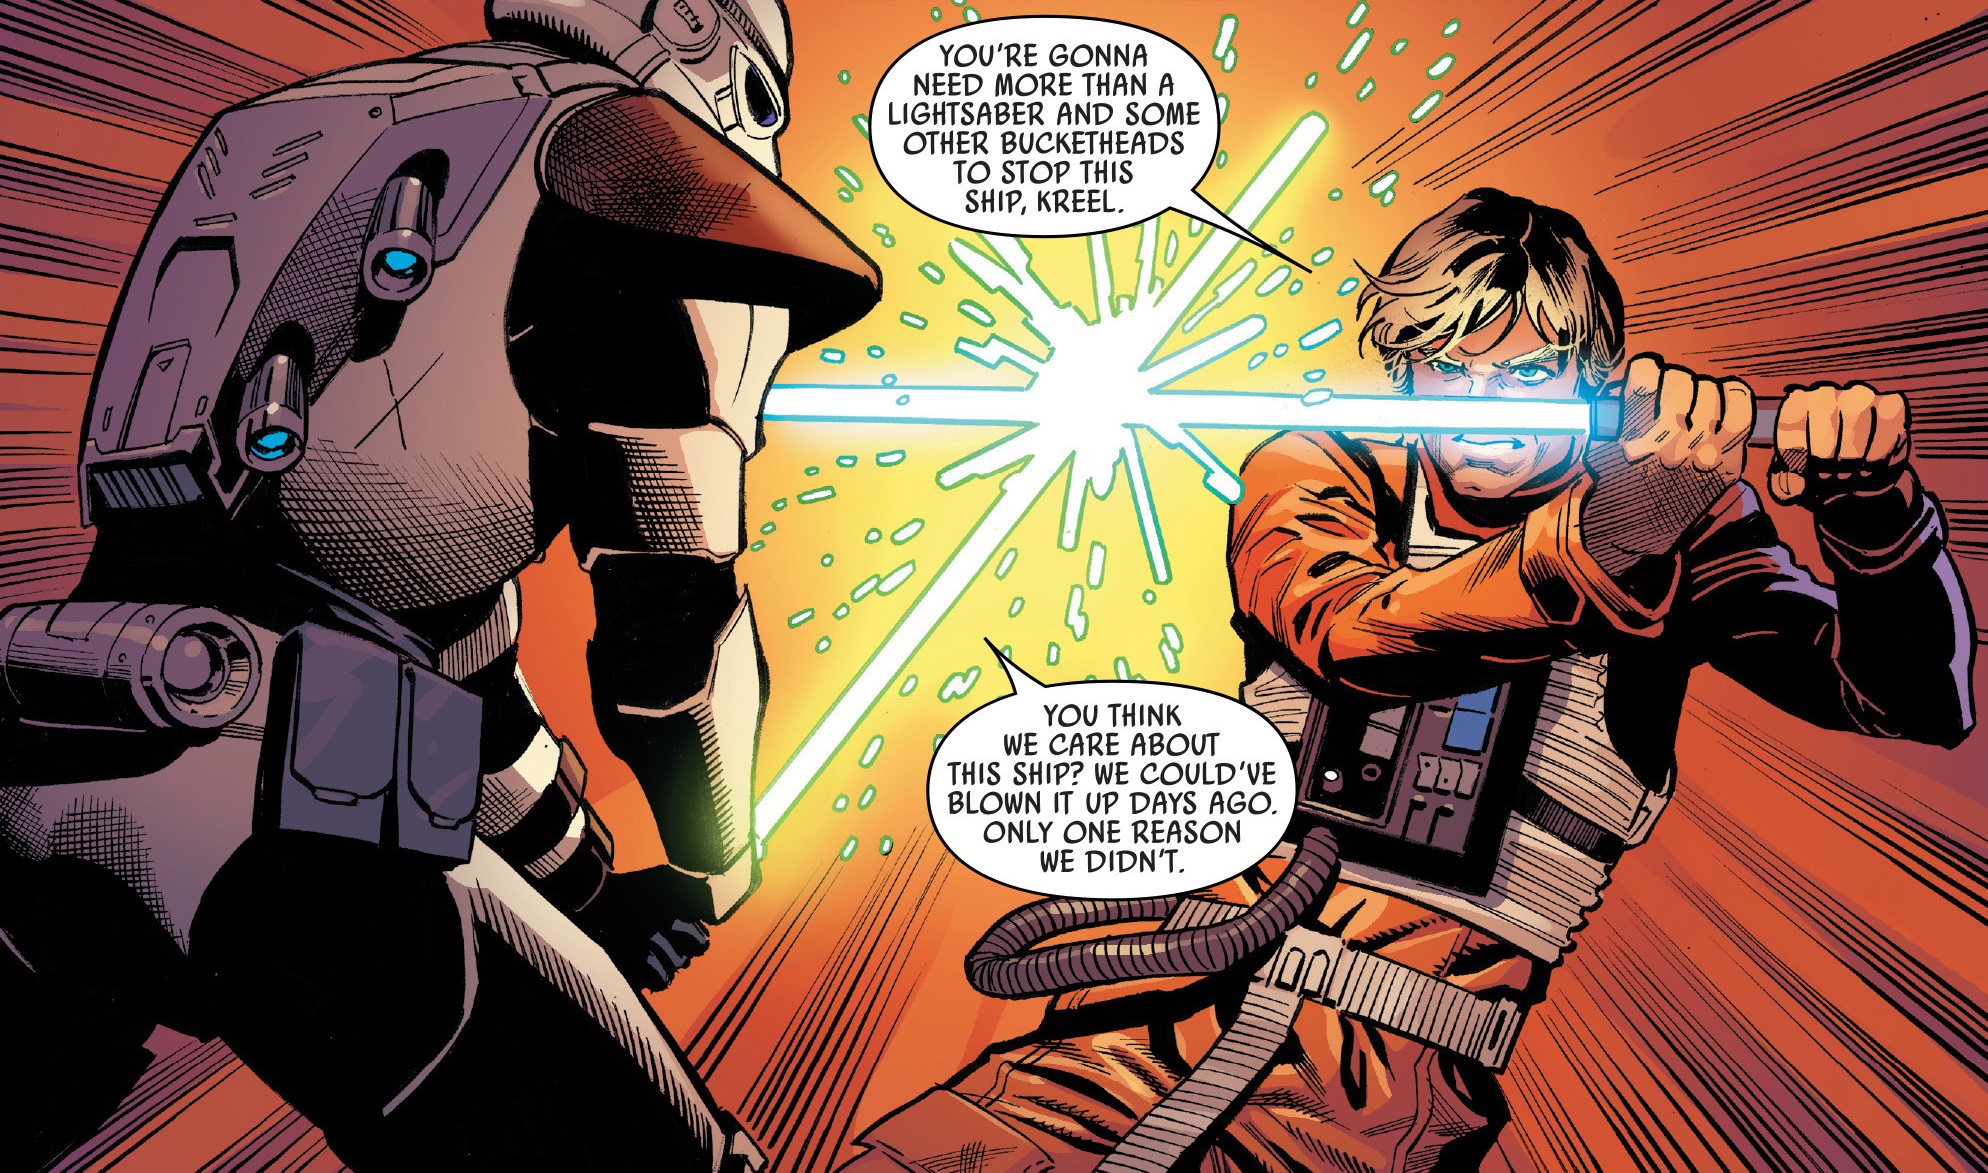
During the Rebel Alliance's endeavor to commandeer the Imperial I-class Star Destroyer named Harbinger, the Star Destroyer was infiltrated by SCAR Squadron, commanded by Sergeant Kreel, whom Luke had previously encountered as the Gamemaster on Nar Shaddaa. Kreel and Luke engaged in combat, with Luke defending himself using his lightsaber in a duel against Kreel. As their battle unfolded, Darth Vader arrived above Tureen VII and instructed Kreel to ensure Luke's survival. Kreel managed to knock Luke to the ground while Luke was momentarily distracted by Vader's presence. However, Luke retaliated, pushing Kreel back and trapping him beneath a pile of rubble.
Mission to the Vagadarr system
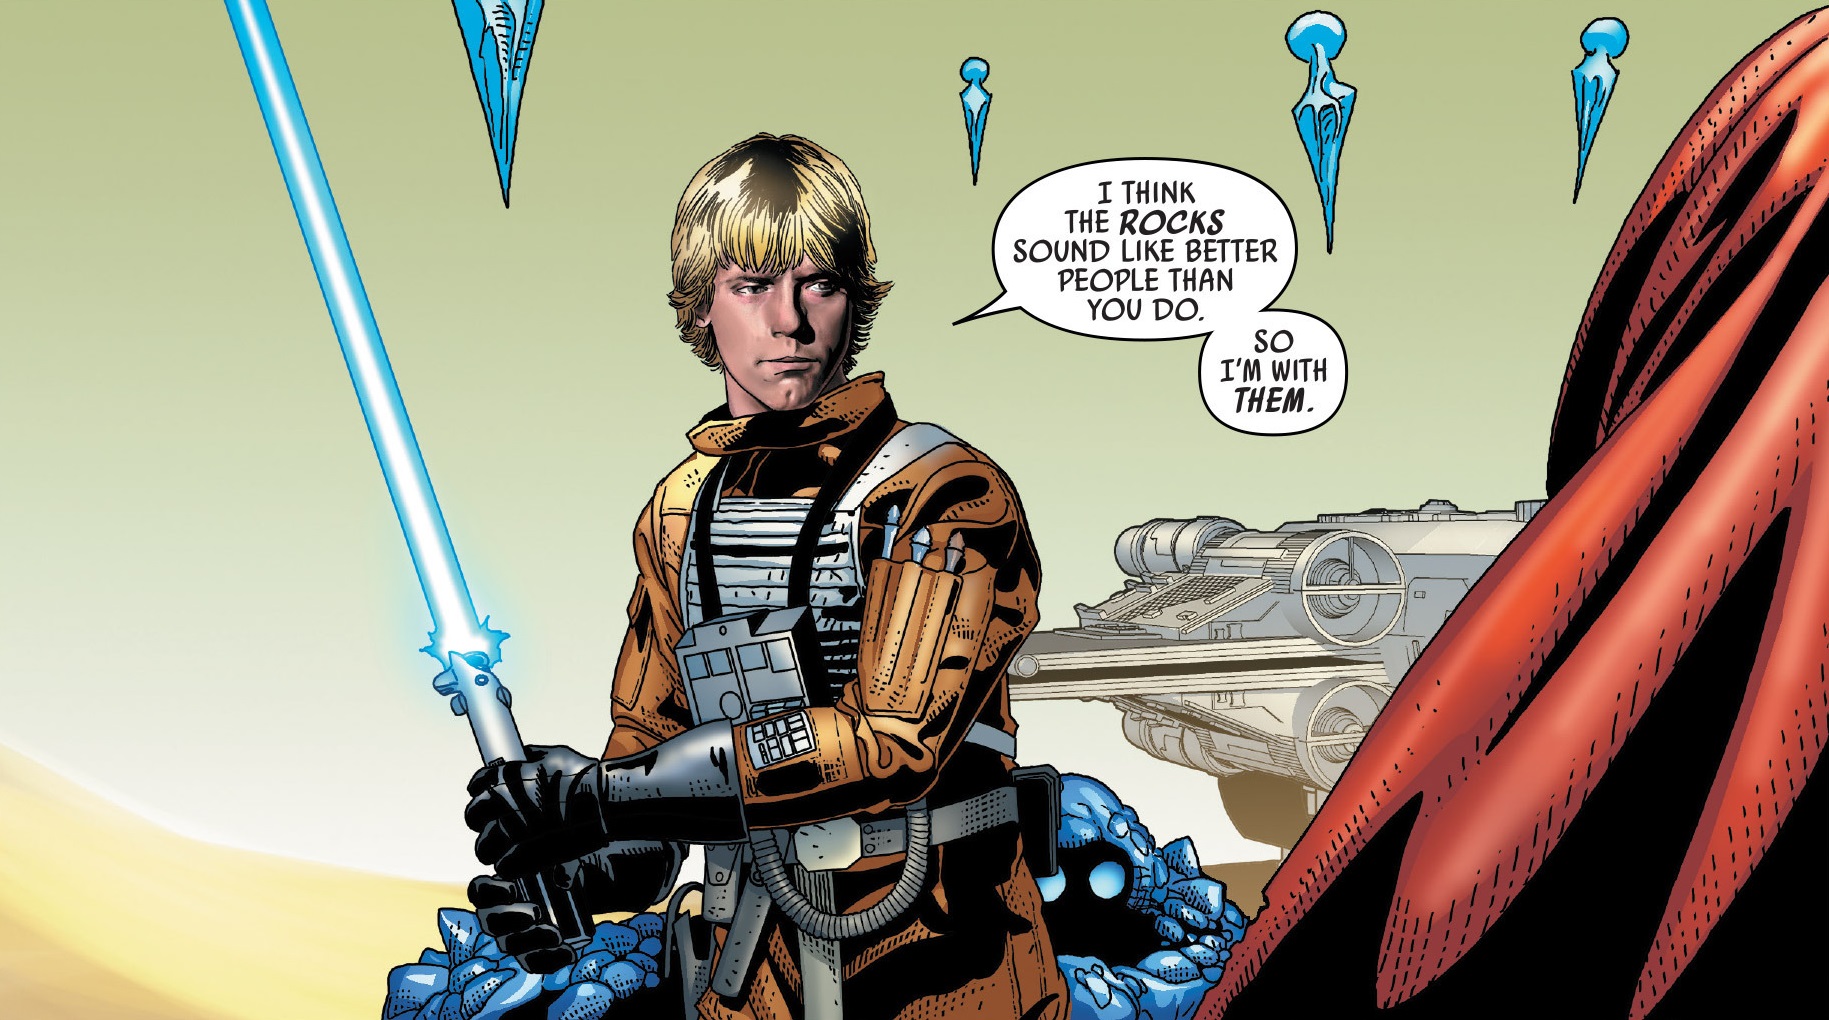
Having perused a journal entry penned by Kenobi, Luke embarked on a journey to a planet situated within the Vagadarr system. There, he encountered Garro, a former Rockhawker who had instructed Yoda in the principles of the stonepower. Garro, requiring Luke's life force to eliminate the remnants of the giants who had once inhabited the planet, launched an attack on Luke using several knives crafted from blue stone. Luke responded by drawing his lightsaber, informing Garro that he preferred to let the creatures live. He successfully deflected several knives aimed at him by Garro. Garro then came to a realization about what he needed to do, ultimately sacrificing himself to restore life to the planet. Subsequently, Luke employed his lightsaber as a source of illumination while exploring the caves of the great mountain.
Usage on Ktath'atn
Doctor Aphra, seeking to persuade the Queen of Ktath'atn to activate her Rur crystal, traveled to Ktath'atn alongside Luke Skywalker. Her intention was to offer Luke in exchange for the crystal's activation. However, the Queen had no intention of providing anything in return and instead unleashed Abersyn symbiotes upon them. As Luke and Aphra attempted to escape through the Citadel of Ktath'atn, Luke paused and drew his lightsaber to defend against a horde of possessed zombies. Before he could act, Han Solo crashed Aphra's ship, the Ark Angel II, nearby. Sana Starros, who was aboard the ship, fired at Aphra, but Luke intercepted the shot with his lightsaber. Subsequently, they were compelled to flee from the Queen's servants, with Luke continuing to utilize his lightsaber to deflect their incoming fire.
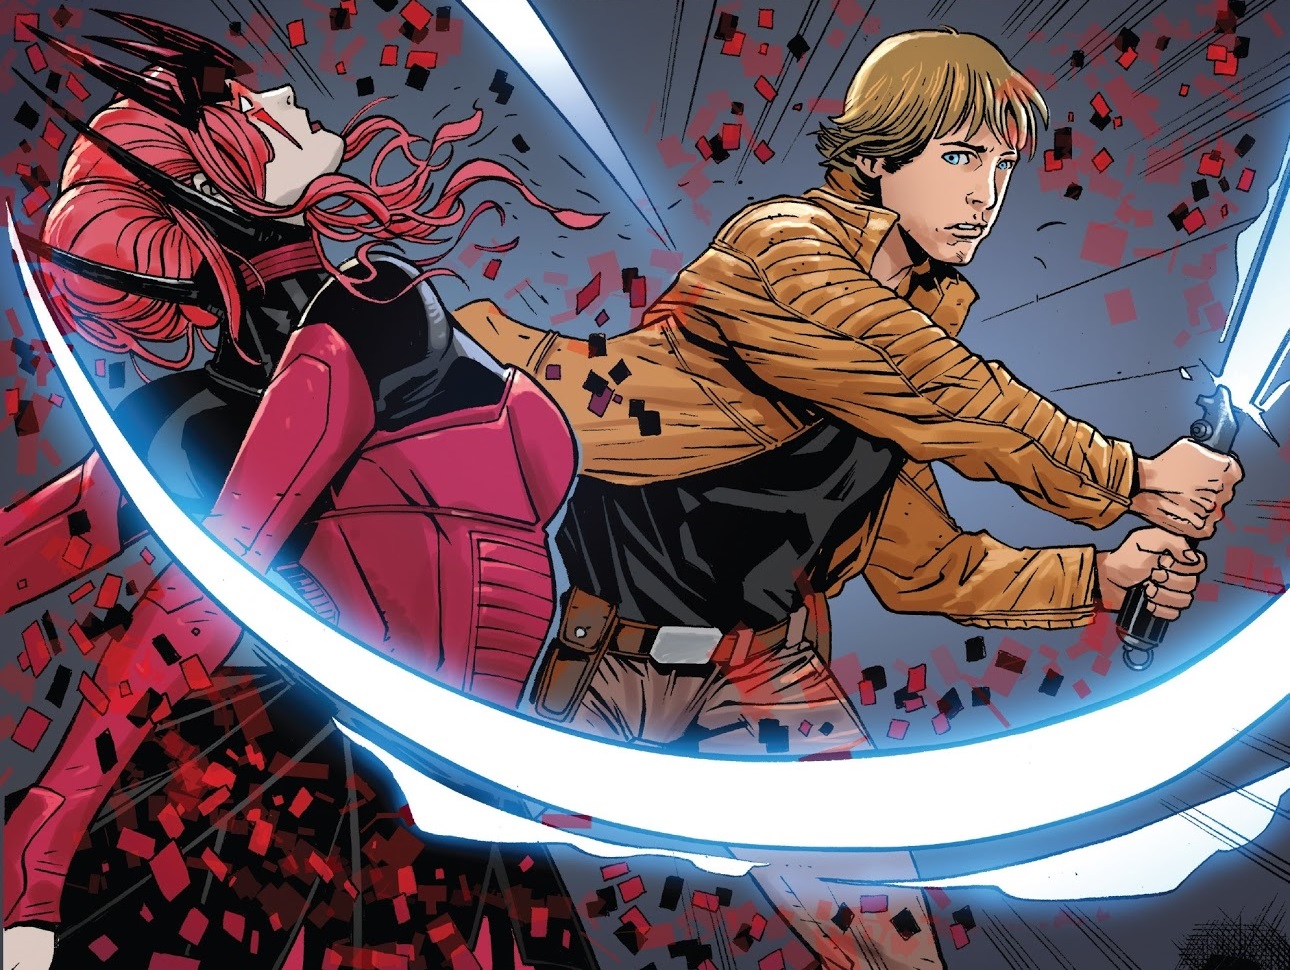
After the Queen captured Luke, intending to consume his Jedi energy, his lightsaber was confiscated and placed on a nearby table. Luke managed to break free from his confinement and retrieved his weapon, brandishing it at the Queen. The Queen then vanished before him, reappearing in close proximity. Before she could launch an attack, Aphra triggered an explosion, breaching the wall. An Abersyn symbiote infected Luke, leading to a confrontation between him and the Queen. With the assistance of Eternal Rur, Luke freed himself from the parasite and struck down the Queen with his lightsaber.
Stranded

Following a crash landing on an ocean planet alongside Leia, Luke found it necessary to employ his lightsaber in combat against the planet's indigenous wildlife, including creatures such as the spikeshark. After a period of three weeks following their crash, they discovered the existence of an aquatic species native to the planet. Upon their initial encounter with this species, Luke activated his lightsaber, but he deactivated it upon realizing that the creatures posed no threat. Aware that their presence on the planet endangered the species, they inadvertently attracted the attention of the Empire, who had been searching for them on the island where they were stranded. The Imperials launched an assault on the island using walkers and shoretroopers, and Luke employed his lightsaber to eliminate several troopers. Ultimately, Luke and Leia successfully repelled the Imperial forces and escaped the planet.
Usage on Jedha
On the moon of Jedha, Luke utilized his lightsaber to shield several members of the Partisans from an assault by a group of snowtroopers. During their escape aboard a spamel, Luke deflected incoming fire from a patrol transport, enabling them to reach the Millennium Falcon without sustaining any injuries. While in the settlement of Ai-jed, Luke observed several stormtroopers incinerating the inhabitants. Reacting swiftly, Luke drew his lightsaber and engaged the stormtroopers, eliminating the entire group before anyone could formulate a counterattack. This incident deepened Luke's understanding of the stakes on Jedha, and he expressed a desire to contribute further.
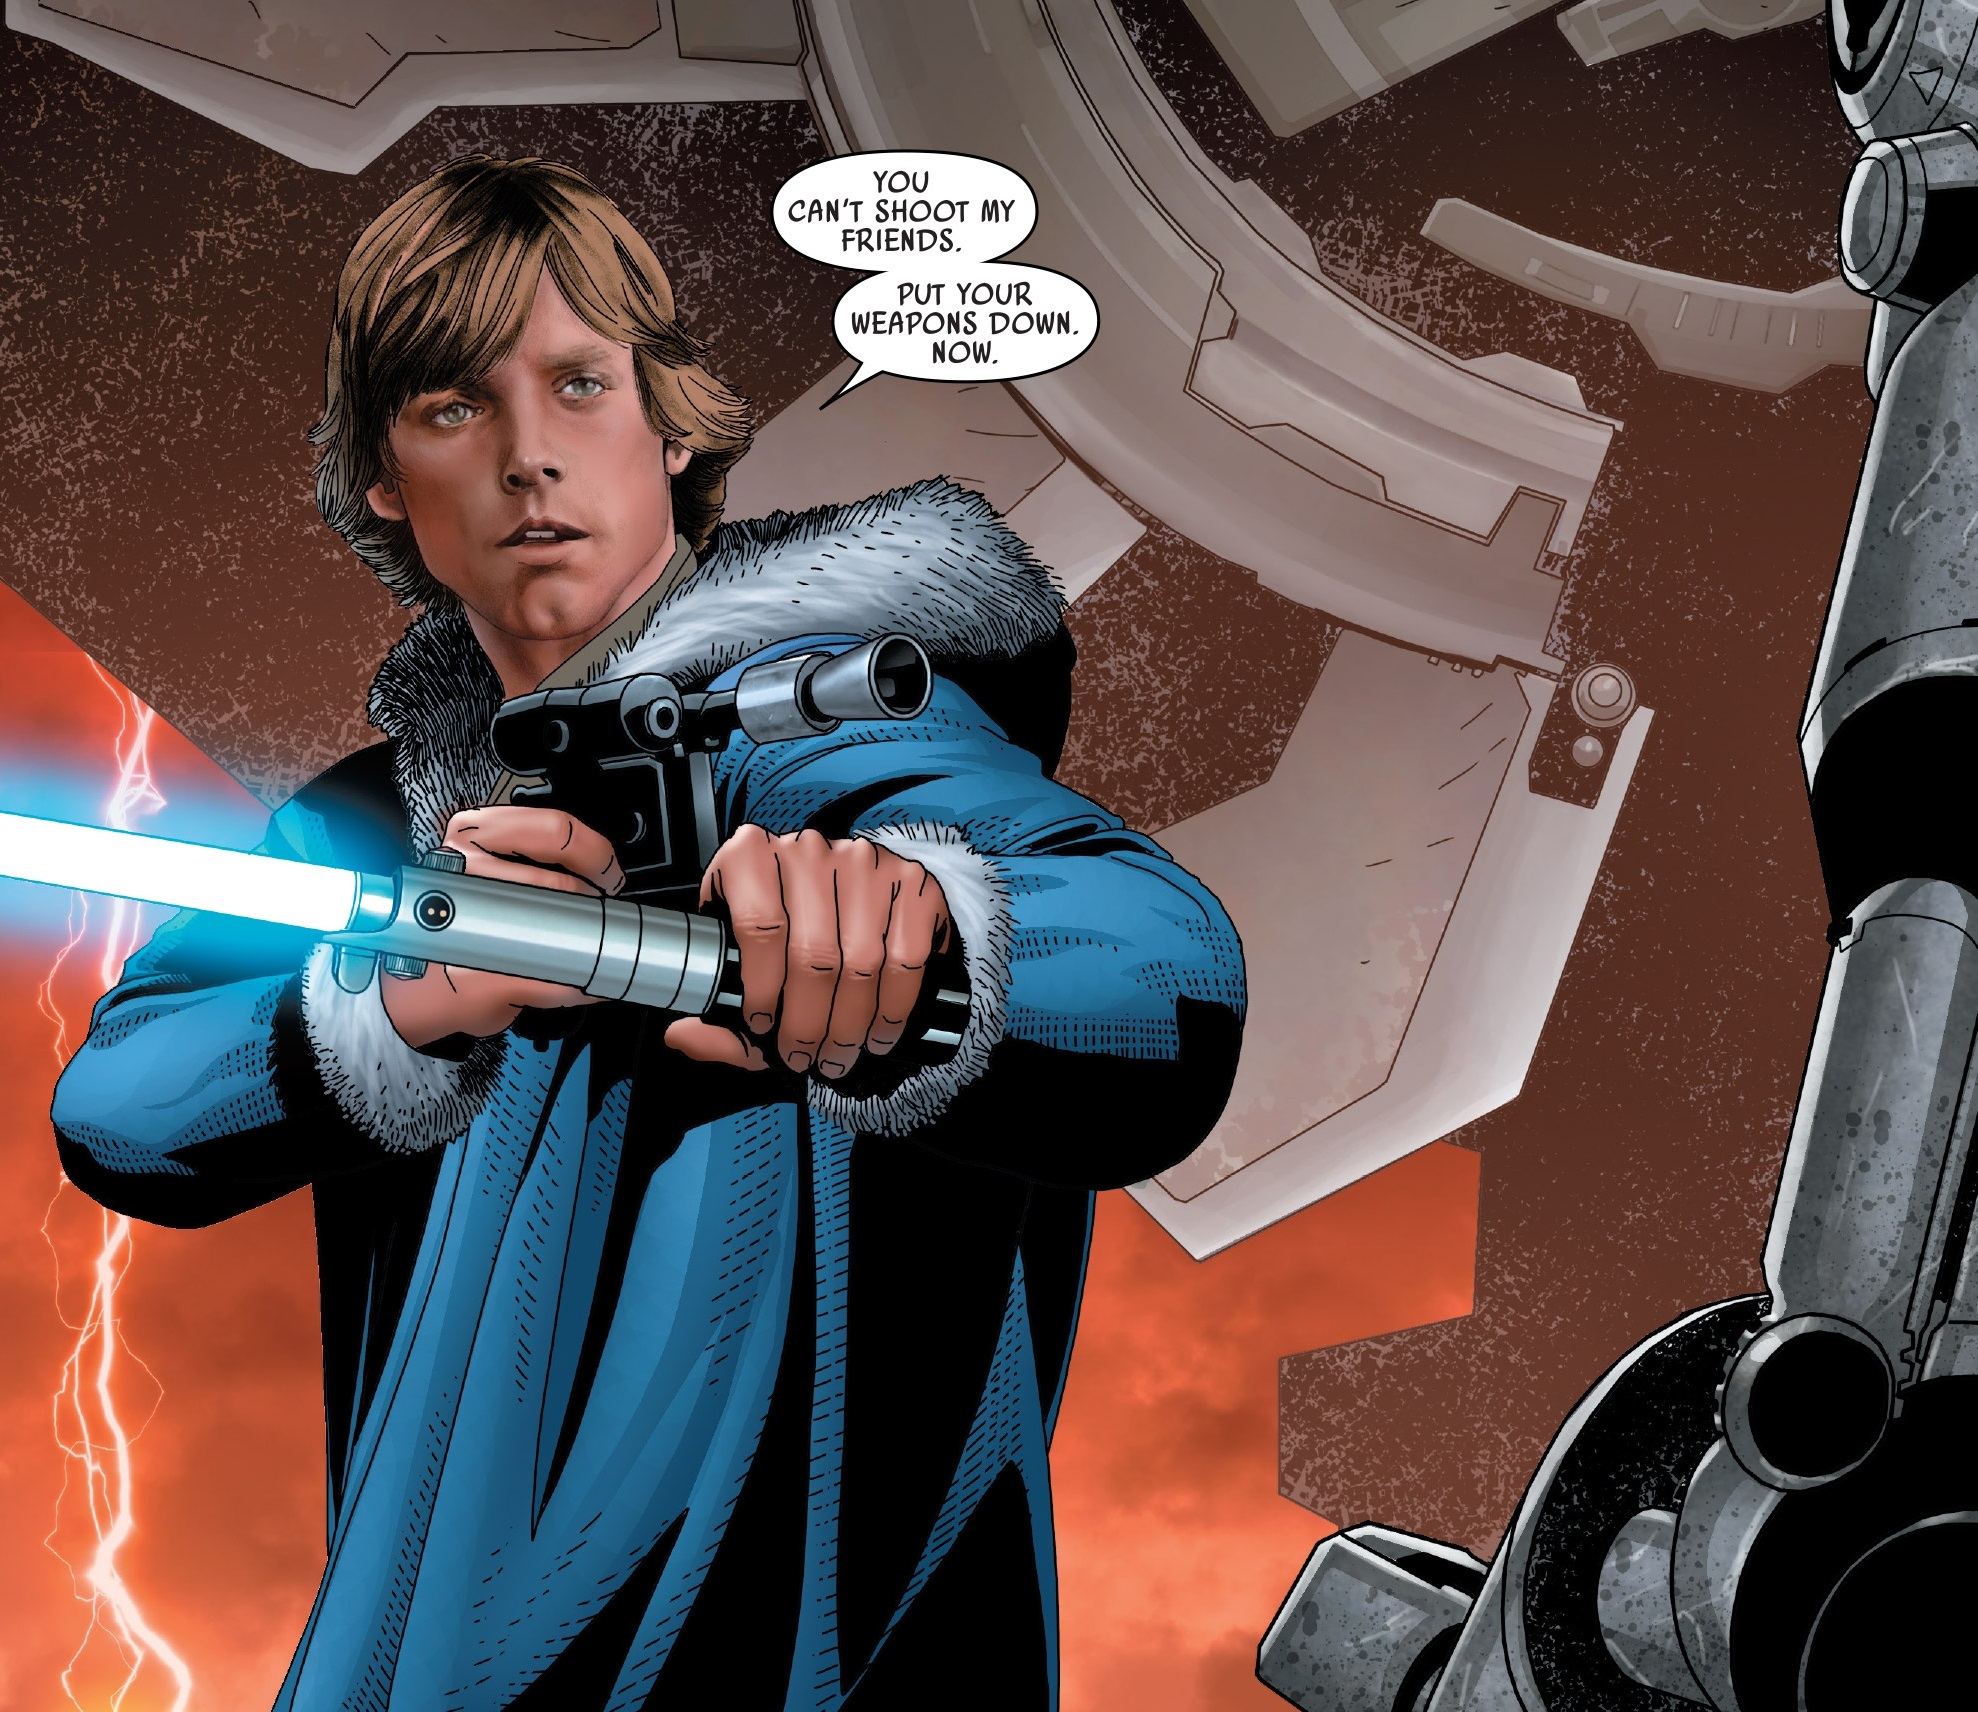
Benthic then led him to a drill citadel deployed by the Empire on the moon, with the intent to destroy it. Luke employed his lightsaber to create an opening in the drill, facilitating their entry. Following the destruction of the drill citadel, Luke accompanied Chulco Gi to visit the shrine of the Central Isopter. En route to the shrine, they were attacked by a sand slug, which Luke dispatched with his lightsaber. Upon arriving at the shrine, they were greeted by several cultists, who engaged them in conversation. Gi was then corrupted by the dark side of the Force, launching an attack on Luke. Left with no alternative, Luke used his lightsaber to kill Gi. Later, Luke employed his lightsaber to escape from a storage crate aboard the Leviathan. Once on board the crawler, he confronted Kanchar and engaged him in combat. Kanchar utilized his cybernetic arm for defense, employing a flamethrower to knock Luke back. Luke then disabled Kanchar's cybernetics using an ion torpedo, enabling him to render the officer unconscious.
Mission on Mon Cala
As part of the Rebel Alliance's mission to enlist the Mon Cala Mercantile Fleet, Leia spearheaded a team to rescue the changeling Tunga Arpagion from the Dex Acquisitions Depot located on Meor Ain. When R2-D2 was unable to unlock the cell door, Luke employed his lightsaber to cut out the panel, thus enabling Chewbacca to breach the door.
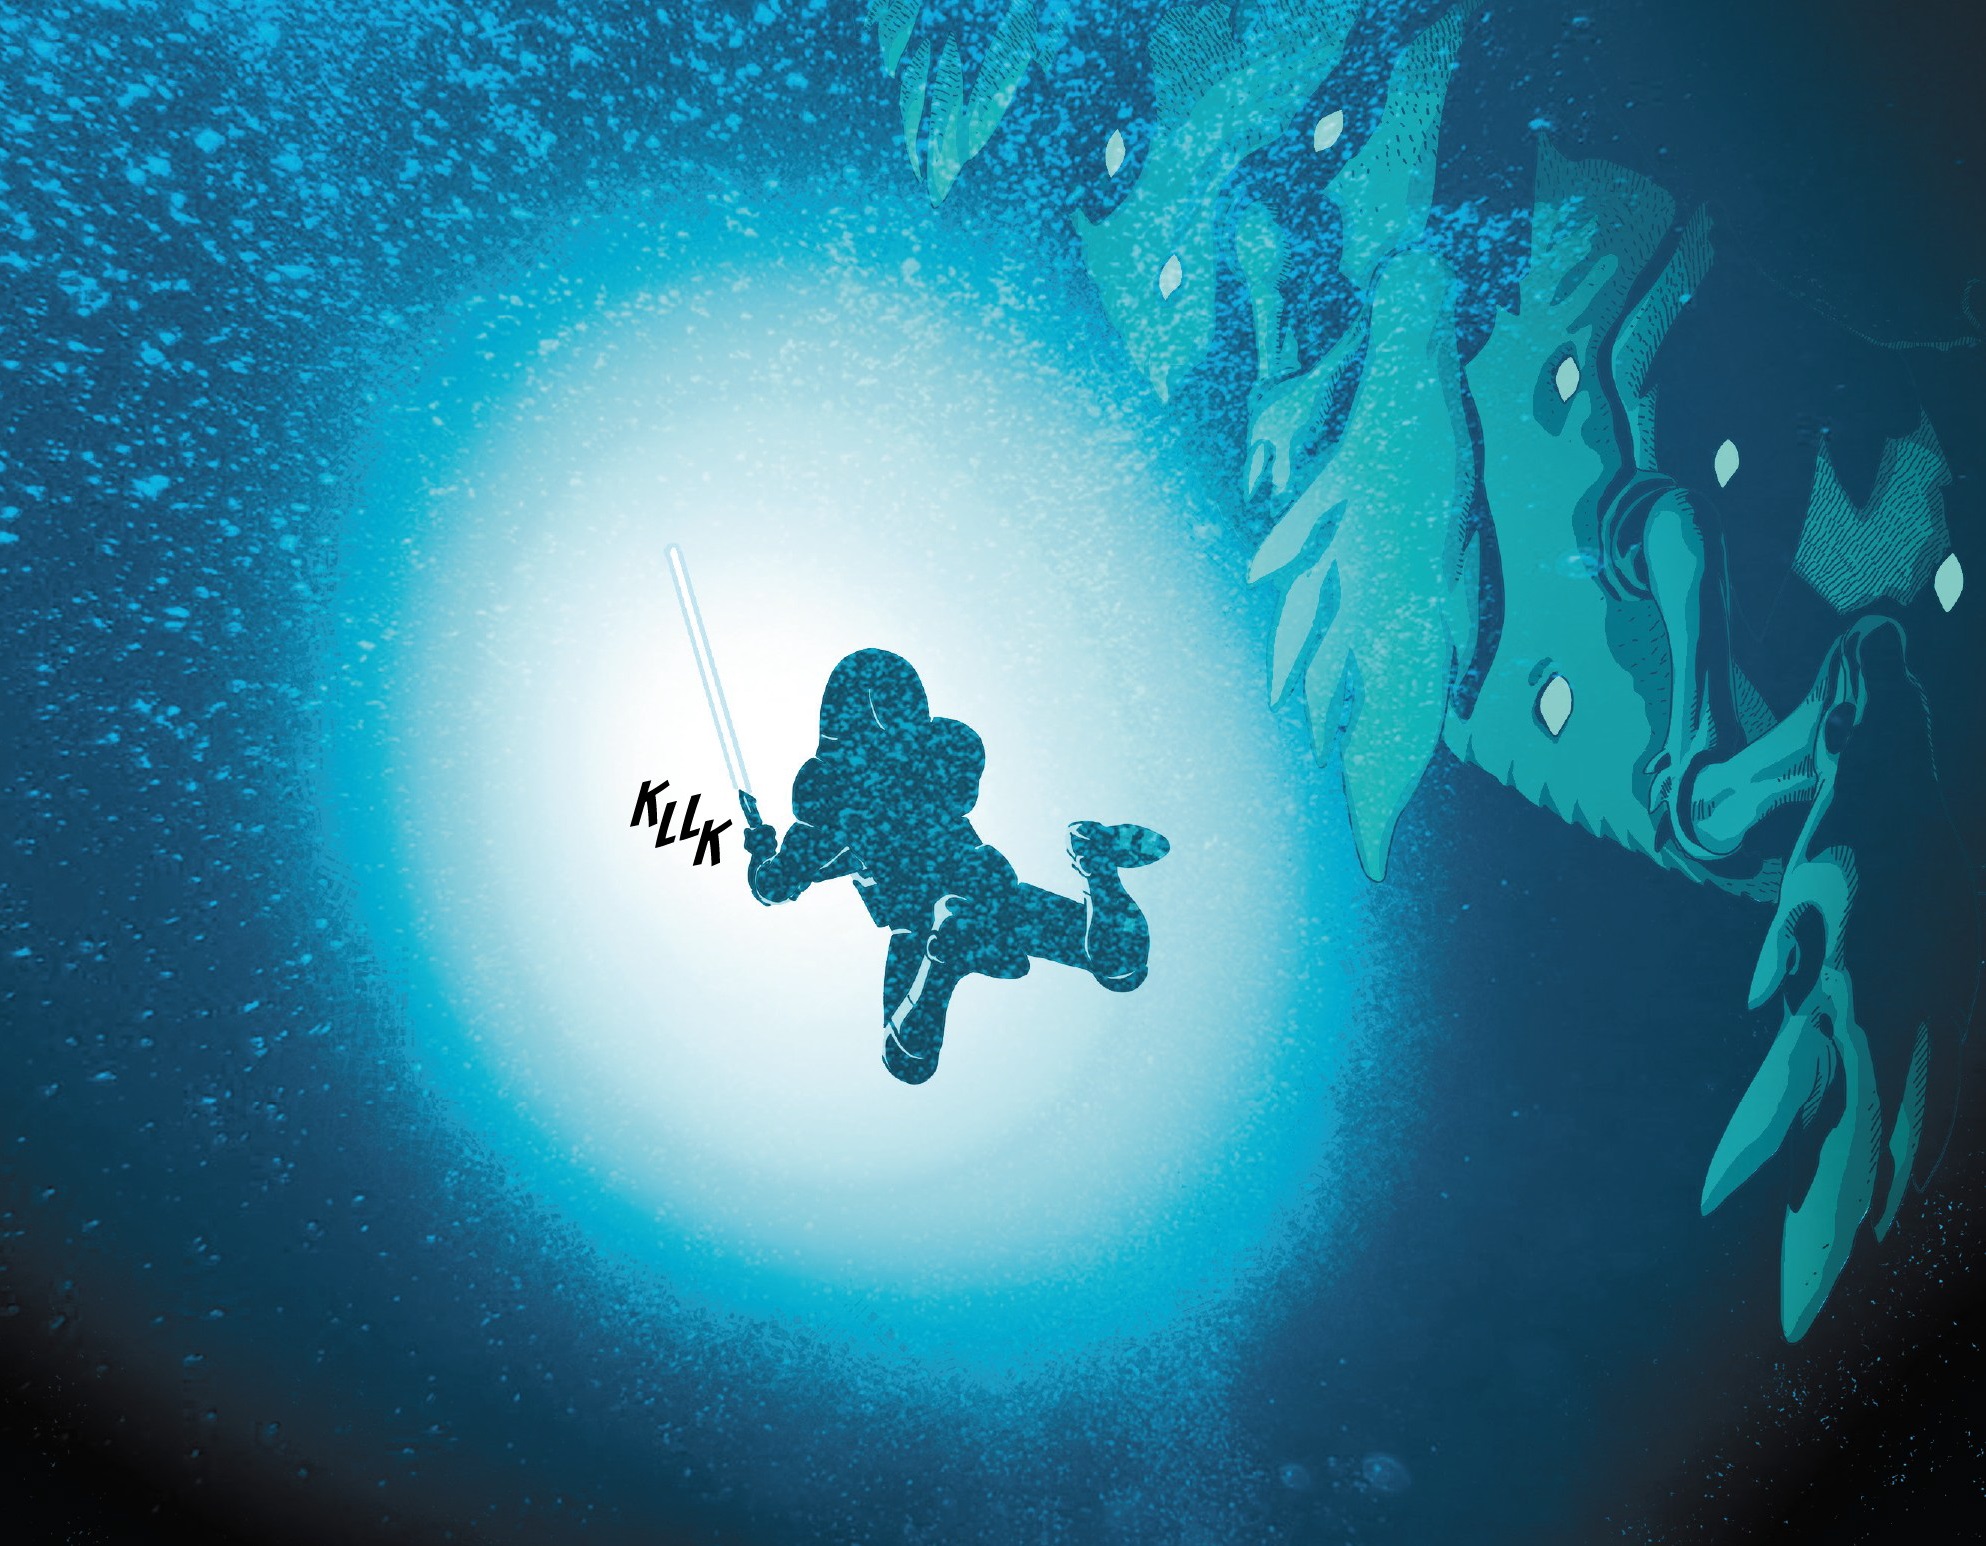
Their mission subsequently led them to Strokill Prime, where the Mon Calamari king, Lee-Char, was being held captive. Once submerged beneath the planet's ocean surface, their submersible came under attack by an opee sea killer. Luke exited the craft, instructing Han to deactivate its lights. After swimming a distance away, Luke ignited his lightsaber, drawing the creature away from the submersible. As the creature prepared to attack Luke, Chewbacca intervened, attempting to communicate to him that he should turn off his lightsaber. Unable to comprehend Chewbacca, Luke maintained his lightsaber's activation. Han then intervened, translating Chewbacca's words. Luke then switched off his lightsaber, causing the opee sea killer to collide with a nearby rock wall.
Usage on Crait
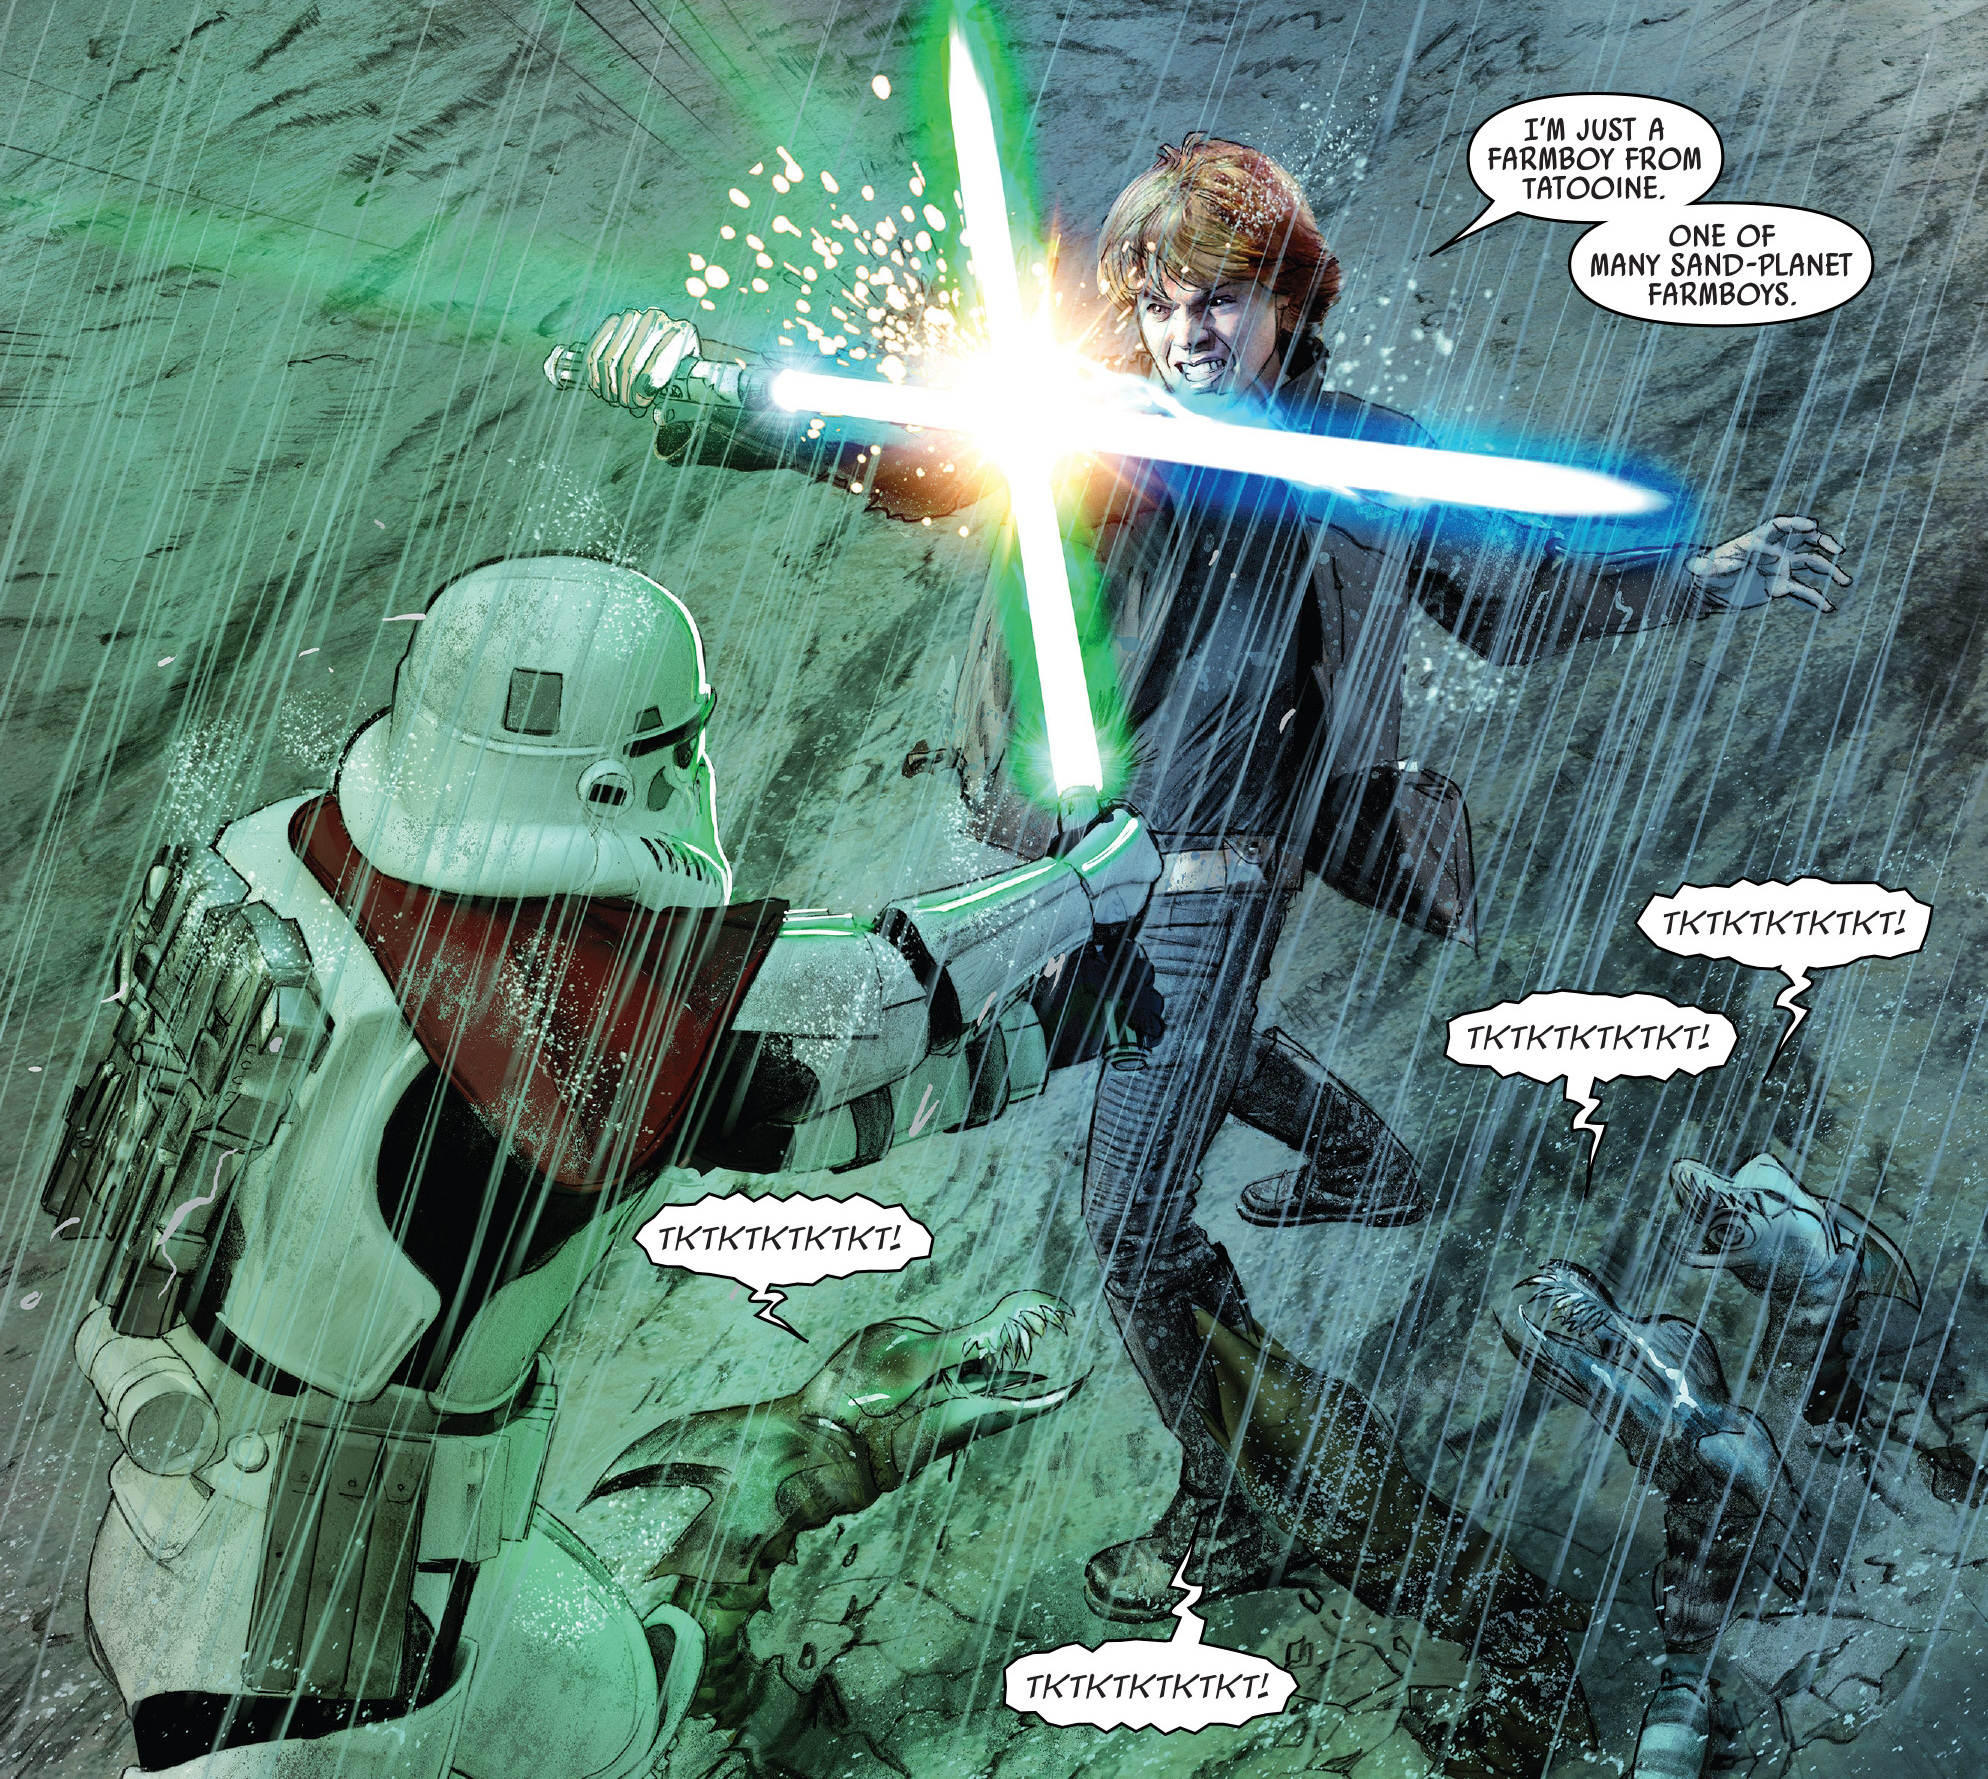
In an effort to locate a new operational base for the Rebellion, Luke visited the planet of Crait in company with Leia, Han, Chewbacca, and several other rebels. Their guide, Trusk Berinato, betrayed them by signaling the Empire, who dispatched Kreel's SCAR Squadron to engage the rebels. During combat with stormtroopers on V-4X-D ski speeders, Luke was shot down, resulting in the crash of his speeder. Kreel then confronted him, drawing his lightsaber. Luke ignited his own lightsaber, defending himself from Kreel's attack. As their duel progressed, several ferocious worms emerged from beneath the ground. The worms seized Kreel, immobilizing him. While Kreel was distracted by the worms, Luke swung his lightsaber, destroying Kreel's lightsaber. However, Kreel managed to survive the duel and subsequently fled the planet.
Usage on Hoth

When Skywalker was taken captive by a wampa, a creature indigenous to the ice planet of Hoth, he found himself suspended upside down from the ceiling of the wampa's cave. Spotting his lightsaber on the ground, he employed the Force to summon the weapon, cutting himself free and severing one of the wampa's arms, thus enabling his escape.
When Solo discovered Skywalker on the verge of freezing to death, he employed the lightsaber to dissect his deceased tauntaun, providing Skywalker with warmth while constructing a shelter.
During the Battle of Hoth, Skywalker combined the capabilities of a grappling device and his lightsaber to create an opening in a hatch situated on the underside of an Imperial AT-AT walker, prior to inserting an explosive device to eliminate the enemy vehicle.
Usage on Dagobah
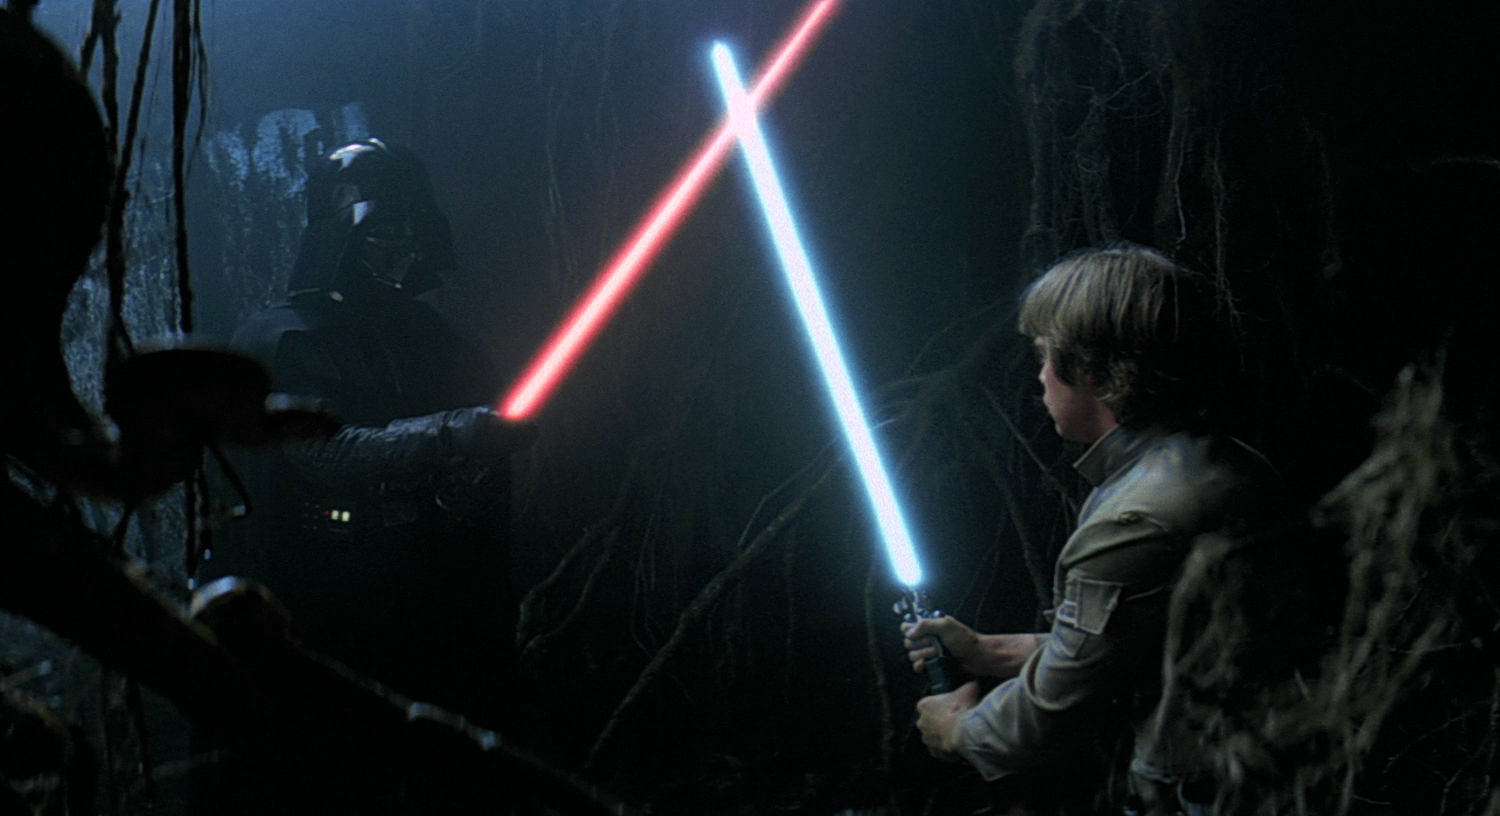
During his training under Jedi Master Yoda on the planet Dagobah, Skywalker entered a cave that was strong with the dark side as a test administered by Yoda. Within the cave, Skywalker experienced a vision in which he confronted Darth Vader, the Dark Lord of the Sith. As Skywalker employed his lightsaber to decapitate Vader with a powerful blow, the illusory Sith Lord's helmeted head rolled onto the floor, and the face shield shattered, revealing the young Jedi's own face behind the mask.
Usage on Bespin and loss
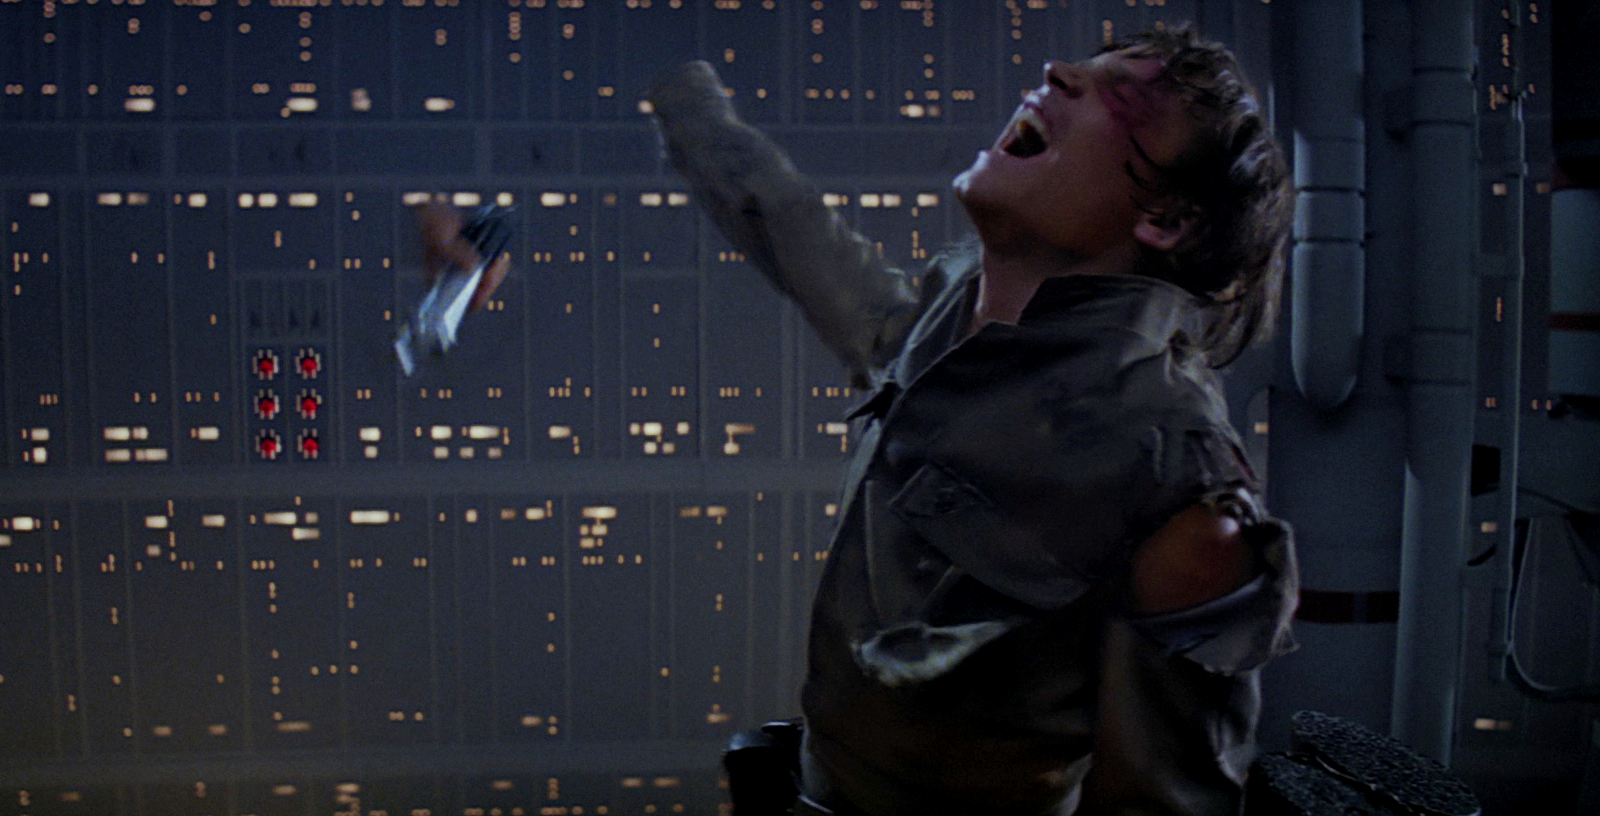
Following his duel within the dark side cave, Skywalker received a Force vision indicating that his friends were in danger on Cloud City located on Bespin. There, he engaged Darth Vader in a lightsaber duel, during which Skywalker demonstrated his newfound skills with the weapon, impressing even the former wielder. However, Vader ultimately prevailed in the duel, severing Skywalker's hand, which was holding his lightsaber. As a result, both Skywalker's hand and the lightsaber fell into the depths of Cloud City, leaving Luke defenseless.
Shortly after recovering from his injuries and replacing his severed hand with a synthetic one, Luke returned to Cloud City in an attempt to recover his weapon. Journeying to one of the smelting chambers at the station, Luke enlisted the assistance of the station's Ugnaught population in an effort to locate his lost weapon amidst the vast quantity of refuse collected within the chamber. During his initial attempt, Luke provided a description to the Ugnaught workers, but it proved unsuccessful as none of them recognized his description. Uncertain of what else to do, Luke reached out through the Force and experienced a vision encompassing numerous events he had encountered or would encounter. Ultimately, he realized that Leia was in danger and hastened to her rescue. The vision also helped him understand that a Jedi is more than their weapon and that a lightsaber is simply a tool used by a Jedi, leading him to cease his search for the lightsaber. However, shortly thereafter, one of the Ugnaught workers stumbled upon the weapon.
For a time, he used a damaged lightsaber pike he found in a High Republic Jedi outpost. A year later, Skywalker constructed a new lightsaber to replace the one he had lost, which he subsequently employed to secure victory in his rematch against Vader.
Carried by Finn
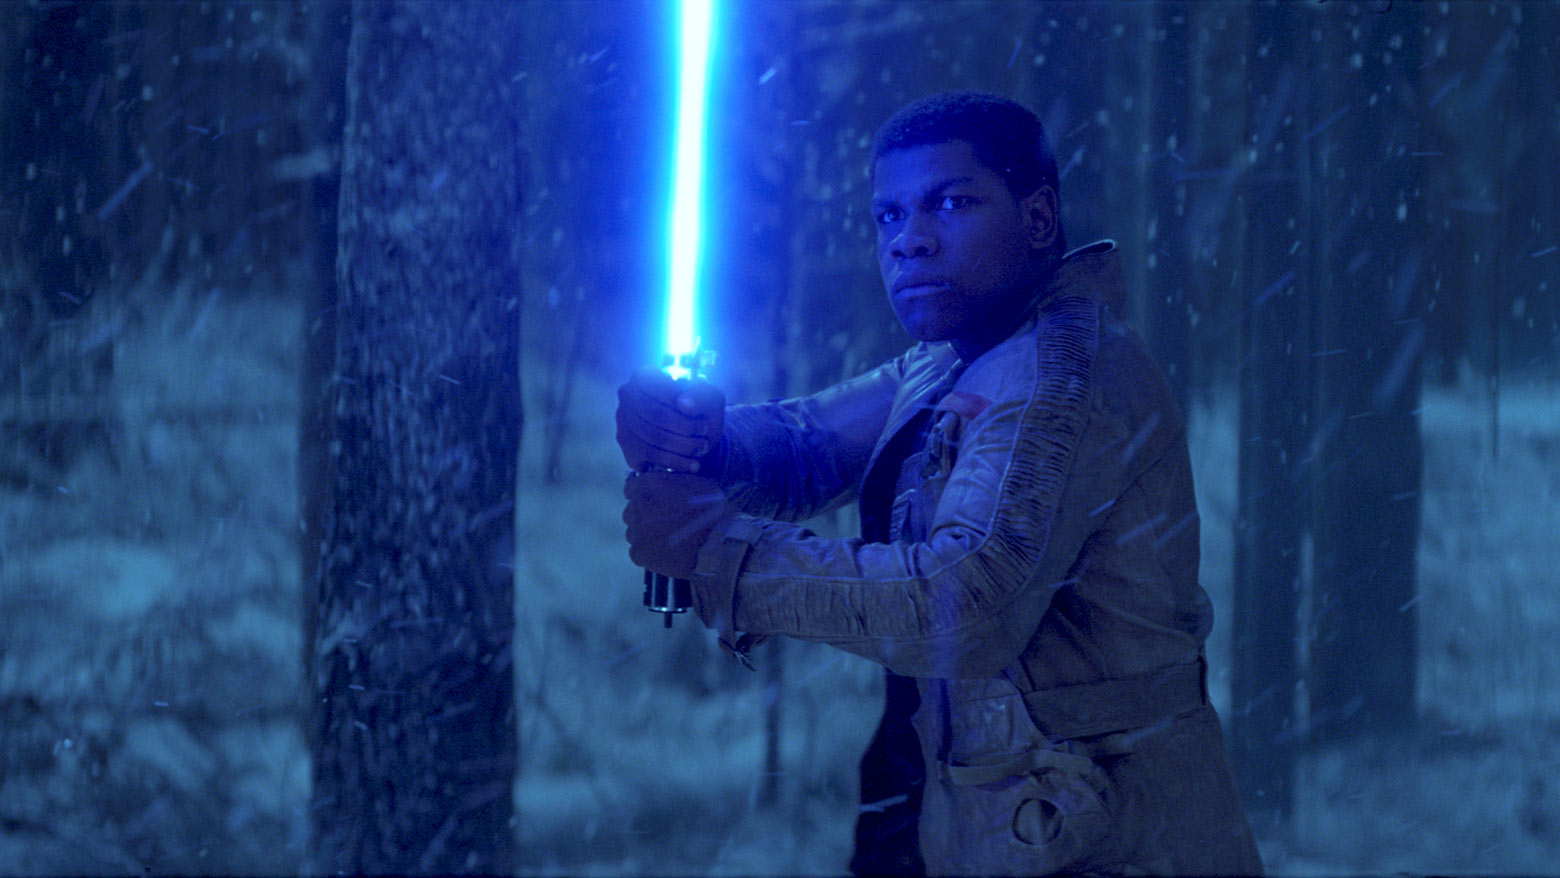
Although believed to have been lost in Cloud City, the lightsaber was salvaged from the mining colony's industrial depths and eventually made its way into the possession of Maz Kanata. However, the seasoned spacer remained tight-lipped regarding the precise manner in which she acquired it. The lightsaber resurfaced approximately thirty years later on the planet Takodana when Rey, Finn, BB-8, and Han Solo visited Takodana Castle. The lightsaber awakened and beckoned to Rey, who ventured into the castle's basement and discovered the lightsaber within Maz's curio box. Upon touching it, she experienced a series of visions. The lightsaber functioned as a vergence, granting her insights into past events. She recoiled in horror, rejecting Kanata's attempt to bestow the lightsaber upon her. Han, who had been a close confidant of Luke, inquired of Maz as to the weapon's origin, but she dismissed his inquiry, stating that it was a story for another time. Finn subsequently took possession of it for safekeeping. Shortly thereafter, the First Order launched an attack, having been informed of BB-8's presence. Although armed with an EL-16 blaster rifle, Finn wielded the lightsaber during the battle, eliminating at least one trooper by impaling him with the blade. He then engaged FN-2199 in combat, who nearly defeated him with a Z6 riot control baton before being blown away by Han Solo. Following the attack on Takodana, the Resistance initiated an attack on Starkiller Base in an attempt to prevent the First Order from deploying its primary weapon against the Resistance base on D'Qar. Finn once again wielded the lightsaber during a confrontation with Kylo Ren on Starkiller Base, taunting the dark knight to "Come get it" after Ren demanded that he surrender the lightsaber. Although Finn put up a respectable fight, despite his lack of lightsaber combat training and the inherent dangers of wielding a lightsaber, he was ultimately defeated and struck across the back, but not before striking Ren's shoulder.
Carried by Rey
Starkiller Base

After incapacitating Finn, Ren attempted to summon the lightsaber to himself, considering it his rightful property due to its history. However, to the surprise of both individuals, it instead bypassed him and flew into Rey's outstretched hand, the girl having instinctively employed her powers to summon it to her. Armed with the legendary lightsaber, Rey dueled and overpowered Ren with the aid of the Force. Rey and Finn were subsequently rescued by Chewbacca aboard the Millennium Falcon. Rey took possession of the lightsaber, along with her quarterstaff and her NN-14 blaster pistol, which had been gifted to her by Solo. After discovering the planet where Luke Skywalker was in hiding, Rey, accompanied by Chewbacca and R2-D2, traveled to the planet aboard the Millennium Falcon, eventually locating Luke and presenting him with his father's lightsaber.
Ahch-To

Luke accepted the weapon from Rey, examined it briefly, and then discarded it with a casual toss over his shoulder. The lightsaber was then investigated by some inquisitive porgs, avians indigenous to Ahch-To, who came precariously close to activating it. However, Rey shooed them away and retrieved it before they could, retaining possession of it for the duration of her stay on Ahch-To. Later, she briefly employed the lightsaber to train and refine her skills while Skywalker observed. Soon, Rey's strikes became more rapid and aggressive until she cleaved apart a rock pillar with it. The pillar then rolled down the hill and collided with a wheelbarrow being pushed by native Lanai Caretakers, who were visibly displeased.
At another point during her training, as Rey practiced telekinesis, she kept the lightsaber near her bag. However, an inquisitive porg began rummaging through her belongings and snatched it, attempting to flee into the ocean with it before Rey employed the Force to pull the fleeing bird back to her and recover the weapon. The incident served as a teaching moment for Rey, who had been able to focus on the power of telekinesis to retrieve the porg.

Following a fateful connection with Kylo Ren, Rey attacked Luke with her quarterstaff, demanding to know the truth regarding the events that transpired between the Jedi Master and his apprentice, Ben Solo, on the night of the Jedi temple's destruction. When Luke disarmed Rey of her melee weapon, she summoned the Skywalker lightsaber through telekinesis. Luke retreated as Rey moved into an attack position, and the scavenger lowered the lightsaber while continuing to demand the truth. After his confession, Rey offered Luke his old lightsaber once more, imploring him one last time to join the fight against the First Order.
Aboard the Supremacy
Disillusioned by Luke's inaction, Rey departed from Ahch-To without him. She retained possession of the Skywalker lightsaber and brought it with her to the Supremacy, flagship of Supreme Leader Snoke, where she confronted Kylo Ren in person. Upon seeing it in her hands, he ordered Rey to surrender the lightsaber to him, asserting that it belonged to him. Although she taunted the dark warrior, recalling how the weapon had called to her instead of him, she relinquished it to him before his stormtroopers secured her as a prisoner of the First Order.
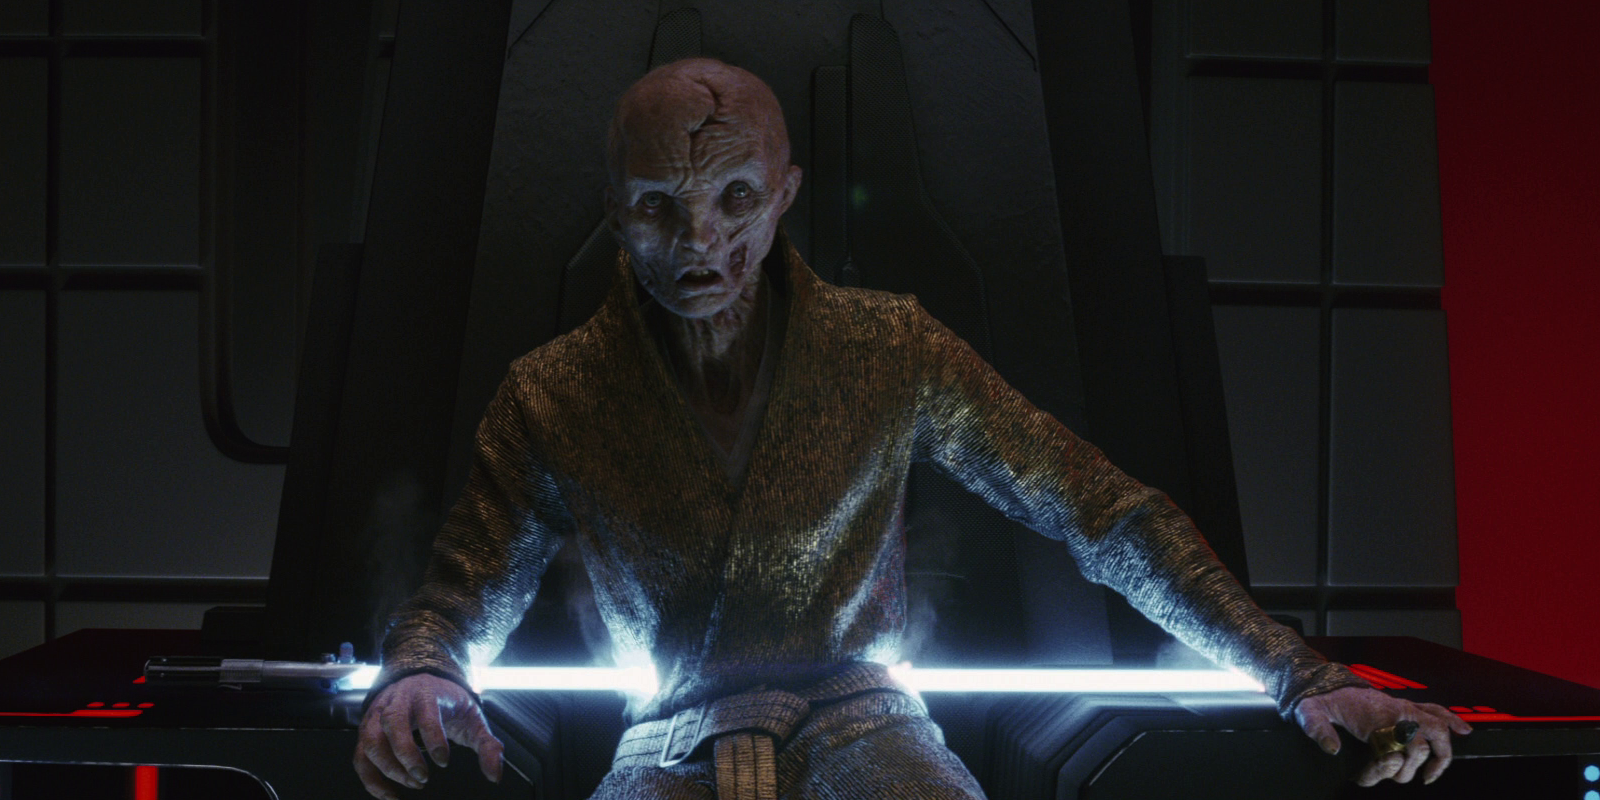
Ren escorted Rey to Snoke's throne room, holding the lightsaber. Once they arrived, the Supreme Leader used the Force to take it from Ren, briefly admiring its construction before placing the Jedi weapon on the arm of his throne. Unable to prevent the dark side master from probing her mind for Luke's location, Rey attempted to reclaim the lightsaber with the Force; however, Snoke overpowered her control, causing the weapon to strike her in the back of the head before returning to his side. Snoke then used his powers to incapacitate Rey, instructing his dark apprentice to kill her. While sensing Ren's intentions through the Force, Snoke failed to notice the Skywalker lightsaber turning toward him due to Ren's subtle manipulation. Instead of using his own lightsaber to kill Rey, Ren activated the lightsaber next to Snoke, bisecting him at the waist. Snoke's grip on Rey was broken, and in his last moments, he could only stare at the blue blade cutting through him before glancing at his apprentice.
The Force was used by Ren to pull the lightsaber, which floated into Rey's hand. The upper portion of Snoke's body then fell to the floor as the lower portion remained seated on his throne. Wielding their lightsabers, they fought together, ultimately defeating the Elite Praetorian Guards. With only one guard remaining, Rey threw the Skywalker lightsaber to Ren, who eliminated the final sentry by igniting the blade through the Praetorian's face-plate.
Destruction
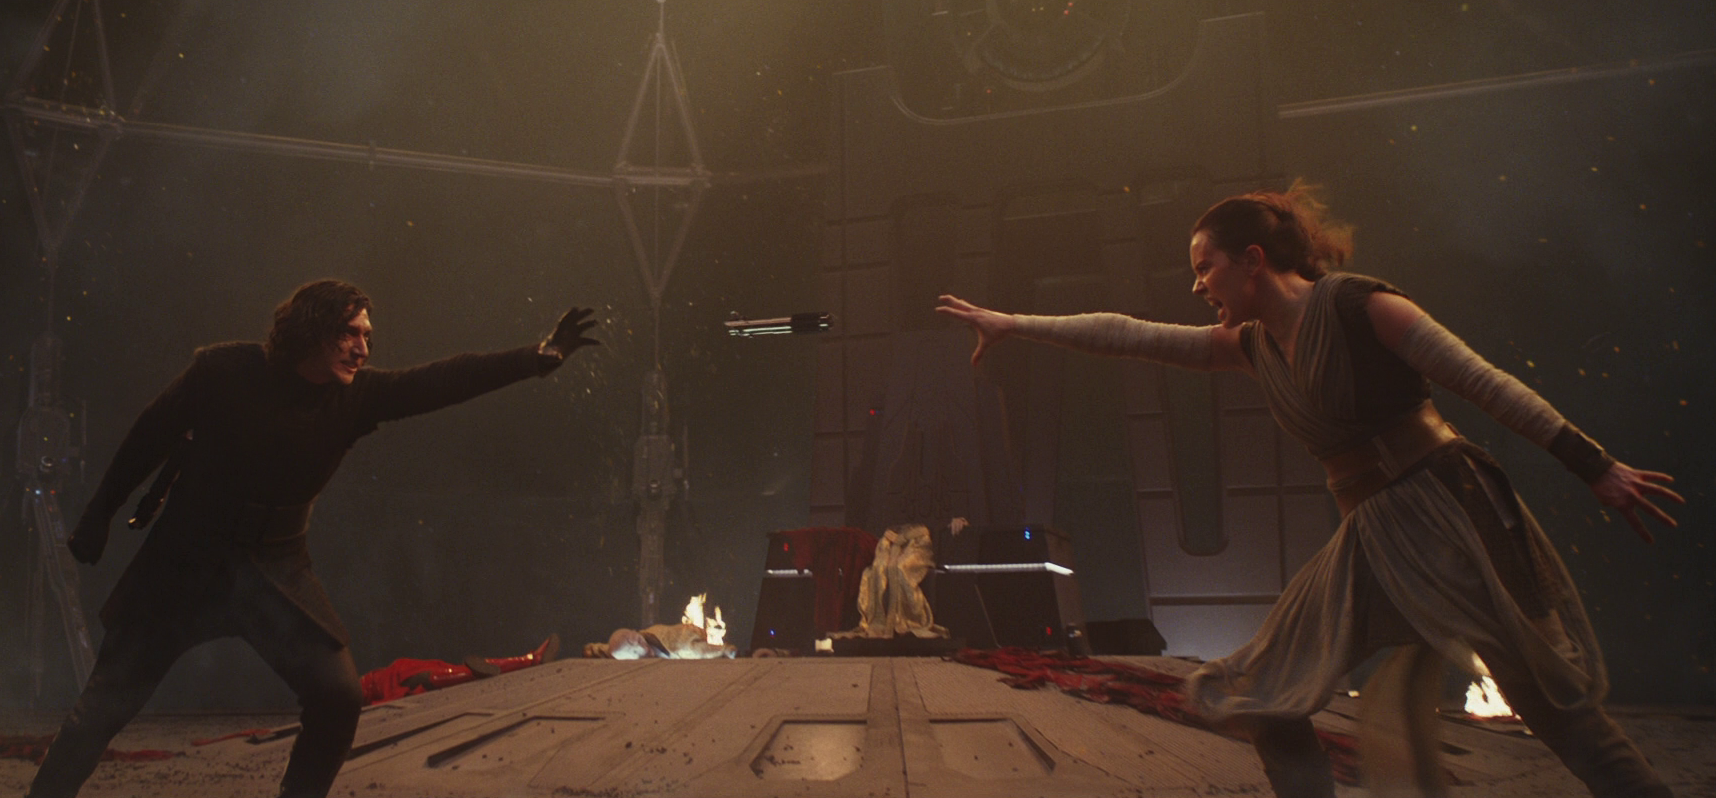
Following the battle, Ren offered Rey a position by his side as the new Supreme Leader of the First Order, an offer she declined, attempting to retrieve her lightsaber using the Force. Simultaneously, they pulled at the weapon, trapping it between them as they exerted immense Force energy to reclaim it. This exertion eventually caused the kyber crystal within to crack, releasing a surge of energy that knocked both combatants backward, rendering Ren unconscious and shattering the lightsaber. Rey escaped with the broken pieces of the relic, which was over fifty years old, taking them with her to the Battle of Crait.
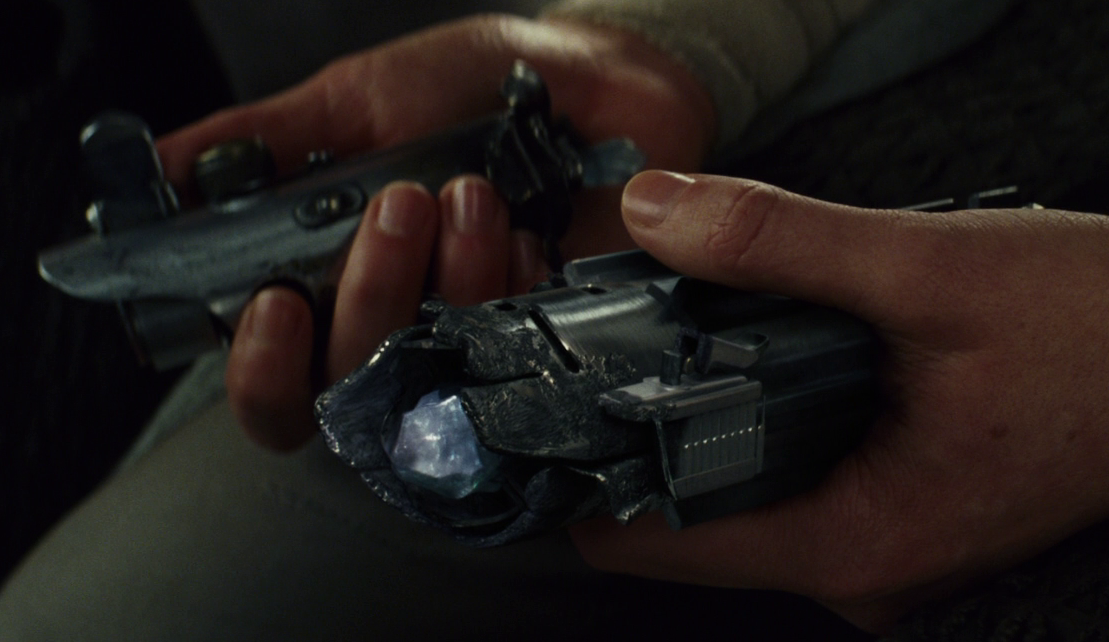
During the battle, Luke Skywalker appeared on the battlefield, seemingly wielding his father's lightsaber against Kylo Ren. However, this was a Force projection sent by Skywalker from Ahch-To. The actual lightsaber's fragments remained on the Falcon with Rey. After Leia spoke with Rey, telling her that "They had all they needed," this inspired her, as the last Jedi, to repair the lightsaber.
The way of the Jedi
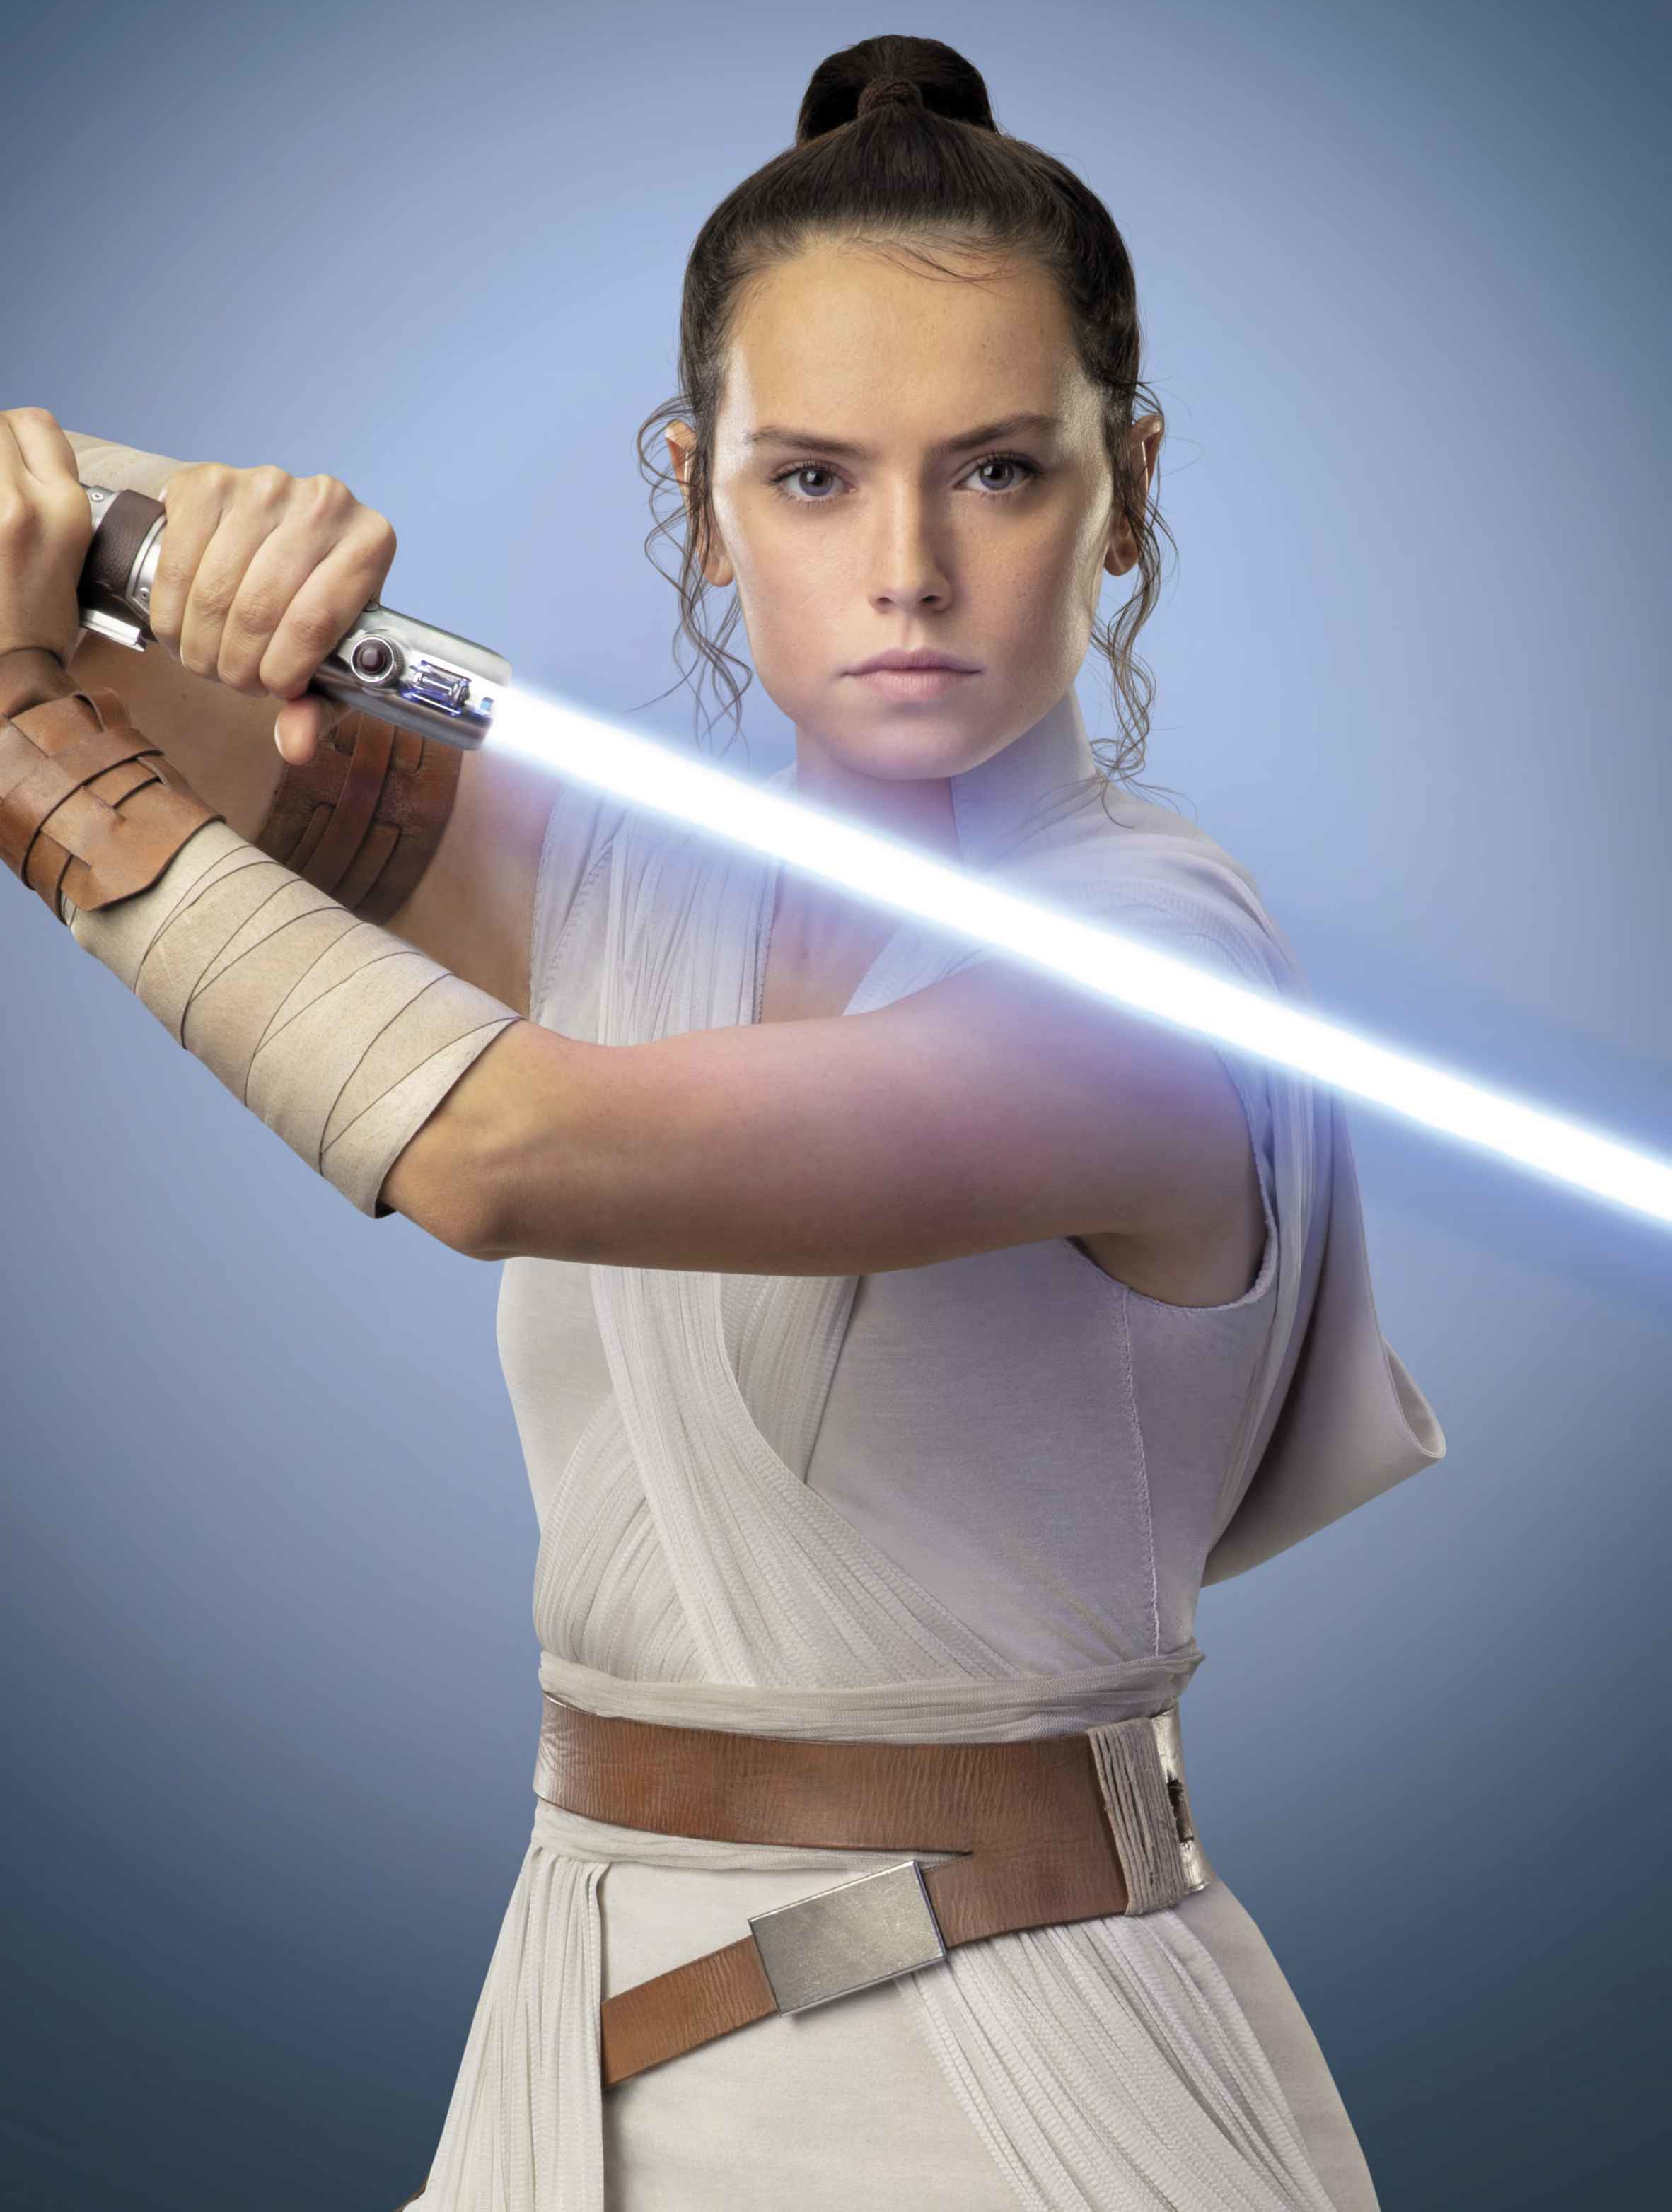
Eventually, Rey successfully repaired the lightsaber in 34 ABY. She accomplished this by binding the two broken halves together with a leather strap and employing healing techniques learned from the sacred Jedi texts to restore its damaged kyber crystal. During a rematch aboard the Halcyon Star Cruiser, Rey and Kylo Ren briefly fought, during which Ren reclaimed the Skywalker lightsaber as his birthright before Rey took it back and escaped. With Organa as her mentor, a typical training regime concocted by Organa involved Rey capturing colored ribbons tied to trees that were defended by a trio of color-coded remotes. These training remotes tested Rey's evasion and deflection skills by flying about her on repulsorfields, firing sting-beams to distract her. The red remote was the most persistent, and therefore the most challenging to Rey's temper.
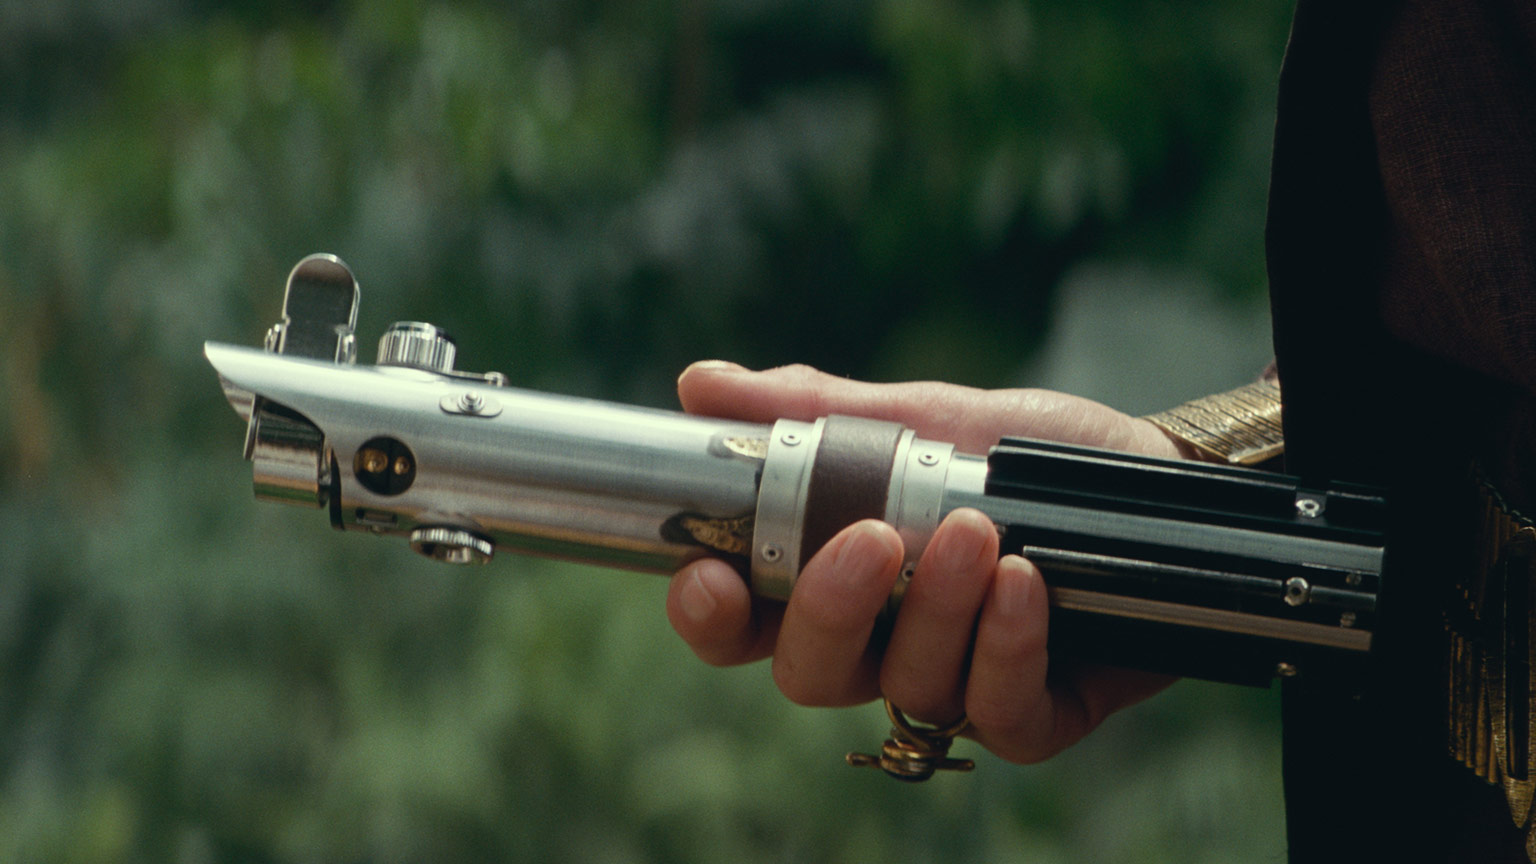
Rey carried the lightsaber to Pasaana to locate the Sith wayfinder. After falling through quicksand into underground tunnels, Rey used the plasma blade (along with Poe's small flashlight) to navigate. Upon discovering Ochi's blade, they encountered a Vexis serpent. Finn and Poe aimed their Glie-44 blaster pistols at it. Rey noticed its wound and handed the weapon to Finn while she healed the serpent. Rey later used it when she was attacked by Kylo Ren in his TIE/wi modified interceptor, leaping over his fighter and slicing off one of its wings in passing, causing it to crash. On Kijimi, Rey used her saber to pin down Zorii Bliss by the throat. Later, using the Bestoon Legacy to board the Resurgent-class Star Destroyer Steadfast, Rey used her lightsaber to duel Kylo Ren through their bond while Ren was on the planet's surface. Shortly after, on Kef Bir after touching the Emperor's wayfinder and experiencing a Force vision, Rey used the lightsaber against a dark side version of herself who had a hinged double-bladed lightsaber. She then used the weapon in battle against Kylo Ren for the final time amongst the ruins of the second Death Star on the ocean moon of Endor.
Return to Ahch-To
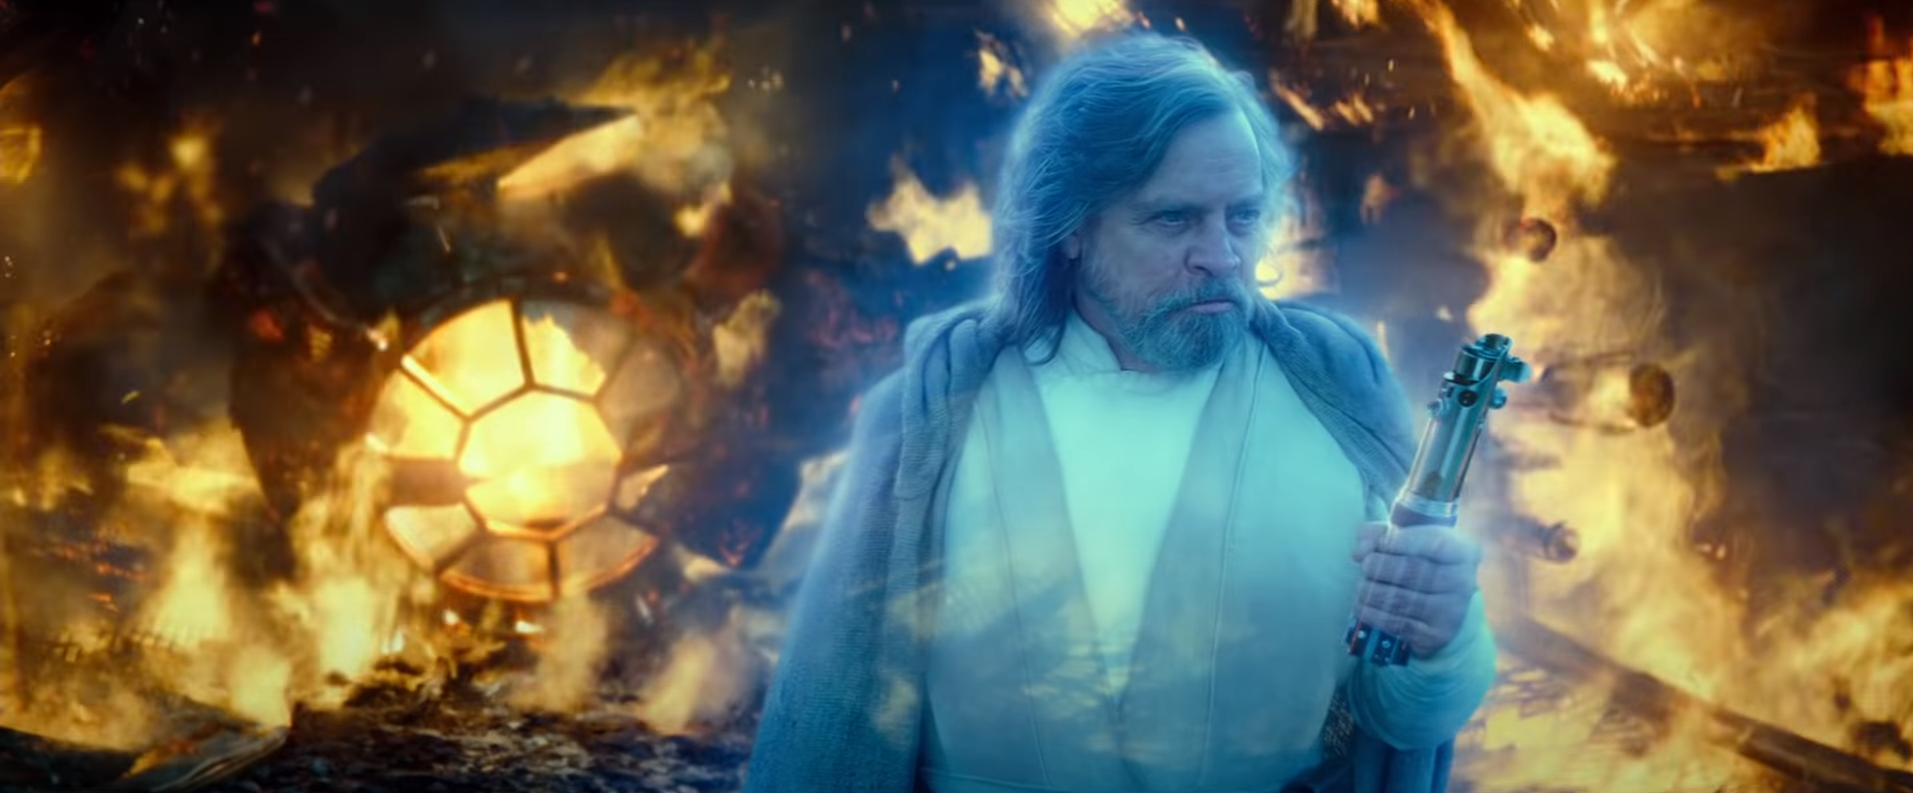
Following her confrontation with Ren and the revelation that Darth Sidious, resurrected, was her grandfather, Rey, fearing her potential fall to the dark side, fled to Ahch-To. She intended to live out her days in self-imposed exile, as Skywalker had done before. During her exile, Rey destroyed Kylo Ren's TIE whisper, burning it on the shores of Ahch-To. She also planned to throw her saber into the flames, but the Force spirit of Luke Skywalker intervened, returning it to her and reminding her of the respect it deserved. Rey then took the lightsaber, along with Leia's lightsaber, to Exegol in his old X-wing.
Exegol
Using Vader's wayfinder, Rey and Sidious faced each other during the Battle of Exegol. The fallen Emperor, his spirit confined to an imperfect clone of his original body, urged his granddaughter to kill him with her Jedi lightsaber, thus taking his place on the Throne of the Sith as "Empress Palpatine." This would ensure the transfer of the Sith Lord's essence to Rey, allowing him to possess her body and renew the Sith Eternal for the reign of a new Sith Empire. Rey initially rejected her grandfather's offer, holding firm to the Jedi way, until Sidious threatened to annihilate the Resistance, breaking her resolve. The ritual began with Sidious proclaiming the death of the Jedi Order as Rey raised her saber at him. However, instead of delivering the killing blow, the lightsaber vanished from her hand and reappeared in Ben Solo's.

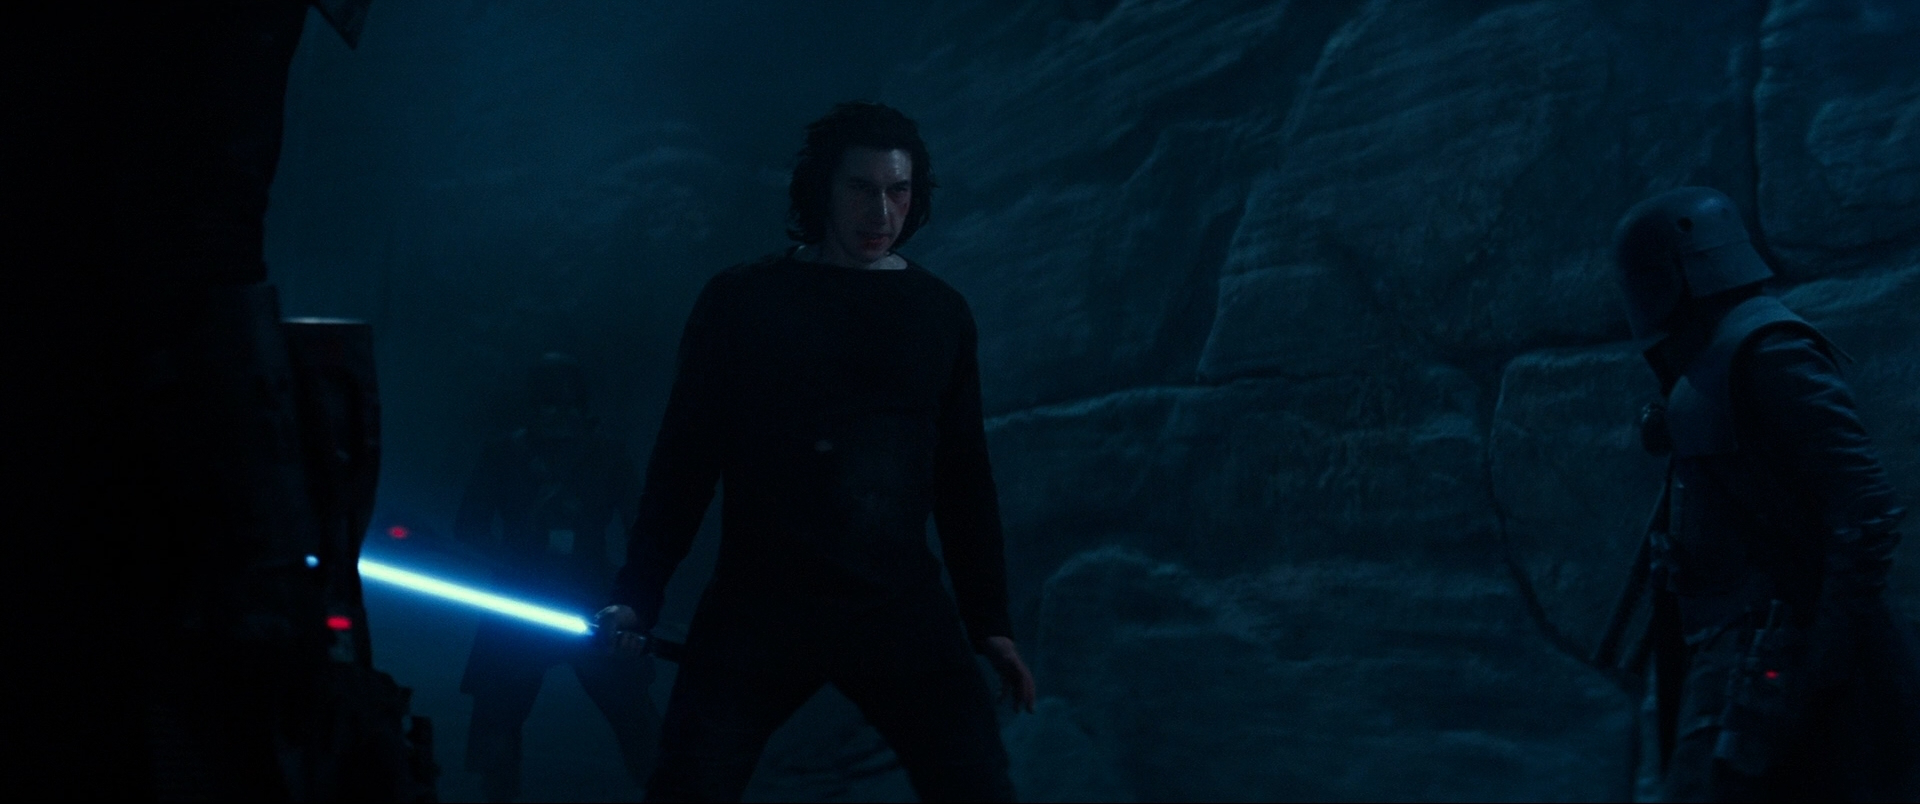
The former Kylo Ren, rejecting the dark side, returned to Exegol to fight the Emperor alongside Rey. Having discarded his Sith lightsaber on Kef Bir, he was armed only with a blaster pistol and his Force abilities. He charged into Sidious' lair, swiftly eliminating several Sovereign Protectors until the Knights of Ren blocked his path. They surrounded their former master, attacking him with their weapons, until Solo revealed the Skywalker lightsaber, his family's heirloom, in his hand. Sensing his presence, no longer reflecting the dark side but only pure light, Rey gave the lightsaber to Solo. He paused to savor the feel of the lightsaber in his palm, instantly recognizing it as his own weapon. Once again, a Skywalker wielded the lightsaber built by Anakin Skywalker.
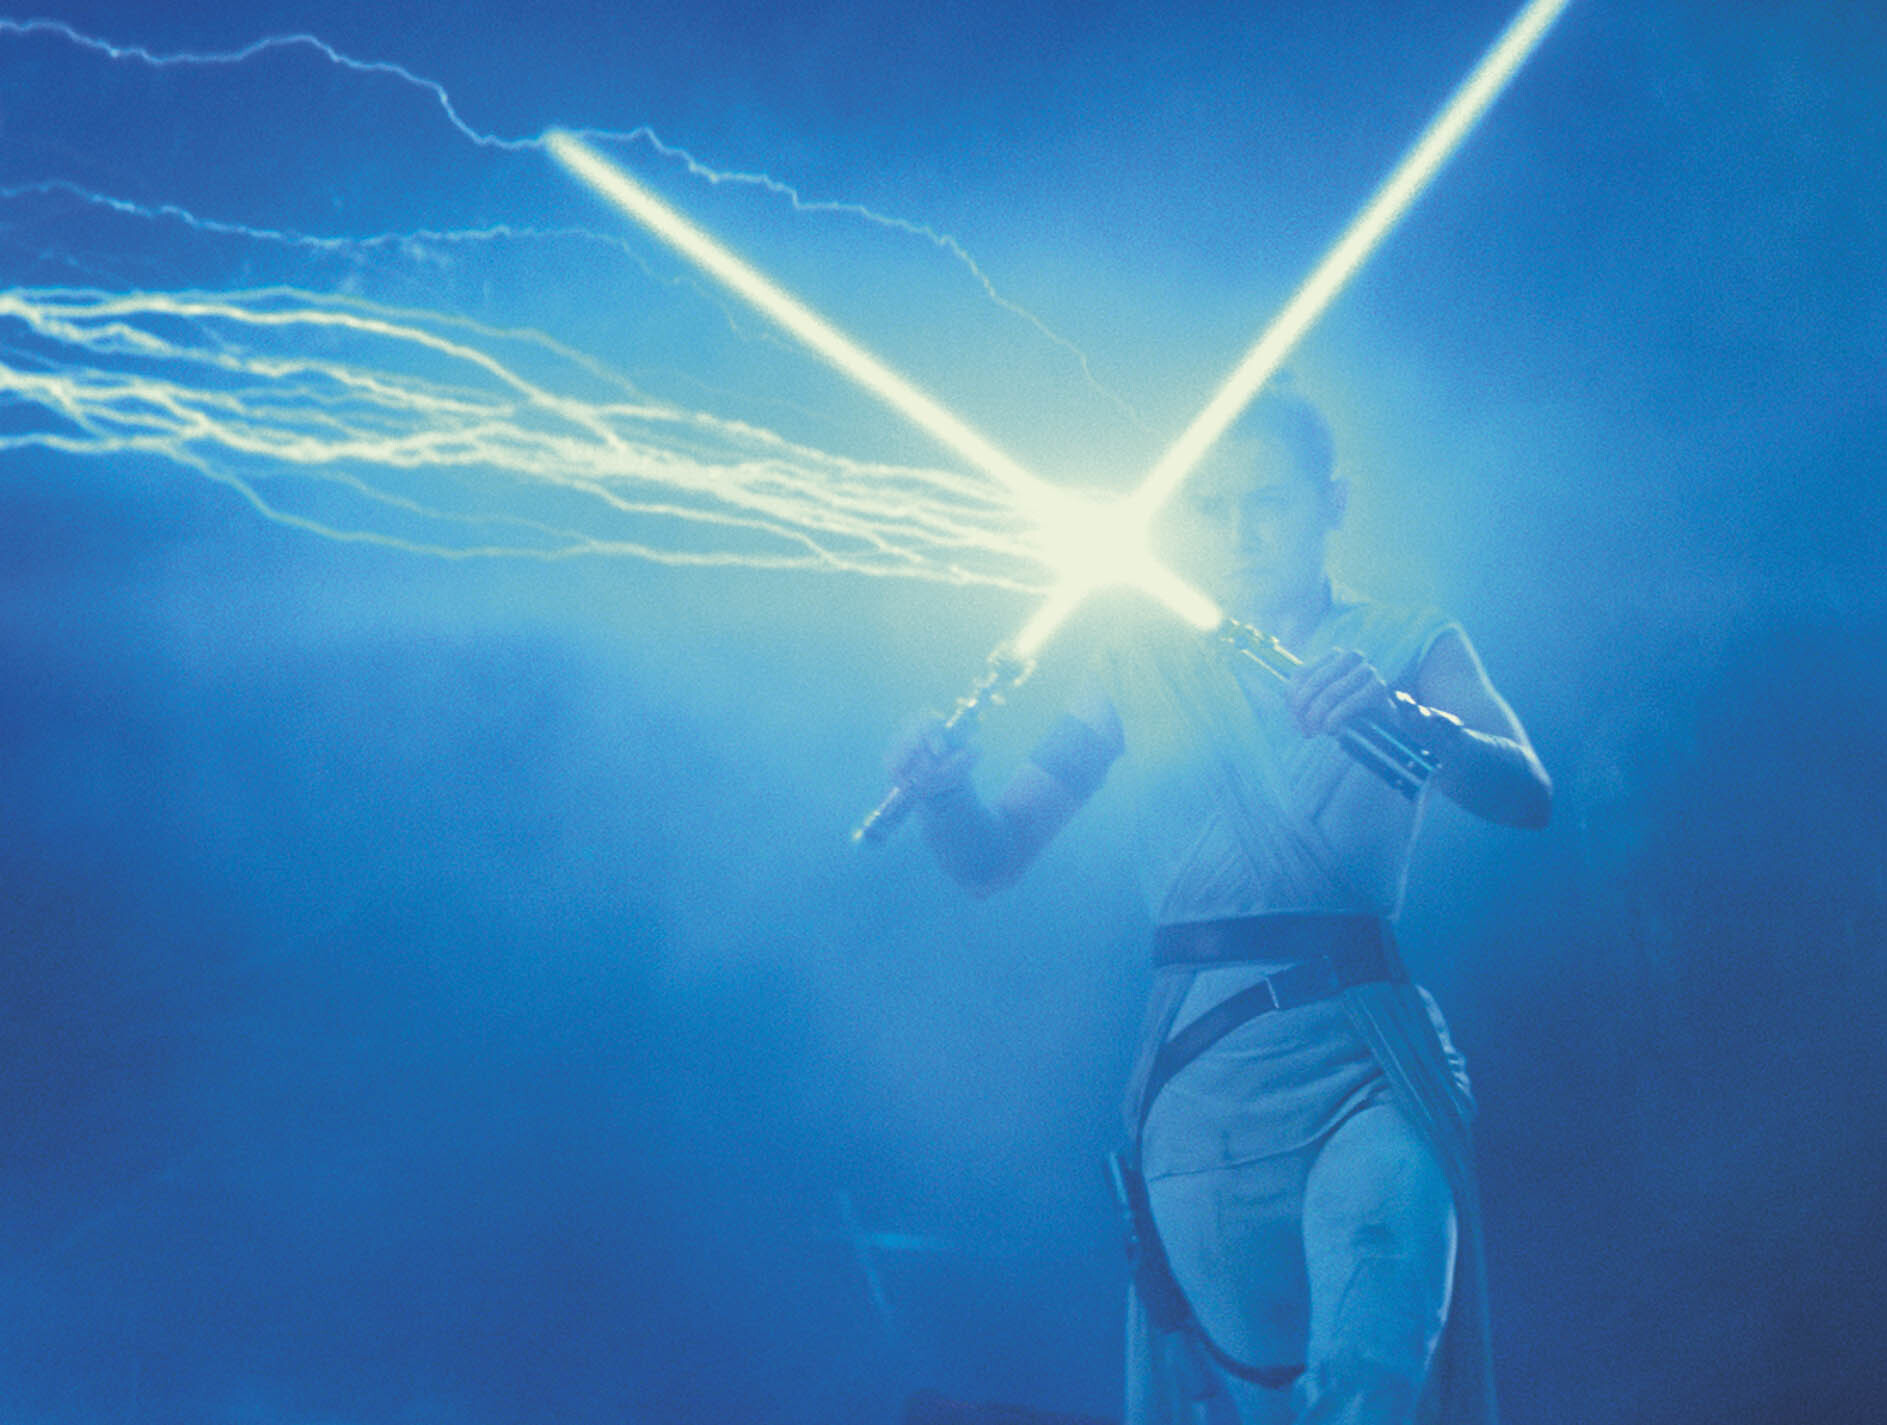
Solo quickly struck down the Knights of Ren. Unlike Ren, who was merciless, Solo showed mercy by granting them swift deaths. After the last Knight fell, Solo entered the Emperor's throne room and reunited with Rey. They stood together against Sidious, their lightsabers raised as the Sith Lord proclaimed their shared demise. Sidious overpowered them with the dark side, disarming them and forcing them to their knees as he began draining their life force to revitalize himself.
The restored Emperor cast Solo into a chasm, intending for him to die as before. However, the spirits of the Jedi raised Rey, re-energizing her weakened body for a final stand. Using both Skywalker lightsabers as a shield against Sidious' Force lightning, Rey redirected the attack, destroying his body. Although the effort killed Rey, Solo sacrificed his life to revive her, resulting in his own death as the last Skywalker. After Solo became one with the Force, Rey retrieved both lightsabers before leaving Exegol.

Burial
After the defeat of the Final Order, Rey constructed a yellow-bladed lightsaber using components from her quarterstaff. She then traveled to the Lars homestead on Tatooine, where she laid the two Skywalker lightsabers to rest at the old moisture farm, wrapping them in cloth and burying them alongside the grave of Shmi Skywalker.
Behind the scenes
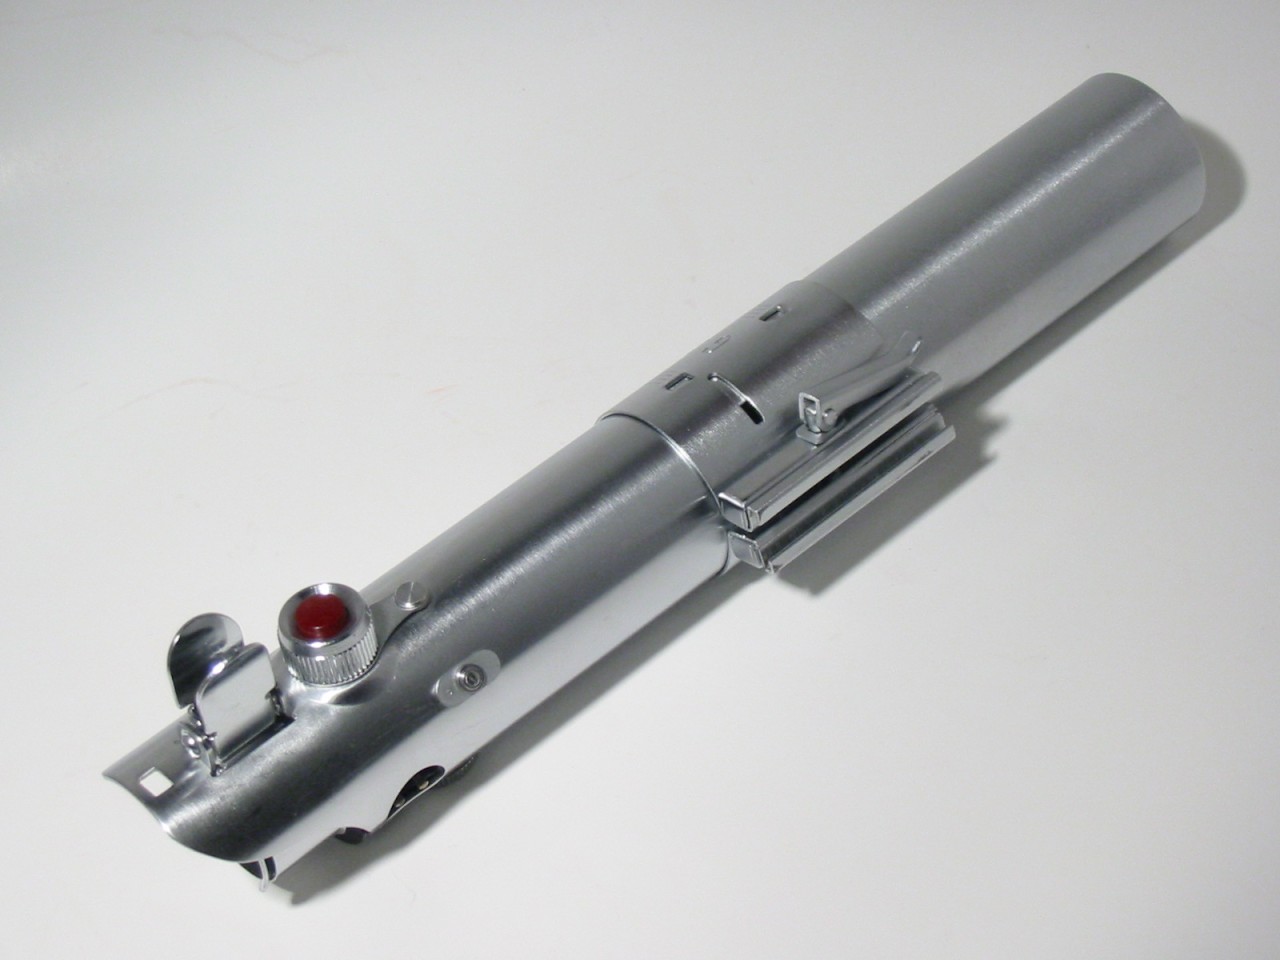
Anakin Skywalker's lightsaber in Star Wars: Episode III Revenge of the Sith was designed to resemble Luke Skywalker's lightsaber from Star Wars: Episode IV A New Hope and Star Wars: Episode V The Empire Strikes Back because they are the same weapon. While both characters used the lightsaber, it was first identified as the "Skywalker lightsaber" in Star Wars Lightsabers: A Guide to Weapons of the Force.
The original hilt, wielded by Mark Hamill in A New Hope, was created from the flash attachment of a Graflex 3 cell flash unit, a flash tube attachment used on forties-era press cameras. Ridged grips were made by gluing hard plastic T-track portions used for cabinet sliding doors (often mistaken for wiper blades) onto the bare cylinder. The switch plate was fashioned from an Exactra 19 or 20 calculator's LED display. A D-ring assembly was also added to the bottom. The lightsaber in The Empire Strikes Back was also Graflex-based, but the 'T' tracks were screwed on (only 6 instead of 7), the switch plate was replaced with a circuit board piece, the Graflex logo was covered with mylar tape, and a Kobold camera flash part was used for the D-ring assembly.
As a blooper, Grievous wields Anakin's lightsaber in his duel scene on Utapau. Similarly, Sidious' lightsaber is sometimes replaced by Skywalker's lightsaber in the duel scene in Palpatine's office.
For Star Wars: Episode VII The Force Awakens, authentic Graflex flash units were used for the lightsaber props. They were based on a hybrid of the A New Hope and The Empire Strikes Back versions, featuring the "glass eye" and "beer tab" top half parts from A New Hope and circuit boards and 'T' tracks attached via screws bottom half from The Empire Strikes Back. A "wrap" was created to cover most of the flash unit's clamp, concealing the Graflex logo. The clamp appears more golden in The Force Awakens.
The original script for The Force Awakens initially intended to begin with the lightsaber falling through space, tracing its history to explain Maz Kanata's acquisition. However, director J.J. Abrams discarded the idea, suggesting that it was a story for later.
The bottom of the lightsaber displays the words "Made by the Former Graflex Corp" "Rochester, New York, USA".