Rebel Alliance Navy
The Rebel Alliance Navy, also known as the Alliance Navy, Rebel Navy, Rebel Armada, Alliance Fleet, Rebel Alliance fleet, or simply the Rebel fleet, served as the naval wing for the Alliance to Restore the Republic during their conflict with the Galactic Empire known as the Galactic Civil War. This naval force was assembled from the starships contributed by various rebel cells that united to form the Alliance Military. After the Battle of Endor and the establishment of the New Republic, the Alliance Fleet was reorganized and became the New Republic Defense Fleet.
Background
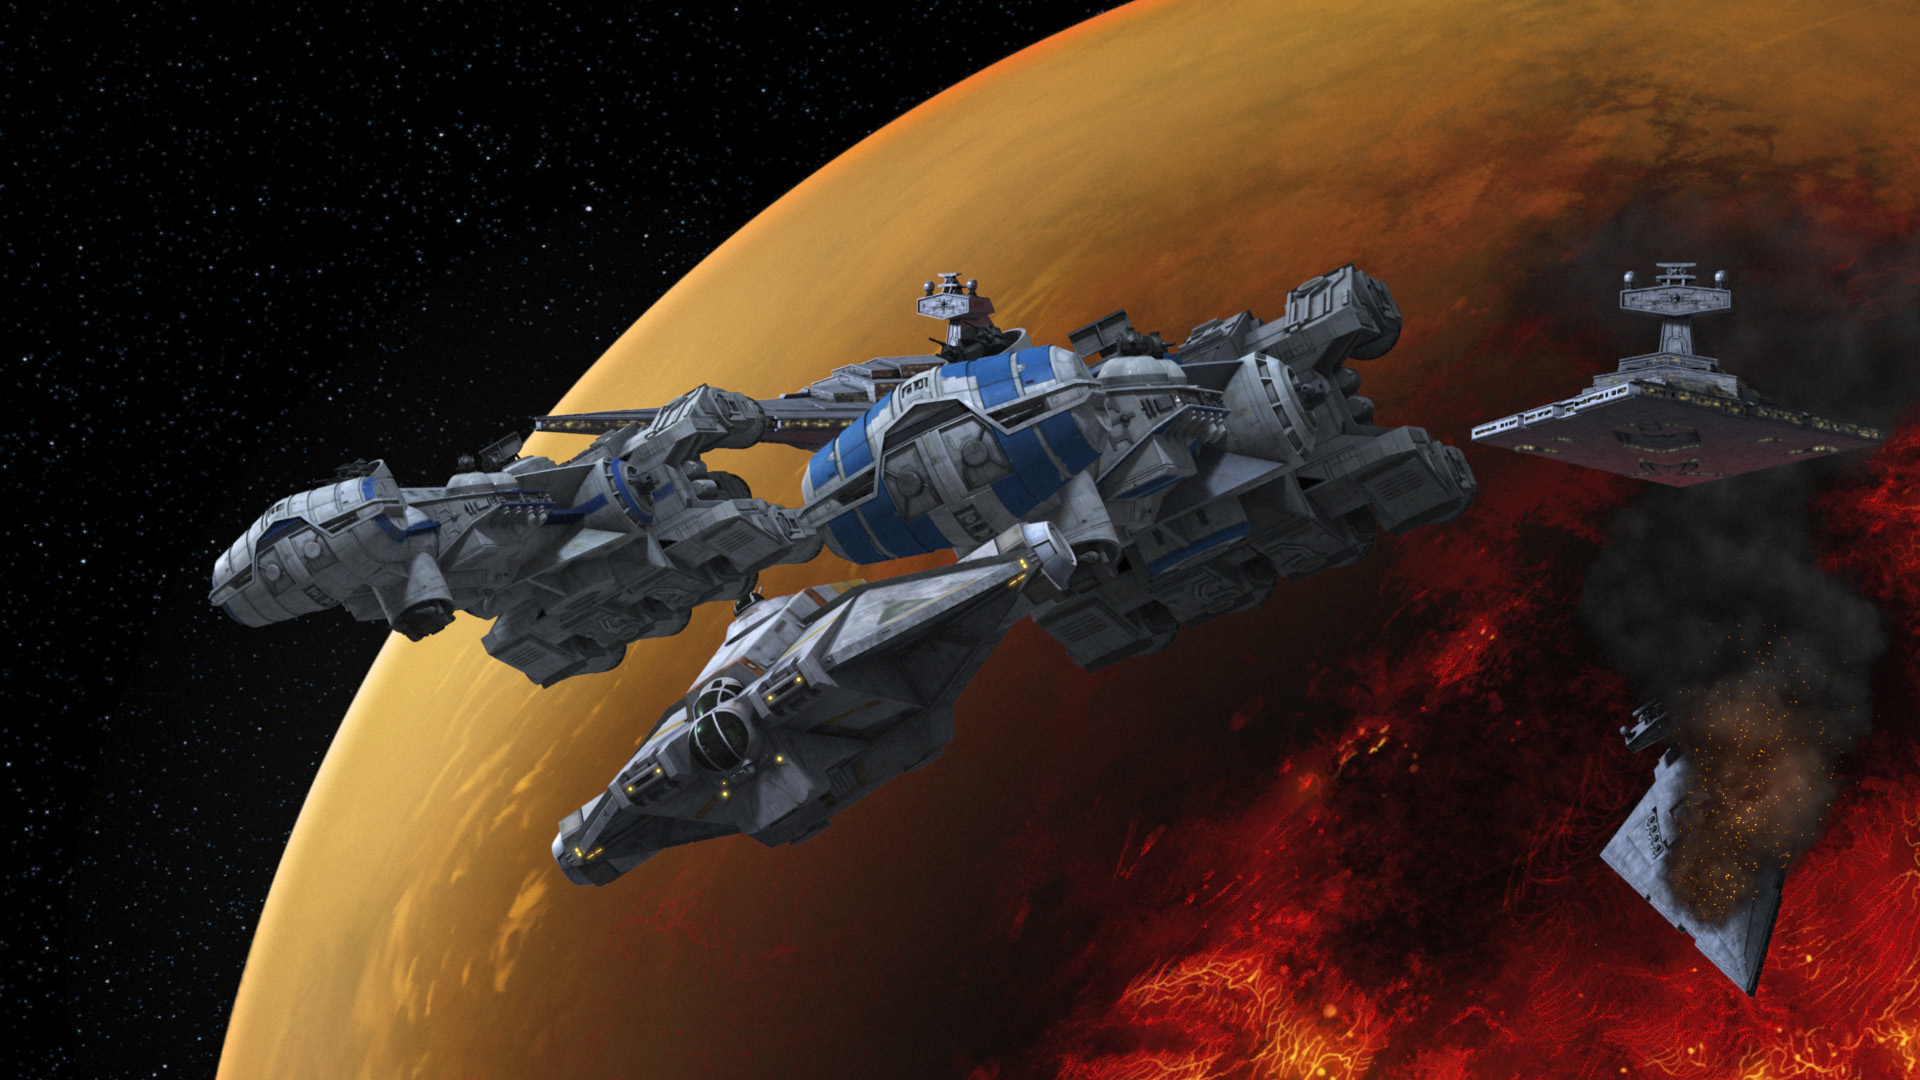
As the rebellion against the Galactic Empire began, disparate rebel groups started to synchronize their efforts against Imperial rule, leading to the initial formation of a rebel fleet.
In 4 BBY, the Phoenix Cell, a sector fleet within the Alliance, dispatched three CR90 corvettes to aid the Spectres, another rebel cell, during a skirmish occurring above Mustafar. These corvettes successfully eliminated multiple TIE fighters before extracting the Spectres into space. The Spectres then discovered they were part of a larger network of rebel cells. Later, elements of this growing rebel fleet ambushed an Imperial convoy, seizing several deflector shield generators. While in hiding, the ships of Phoenix Squadron were attacked by Sith Lord Darth Vader, who destroyed most of their forces, leaving only two A-wings and the Squadron's flagship, the Phoenix Home. Despite these heavy losses, the remaining rebels managed to escape into hyperspace before Imperial reinforcements could arrive.
When Captain Rex joined the Phoenix Cell, he provided them with intelligence regarding the locations of former Republic bases, Separatist installations, pirate havens, smuggler hideouts, and certain Mandalorian sites within the Outer Rim Territories. Subsequently, the Rebel Fleet launched two attempts to break through the Imperial blockade of Ibaar. After losing a corvette, rebel pilot Captain Hera Syndulla successfully penetrated the blockade using a prototype B-wing starfighter, resulting in her promotion to Phoenix Leader. Later, in 3 BBY, the Rebel Fleet was compelled to abandon their facilities in Garel City following an Imperial attack on the planet of Garel. While at least one vessel was shot down, most of the fleet successfully escaped into hyperspace.
Upon learning of the Rebel Fleet's setbacks, Senator Bail Organa dispatched three Sphyrna-class Hammerhead corvettes to bolster their forces. The Spectres and Ryder Azadi, aided by Princess Leia Organa, were able to steal these ships from the Lothal Depot. During a diplomatic mission to the Concord Dawn system, Phoenix Squadron was attacked by Fenn Rau's Fang fighters. As a consequence, the rebels attacked the Protectors' encampment on the third moon of Concord Dawn and abducted Rau. This resulted in Rau granting the rebel fleet safe passage through the Concord Dawn system.
Subsequently, due to the loss of A-wings, the rebels decided to steal an Imperial Quasar Fire-class cruiser-carrier above Ryloth, assisted by the Free Ryloth Movement. This captured Imperial vessel became their new fighter carrier and flagship, named the Phoenix Nest. The Empire later attempted to lure the rebel fleet into a trap within the Yost system by attacking Phoenix Squadron in deep space. However, the rebel astromech droid Chopper and the defecting Imperial inventory droid AP-5 provided the rebel fleet with the coordinates to a secure planet called Atollon, which became the location of a new rebel base known as Chopper Base.
In 2 BBY, the Imperial strategist Grand Admiral Thrawn focused his attention on defeating the rebel fleet, considering it a threat to the Empire's armada and the ongoing plans of Galacti Emperor Sheev Palpatine. Under his command, Governor Arihnda Pryce, Admiral Kassius Konstantine, and Imperial Security Bureau Agent Alexandr Kallus intercepted Phoenix Cell above Yarma. However, Thrawn determined that this was not the main Rebel Fleet and instructed his subordinates to allow the rebels to escape with five stolen BTL-A4 Y-wing assault starfighter/boming bombers. These Y-wings were then delivered to General Jan Dodonna's unit.
Subsequently, Phoenix Cell of the rebel fleet evacuated rebel sympathizers from Mykapo before an Imperial crackdown. Commander Jun Sato also succeeded in rescuing his nephew, Captain Mart Mattin, and his Iron Squadron with assistance from the Spectres. Thrawn permitted Phoenix Cell to escape into space because his primary objective was to locate the main Rebel Fleet.
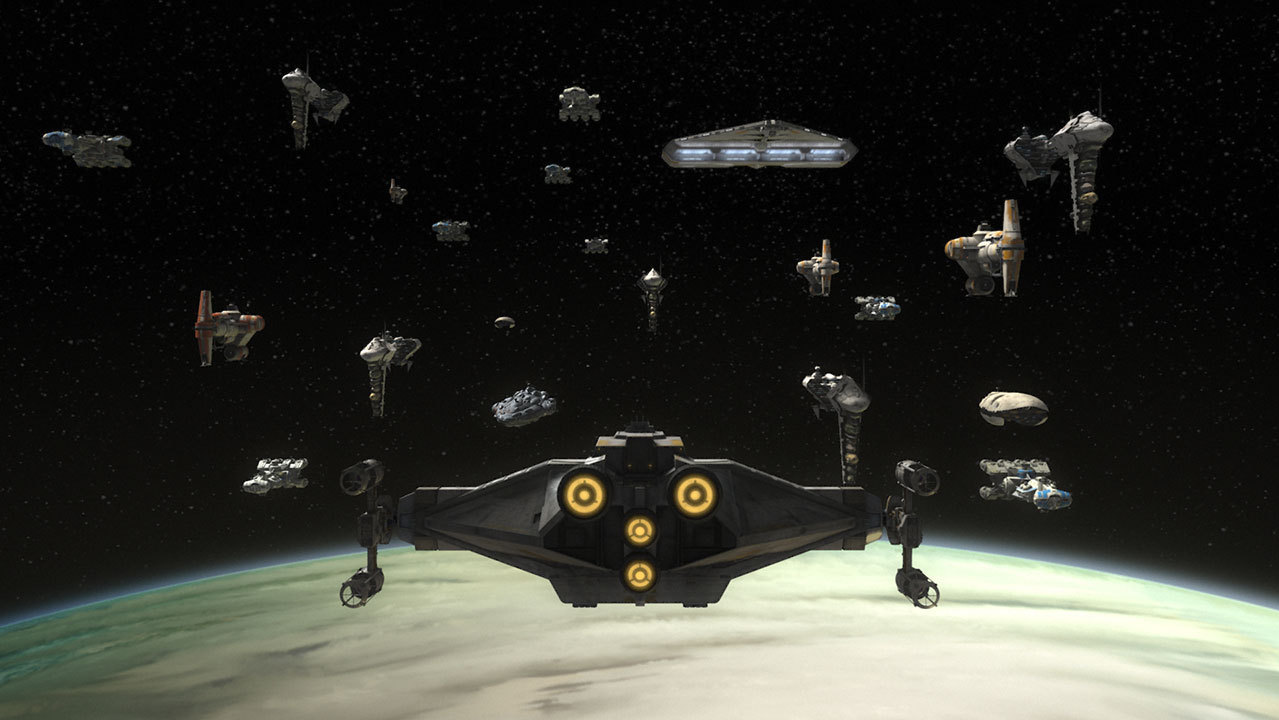
Following Admiral Kassius Konstantine's failed attempt to capture Chancellor Mon Mothma, starships from various rebel cells (including one Mon Calamari Cruiser, four Sphyrna-class Hammerhead corvettes, one Quasar Fire-class cruiser-carrier, eight CR90 corvettes, five Nebulon-B escort frigates, and two GR-75 medium transports) converged at Dantooine to form the official fleet of the Rebel Alliance in their fight against the Empire.
History
Early rebellion against the Galactic Empire
Bail and Breha Organa initiated the construction of the Rebel fleet early in the war. Many of its vessels underwent refurbishment at various Rebel shipyards, such as the one on Paucris Major. The Organas also managed to steal an Imperial medical frigate.
One of the initial engagements involving the nascent Alliance Fleet occurred when Phoenix Cell and a contingent from the Massassi Group gathered at Chopper Base on Atollon. Their plan was to attack the TIE/d "Defender" Multi-Role Starfighter factories located on Lothal, with assistance from the Lothal resistance group. However, Grand Admiral Thrawn had discovered not only their plan to attack his factories but also their location. His Fleet ambushed the rebels, who then attempted to flee. Thrawn's Interdictor vessels prevented the rebels from escaping Atollon, leading them to engage his blockade. The battle resulted in a disastrous defeat for the Alliance, with many ships falling to TIE/sa bombers and Phoenix Cell's flagship ramming into one of the Interdictors. Jedi Commander Ezra Bridger managed to escape the system, leaving the remaining rebels to defend the base from Thrawn's ground forces. Thrawn quickly seized the base, but his control was short-lived as a Force-sensitive creature known as the Bendu attacked both sides. Ezra returned with reinforcements and they destroyed the second Interdictor Vessel, allowing the remaining rebels to escape. Only the Ghost, two Hammerhead corvettes, the CR90 corvette Liberator, and a scattering of starfighters survived the ordeal.
Galactic Civil War
Battle of Scarif
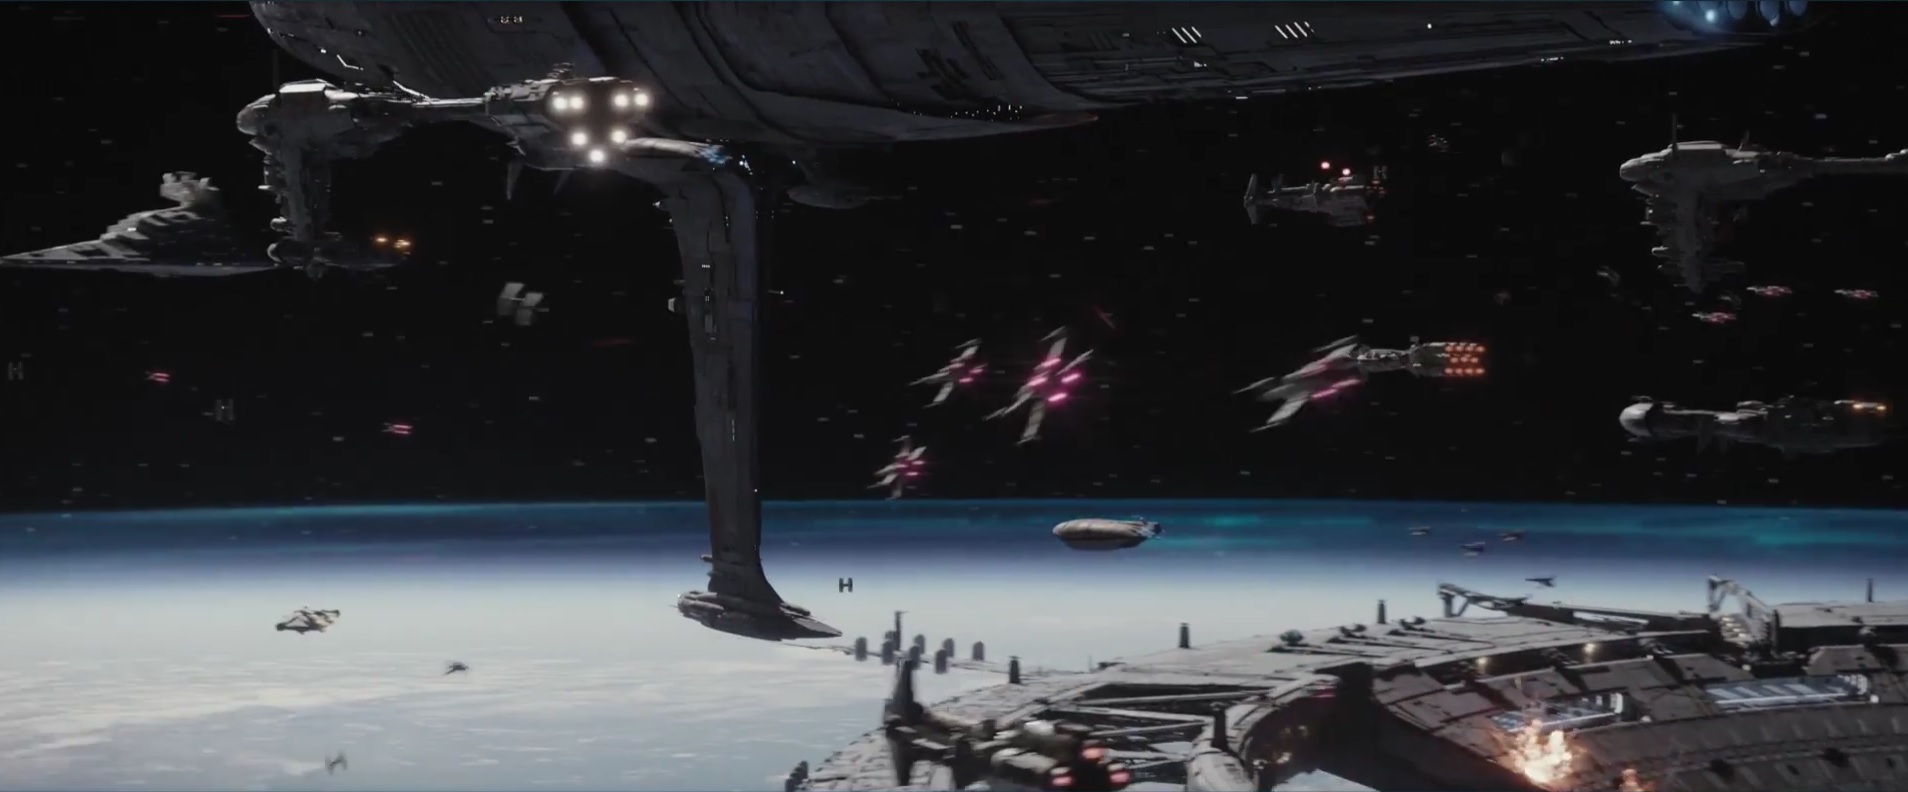
Despite the setbacks from previous engagements, the Alliance began to consolidate additional support and acquire more vessels. The first major action involving the Alliance Fleet occurred at Scarif. Here, a fleet under the command of Admiral Raddus assaulted the Imperial Shield Gate above Scarif to facilitate the theft of the Death Star plans from the Citadel Tower below. Despite having a considerable number of ships, the rebel fleet was still outgunned, as most of their vessels were transports, frigates, and corvettes, with the Profundity being their only capital ship at the time. Despite this lack of capital ships, the Alliance vessels fought fiercely. Raddus ordered Blue Squadron to fly through the shield gate before it closed and provide support to the ground forces. Meanwhile, Red, Gold, and Green Squadrons defended the fleet while simultaneously attacking the shield gate to divert its attention. The Y-wings of Gold Squadron managed to disable one of the Imperial-class Star Destroyers, while the Heartbound and Deviant prevented the other Star Destroyer from advancing.
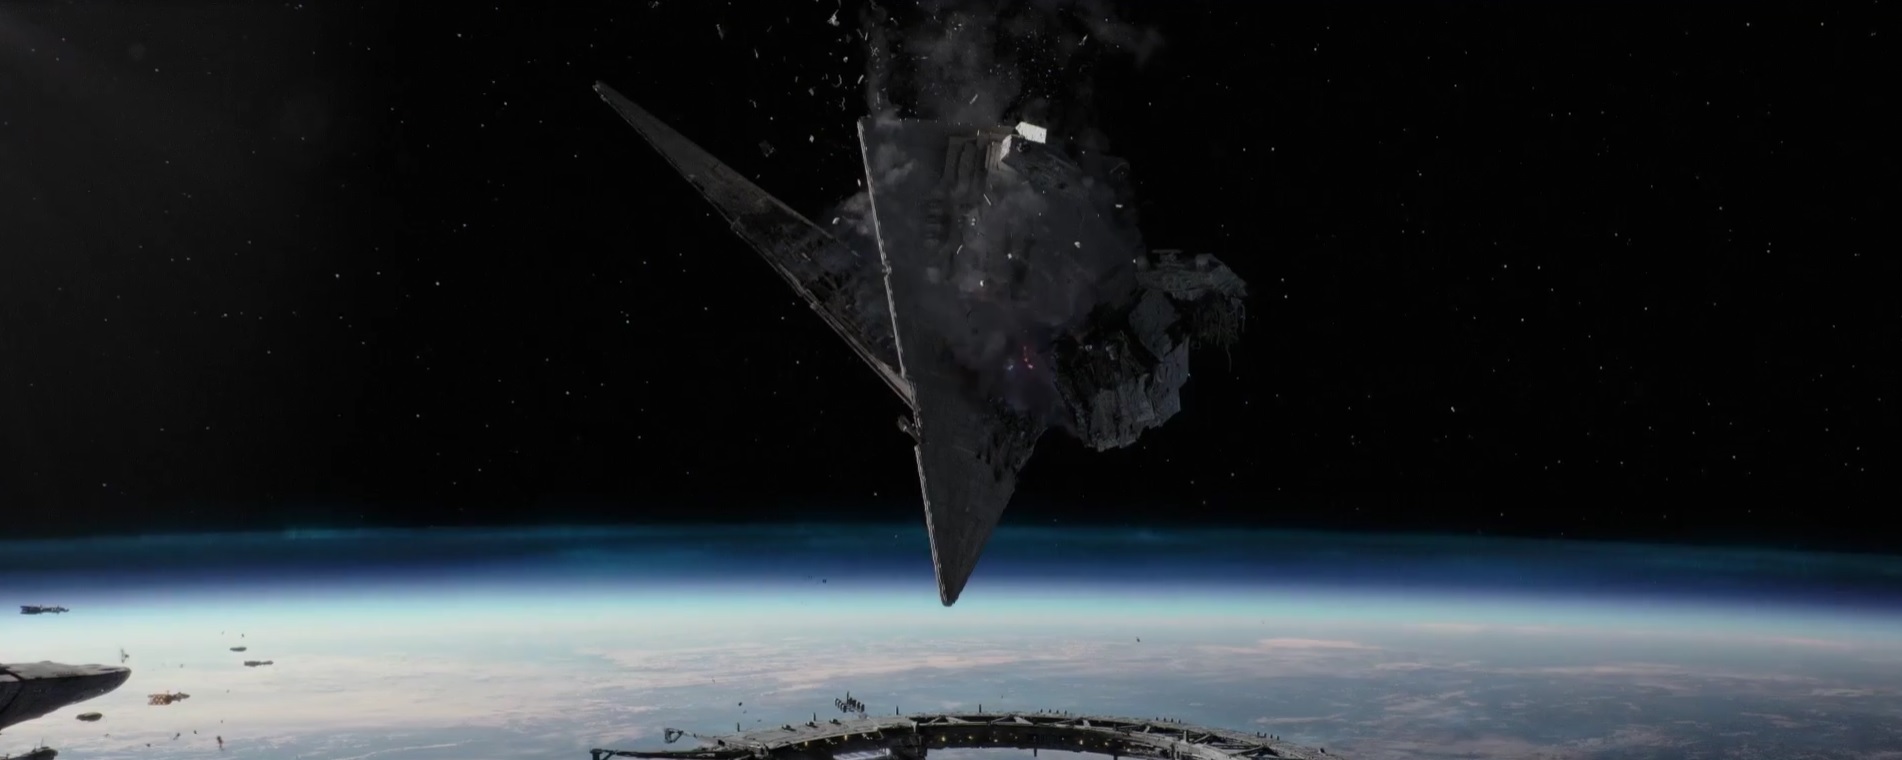
Raddus then received news from the ground that the plans for the Death Star had been obtained and that the shield gate needed to be destroyed to allow their transmission. Consequently, Raddus devised a plan involving the Sphyrna-class corvette Lightmaker ramming the disabled Star Destroyer into the functioning one. The Lightmaker successfully executed this maneuver, bringing the Destroyer into the shield gate. Raddus' ship, the Profundity, then received the plans from the rebels in the citadel tower. However, their moment of triumph was cut short when the Death Star arrived and obliterated the Imperial complex and everything around it on the ground. Raddus ordered the fleet to retreat, and the rebel ships began jumping to hyperspace. During their retreat, the Devastator arrived, destroying several ships and disabling the Profundity. Rebel soldiers on the Profundity downloaded the plans onto a memory piece and escaped on the Tantive IV before Darth Vader could intercept them. The Profundity was subsequently destroyed, taking Raddus and his crew with it.
Pursuit above Tatooine

After escaping from Scarif, the Tantive IV was on the run, having sustained damage within the Profundity and barely reaching Tatooine before its hyperdrive failed. It was pursued by the Devastator, which tracked the radiation leak from its damaged hyperdrive. Unable to mount a proper defense, the Tantive IV was soon pulled into the hangar of the Devastator. Darth Vader and his stormtroopers stormed the ship, killing many rebels, and Leia was captured and taken to the Death Star.
The Battle of Yavin
The Alliance finally received the Death Star plans from Organa, who had been rescued from the Death Star by Vader’s son Luke Skywalker, Captain Han Solo, and the latter’s partner Chewbacca. Their next course of action was to target the Death Star's weakness—a small thermal exhaust port leading to the reactor—to destroy it. Vader tracked Han's ship the Millennium Falcon to Yavin 4, revealing the location of Great Temple to the Empire like he did to find the Rebel Fleet four years ago. Grand Moff Wilhuff Tarkin, Governor of the Outer Rim Territories, brought the Death Star to Yavin, and the battle station began orbiting the gas giant, positioning it within firing range of the moon where the rebels were based. With limited time, the rebels dispatched Red, Gold and Green Squadron to attack the Death Star. The force of 30 X-wings and Y-wings began destroying turret emplacement and fending off the incoming TIE Fighters defending the Death Star.
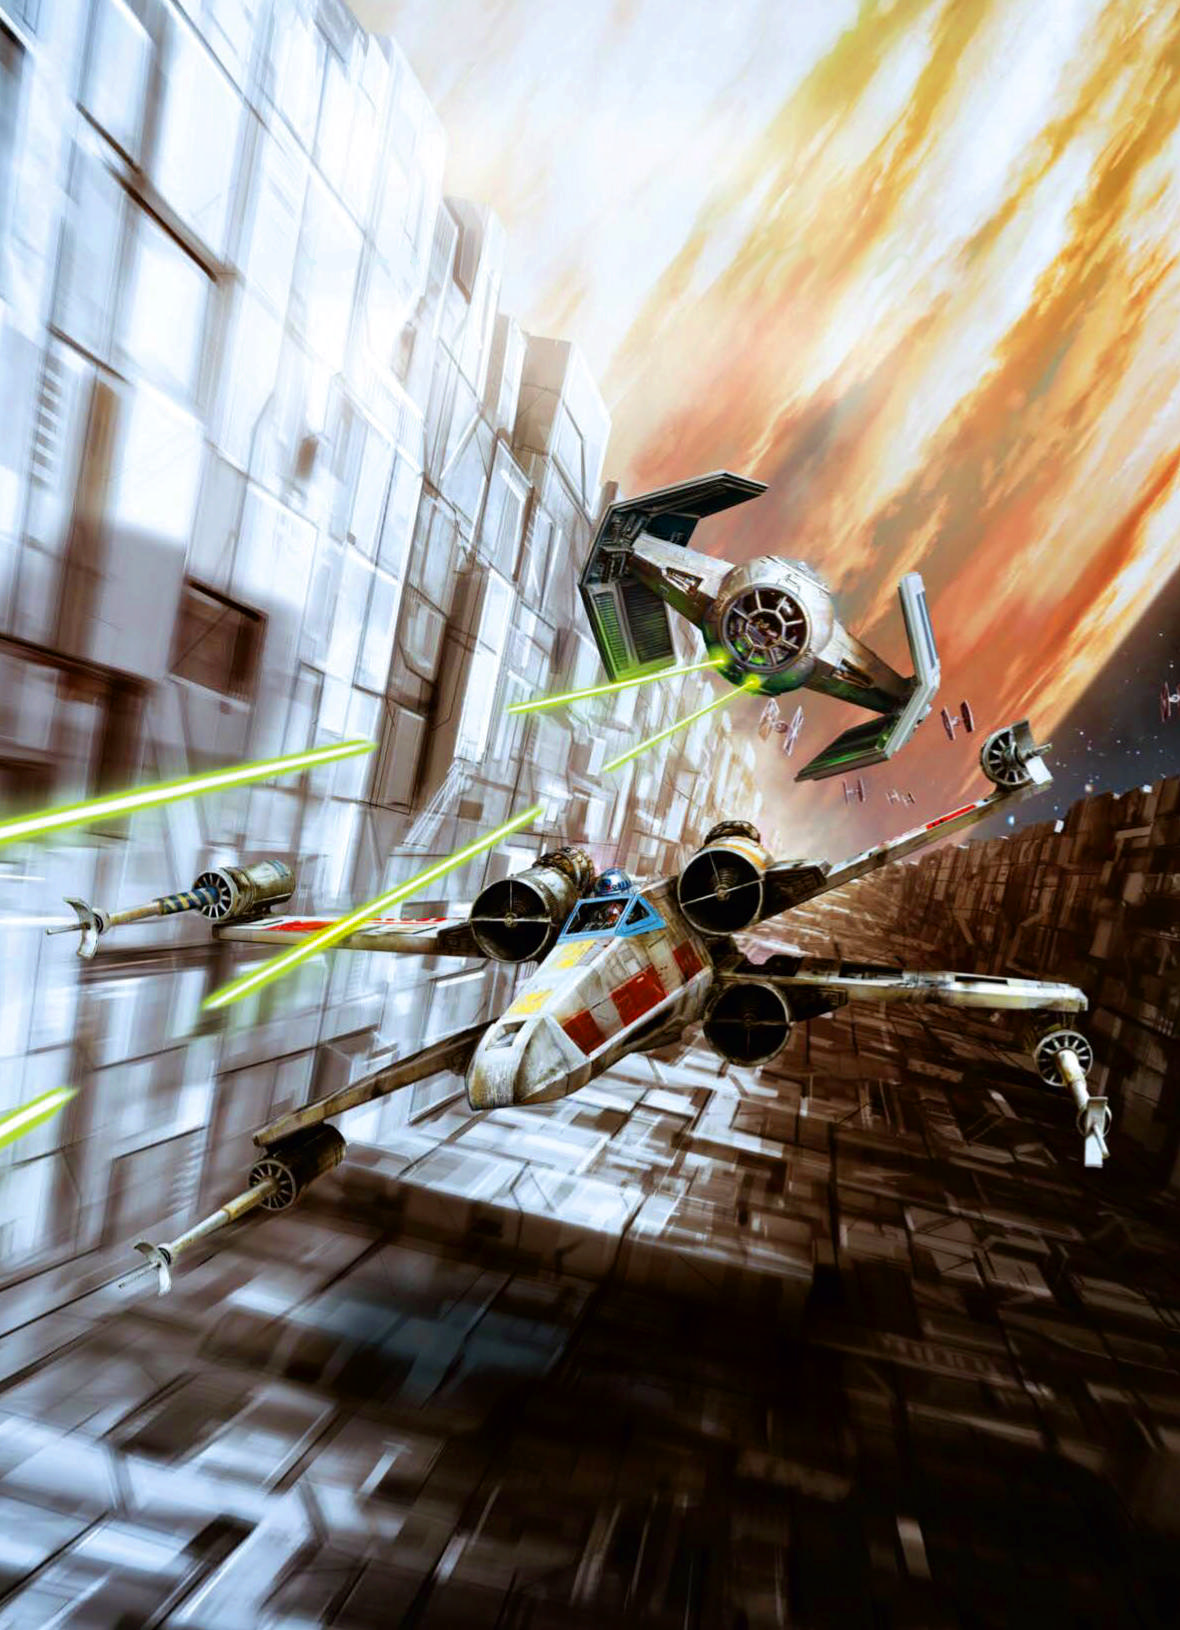
Gold Squadron initiated the attack run through the Death Star's trench with three Y-wings, piloted by Gold Leader Captain Jon Vander, Gold Two Dex Tiree, and Gold Five Davish Krail. They began targeting the exhaust port using their targeting computers but soon came under fire from Darth Vader and two other TIE fighter pilots. All three were killed before they could fire on the exhaust port. The second attack run was conducted by Red Squadron with three X-wings, flown by Red Leader Commander Garven Dreis, Red Ten Theron Nett, and Red Twelve Puck Naeco. Theron and Puck were eliminated by Darth Vader, but Garven managed to get a shot on the exhaust port, which missed. Garven was subsequently shot down by Vader while pulling out of the Death Star's trench.
The final trench run was carried out by three of the remaining Red Squadron X-wings, flown by Red Two Wedge Antilles, Red Three Biggs Darklighter, and Red Five Lieutenant Skywalker. They were also pursued by Darth Vader, who destroyed Biggs's X-wing and damaged Wedge's X-wing to the point where he had to withdraw. Luke was about to be destroyed when Han Solo arrived in the Millennium Falcon and attacked Vader and his escort. Vader escaped, allowing Luke to make the shot on the exhaust port. Only Luke, Han, Wedge, and Gold Three Lieutenant Evaan Verlaine survived the battle. The Death Star exploded, killing Governor Tarkin and numerous other high-ranking Imperial officers, including ISB Colonel Wullf Yularen, who were members of the Joint Chiefs at the hands of Skywalker.
Fleeing Yavin
Following the battle, Admiral Gial Ackbar, promoted to replace the late Raddus, and the Rebel Fleet arrived at Yavin 4 to begin evacuating their base. Subsequently, the Rebel Fleet orbited the remote world of Orto Plutonia while awaiting the establishment of a suitable base of operations, dispatching rebel troopers to the planet below for training exercises. The mathematical genius Drusil Bephorin correctly predicted that the Rebel Fleet would be located there and was later rescued from her Imperial captivity by Skywalker. Following the rebel attack on Cymoon 1, Princess Leia and her team rendezvoused with the fleet to meet Ackbar and Mothma.
Sometime after, Skywalker and Organa undertook an undercover diplomatic mission to Tibrin to rally the Ishi Tib to their cause. The mission was a success with the fleet of the Ishi Tib joining the rebels.
The Mid Rim Retreat
After the Battle of Yavin, the Rebellion capitalized on its momentum and launched the Mid Rim Offensive, which involved thousands of warships and hundreds of battle groups. The campaign was unsuccessful, forcing the rebel forces to retreat.
Massacre at Vrogas Vas
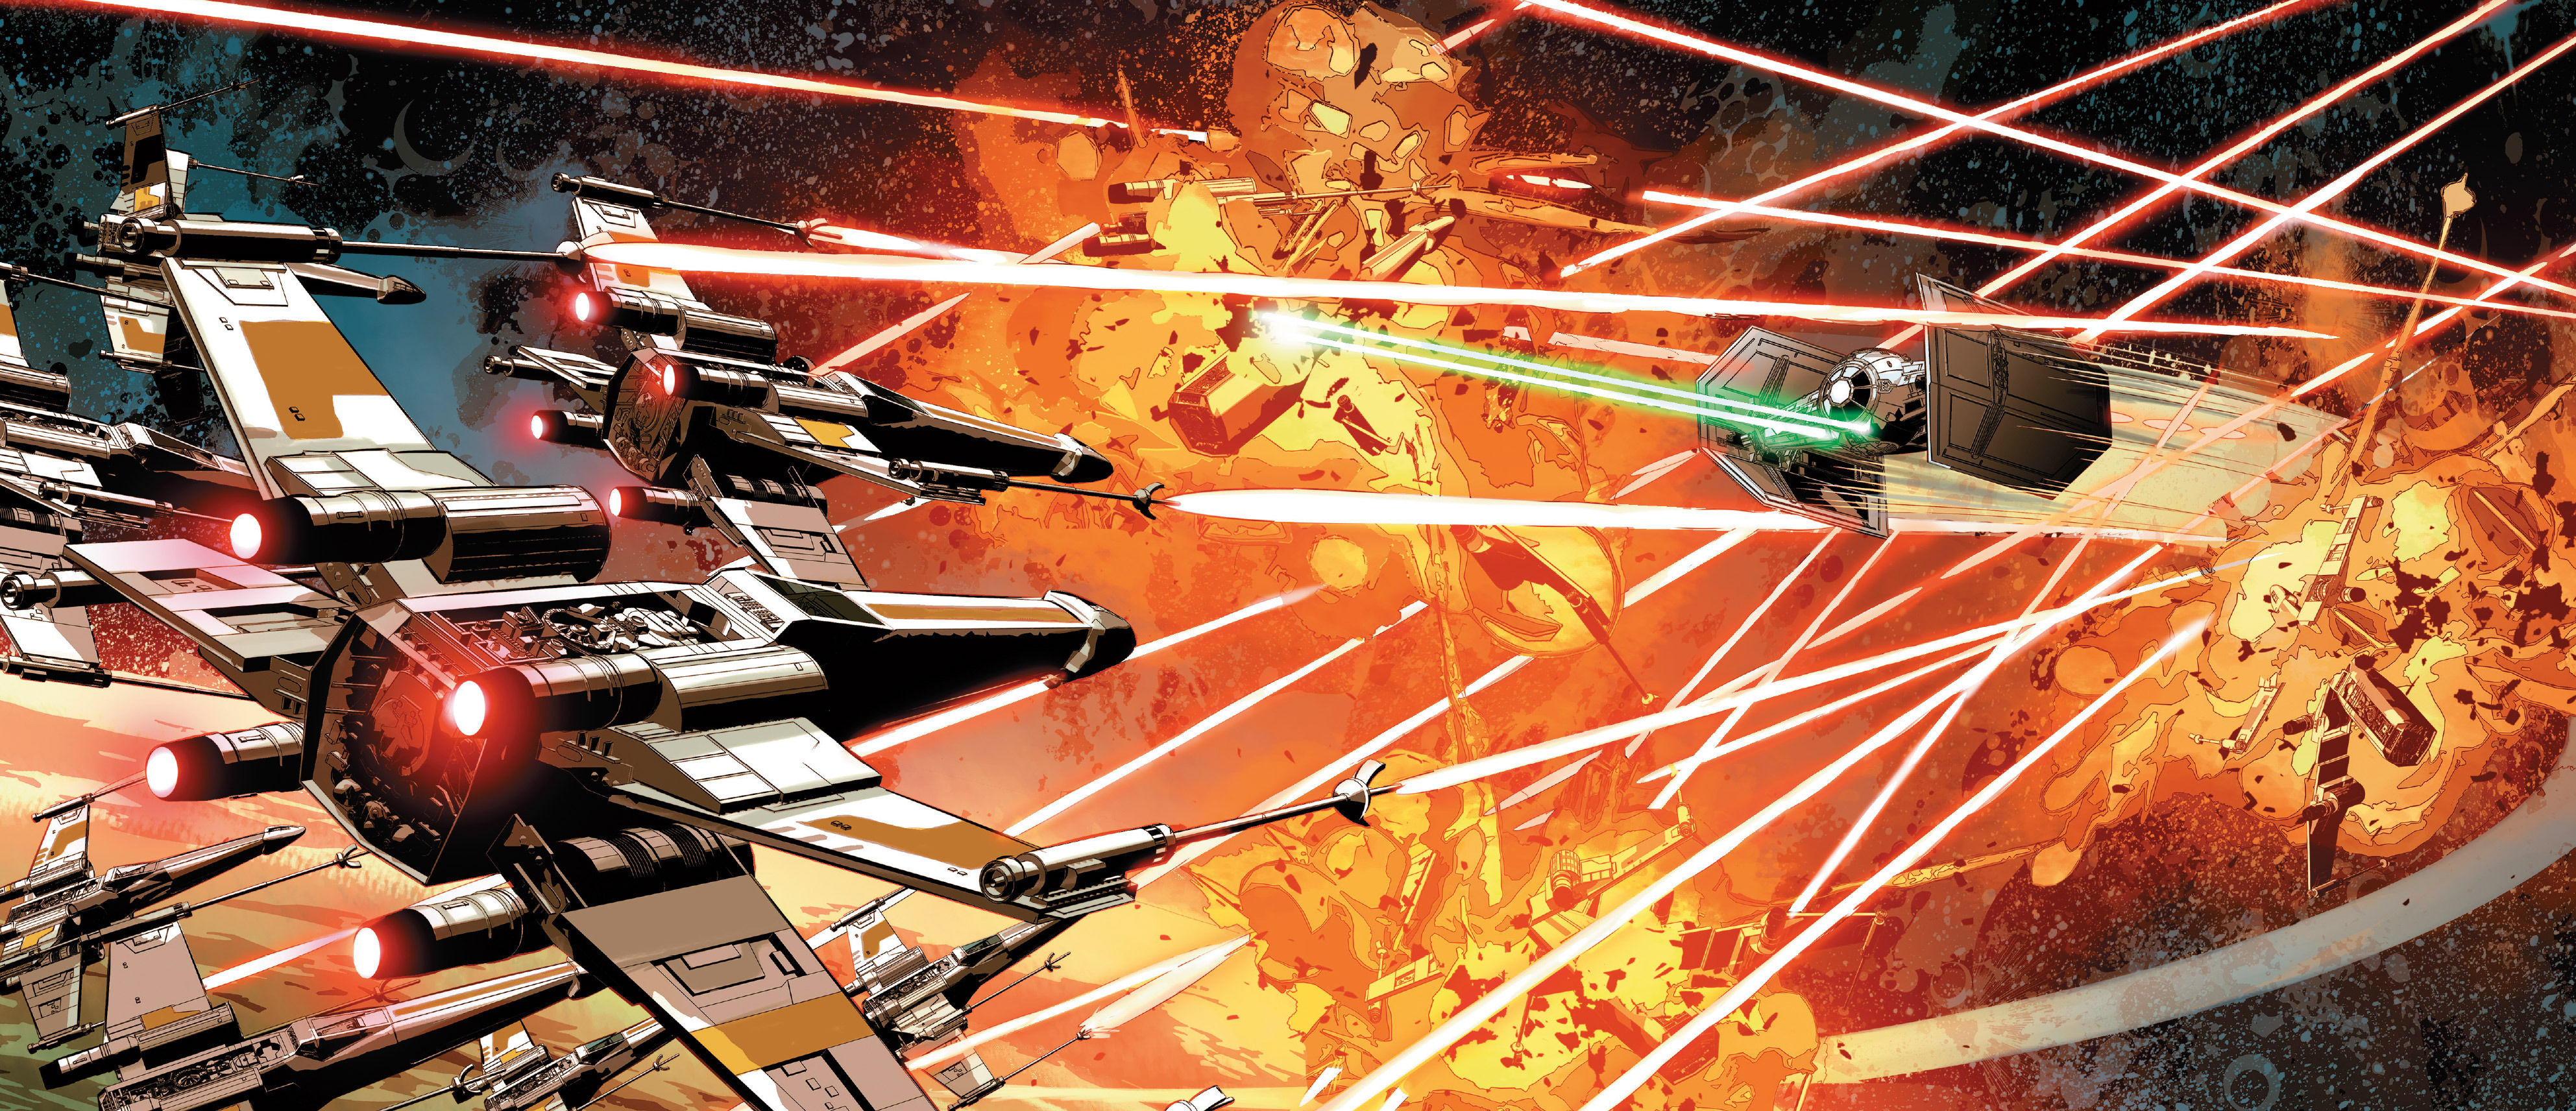
Shortly after the Battle of Yavin, at least five Alliance starfighter squadrons were stationed at the Rebel Refueling Base on Vrogas Vas, including Red Squadron. However, their time there was cut short when Darth Vader arrived in the system to find Skywalker. Vader was confronted by Red, Blue, and Yellow Squadron. Without hesitation, the Dark Lord of the Sith began destroying their X-wings until Skywalker crashed his X-wing into Vader's TIE. The pair plummeted towards the surface, and the Y-wings of Gray Squadron began searching for them. Unfortunately for them, Gray Squadron found Vader first, and the Sith began hurling rocks at them, destroying the Y-wings one by one.
The Rebel Refueling Base began sending ground forces towards Vader's position, escorted by the T-47 airspeeders of Cyan Squadron. They faced Vader, who outsmarted the rebels by activating their grenades and scattering them. Many airspeeders were destroyed in the fight. Later on, Leia Organa ordered the Y-wings of Amber Wing to bombard Vader's new position. The Y-wings were intercepted by Imperial forces led by Commander Karbin. The remaining rebels began retreating as infighting between Vader and Karbin erupted. Karbin was killed in the fight.
Attack on the Mako-Ta Space Docks
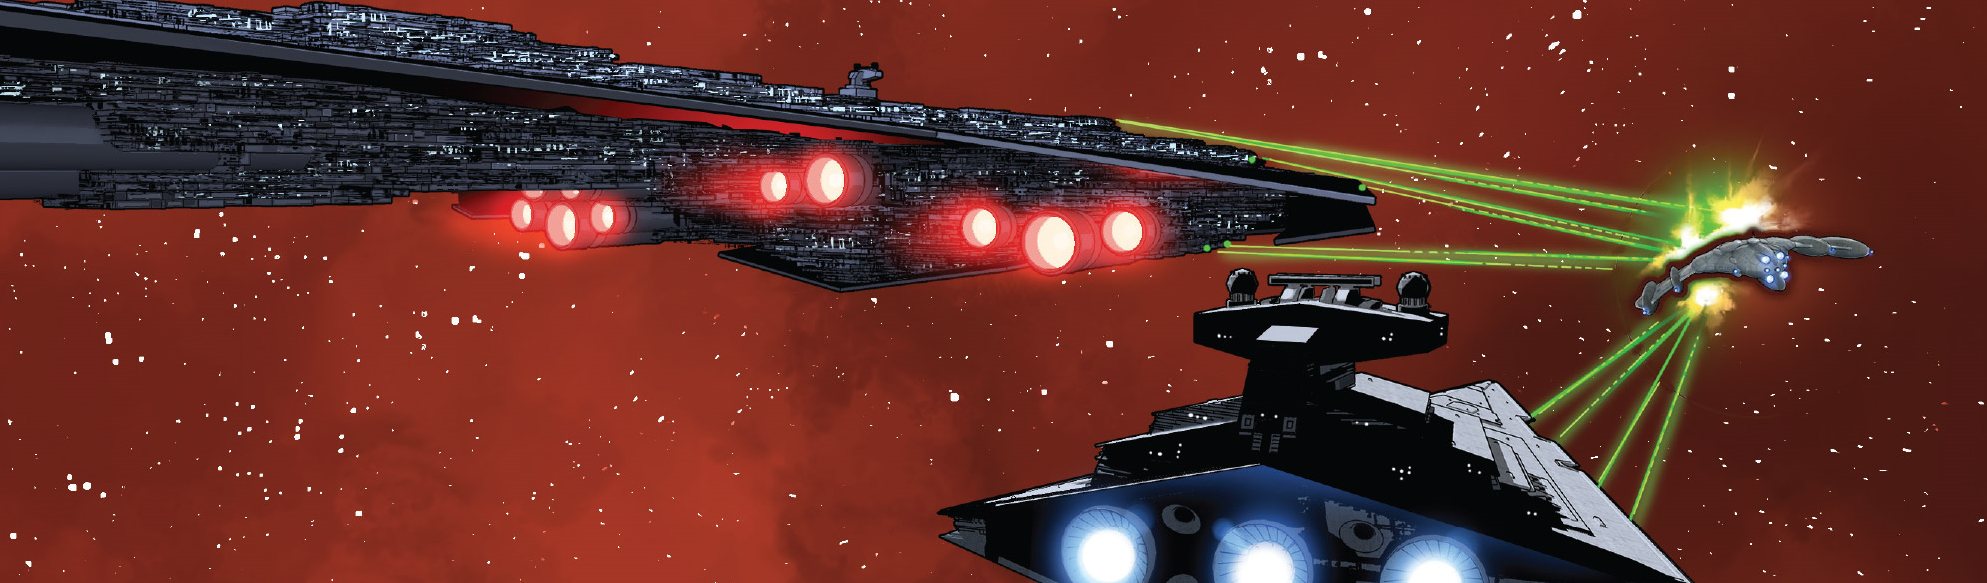
Following the death of king Lee-Char and the mutiny on Mon Cala, twelve Mon Calamari cruisers joined the Alliance Fleet and gathered around the Mako-Ta Space Docks and for months were converted with Shu-Torun technology into warships. The Alliance leadership, along with Queen Trios of Shu-Torun, celebrated the gathering of completion and gathering of the fleet with a light show performed by X-wing pilots. After the light show, the fleet prepared to launch into hyperspace and scatter throughout the galaxy, ready to be called upon to fight the Empire, but when the launch was attempted, the fleet discovered that their hyperdrives were inoperable. After it was revealed that the Shu-Torun technology was inoperable, Alliance leadership could only watch in despair as Darth Vader's Death Squadron arrived and destroyed Yavin's Hope, killing Willard and his entire crew.
Following Willard's death, the Alliance discovered that the hangar doors on the Mon Cala ships could still open automatically if a ship flew close enough to their sensors. In an attempt to mobilize the Alliance's starfighters, General Bandwin Cor flew a shuttle towards a Mon Cala cruiser, but his shuttle was destroyed, killing him. Shortly after General Cor's death, Solo arrived in the Millennium Falcon. He was briefed on the situation and made a run at the hangar doors of General Dodonna's cruiser, but he was pursued by Vader. C-3PO was able to get word to Skywalker about the hangar doors and Skywalker was able to make the doors open from the inside. Luke, Wedge Antilles, and several other pilots flew their X-Wings into battle, flying under the squadron name Rogue Squadron, in honor of Sergeant Jyn Erso who died at the Battle of Scarif.
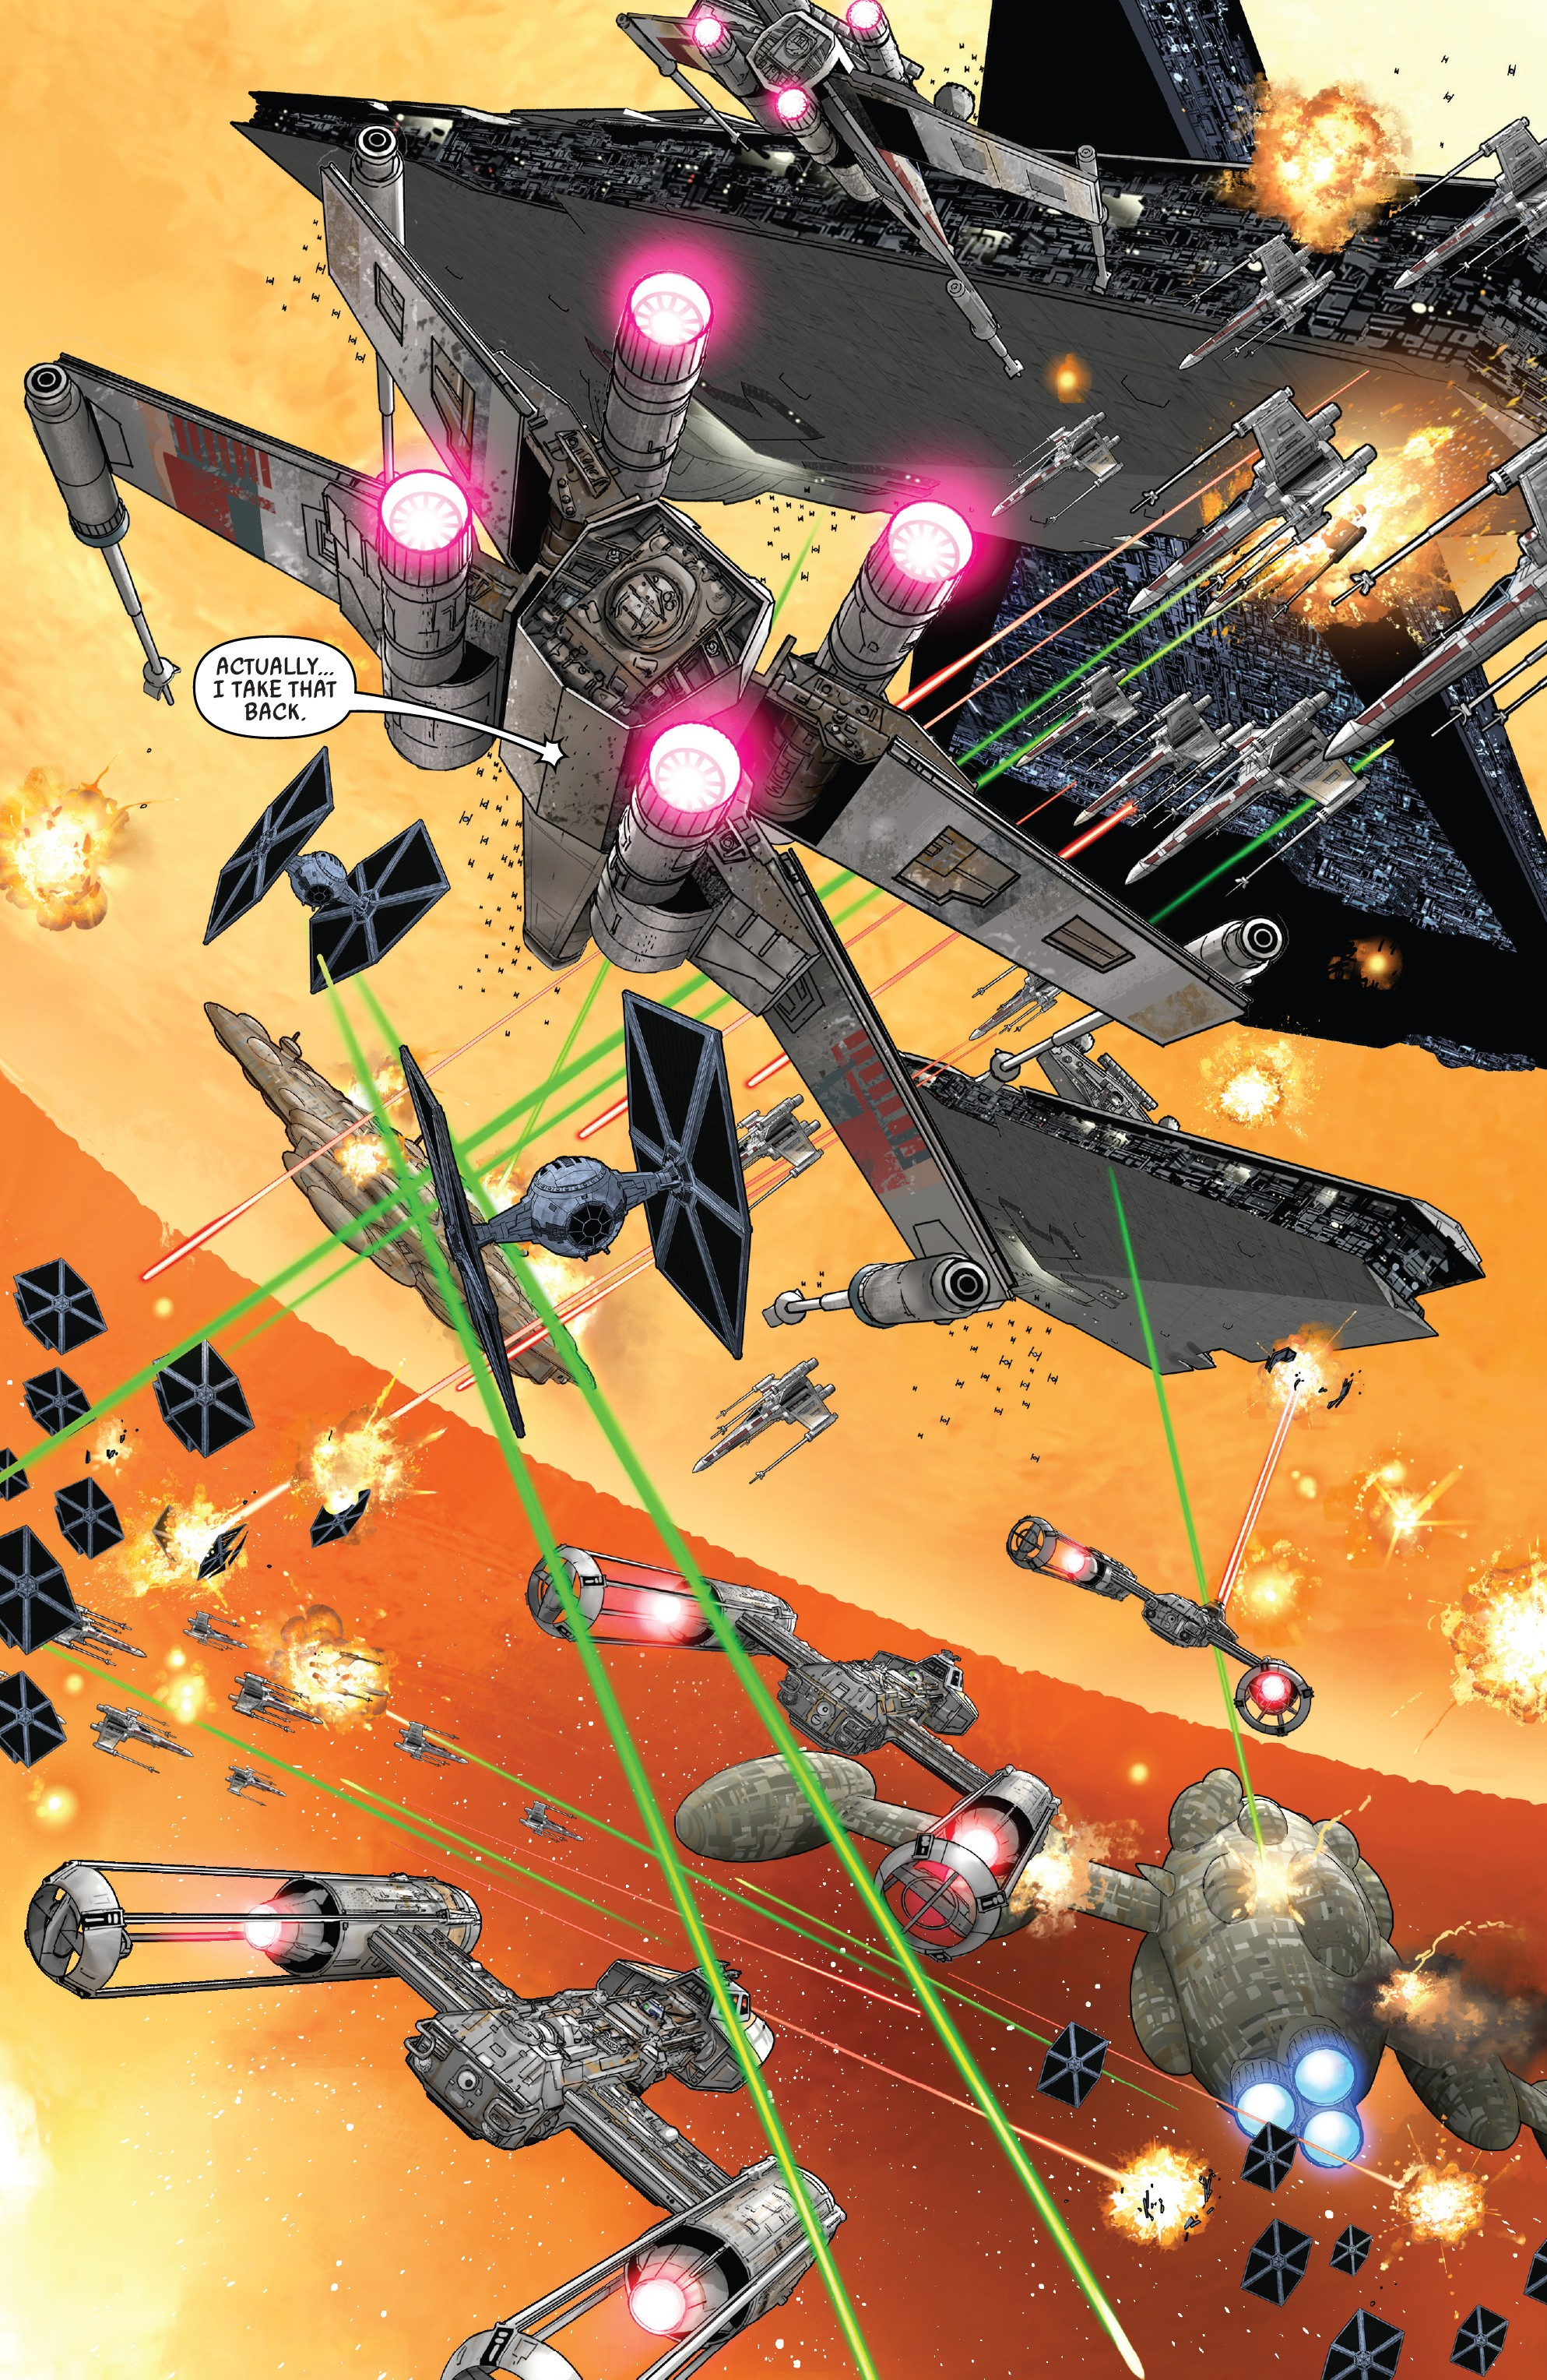
Rogue Squadron managed to unlock the hangars of various star cruisers, which enabled the Rebellion to deploy all their fighters; however, critical systems like hyperdrives and weapons remained inoperable. Leia Organa and Davits Draven spearheaded a mission to the Executor with the goal of acquiring Trios' override codes, but their covert operation was compromised when Vader began to pursue them. Leia successfully secured the override codes, while Draven made the ultimate sacrifice, being killed by Vader as he bravely slowed him down to ensure Leia's escape. Leia delivered the codes to Dodonna's cruiser, the Republic, facilitating a successful jump to hyperspace. Once they had reached a safe distance, Skywalker and Organa implored General Dodonna to redirect his cruiser back to the ongoing battle to rescue the remaining fleet. Despite his initial reluctance, Dodonna ultimately conceded.
Upon the return of Dodonna's command ship to the battle, it initiated the transmission of the override codes to the rest of the fleet. After General Syndulla received the override codes, she instructed her cruiser, the Geist, to engage the Imperial forces while the codes were being distributed to the remaining rebel ships. As the battle neared its conclusion, Jan Dodonna's cruiser sustained significant damage, resulting in the disabling of its engines. Dodonna heroically ordered his cruiser to provide covering fire, effectively shielding the rest of the fleet as they jumped to hyperspace. Once the last cruiser had made the jump, Dodonna's cruiser was obliterated, resulting in the deaths of both him and his entire crew. Although many managed to escape the carnage, the rebels suffered catastrophic losses, including the majority of their cruisers, key leaders, and nearly ninety percent of their starfighters.
Aftermath of Mako-Ta
In the wake of the Mako-Ta disaster, Commander Skywalker, Solo, and General Organa found themselves separated from the Alliance and subsequently enlisted the services of Sana Starros to assist them in locating the dispersed fleet. While en route to rendezvous with a contact on Brentaal IV, they encountered an Imperial destroyer, which forced them to seek refuge on the isolationist moon of Hubin. During their stay, Skywalker, Organa, and Solo, alongside the indigenous Clan Markona, engaged in combat against SCAR Squadron, eventually managing to escape the moon's surface. The Empire's attack on Hubin prompted Clan Markona to align themselves with the Alliance, and upon finally meeting with the contact, who provided the fleet's location, Clan Markona was dispatched to support Syndulla. Meanwhile, Skywalker, Organa, and Solo met with Admiral Ackbar in the Kaliida Nebula, where the Admiral somberly informed them of the extensive losses suffered in their absence since the devastating battle at Mako-Ta.
Battle of Hoth
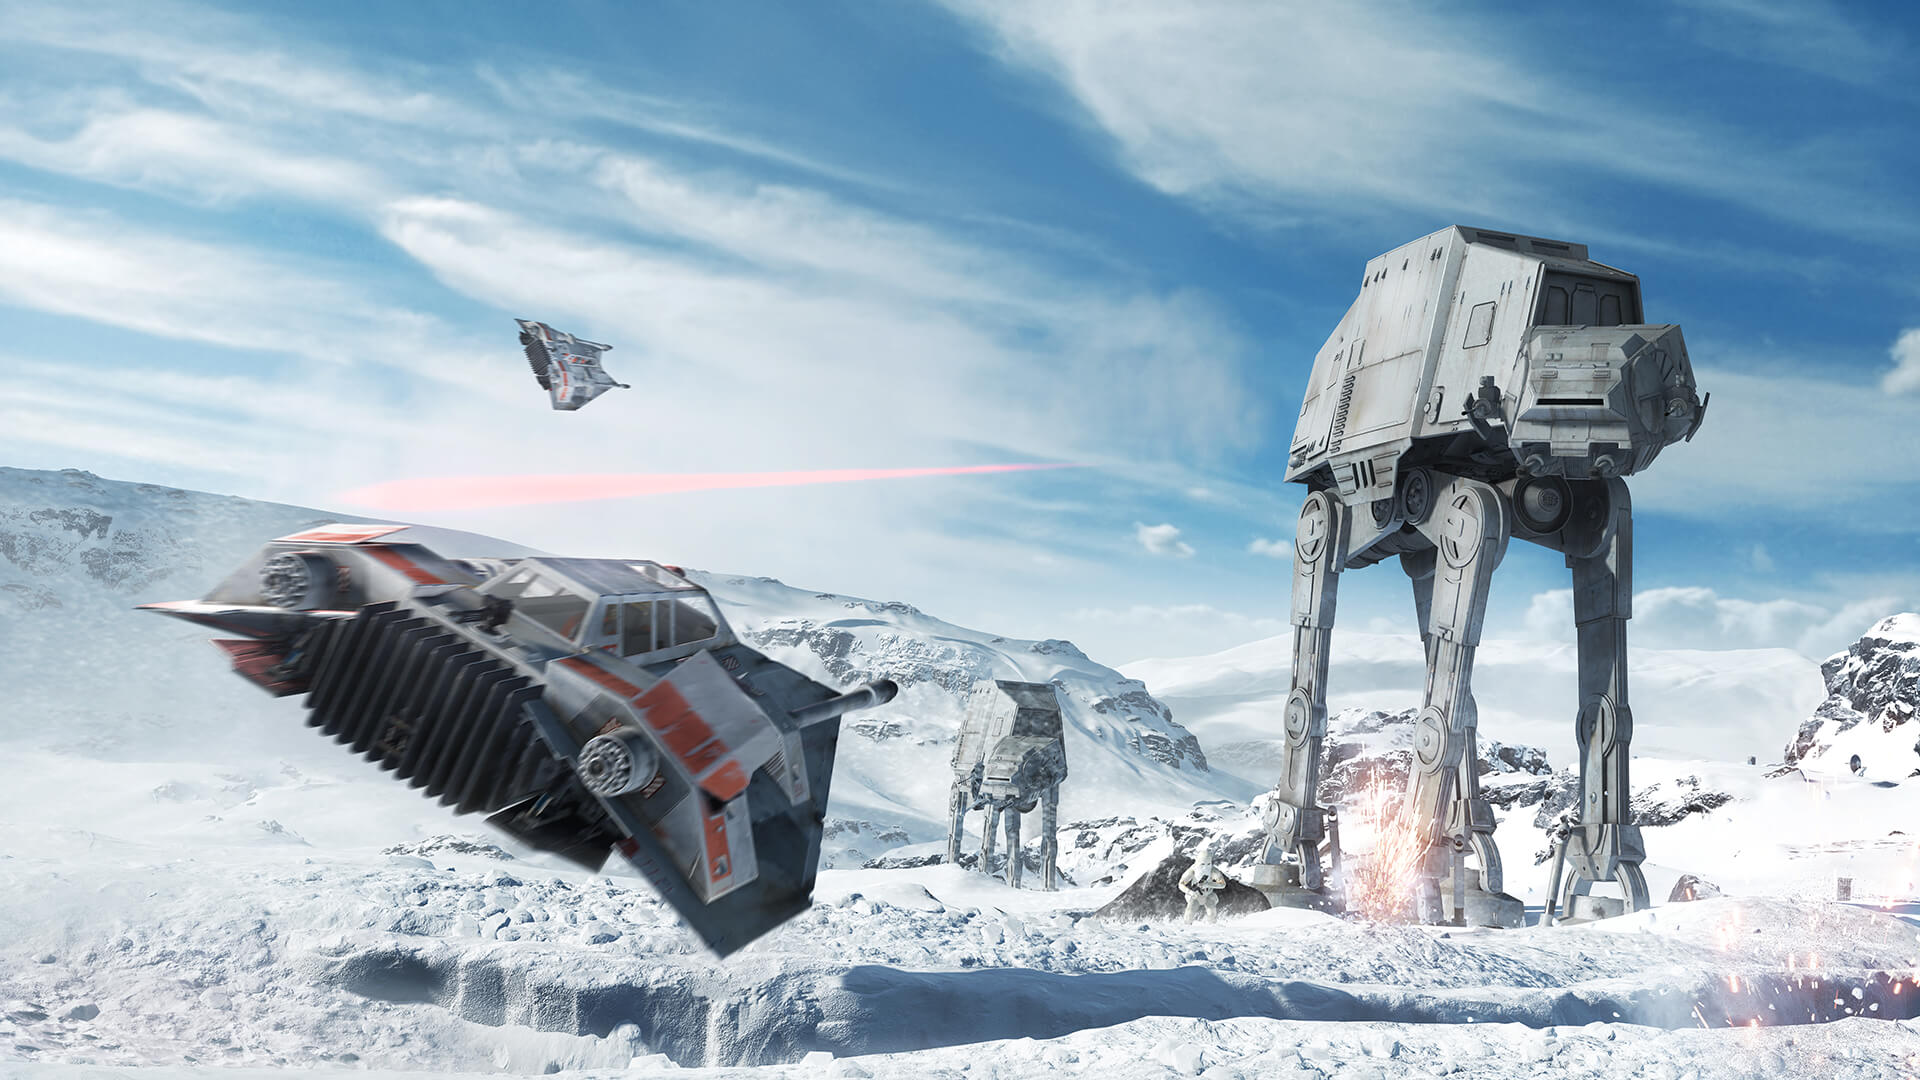
In 3 ABY, the Alliance had established a base on the frigid planet of Hoth. For a month, its location remained concealed until Darth Vader uncovered its whereabouts. He then deployed his armada to Hoth, effectively blockading the planet. Various Alliance Fleet transports were mobilized to evacuate personnel and equipment from Echo Base. GR-75 medium transports, escorted by X-wings under the protection of the Alliance's V-150 Planet Defender, faced heavy losses as they attempted to breach the blockade. On the ground, the T-47 airspeeders of Rogue Squadron and Corona Squadron fought valiantly against the All Terrain Armored Transports of Blizzard Force. Despite the battle resulting in a significant defeat for the Rebellion, a considerable number of Rebels managed to escape Hoth.
Fleeing into the Outer Rim
Following their defeat at Hoth, the Rebel Fleet implemented the scatter protocol, strategically dispersing the fleet into smaller units scattered throughout the galaxy. This tactic aimed to prevent the Empire from achieving a swift propaganda victory, as they had done on Hoth, and to overextend the Imperial Navy as it attempted to engage the scattered Rebellion. In contrast to the audacious encounters that followed the Battle of Yavin, the Rebel Fleet now engaged in a desperate struggle for survival. Under the banner of Operation Starlight, the Alliance initiated efforts to reassemble its fleet. While the rebels ultimately decided to maintain their forces divided into separate task forces for the overall fleet's safety, the navy would temporarily unite as a single force.
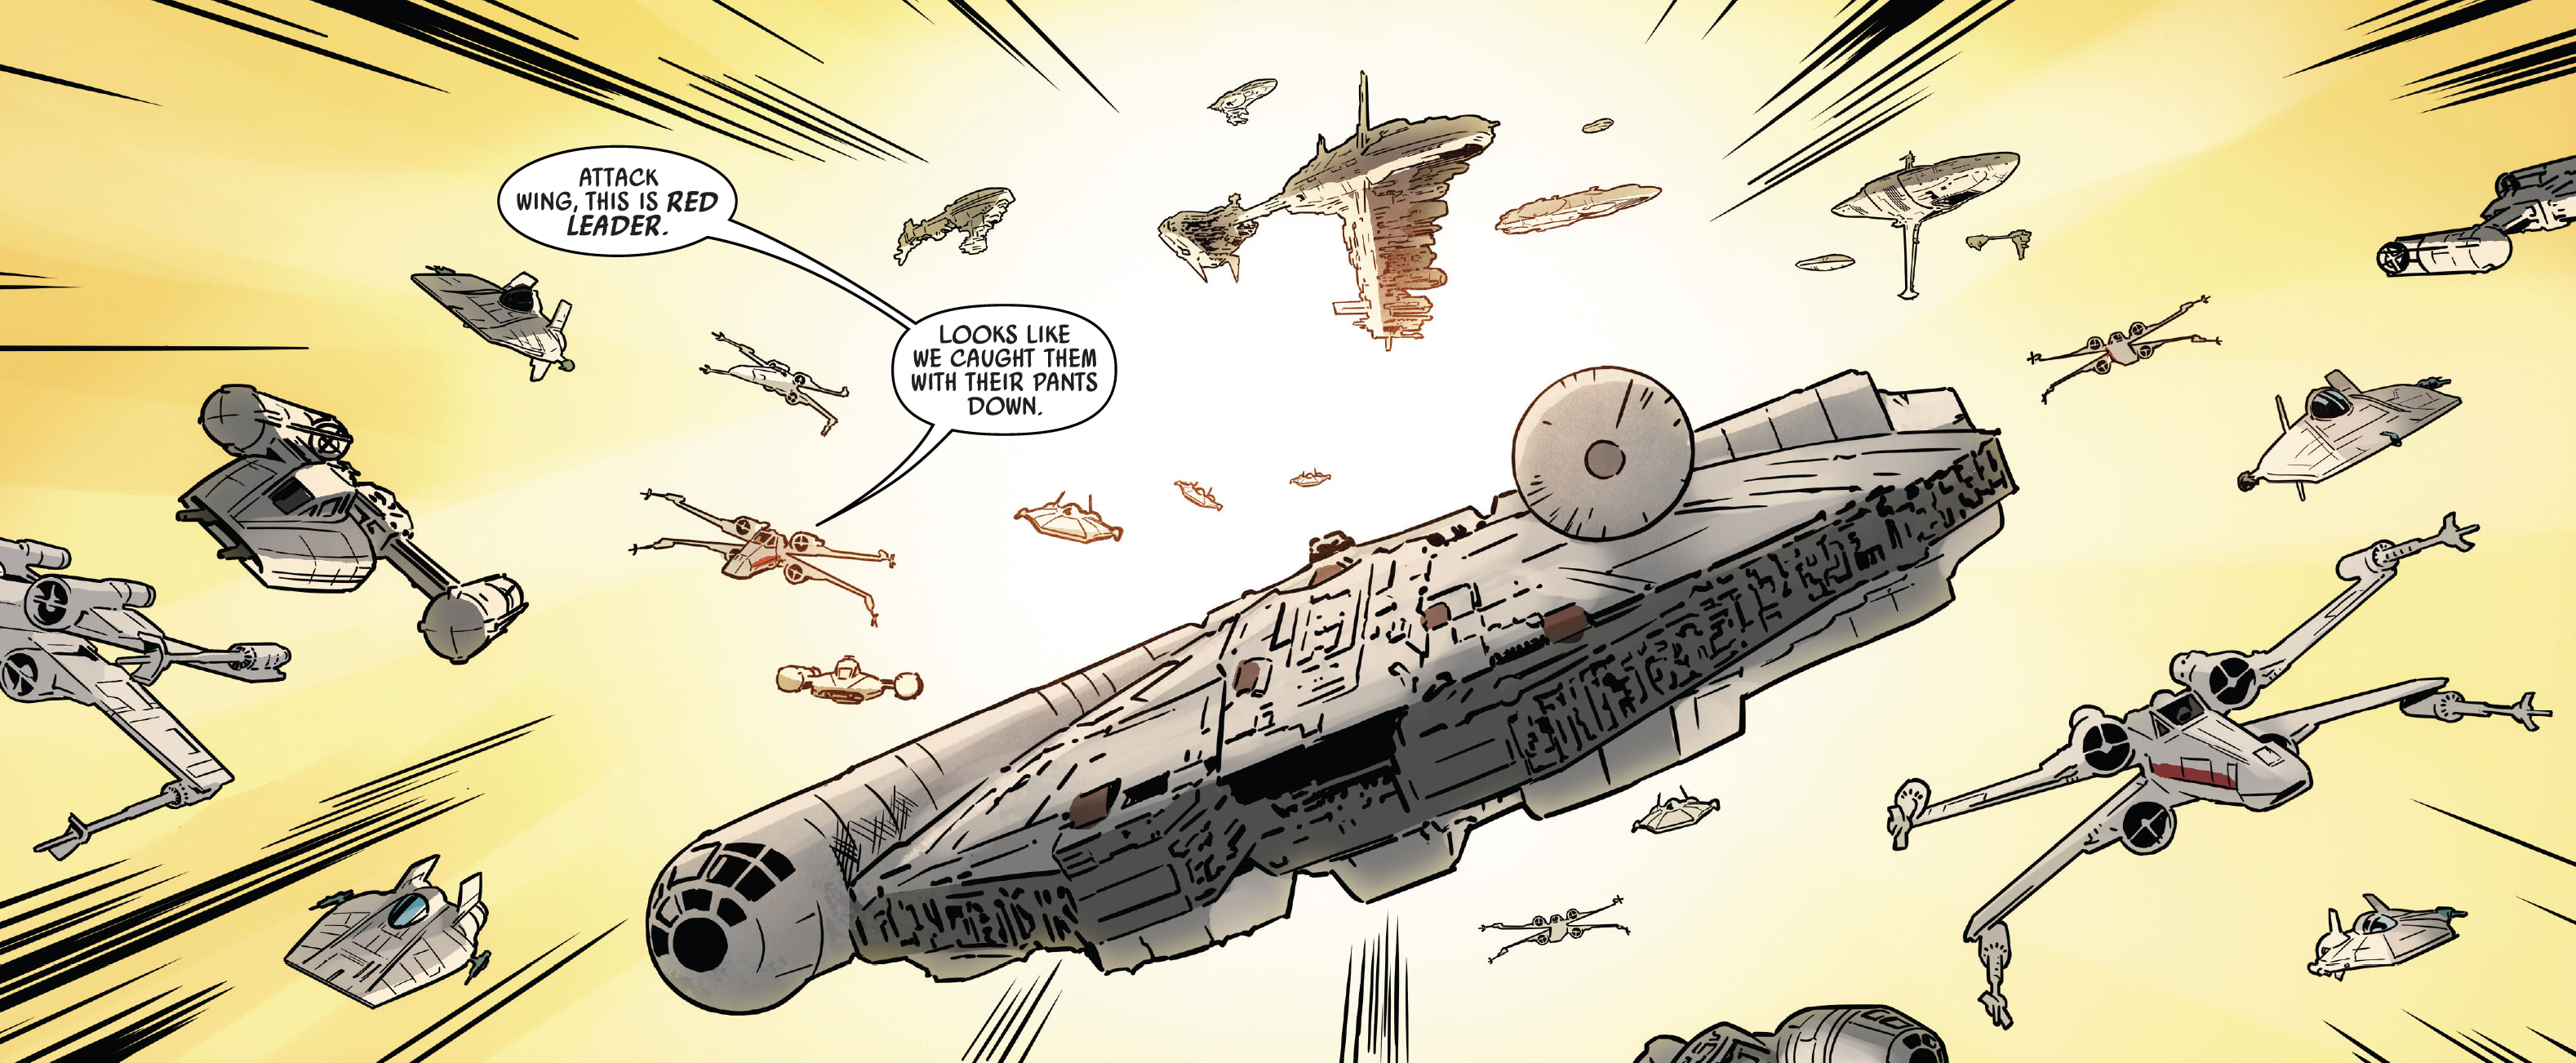
The Syndicate War, orchestrated by Crimson Dawn, provided the rebels with a window of opportunity to rebuild their fleet, as Emperor Palpatine's attention was diverted by the conflict, and to increase its numbers. Although Crimson Dawn was ultimately dismantled in the Battle at Amaxine Station, the Rebel fleet launched the Unity Day attack in the months following the Battle of Hoth to demonstrate the Alliance's continued existence despite its defeat. When Mothma was kidnapped by Scarabi mcernaries during the Trial of Lando Calrissian, Ackbar activated Tactical Plan Eighteen to disperse the fleet for its own safety in the event that Mothma was compromised during her captivity, maintaining the fleet's division until he deemed it safe to issue an all-clear signal. Imprisoned within Safe House Four, Mothma attempted, and nearly succeeded, in persuading Scarabi leader Hachi to release her, only for a fellow Scarabi mercenary to execute Hachi. However, the Pathfinders—joined by Chewbacca and Calrissian, who sought to prove his allegiance to the Alliance—then successfully rescued Mothma.
A new rebel base was eventually established on the remote planet of 5251977, serving as a haven for various rebel ships. Two rebel vessels, the CR90 corvette Thunderstrike and its escort, the Braha'tok-class gunship Apailana's Promise, initiated attacks on Imperial strongholds in the Mid Rim after observing that the Imperial Navy's forces in the region had been stretched thin by the pursuit of rebels in the Outer Rim. With the assistance of the soldiers of Twilight Company, the two vessels inflicted significant damage on numerous production lines in the area, drawing forces from Kuat. Their initial plan was to assault Kuat Drive Yards, but the Thunderstrike was ultimately destroyed at the Siege of Inyusu Tor.
Assembling near Sullust
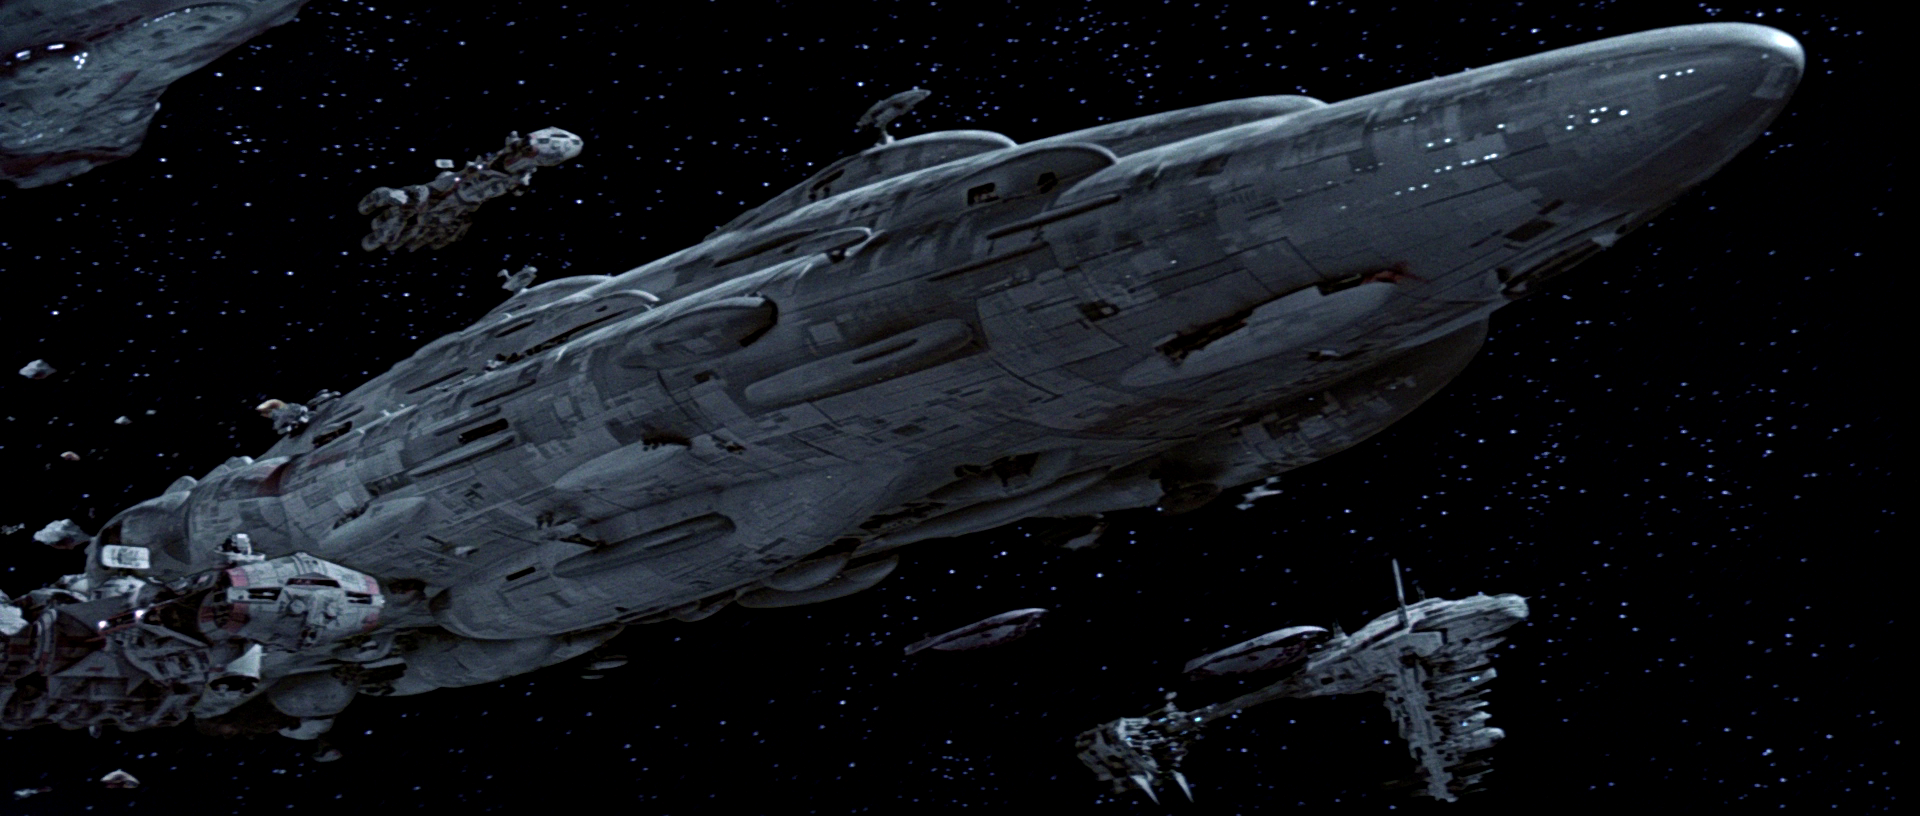
Following a high-stakes gathering on the Outer Rim world of Zastiga, where numerous members of the Alliance became aware of the existence and location of the second Death Star. Prior to their planned assault, the fleet congregated above the planet Sullust, which had been liberated by Twilight Company. Recognizing that their failure to swiftly destroy the Empire's battle station would spell the end for the entire revolutionary movement. Chewbacca, R2-D2, C-3PO, Princess Leia, and Lando Calrissian joined the fleet at this location after rescuing Captain Solo from Tatooine, where they were soon joined by Skywalker following his return from Dagobah.
Battle of Endor
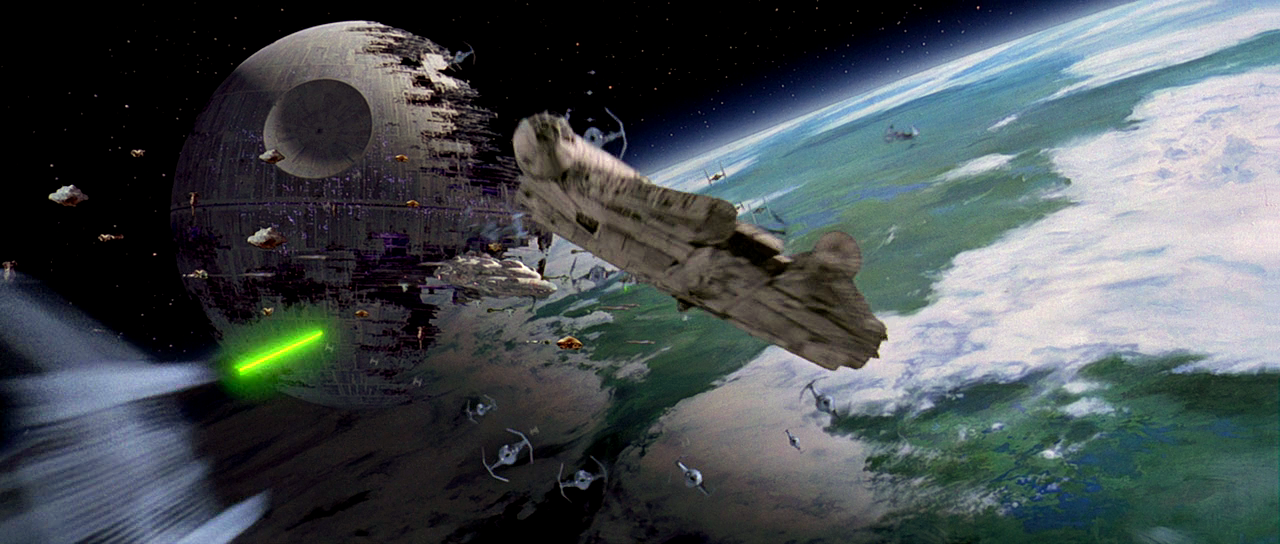
Before the fleet could initiate its attack on the Death Star, a small strike team of Rebel Commandos was tasked with disabling the shield generator operating from the Forest moon of Endor. However, the team's initial attempt was thwarted by an Imperial trap set at the base. Utilizing the Sanctuary Pipeline, the Alliance Fleet arrived at Endor, and the squadrons of starfighters moved in to engage the Death Star. Led by General Calrissian aboard the Millennium Falcon, the diverse squadrons consisted of X-wings, Y-wings, A-wings, and B-wings. However, before the mass of starfighters could reach the Death Star, Lando discovered that the shield was still active, forcing the entire fleet to execute a hasty turnaround to avoid a catastrophic collision.
The Alliance fleet was then confronted by a formidable fleet of Imperial-class Star Destroyers, spearheaded by the Super Star Destroyer Executor. Imperial TIEs engaged the rebel fighters, igniting a fierce battle around the rebel fleet. The larger capital ships of the Imperial fleet remained stationary under the direct orders of the Emperor himself. It was at this point that the second Death Star's operational superlaser began to unleash its destructive power upon the Alliance Fleet, obliterating the MC80 Star Cruisers Liberty and Nautilian. Ackbar, recognizing the dire situation, ordered the rebel fleet to move into close proximity with the Imperial fleet, effectively preventing the Death Star from targeting them without also endangering its own Star Destroyers.
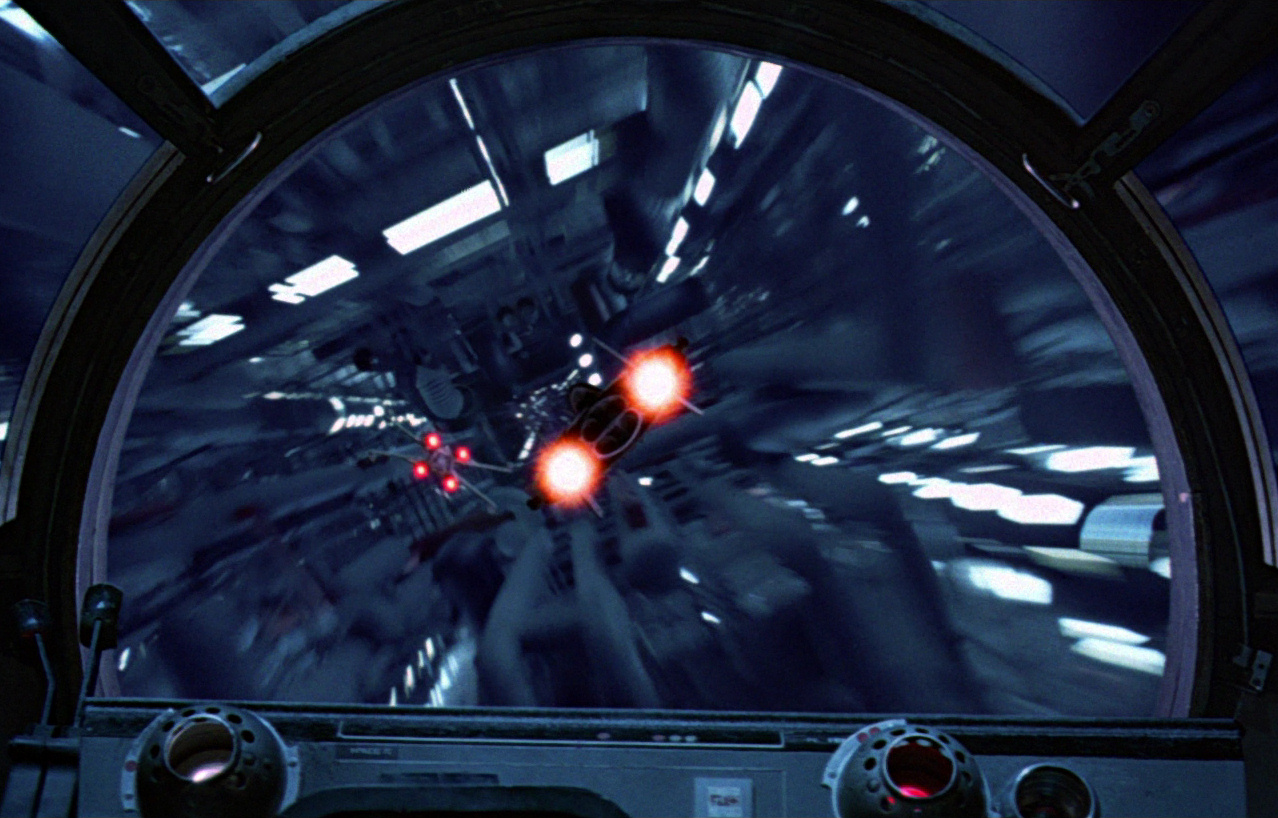
Despite their initial setback, the Endor strike team successfully captured the main base on Endor and destroyed the shield generator protecting the Death Star. This pivotal achievement allowed Alliance starfighters to penetrate the Death Star's reactor shaft and make their way toward the core. Lando led the remaining starfighters of Red and Gold Squadron into the reactor shaft, where they were immediately intercepted by Imperial starfighters, resulting in the downing of the X-wing piloted by Keir Santage. Lando ordered the group to split up, with the intention of drawing Imperial TIEs away from the Millennium Falcon. Lando and Red Leader Wedge Antilles continued their advance toward the reactor, while the rest of the group, including Gold Nine Norra Wexley, lured other TIEs away from the Death Star down an alternative shaft.
Meanwhile, the Executor was sustaining heavy fire from rebel ships, and multiple A-wings had inflicted critical damage to its shields. Green Leader Arvel Crynyd's A-wing, damaged by turret fire, crashed into the bridge of the Executor, disabling the ship and sending it plummeting into the Death Star. Lando and Wedge reached the reactor and detonated it, triggering the second Death Star's destruction from the inside out. Despite suffering significant losses, the Alliance Fleet emerged victorious, and the Emperor was killed in action by Vader, who sacrificed himself to save Luke.
Legacy
Following the battle, the New Republic was established by leaders of the Alliance, and the Alliance Fleet was subsequently reorganized into the New Republic Defense Fleet.
Five years later, the New Republic was still in the process of decommissioning the Alliance Fleet, but they were falling behind schedule.
Organization
The Rebel Navy, though relatively small, proved to be a highly effective armada. Alliance High Command oversaw the fleet and its operations, managing the logistical and strategic aspects of the Rebellion's efforts against the dominant Galactic Empire. Initially, Raddus led the fleet, but Gial Ackbar assumed command following Raddus's death. The flagship of the rebel armada was initially Raddus's personal vessel, the Profundity, until its loss at the Battle of Scarif. Subsequently, the rebel flag was transferred to the Home One, a massive cruiser commanded by Ackbar, who held the title of Supreme commander of the Alliance fleet.
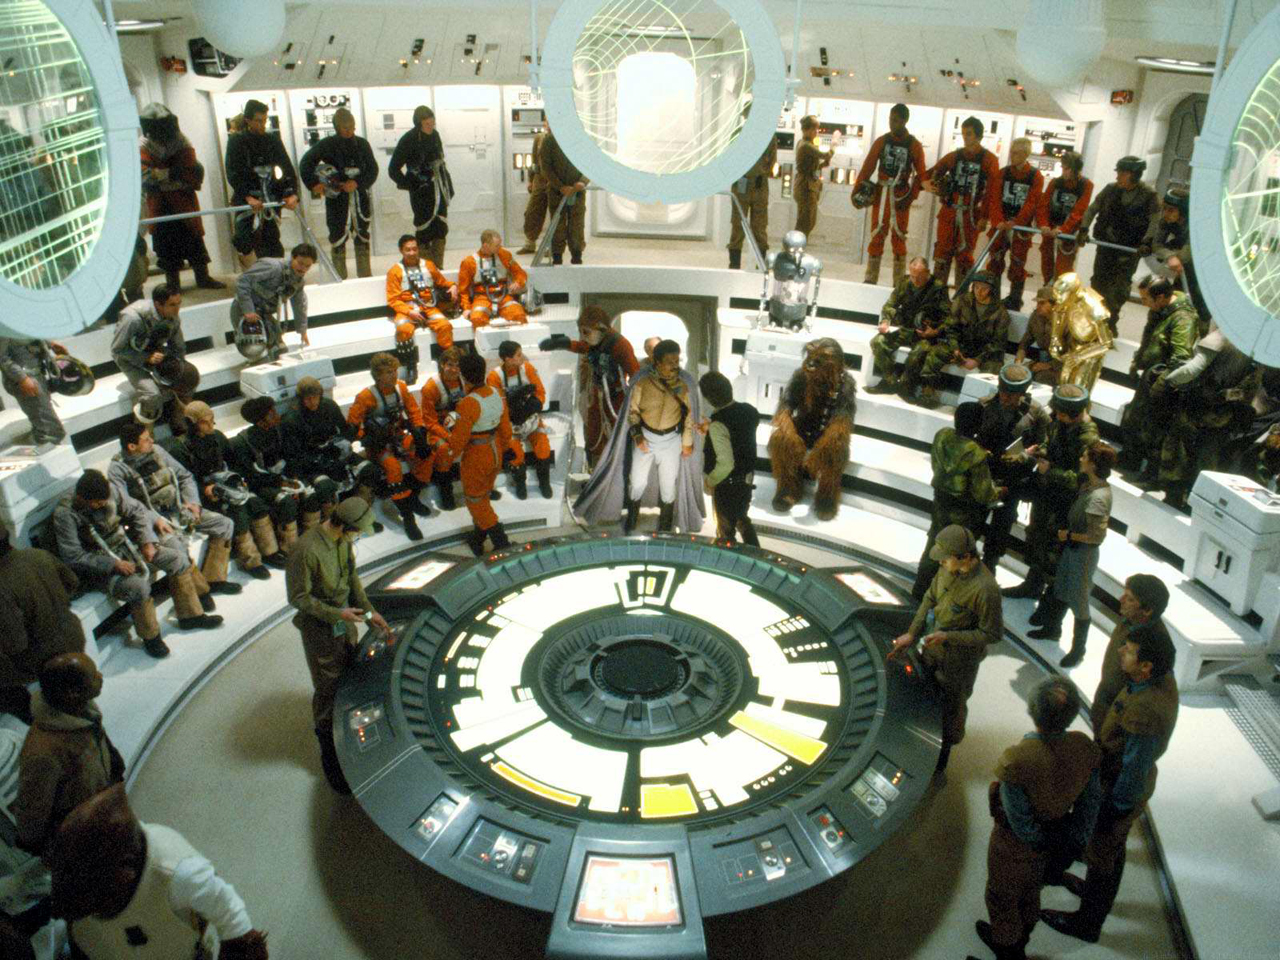
As an all-volunteer military force, recruits were free to join and leave as they wished, without the need to report to their superiors. While such practices were generally discouraged, members often remained with the fleet due to a sense of camaraderie and the impracticality of returning to their home systems, which were frequently under Imperial control. With the Fleet constantly on the move, it could take weeks for a separated pilot to rejoin their squadron, owing in part to the scatter protocol for rebel pilots, which mandated a randomized hyperspace route to various worlds to evade potential Imperial pursuit.
Tactical Plan Eighteen served as a contingency plan activated if the fleet's location was compromised, ensuring the overall navy's safety through the division of its forces. Upon activation, the captain of any rebel starship classified as a frigate or larger would select a random hyperspace jump location, effectively breaking up the fleet until an all-clear signal was issued. If a starfighter or shuttle was detached from its home ship when the plan was enacted, the pilot was instructed to dock their vessel at the nearest available craft. Overall, thanks to the extensive training of rebel pilots on the operational plan, the plan could be executed in ten minutes or less.
Starships of the Alliance Fleet
Capital ships
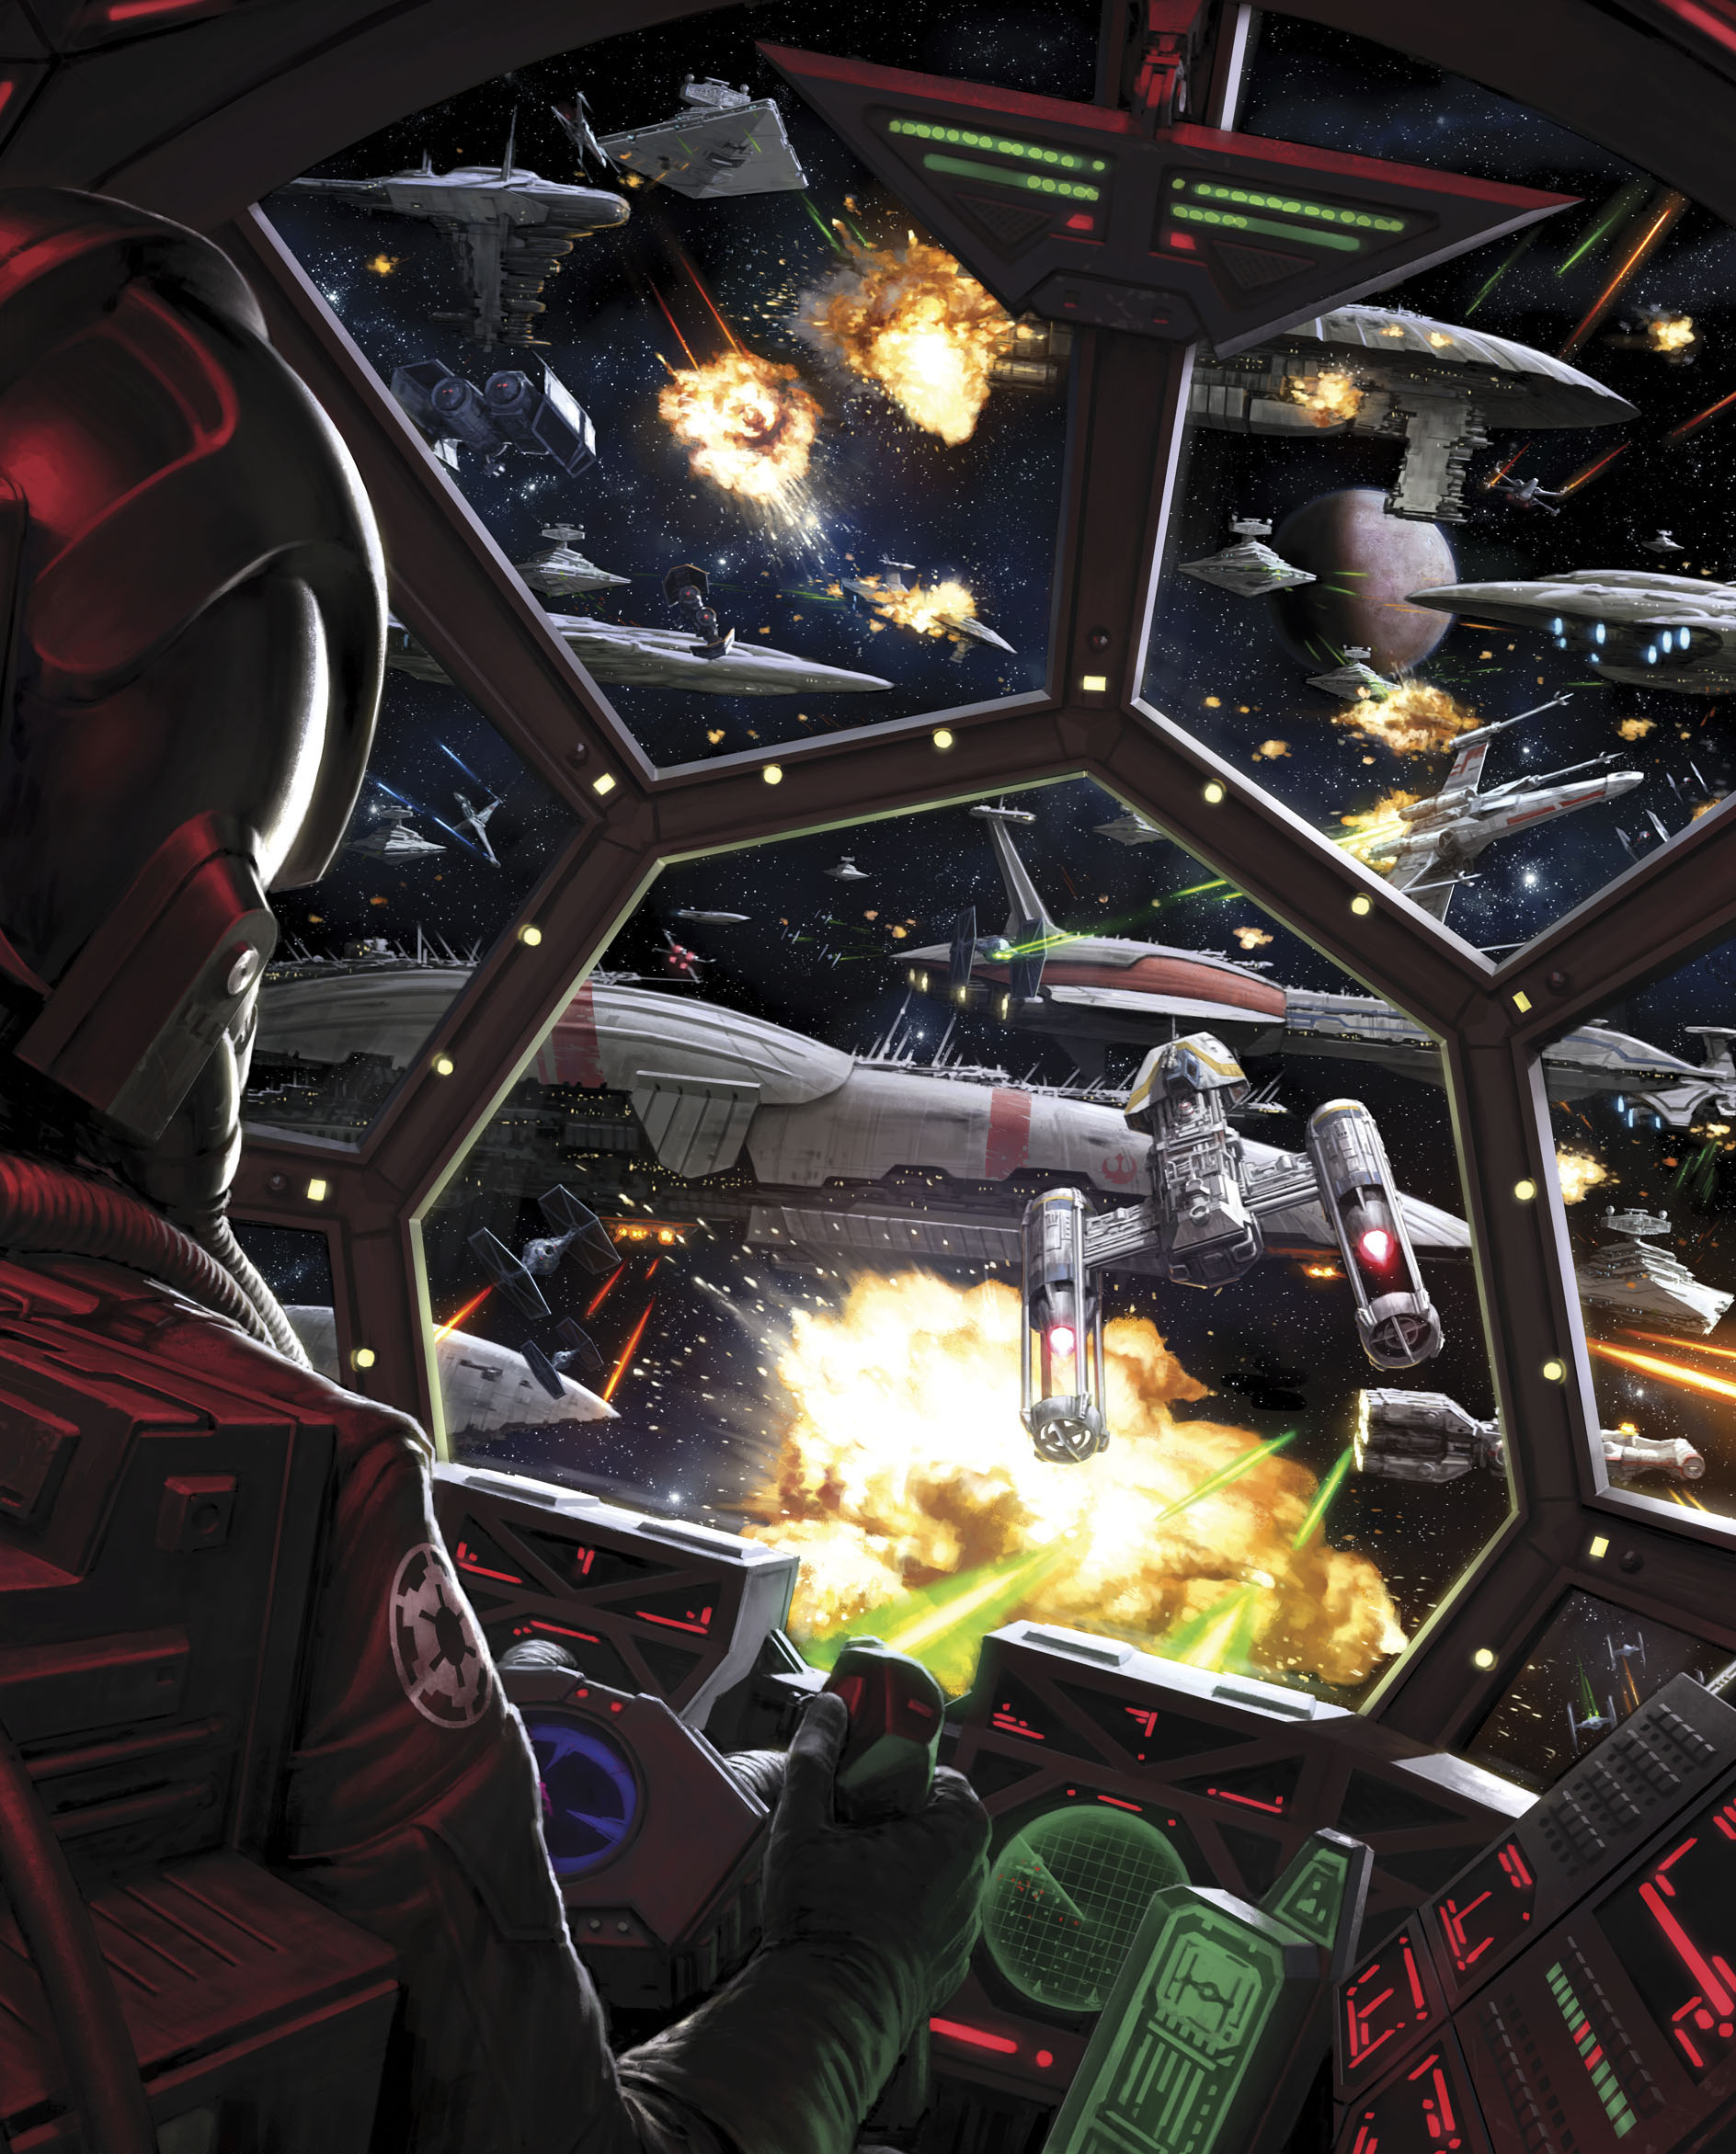
Throughout its history, the Alliance Fleet was equipped with a diverse array of capital ships. The navy included one Maelstrom-class battle cruiser, the Simoom. The Marsheem-class heavy cruiser represented a class of heavy cruiser employed by the Ishi Tib following their alliance with the Rebel Alliance. The Alliance also salvaged and refitted Dreadnought-class heavy cruisers, integrating them into the fleet. Various Star Cruisers formed the backbone of the Alliance Fleet, including MC75 Star Cruisers and their variants, the MC75 Armored Cruiser and the MC75 Ordnance Cruiser. Additionally, the fleet included MC80A Home One Type Heavy Star Cruisers and MC80 Liberty Type Heavy Star Cruisers of the MC80 Star Cruiser model, as well as cruisers of the Yavin's Hope type, cruisers of the Geist type, three-engined Mon Calamari cruisers, and three-pronged Mon Calamari cruisers.
Ultimately, Mon Calamari ships played a crucial role in the Alliance Navy's success. The vessels originating from the Mon Cala Mercantile Fleet or those that began as city-ships, having escaped Mon Cala's Imperial occupation, formed the fleet's foundation. Consequently, it came as no surprise that the navy's flagship would be a Mon Cala warship, such as the Profundity or Home One. With their formidable shields and turbo-lasers, Mon Cala city-ships were retrofitted into capital ships capable of withstanding Imperial-class Star Destroyers in space battles.
The Alliance Fleet also operated at least one Lucrehulk-class Battleship. A Star Destroyer of the Imperial I-class was commandeered by Rebel Alliance forces and briefly served within the Alliance Fleet. The navy utilized at least one modified Providence-class Dreadnought, specifically a Providence-class Carrier, and a modified Recusant-class light destroyer.
Sub-capital ships
The Alliance employed at least two bulk cruisers: the Neutron Star-class bulk cruisers and the Deep Space Recovery Vessel L-2783. The Rebel Alliance naval forces also utilized carriers, such as Quasar Fire-class cruiser-carriers, and several types of frigates, including DP20 Frigates, EF76 Nebulon-B escort frigates, Munificent-class C3 frigates. The fleet also incorporated MC30C Frigates, Assault Frigate Mark IIs, modified Pelta-class frigates, and variations in the modified Pelta-class Assault Ships and modified Pelta-class Command Cruisers, as well as light cruisers such as the MC40A Light Cruisers.
Smaller craft
The Alliance Fleet maintained a diverse collection of smaller craft, including corvettes and freighters. Corvette examples included CR70 corvettes, CR90 corvettes, Free Virgillia-class Bunkerbusters, and two variants of the Sphyrna-class corvette: the Hammerhead Scout Corvette and Hammerhead Torpedo Corvette. Another type of smaller craft was utilized in the aftermath of the Battle of Hoth. During the evacuation of Yavin, the Rebels commandeered a Raider-class corvette to ram a Star Destroyer.
The Alliance Fleet possessed a range of gunships and troop transports. Braha'tok-class gunships were used, along with modified CR-20 troop carriers, LAAT/is, X4 Gunships of the X4 line, and UT-60D U-wing starfighter/support craft.
Freighters and transports
The Alliance Fleet maintained a selection of transports, including CR25 troop carriers, E-9 Explorers EE-730s, and GR-75 medium transports, including GR-75 Combat Retrofits. The various freighter classes within the Alliance Fleet included HWK-290 light freighters, modified VCX-100 light freighters, YT-450s, a modified YT-1300 light freighter, YT-1760 Small Transports, modified YT-2400 light freighters, and YV-929 light freighters.
Despite their prior use by the Empire and the Republic Navy, the Rebellion also utilized the High-Altitude Entry Transport-221 after Rebels discovered a number of them.
Shuttles
Multiple shuttle classes were utilized by the Alliance Fleet. E-50 Landseers were employed by the fleet, as were Taylander shuttles, Sheathipede-class transport shuttles, and various stolen Imperial Lambda-class T-4a shuttles (such as the Tydirium and ST 321).
Space stations
The Alliance Fleet possessed at least four space stations, including the Mako-Ta Space Docks, stardocks located in the Telaris system, at least two Harbor-class Mobile Space Docks, FireStar II-class Orbital Defense Platform, and Mk IX Orbital Maintenance Depot. Early in the war, the Rebels operated a shipyard at Paucris Major, but were forced to evacuate.
Starfighters
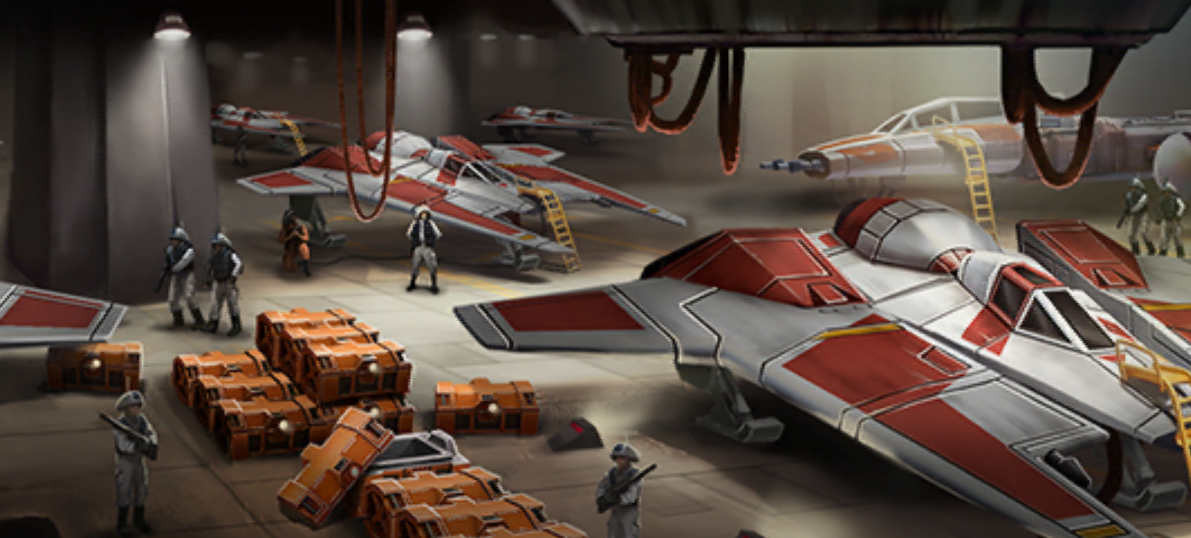
The starfighters and craft of the Rebel Alliance Starfighter Corps, operating under the umbrella of the Alliance Fleet, encompassed a variety of types and classes. Various models of X-wing starfighters were used, including T-65B X-wing starfighters, T-65B X-wing starfighter Exterior Variant /1s, T-65B X-wing starfighter Exterior Variant /2s, T-65C-A2 X-wing starfighters, and Patrol X-wings. In addition to X-wing starfighters, A-wing starfighters were utilized, specifically RZ-1 A-wing interceptors, RZ-1T trainers, and R-22 Spearheads. Other starfighters included ARC-170 starfighters, Delta-7 Aethersprite-class light interceptors, Fang fighters, Z-95 Headhunters, Z-95-AF4 Headhunters, Alpha-class Xg-1 Star Wings, VCX-series auxiliary starfighters, and Kom'rk-class fighter/transports. The rebels also stole TIE/ln space superiority starfighters from the Imperial Star Destroyer Harbinger. Lindon Javes piloted a TIE Advanced v1 during the Battle at Fostar Haven.
For bombers and heavier craft, the Rebel Alliance Starfighter Corps employed A/SF-01 B-wing starfighters, H-60 Tempest bombers, BTL-A4 Y-wing assault starfighter/bombers, and BTL-S3 Y-wing Starfighters. The fleet also utilized light T-47 airspeeders.