Chelli Lona Aphra
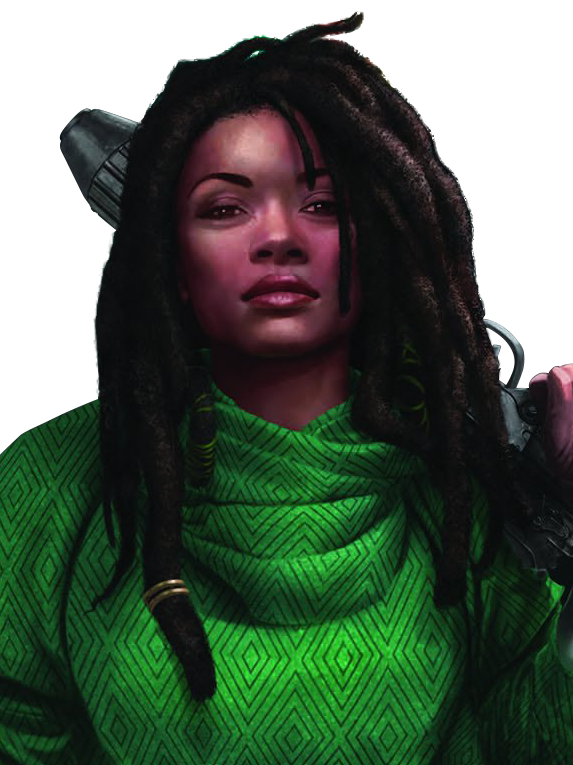
Chelli Lona Aphra, a human female archaeologist, entered the world in 24 BBY. She was the daughter of Korin and Lona Aphra. Due to Korin's scholarly pursuits, she gained extensive knowledge of the galaxy. Korin's particular focus lay with the Jedi Order and the ancient Ordu Aspectu. However, as his studies consumed him, Lona, feeling neglected, took Aphra to reside on the planet Arbiflux. Lona met her death at the hands of raiders acting on the Galactic Empire's orders, designed to create chaos for an Imperial takeover. Subsequently, Aphra was taken by the Empire and returned to her father's home. Resenting both her parents' neglect, Aphra attempted to set his house ablaze before venturing out on her own.
Later, she enrolled at the University of Bar'leth, progressing towards a archeology doctorate. Her time at the university led to connections with individuals such as Sana Starros, with whom she had a brief romantic relationship, Eustacia Okka, a future Shadow University professor, and Kho Phon Farrus. Aphra fraudulently earned her degree by blackmailing her despised professor, Sava Toob-Nix, who also harbored a strong dislike for her. Following an unremarkable research expedition to Boothi XII, where Toob-Nix mocked Aphra with his illegally obtained, mind-controlling abersyn symbiote parasites, Aphra absconded with the symbiotes. She then relocated them to the Boothi XII vault, creating the illusion of a groundbreaking discovery. Toob-Nix was unable to reveal her deception without exposing his own illicit activities, thus allowing Aphra to obtain her doctorate.
After the Battle of Yavin, Darth Vader, the Sith Lord, recruited Aphra. He had witnessed her skills in droid customization while slaughtering a pirate group. Aphra, accompanied by her assassin droid companions, the protocol droid assassin 0-0-0 and the BT-1 assassin droid "Blastomech" prototype BT-1, carried out several missions for the Dark Lord of the Sith. She aided in constructing an army of artificially intelligent droid commandos, assisted in combatting Doctor Cylo, an Imperial scientist vying to replace Vader at the Emperor's side, and even undermined Rebel Alliance forces on Vrogas Vas. However, as her tasks grew increasingly perilous and Vader became a less dependable ally, Aphra began plotting her escape from their partnership. Vader, however, betrayed her first. Seeking to eliminate her due to her extensive knowledge, Vader used the Force to choke Aphra and ejected her through an airlock, intending to kill her. However, Triple-Zero, Beetee, and Black Krrsantan, the Wookiee bounty hunter with whom Aphra had developed a fragile trust, rescued her.
Now an enemy of the Empire, Aphra resumed her treasure hunts and archeological expeditions. Some time after a mission to locate the Sword of Khashyun, her father approached her, offering to help restore her doctorate, which had been revoked following the exposure of her symbiote scheme. Aphra reluctantly partnered with Korin, and after locating the Citadel of Rur, she claimed the Rur Crystal, a computer core containing the consciousness of the ancient Force-sensitive Rur.
Biography
Early life
Family issues
Chelli Lona Aphra, the human female archaeologist, was born in 24 BBY. Her parents were Korin and Lona Aphra, who were her father and mother, respectively. The Aphra family owned a house in the University Quarter on the Second Moon of Thrinittik. This was a tranquil world untouched by the conflicts plaguing the galaxy during the Separatist Crisis and the Clone Wars.
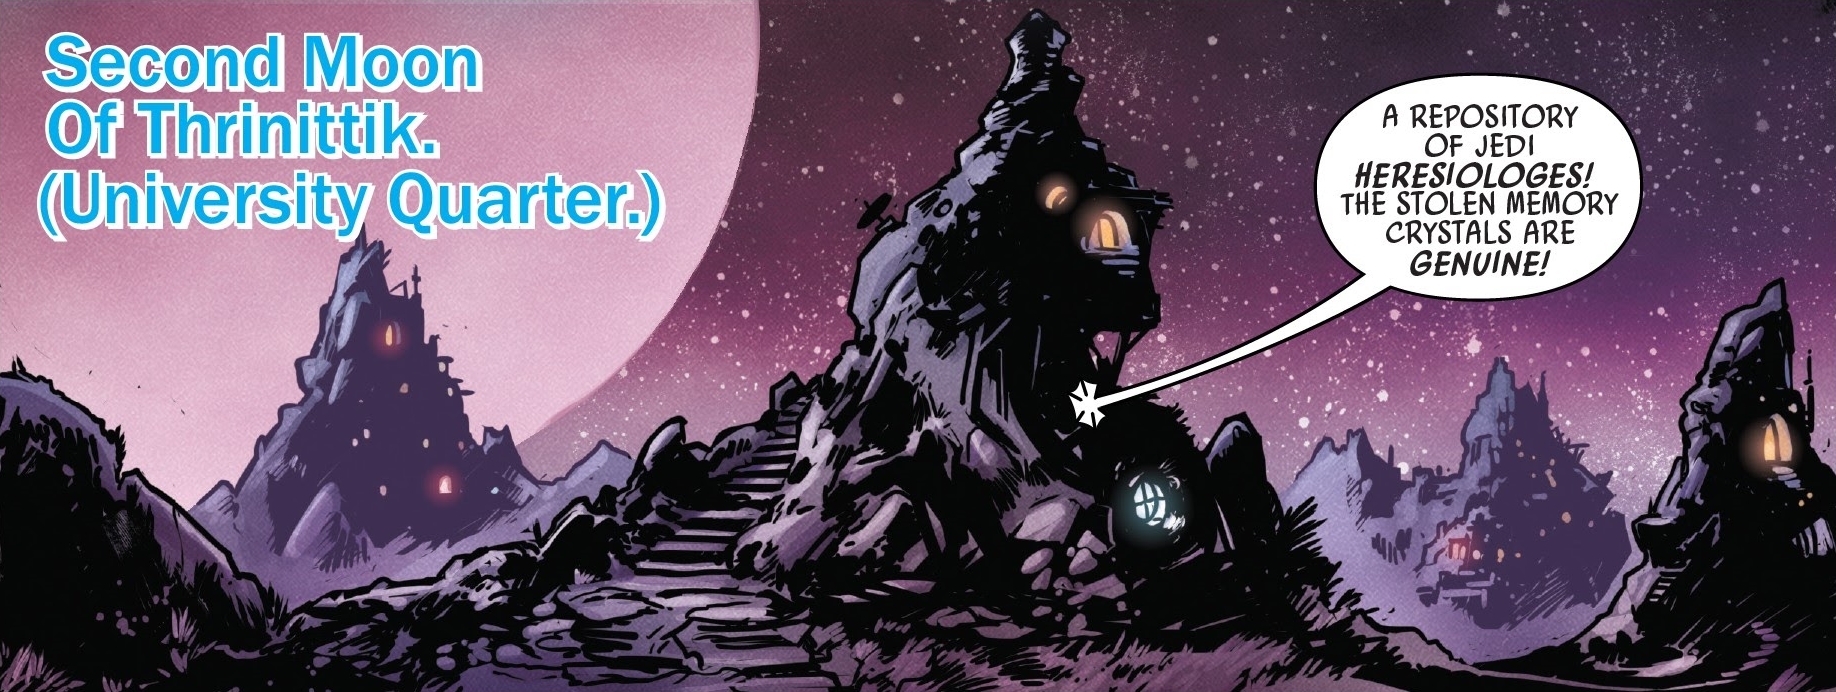
Young Chelli, affectionately called "Little Boop" by her parents, often watched her father's work as a dedicated scholar. She absorbed knowledge from his discussions on subjects like the extinct Massassi species and their Massassi piece crystals. Korin specialized in the ancient Ordu Aspectu, a nearly forgotten splinter group of the Jedi Order that vanished millennia before Chelli's birth during the Republic Era.
Following the Great Jedi Purge, Korin began neglecting his family, believing his work would secure a safer galaxy for his daughter by restoring the light that had perished with the Jedi. The Jedi were spiritual followers of the Force who served as the Republic's primary peacekeepers for generations. While the Jedi were dedicated to the light, their counterparts existed in the dark side of the Force, known as the Sith. The Sith's existence was doubted by Chelli's time, but Darth Sidious, a Sith Lord, secretly orchestrated the galactic strife. The Sith's ancient artifacts were said to be deadly, but Chelli found her father's Sith stories more interesting than those of the Jedi. It seemed Korin only paid attention to her when she pretended to be interested in his Jedi research.
Lona struggled in her marriage because of her husband's obsession with the Ancient Aspects of the Jedi and his perceived need for greatness. While she didn't hate him, they disagreed on what was best for Chelli. Lona wouldn't compromise on that, and thought her family should live without fear and make a new home in the middle of nowhere. The couple argued about Korin's research when they thought their daughter was asleep. Even at six, Chelli understood she could stop their fights if they focused on her.
One night, Chelli interrupted her parents arguing about Korin's plan to secure records from the university library on the Fifth Moon of Thrinittik before the Galactic Empire, the Republic's successor state ruled by Emperor Palpatine (Sidious' public guise), destroyed them. Chelli's father asked if she wanted to stay home or join him on an adventure. Seeking his attention and the thrill of danger, she agreed. He invited her partly because she was small enough to fit in narrow spaces, cute enough to distract librarians, and able to help carry materials after he bribed a librarian. She later believed this event made her mother decide to leave him.
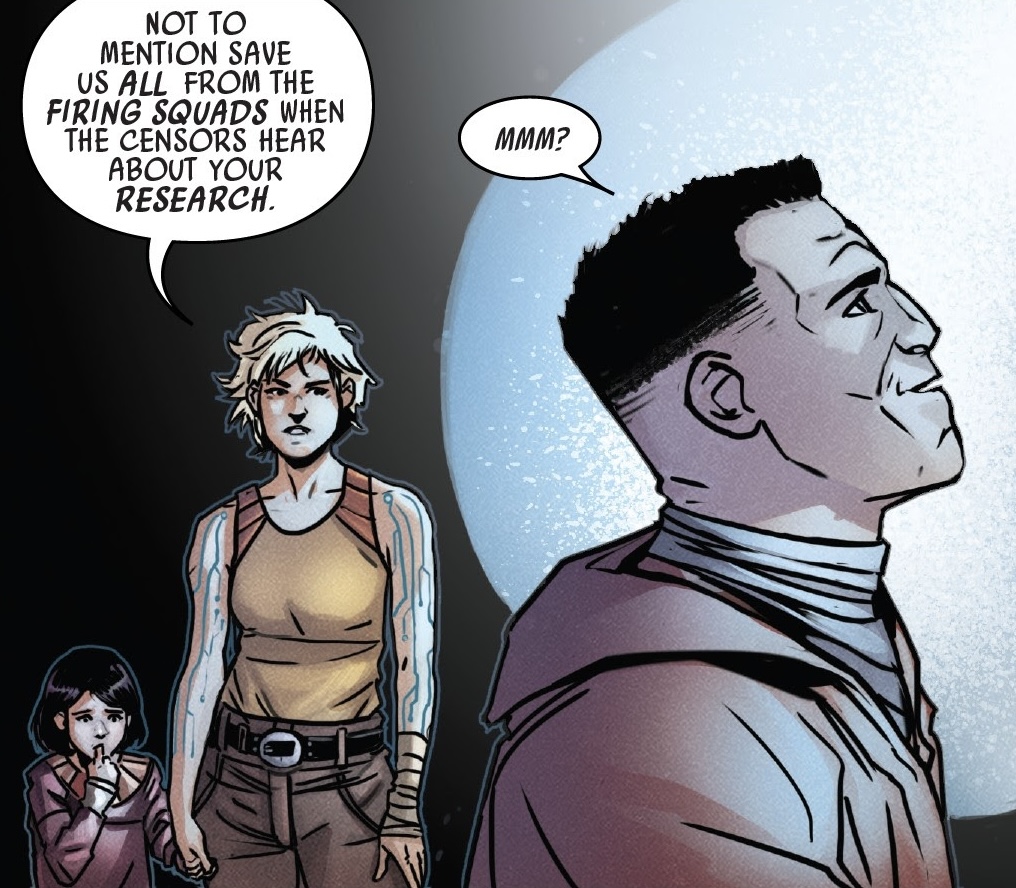
Examining his findings, Korin realized the stolen memory crystals marked for the garbage compactor were genuine, containing Jedi heresiologes, including an account of Oo'ob called "The Crimes of Jedi Renegade Oo'ob the Apostate." Korin was excited about restoring the Ordu Aspectu or finding the Lost Citadel of Garn. Preoccupied, he didn't notice Chelli cut her finger on a crystal. Lona didn't share his excitement, as his research could endanger the family, and Chelli didn't understand why he didn't care about her injury. Lona told Chelli to pack for a trip, and they left Korin.
Arbiflux
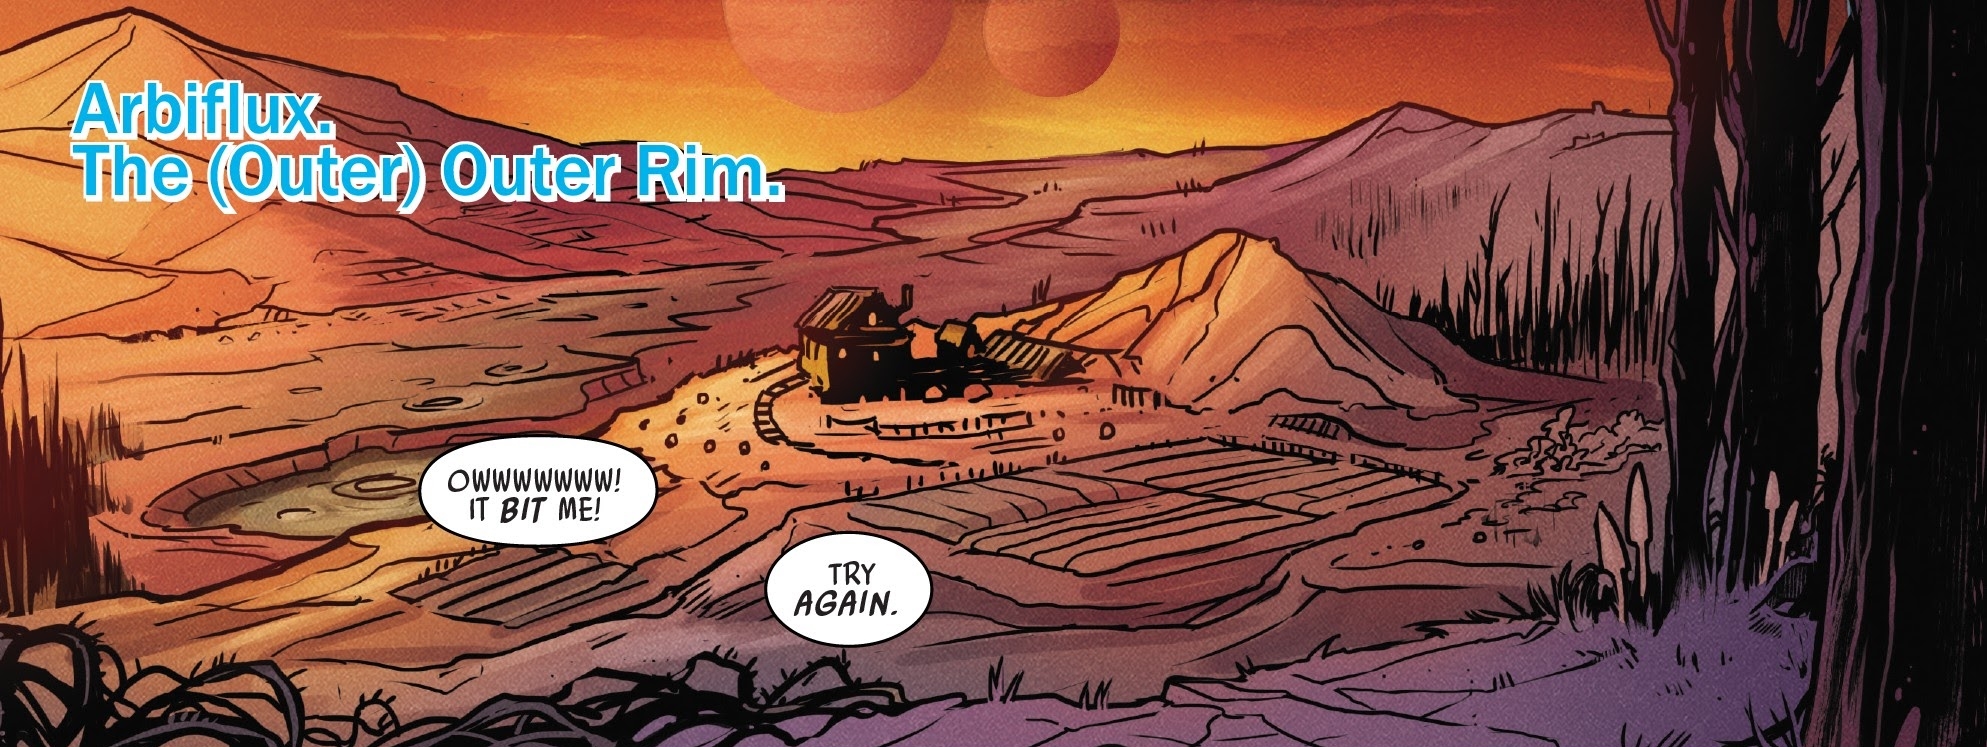
Lona Aphra relocated Chelli to a homestead on Arbiflux, a forest world in the Outer Rim Territories. Their new homestead was suffering a drought, surrounded by dry grass and dying trees.
There, they farmed nunas, which Chelli hated and called dumb, evil fartbirds. Her mother told her not to call things evil, even the Sith. Lona said the dark side was called that because they kept in the dark to be secretive and impose order, believing it was right. Idealists like Korin and the Jedi had a simplistic view of good and evil, involving purists shouting at each other while labeling the other side heretics; such idealism was useless and caused conflict. She told Chelli, "Evil's just a measure of how much your choices take away other's peoples," and that all anyone could hope for was to do right by the people they loved. Young Chelli pointed out that her mother may be evil for taking her away without asking her or Korin, and Lona acknowledged that while saying it was for Chelli's safety.
Over the years, Chelli's mother would also tell her everyone needed to make mistakes and learn from them, but she would not let the girl take risks with her life. Despite emphasizing the need to stay sharp and learn, Lona also thought ambition and intellect would quickly get people killed. Chelli would later see her mother's actions as finding any excuse to keep her safe, and that taking her to a place where nothing ever changed was a way to do that in a galaxy where nothing could be controlled.
For two years, Chelli and her mother were alone with no other sentient beings around. One day, they were attempting to prime a group of chatterplants as an alarm system for predators, something that Chelli was never successful at doing. Just as she was complaining about how boring and safe it was on Arbiflux, a group of raiders arrived, under orders from Imperial Coalition for Progress Minister Pitina Mar-Mas Voor to stage attacks and create chaos that would make planetary beg for Imperial intervention. Chelli saw her mother's arm shot off with a blaster, causing rapid blood loss. Lona gave her own blaster to Chelli, and urged her to run ahead and not look back. While Chelli fired the blaster at the raiders as she ran, and Lona sent a transmission to the Empire, calling for them to help her daughter before she died.
Traumatized by her mother's death, Chelli would later have conflicting memories regarding the event. She remembered looking back and witnessing her mother collapse and die; she thought that after Imperial scout troopers found her in a ditch, she wanted to stay with her mother and turned to see that her mother had died without her noticing; she also recalled that she returned after the attack to find her mother's body lying in the ditch.
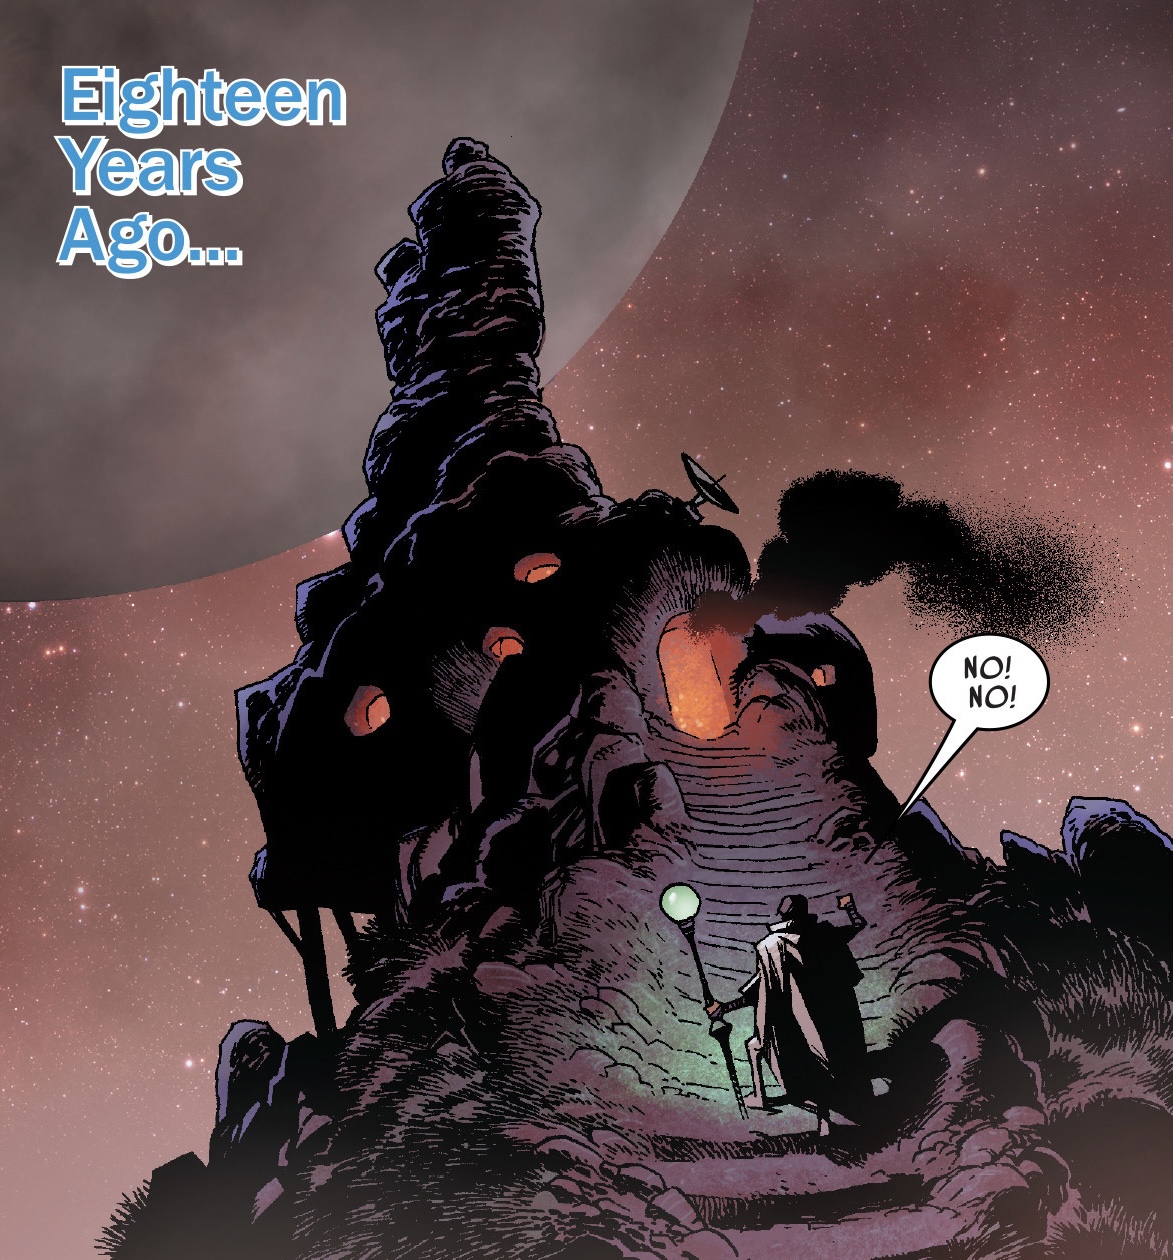
The troopers brought Chelli to an encampment, where an Imperial officer told her that the planet's natives had formally invited the Empire and she would be returned to civilization, away from "nuisances" like the raiders that had killed her mother. At some point, she was evaluated by a psychologist. Later, the Empire returned Chelli to her former home on the Second Moon of Thrinittik where her father still lived. She set fire to the house, attempting to burn up all his research with it. He returned to find his home burning and raced inside. As he expressed his surprise at seeing her and distractedly patted out the flames to save his life's work, she screamed at him that his wife had been killed, and informed him that a psychologist had said she may have some issues.
Early university years
As a young adult, Aphra studied galactic history and ancient civilizations while working toward a doctorate degree in archaeology at the University of Bar'leth, located on the planet Bar'leth in the Core Worlds. At the time, she thought attending university was a necessary step to becoming a proper, professional archaeologist, and she had not yet perfected her own personal archaeological methods. She immediately developed a mutual hatred with one of her instructors, Sava Toob-Nix, who held strong opinions on what qualified as an archaeologist that Aphra did not share.
Early in the program, Aphra frequently ran late to Toob-Nix's lectures, which she found frightfully dull, and would contradict him mid-lecture. He threatened to begin the expulsion process and would lock the door to keep the latecomer out of his lecture hall. At one point, Aphra had two lovers, a second-year student and a third-year student. She had neglected to tell either of them about the other and they confronted her together, which caused her to be late for Toob-Nix's class again. After successfully sneaking into Toob-Nix's classroom through a window, she gave herself away by interrupting him as he told her fellow cadets that all of the artifacts once stored at the university library on the Fifth Moon of Thrinittik had been destroyed, along with the entire structure, in a cataclysmic blast; the Empire had destroyed the library sometime after Aphra's childhood visit there with her father. She protested that while the library had been attacked and much of it had decayed, enough of the structure remained that some of the artifacts may remain buried and preserved, awaiting an expedition to uncover them. The Sava dismissed her ideas as a fairy tale that would never be authorized. As they argued about her belief that unsanctioned expeditions and taking dangerous risks were worth it and what archaeology was about, another student named Sana Starros spoke up and agreed with her. Starros further pointed out that there was research in their university library that supported Aphra's assertions. Aphra had not previously noticed the quiet and non-disruptive Starros, but she was immediately enamored with her voice and the way Starros had taken her side.
Despite the two students humiliating him in his own class, Toob-Nix did not begin the expulsion process as Aphra expected, and she was unsure for years after why he had not. Unbeknownst to Aphra, Starros approached him after class and blackmailed him. She warned him that if he expelled Aphra, she would end his career by reporting how he furthered his own academic agenda through teaching his class incorrect information.
During her time at the university, Aphra nearly got a new student, Kho Phon Farrus, expelled from the university on the day of their enrollment, and according to Starros, continued to get Farrus in trouble all the time. Over time, they came to consider themself Aphra's archnemesis.
Doctoral candidacy
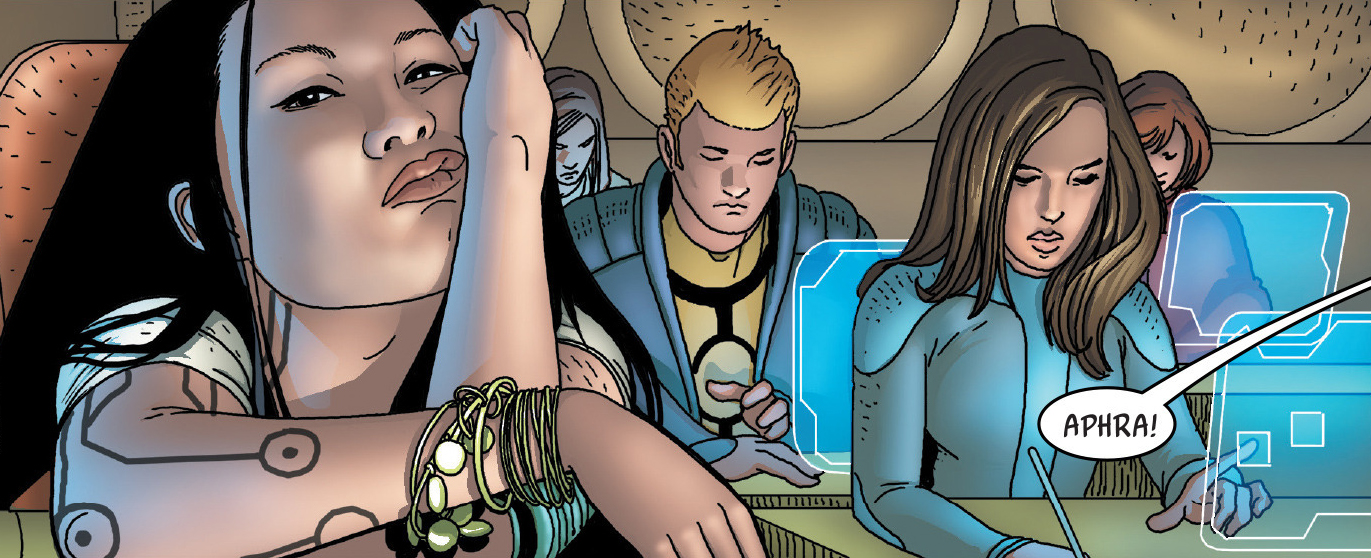
Towards the end of her schooling, Toob-Nix selected Aphra as his candidate for doctoral supervision. Despite requiring his approval for her degree, she continued to mock him on a self-described weekly basis. Aphra would sometimes fall asleep during a class she shared with Eustacia Okka, and one day she noticed Okka reading "Lost Legends of the High Republic" on her datapad. When she asked Okka about it after class, Okka was initially embarrassed before Aphra reassured her with a kiss and told her she worried too much about what other people thought.
On one occasion, Aphra sat in with a class of the Sava's undergraduates. When Toob-Nix inquired as to why Aphra, a senior doctoral candidate, was sitting in with the less-experienced students, Aphra sliced into the classroom's holoprojector and made the two holographic historical beings kiss, rather than stand still. Toob-Nix angrily expelled Aphra from his classroom. Aphra later told the day's events to her friend Susina, who urged Aphra not to antagonize the Sava. Aphra, however, wasn't worried about receiving Toob-Nix's approval because her graduation project, she believed, would be too important for the Sava to dismiss.
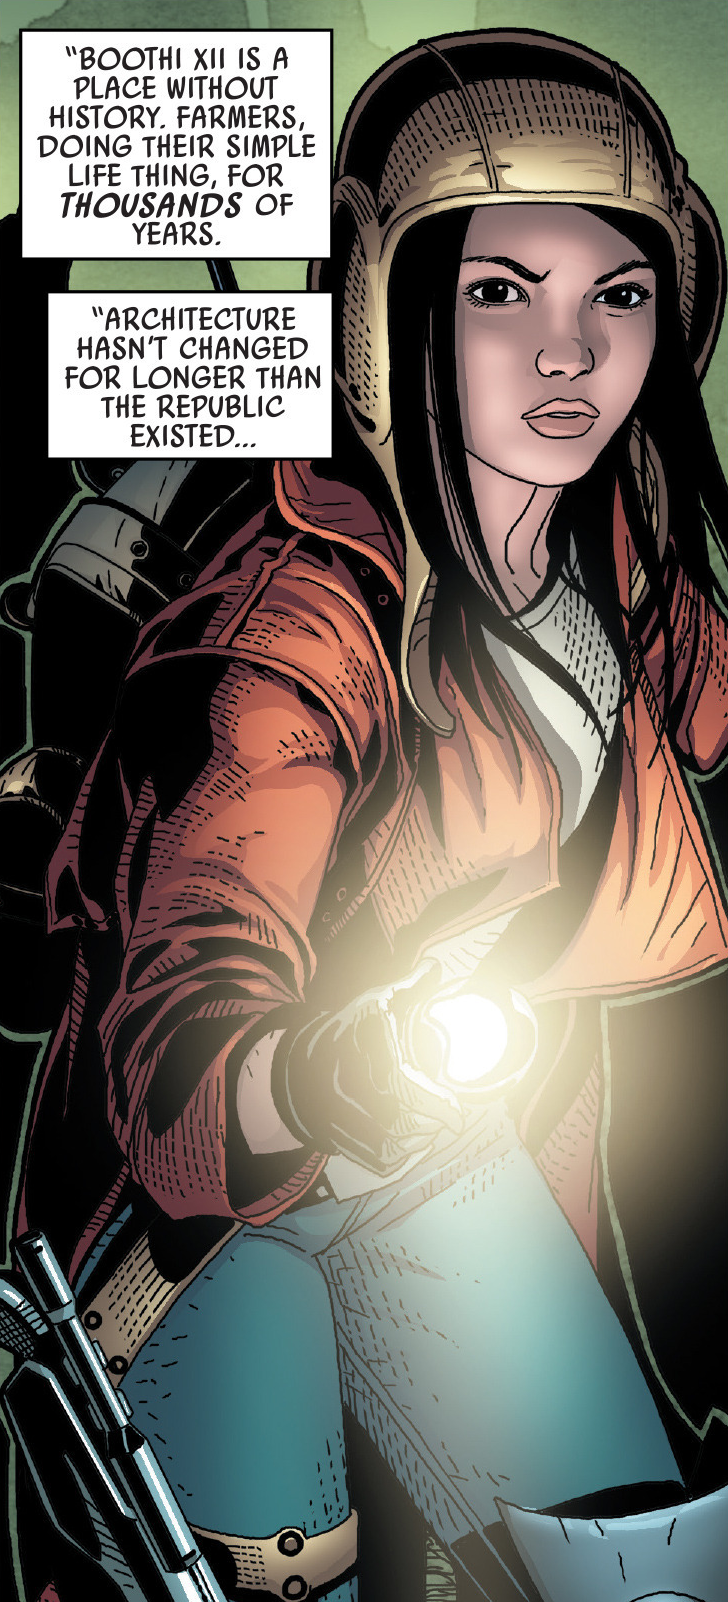
Aphra's project was to travel to a backwater world of farmers, Boothi XII. There, Aphra hoped to find evidence of a precursor race in a subterranean vault. Unfortunately for the aspiring archaeologist, when Aphra later explored every centimeter of the vault in her archaeological gear—a leather hat, greatcoat, flashlight, and blaster pistol—she found nothing but an empty cave system.
After returning to Bar'leth, Aphra wrote a report on her underwhelming findings on Boothi XII. Toob-Nix confronted Aphra after reading the report and sarcastically chided her for "finding an old shed on a planet known as being full of old sheds." Aphra retorted that she believed Toob-Nix a far inferior Sava compared to the former, the Ugnaught Korin Pers. Instead of replying with another insult, Toob-Nix led her to a secret room in the university where he stored several abersyn symbiotes which he had collected over decades, and made quiescent by exposure to plasma venting. Horrified that the Sava was concealing the highly illegal mind-controlling parasites, Aphra listened as Toob-Nix revealed to Aphra the true reason he had chosen her for his personal supervision: not because he saw Aphra as a poor student who cared more about excitement than archaeology, but simply because he hated her. Aphra threatened to blackmail him, but he assured her that her inexperienced word wouldn't be able to touch his professional reputation.
Aphra knew Toob-Nix was correct, so she instead called Starros via comlink and enlisted the aid of one Starros's alien friends who owned a lot of "hardware." Within the next two days, Aphra, with the help of Starros and her alien friend, sliced into Toob-Nix's secret room, preventing alarms from sounding due to the hack, and removed all of the dormant abersyn symbiotes in their respective capsules, returned to the empty vault on Boothi XII, and placed the symbiotes in the vault; this made it appear that the symbiotes had been left untouched for thousands of years. Aphra soon published her findings, and her "find" was hailed as the greatest archeoxenobiology find in centuries.
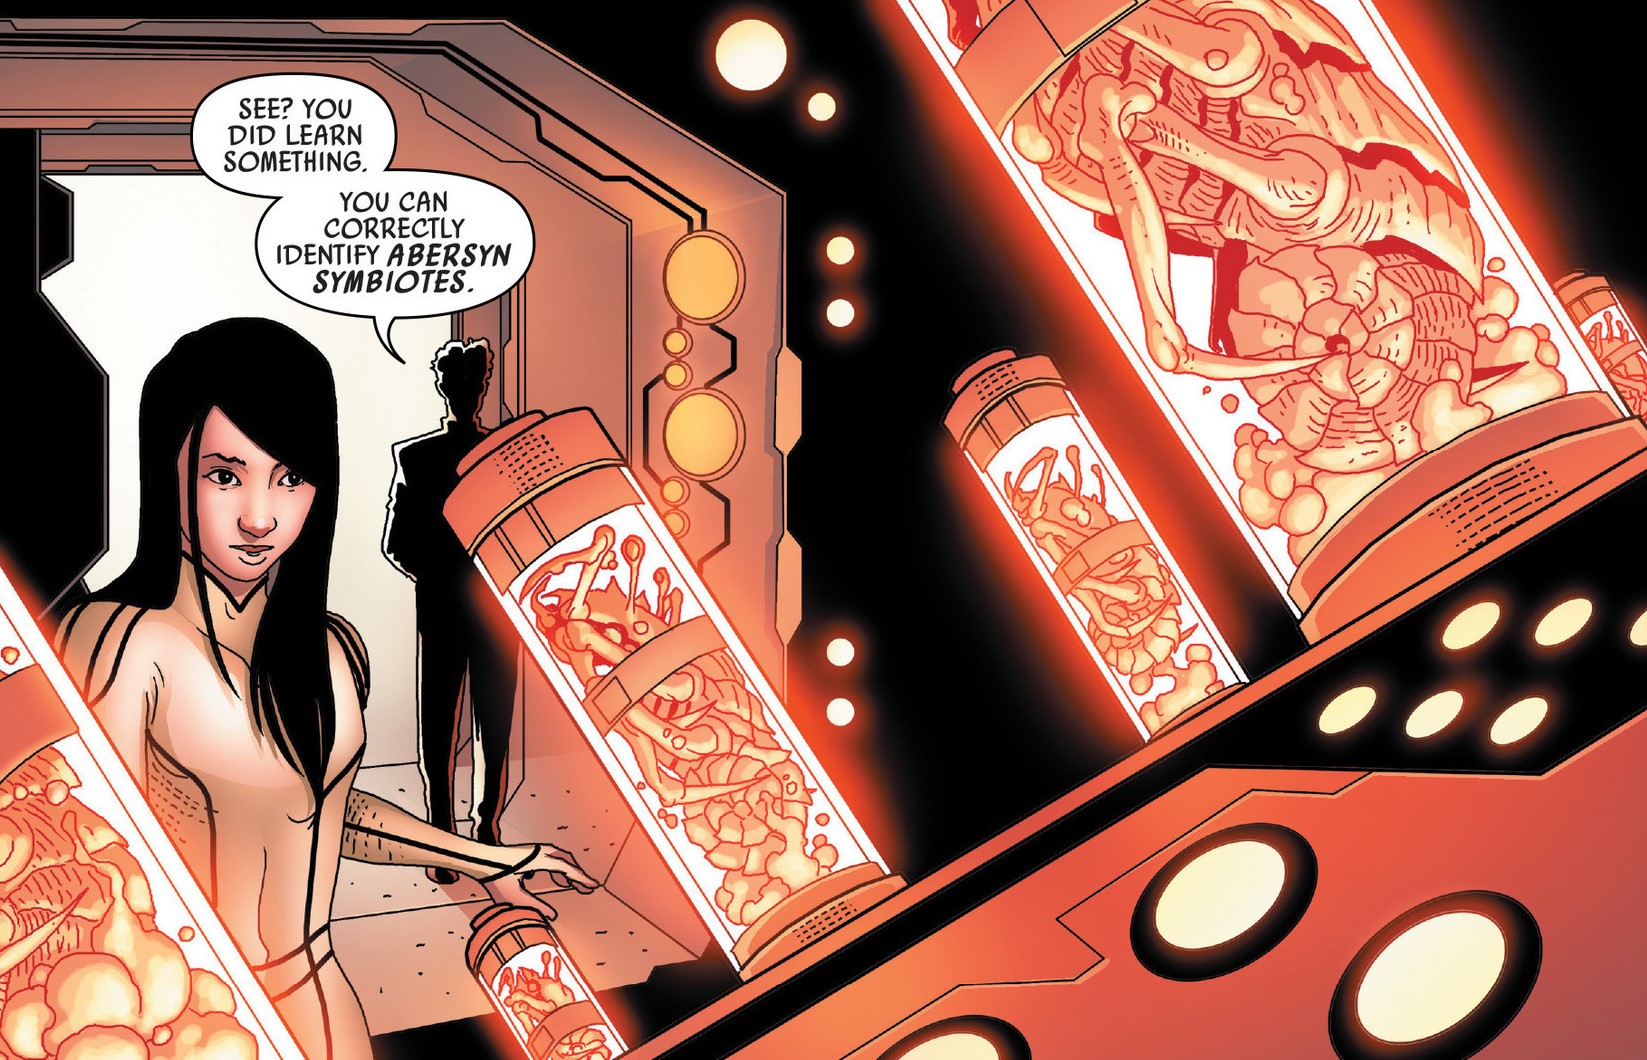
After the "discovery," per Imperial protocol, the symbiotes were disintegrated posthaste in order to prevent them from reactivating and becoming a threat. Susina was the first to inform Toob-Nix of the "find," and when the Sava found his secret room empty, Aphra reveled in her new position to blackmail the Sava into giving her the doctorate she did not deserve. Toob-Nix was furious, but he could do nothing to expose Aphra without being exposed himself, so he allowed Aphra's "find" to overshadow his own work. Shortly, Susina expressed her excitement at Aphra's find, and proclaimed to spend her life's work in the Boothi XII vault in order to discover what made the symbiotes sleep without waking for what she believed to have been millennia. Aphra wished her "good luck," knowing there was nothing to discover.
Adventures on Dantooine
Aphra was staying in Dantoo Town while trying to reactivate and upgrade some war-surplus droidekas. In need of a 3.23 colicoidic pulse modulator, she attempted to loot the abandoned rebel base on Dantooine, believing it to be salvage-rich. While working her way through a stripped central comm, Aphra was alerted by the Ark Angel to the presence of TIE-fighters. While retreating to the Ark Angel, Aphra encountered three stormtroopers doing a perimeter sweep in an area that she had covered in a layer of micromines. Knowing that escaping the nearby Star Destroyer would be difficult, coupled with not wanting to let people die and a reluctance to abandon the droidekas she'd been working on, Aphra decided peacefully surrender herself to the stormtroopers.
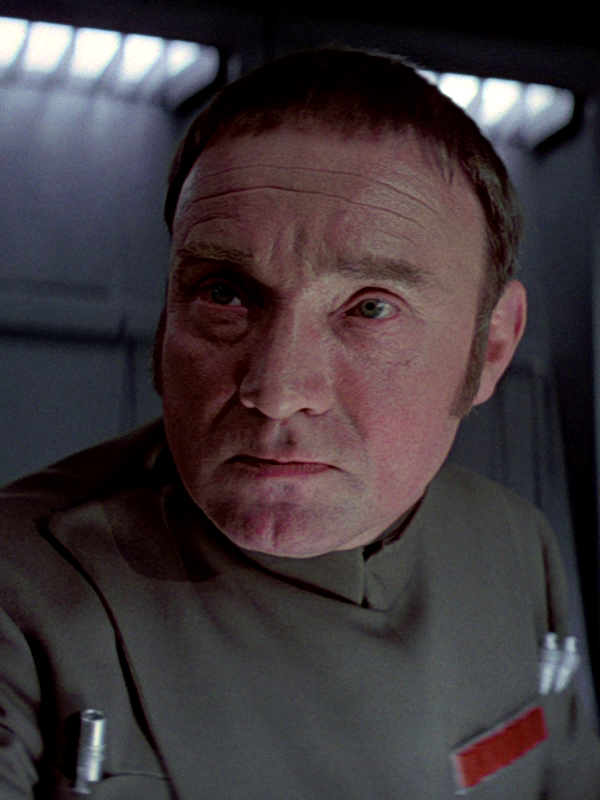
The stormtroopers interrogated and frisked Aphra before escorting her to the new Imperial installation on Dantooine. Upon arrival, the stormtroopers presented Aphra to General Cassio Tagge, revealing their search for Aphra's concealed speeder, a detail she had misrepresented to conceal the Ark Angel. Tagge, skeptical of Aphra's claim of merely scavenging, pressed her about her presence at the Rebel base. Aphra attempted to convince Tagge of her innocence, asserting ignorance of any Rebel presence on Dantooine. She argued that the planet's underdeveloped nature would deter anyone from resisting the Galactic Empire. Amused, Tagge then disclosed to Aphra the recent destruction of Alderaan by the Death Star. Intrigued by the Death Star's weaponry, Aphra eagerly questioned Tagge, though he withheld specific details. Tagge, unconvinced of Aphra's Rebel affiliation, deemed her "trouble" and decreed her execution.
Tagge tasked a stormtrooper with leading Aphra into the woods for execution, while the search for her alleged hidden speeder continued. Aphra engaged the stormtrooper in conversation, aiming to stall for time and devise an escape. After inquiring if it was his first execution, Aphra drew a parallel between firing squads and the Death Star, emphasizing the diffusion of responsibility in both scenarios—no single individual bears the burden of "pulling the trigger." Aphra then attempted to instill guilt in the stormtrooper by highlighting the profound horror and historical significance of Alderaan's destruction, suggesting he would forever associate it with her execution.
While keeping the stormtrooper distracted with her words, Aphra secretly disrupted the frequency of his Imperial-model blaster for a brief duration. She disarmed him and took him captive using his own weapon. Aphra informed the stormtrooper that while he had never taken a life in cold blood, she had. Threatening to kill him, Aphra demanded he remove his helmet. Aphra asserted that killing a faceless stormtrooper was easier than killing a person. Aphra then mused that the Death Star did, in fact, have "a trigger," as destroying a planet felt more abstract than killing an individual. Although Aphra had previously supported the Empire—believing it brought galactic peace and order—she realized that the obliteration of Alderaan had changed her mind.
Aphra made the decision to release the young stormtrooper, instructing him to inform his superiors that he had carried out his orders. Abandoning the blaster, Aphra successfully boarded the Ark Angel and ascended into orbit. She then evaded the Star Destroyer before initiating a jump to hyperspace.
Assorted Engagements
On one occasion, Sana Starros and Aphra made a visit to Fort Ypso. Following an overindulgence in aquae infurnus, Sana Starros inadvertently revealed the existence of the Smuggler's Guide, which had previously been in the possession of Dok-Ondar at the University of Bar'leth, leading to Aphra acquiring the logbook. Chelli speculated that Maz's discovered treasures had primarily benefited syndicates within the Eastern Rim, such as the Hutt Clan and Pyke Syndicate. Sometime after 0 BBY, Aphra determined that the Descopose Farmark treasure trove site should be her initial target. However, Aphra subsequently lost the Smuggler's Guide to the Irving Boys.
In the aftermath of Alderaan's destruction, Aphra undertook a job for Ronen Tagge, delivering a collection of artifacts, including coral sourced from the planet's polar sea. Aware of Tagge's tendency to destroy valuable acquisitions, Aphra reclaimed her delivery, along with additional items, as "compensation for [her] time" after receiving payment. She then proceeded to resell these items on the black market at three times the original price.
Serving a Sith Lord
Recruited by Darth Vader
Following her separation from Starros, Aphra reactivated and modified a pair of Clone Wars-era Separatist droideka security droids, equipping them with missile launchers. Aphra subsequently sold these droids to a small group of Crymorah Syndicate-funded pirates operating from a space station located in the Outer Rim. However, in the year 0 ABY, these pirates drew the attention of the Galactic Empire, resulting in their being hunted and eliminated personally by Darth Vader. Vader, a member of the ancient Sith Order and second in command to the Galactic Emperor, Sheev Palpatine, accessed the pirates' main computer during the operation. This led him to discover Doctor Aphra's involvement in upgrading the droidekas, an act that greatly impressed him. Consequently, the Dark Lord of the Sith decided to enlist her into his clandestine network of allies.
In the meantime, Aphra was contracted by the Droid Gotra, a militarized organization comprised of Separatist battle droids that remained active after the droid shutdown order at the conclusion of the Clone Wars. Aphra, recognized for her expertise in droid and weapons technologies, was engaged for several missions. These included stealing the ancient Triple-Zero protocol personality matrix, locating and activating the unique BT-1 assassin droid "Blastomech" prototype, and recovering a long-lost portable droid factory on the desert planet of Geonosis.
Aboard her prized vessel, the Ark Angel, Aphra pinpointed the location of the "Blastomech" prototype, designated BT-1. BT-1 was adrift in space near the remnants of an Imperial-built Tarkin Initiative base, where BT-1 had been held before destroying it. However, BT-1 had entered a dormant state and refused to activate—the languages the droid understood appeared to have been lost when the Tarkin Initiative base was destroyed.
Subsequently, Aphra was tracked and attacked by Maz Kanata's gang, who managed to disable the Ark Angel's hyperdrive and damage its life support systems. Maz Kanata contacted the ship and angrily accused Aphra of stealing stealth microdroid dust, which Kanata's gang had gone to great lengths to acquire. Kanata believed Aphra had ulterior motives for its use, prompting Aphra to attempt to calm Kanata down, even imagining them sharing a drink together. However, Kanata remained unyielding, continuing to fire upon the Ark Angel. Aphra maintained a confident facade, stalling for time while enduring Kanata's escalating accusations, even criticizing Maz for essentially misusing the potential of the artifacts she acquired. At a critical moment, Aphra revealed that she had "liberated" a few astromech scraps from Maz Kanata, which she then used to repair her ship's operating system, enhance its weapon systems, and fuel its modified engines. This enabled her to disable Kanata's ships, leading Kanata to order a withdrawal shortly thereafter.
Aphra's following destination was a large asteroid-turned-space station: Quarantine World III in Kallidahin Space—the location where the Triple-Zero matrix was being held in quarantine.
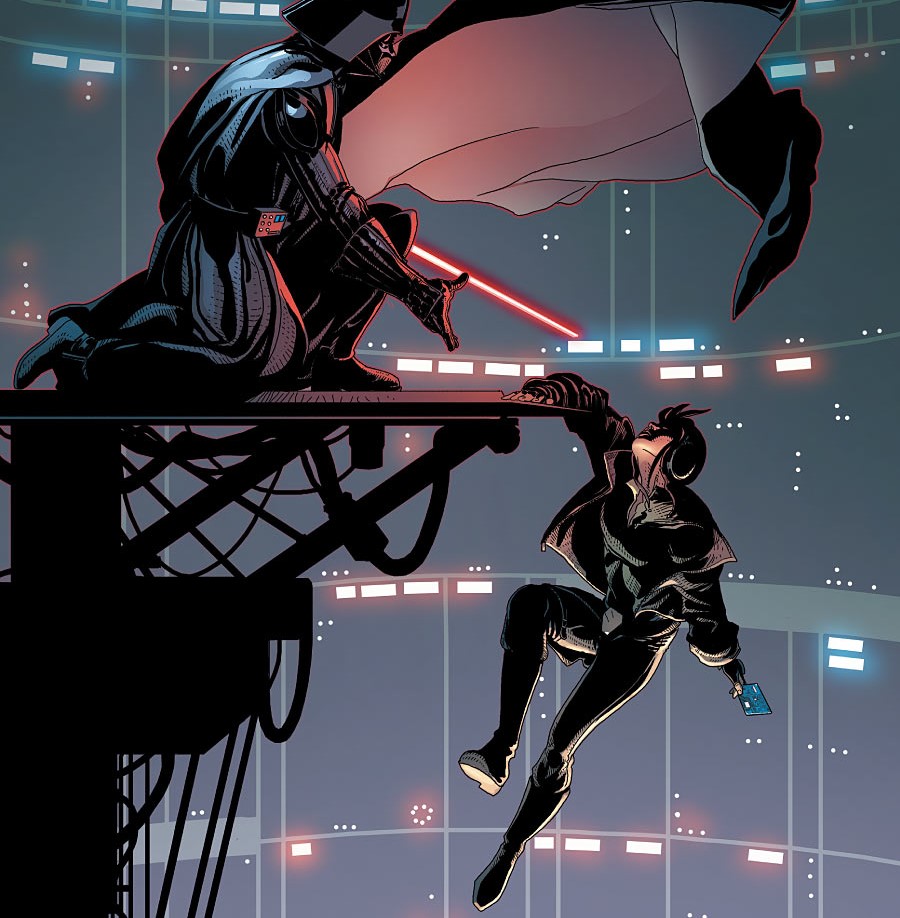
Aphra infiltrated the quarantine facilities undetected and located the safe containing the droid matrix. Anticipating security measures, Aphra released a cloud of stealth microdroid dust, revealing a network of lasers that would trigger an alarm if interrupted. The doctor crawled carefully to the safe, disconnected the personality matrix, and concealed it on her person without incident. However, during her return journey crawling under the lasers, she inadvertently triggered them. Aphra was forced to sprint to the hangar of the quarantine world as the facility initiated self-destruct around her. After evading a shielded droideka and diving under a closing doorway, Aphra was confronted by Quarantine World III's curator and her old rival, Utani Xane. Unsurprised to see the Kallidahin working at the facility, Aphra surrendered her blaster pistol and the personality matrix to Xane's contingent of B2-series super battle droids without resistance.
As Aphra was placed in stuncuffs, she insisted that the Triple-Zero matrix belonged in an armory, rather than languishing in quarantine or a museum for centuries. Before Aphra could be escorted back to prison, an unexpected TIE fighter series starfighter arrived, carrying none other than Darth Vader. Awestruck by Vader's arrival, Aphra watched as the dark lord systematically eliminated the B2 battle droids using the Force and his red-bladed lightsaber. Aphra seized the opportunity amidst the chaos and tackled Xane, who was attempting to escape with the personality matrix. During the struggle, Aphra narrowly managed to secure the matrix and prevent herself from falling over a large ledge and into a deep chasm. Vader assisted the doctor in getting back up after killing Xane and informed her of his reason for being there: he required Aphra's assistance.
Shortly thereafter, Aphra returned to the Ark Angel, where Vader's TIE Advanced docked with the ship. During their conversation, Aphra admitted to being a devoted fan of Vader's. Vader then explained that he had encountered the droidekas Aphra had supplied to the Crymorah-aligned pirates and that they had impressed him. Aphra expressed her gratitude to "Mr. Vader" and inquired how Vader had located her, before realizing that she likely didn't want to know the gruesome details. The archaeologist then explained to Vader the dangers of the Triple-Zero matrix and her intention to activate it within the body of a spare 3PO-series protocol droid. However, the matrix was locked and unusable, and Aphra estimated that it would take her hours to crack it.
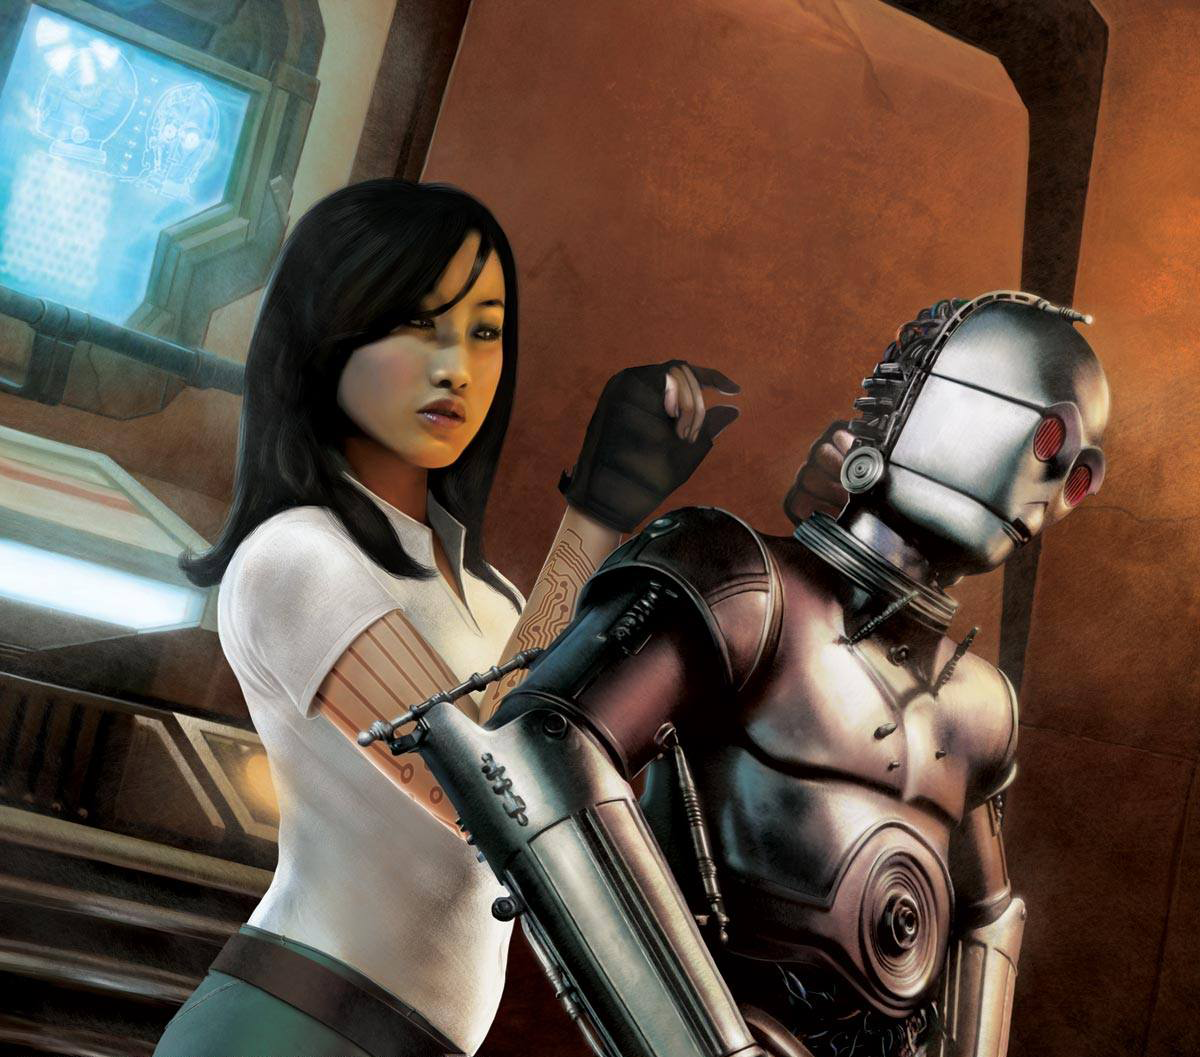
Vader disregarded Aphra's concerns and swiftly unlocked the matrix in a matter of seconds using her computer. Impressed, Aphra installed the personality matrix into the head of the gunmetal plated protocol droid and activated him. The Triple-Zero matrix-powered protocol droid came to life and identified himself as 0-0-0—or Triple-Zero, appropriately. After Aphra imprinted herself and Vader as Triple-Zero's new masters, she instructed the droid to speak the R&D language created by the Tarkin Initiative and awaken the BT-1 prototype. Upon being awakened, BT-1 immediately displayed hostility towards Vader and Aphra, but was calmed down by Triple-Zero, who informed the nefarious "Blastomech" that Aphra and Vader were his new masters.
Relieved, Aphra slumped to the floor and confessed to Vader that she felt out of her depth working with the infamous Sith Lord and inquired about his true intentions for her. Vader revealed that he had been unceremoniously demoted by the Emperor, and therefore planned to amass private, secret resources without his master's knowledge. Aphra regained her composure and concluded that Vader was more deserving than the Droid Gotra, so she relinquished ownership of BT-1 and Triple-Zero to him. She also informed him that he could find troops of unquestioning loyalty on Geonosis in the form of the portable droid factory that she had been hired to obtain for the Droid Gotra. The newly formed alliance immediately set course for the Geonosis system, where Vader cautioned Aphra against disappointing him.
Building forces for Darth Vader
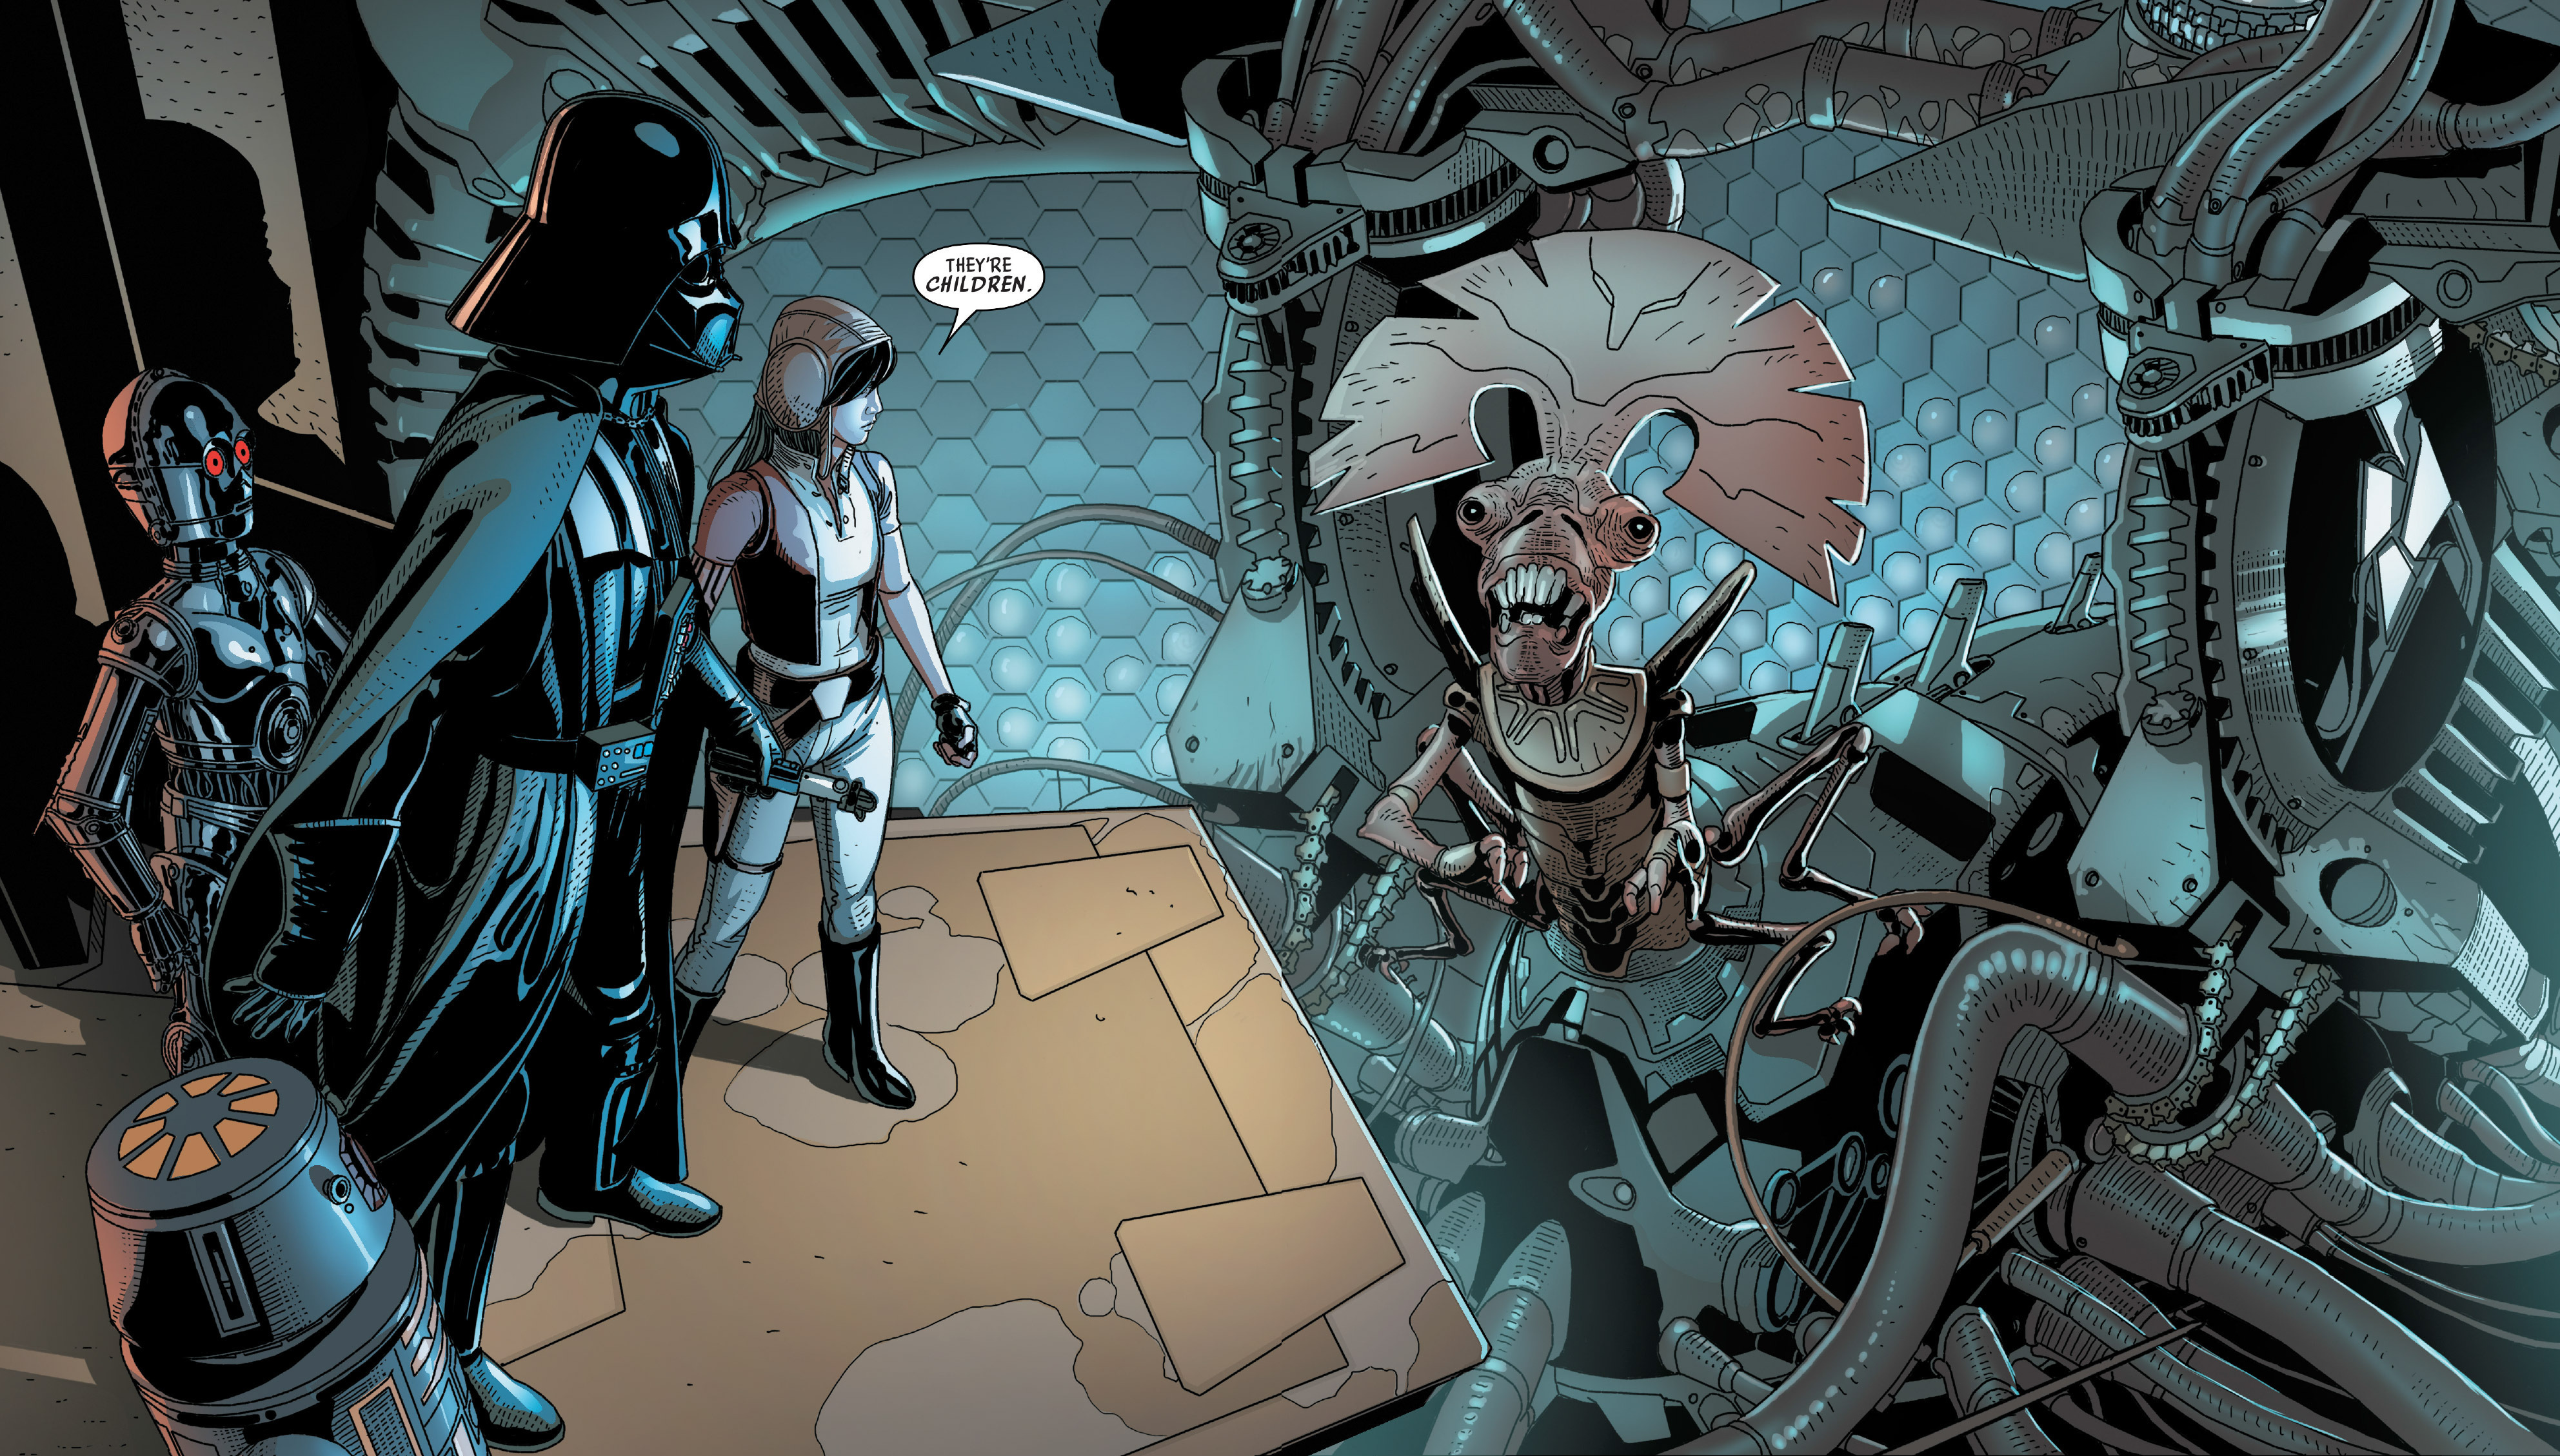
Shortly after Vader secured one of his personal starships, a J-type 327 Nubian starship from Naboo, the Ark Angel landed amidst an old Clone War battlefront on the red-desert planet. They were near the cave system where the droid factory was believed to be hidden, under the watchful eye of a native Geonosian queen, Karina. Karina had survived the Imperial sterilization of her homeworld years earlier. Doctor Aphra then dispatched the two assassin droids into the queen's subterranean lair while she and Vader followed behind. Along the way, they observed the wreckage of modified B1-series battle droids, which had been disabled by Aphra's assassin models. Aphra informed her employer that the B1 droids confirmed the presence and operational status of the factory. Aphra and Vader caught up with BT-1 ("Beetee") and Triple-Zero at the entrance to the queen's chamber, where Aphra noted that the unusual changes to the battle droids, such as mechanical wings, suggested that Karina viewed the droids not merely as mechanical soldiers, but as her own children.
Intimidated by the sight of the Geonosian queen using the droid factory as a cybernetic womb, Aphra inquired whether Vader still believed that barging into the insectoid queen's domain was not foolhardy. Vader simply replied "yes" and initiated the heist. He severed Queen Karina from the portable factory and fought off the attacking B1 droids with Beetee's assistance, while Aphra attempted to attach a homing beacon to the roof of the chamber. After jumping down to Vader's position and getting him to use the Force to get the beacon to the ceiling without a second thought, Aphra called in the Ark Angel via voice command. The starship fired on the beacon's location, causing mounds of rock to fall to the chamber floor. Vader shielded himself and Aphra from the cascade using the dark side of the Force. The archaeologist connected a crane lowered by Vader's J-type 327 Nubian to the factory and held on while the heavily modified yacht lifted the Sith Lord, archaeologist, and factory to safety. Triple-Zero and Beetee followed using the latter's rocket boosters.
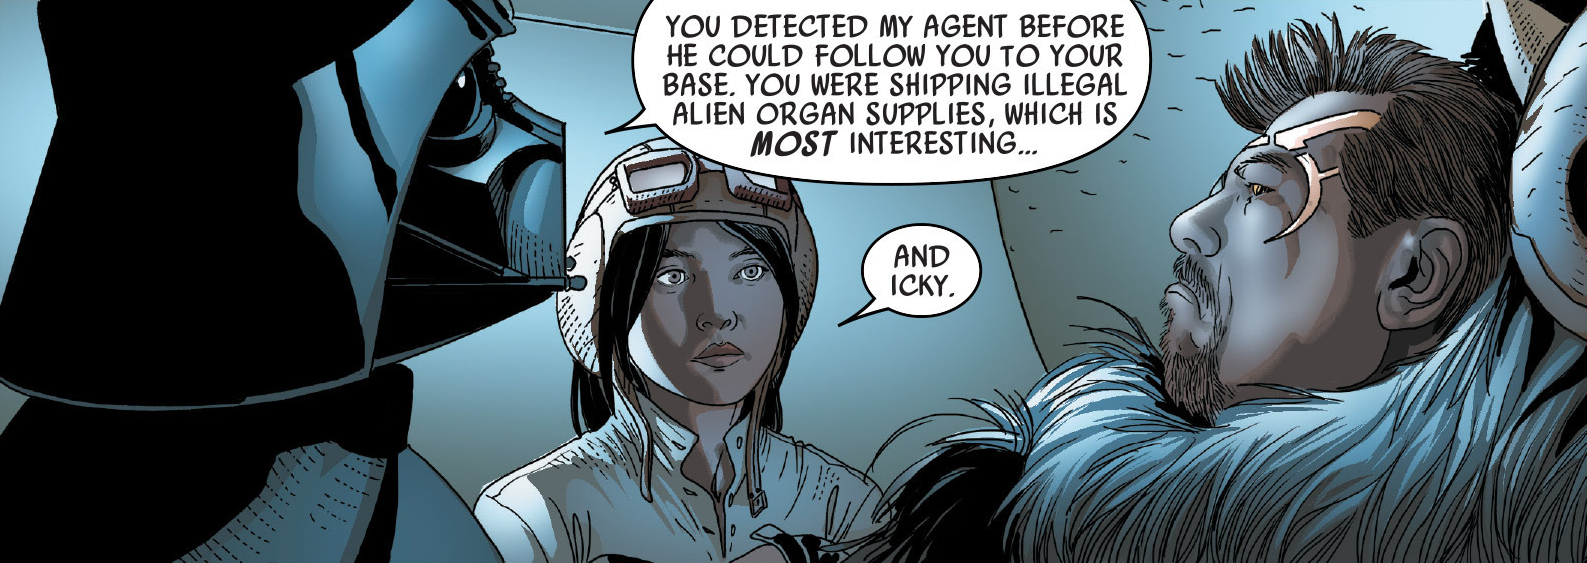
Aphra and the team soon loaded the factory onto her ship, and after some testing and slight modifications contributed by Triple-Zero, the portable factory began producing an army of artificially intelligent and nimble BX-series droid commandos to augment the dark lord's growing forces. Seizing the moment of down time, Aphra somberly inquired when Vader intended to kill her—convinced that he would end her life once she had outlived her usefulness. Vader, pleased with her loyalty and resourcefulness thus far, stated that he would not end her life until he saw fit. Satisfied with his logic, Aphra risked requesting that when Vader did kill her, he would do so with his lightsaber, and that if she couldn't choose how to die, then at least veto being ejected into space to freeze and suffocate to death, something she had always had nightmares about.
Immediately thereafter, Triple-Zero interrupted Aphra and Vader's delicate conversation to announce that a bounty hunter whom Vader had hired from Jabba the Hutt had arrived with his bounty in tow. The bounty hunter, the disowned, outcast Wookiee Krrsantan of Kashyyyk, swiftly brought aboard the Ark Angel the yet-to-be-identified scientist Doctor Cylo, whom Vader then tasked Triple-Zero with torturing and identifying.

Later, Aphra's team traveled aboard Vader's chromium-plated Nubian to a secret research base maintained by Doctor Cylo's Cylo Directive, located in the Crushank Nebulae of the Outer Rim. Upon arriving in the nebula and discovering that the base was actually a whale fleet, Aphra expressed her amazement—Vader, however, deemed it only impressive if one was "fond of abominations." At Vader's command, Aphra initiated the illegal boarding mission, launching an ion charge that disabled Cylo's flagship's systems, before wishing Vader an old Jedi saying: "may the Force be with you." Before Aphra landed the Nubian on the cyborg whale-ship so Triple-Zero and Beetee could gain access to the base with a dozen commando droids, Vader ejected himself into space and cut his own way to the base through the flesh of the whale-ship. Aphra proceeded to analyze the base plans after Beetee provided them from slicing into the base's computer system. From the schematics, she provided the locations of possible resistance on the base, so Vader and the commando droids systematically cleared the living vessel of Cylo's marines before half of the commando droids were lost in "the dojo." Vader, therefore, made his own way to the dojo with his half of the battle droids, where Aphra lost contact with her employer, too.
Triple-Zero and Beetee returned to Aphra at the ship with no information on why Vader was out of contact. As time went on, Aphra became increasingly worried at Vader's safety, eventually deciding to arm herself and go in after the seemingly lost Sith Lord. While waiting, the other bounty hunter Vader had hired, the no-nonsense Boba Fett, called, having caught up with his bounty. Just before Aphra planned on leaving the ship, Vader returned in a state of fierce anger. Aphra informed Vader that Fett had information, so Vader piloted the Nubian to a Star Destroyer of the Imperial Navy where he had a meeting with the bounty hunter.
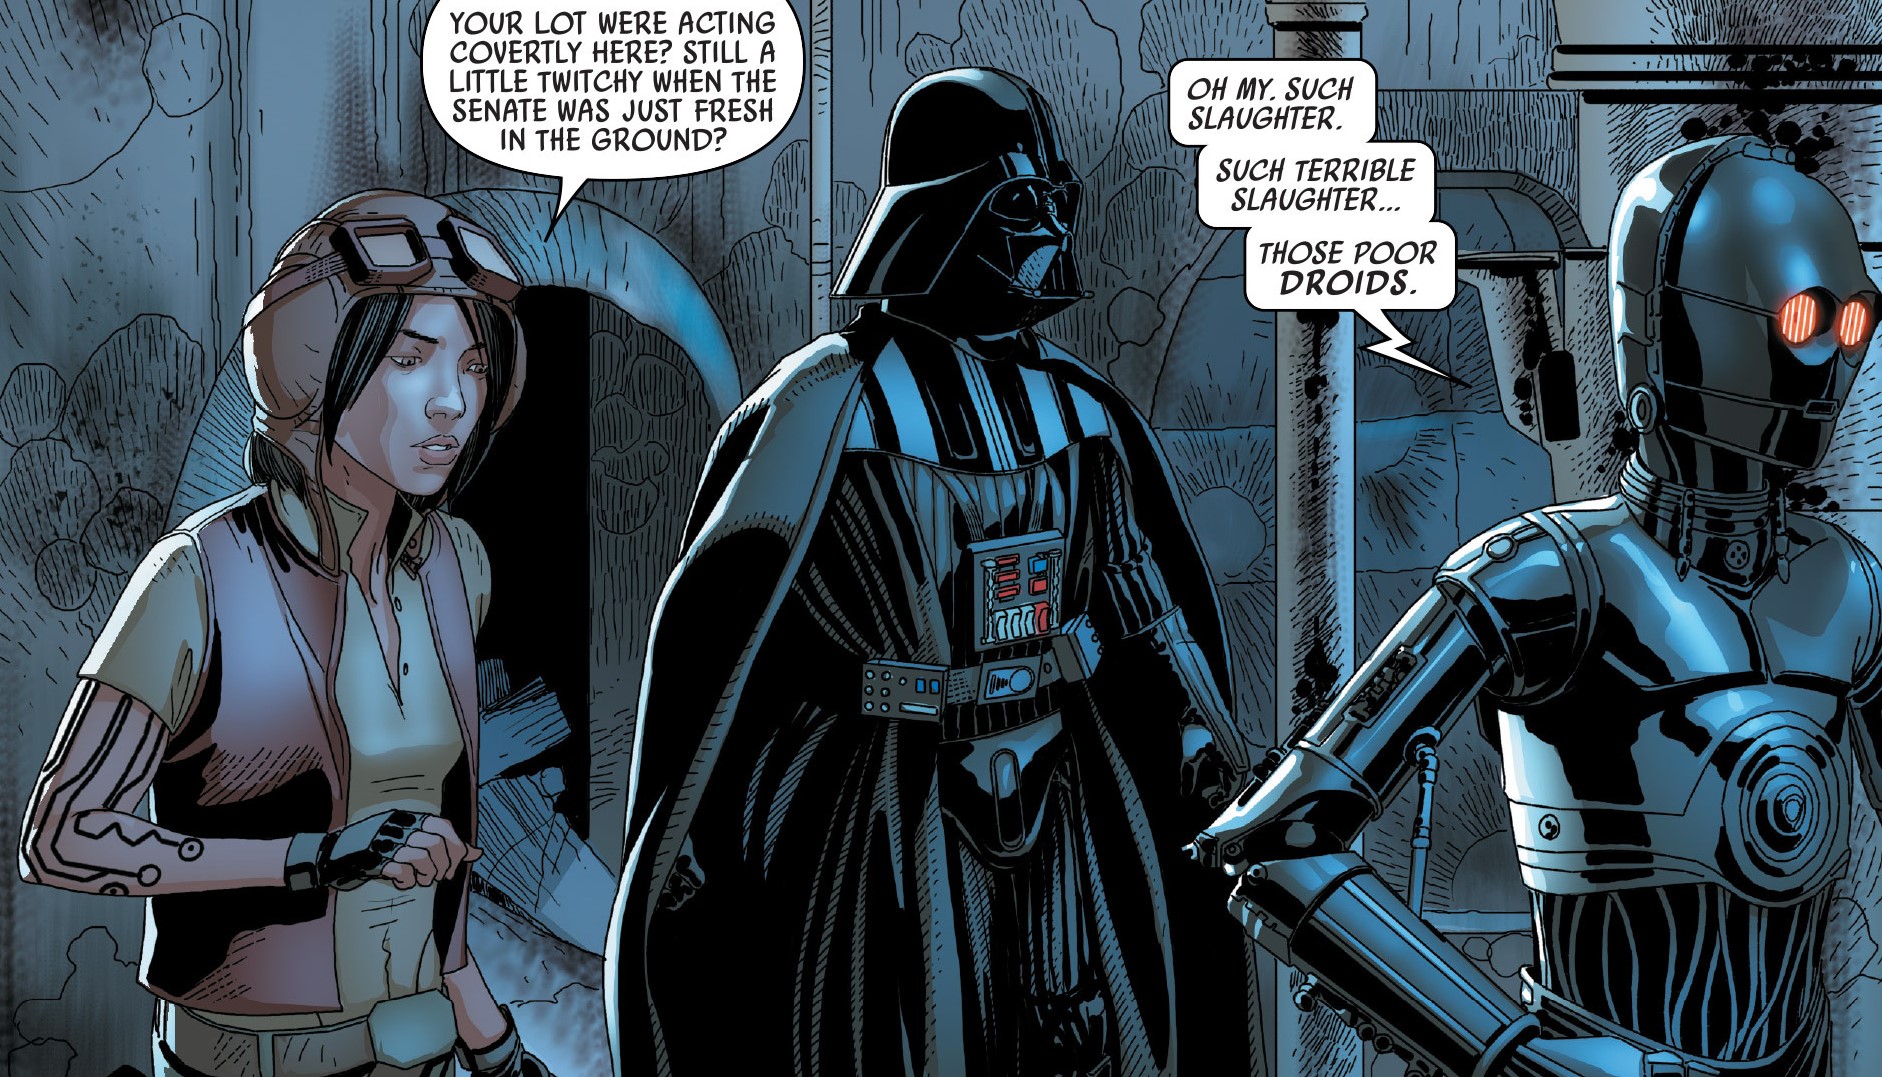
Vader returned after the meeting with orders for Aphra to travel to the desert planet Tatooine in the Arkanis sector with him aboard the Ark Angel. Upon arrival in Tatooine's Dune Sea region, the group located the homestead moisture farm previously occupied by the Lars family before they were killed weeks before during a Rebel Alliance mission to Tatooine. There, Vader revealed to Aphra only that the Rebel Alliance pilot who destroyed the Death Star had lived at the moisture farm before the family was killed by the Empire. Aphra found it ironic that since the long-standing Imperial Senate had only recently been dissolved by the Emperor when the Lars family had been killed, prompting the future pilot who destroyed the Death Star, to leave and join the Rebellion; believing that revenge was what had motivated the pilot to damn so many Imperial souls. Vader agreed.
Next, Aphra and the others traveled several kilometers away to the Jundland Wastes to a small home where Fett had engaged in a duel with the pilot just days before. At Vader's order, Aphra waited outside while Vader examined the interior of the structure, guided by the dark side of the Force. Vader reemerged and Aphra detonated a molecular purge bomb within the structure, which erased all forensic evidence that anyone had ever occupied the building. Vader then told Aphra that he had to return to his legitimate duties within the Empire as punishment for not preventing the Death Star from being destroyed, so Aphra was dismissed from his service— though Vader had a new mission for the doctor already in mind.
Thieving against the Empire
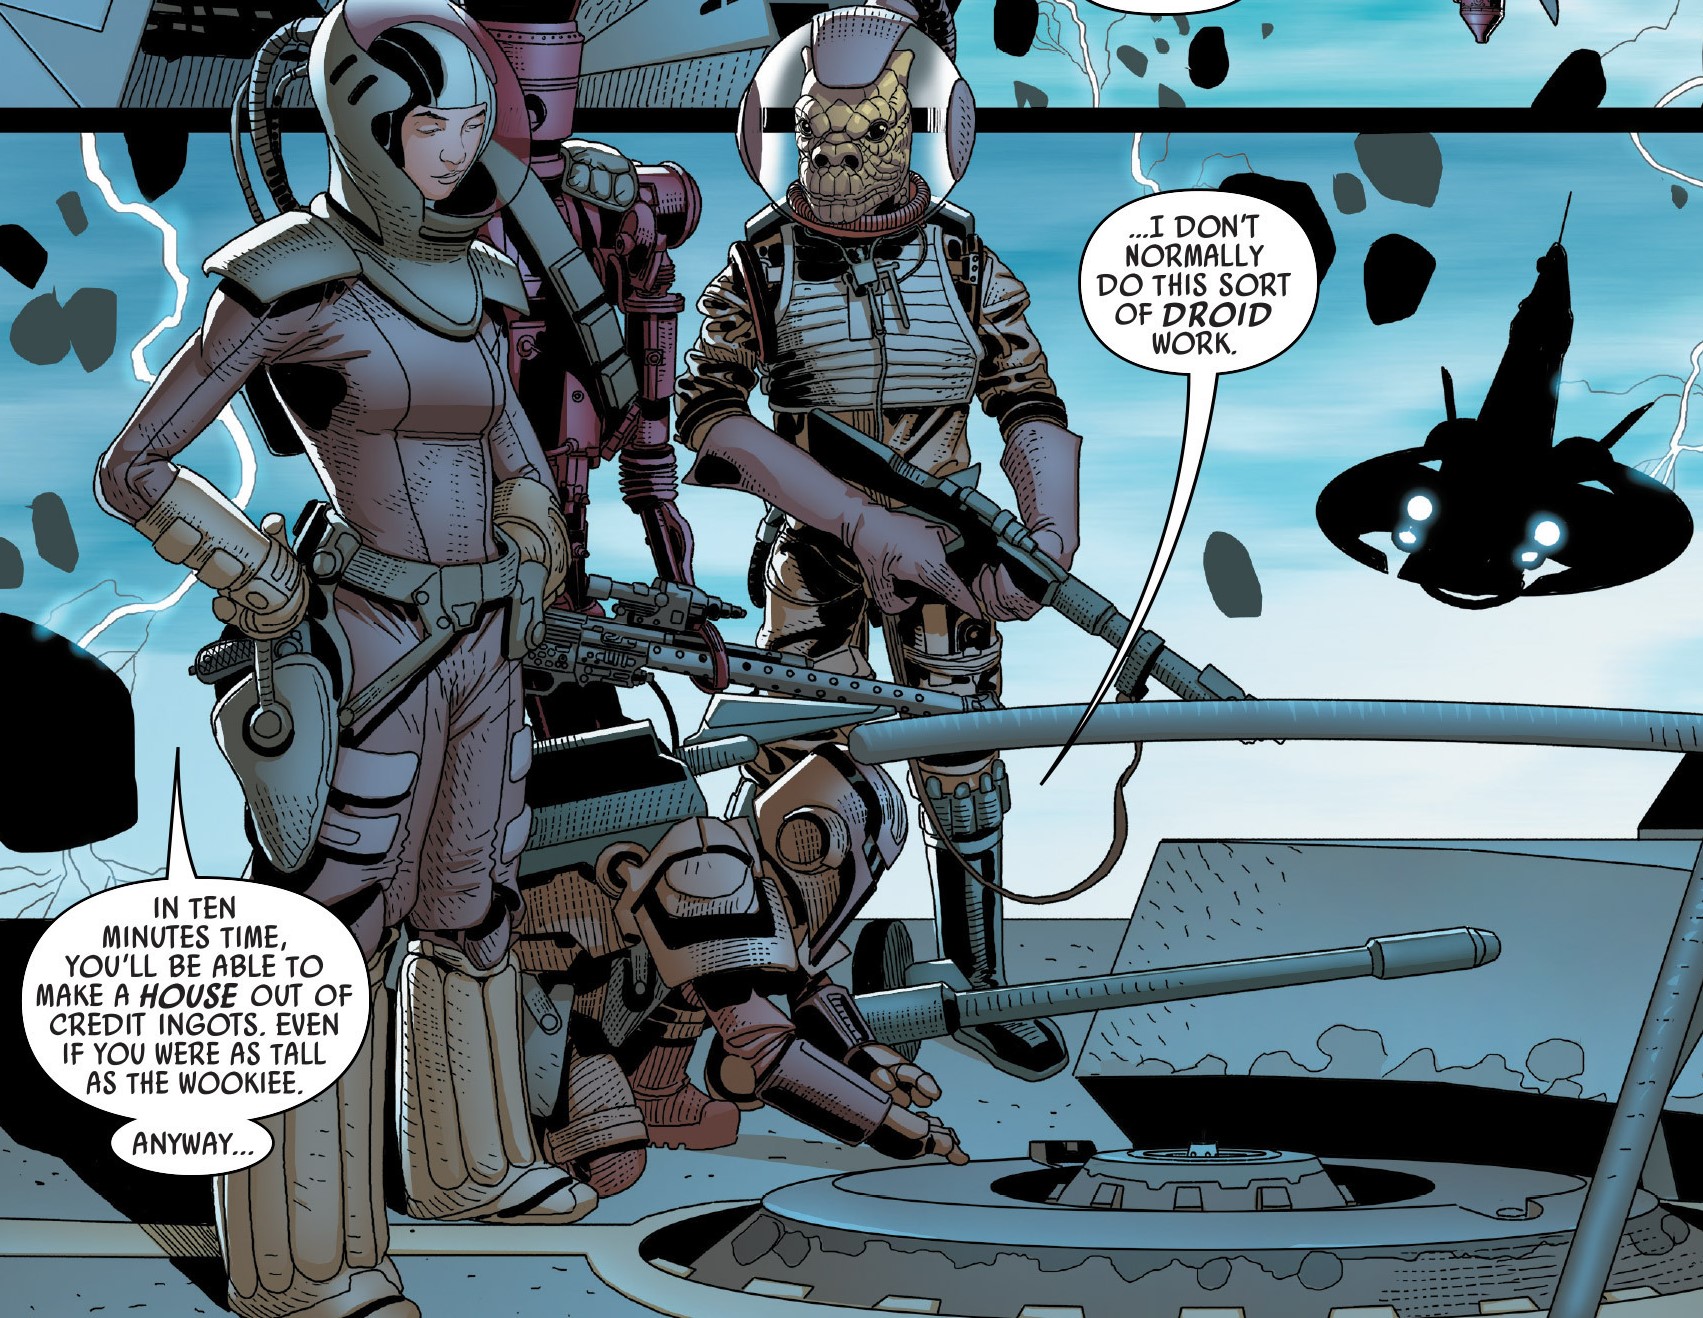
Just as Darth Vader had pledged, he got in touch with Aphra before long, presenting her with a fresh undertaking: to pilfer a king's ransom in galactic credits from an Imperial Arquitens-class light cruiser en route to the Anthan system. These credits were newly acquired by the Empire via a raid in which they eliminated the Rodian leader of the Son-tuul Pride crime syndicate on the jungle world of Son-tuul. To set the heist in motion, Aphra journeyed to Son-tuul. There, inside a local cantina, she enlisted a band of bounty hunters to aid her. These five included Black Krrsantan, the IG-series assassin droid IG-90, the heavily armored Beebox, and the seasoned Trandoshan Bossk. They all consented to her terms, and together, aboard Aphra's vessel, they set course for the Outer Rim's Anthan System. However, as part of Vader's clandestine strategy, Aphra only confided in Krrsantan, who was already privy to the scheme due to his previous success in capturing Cylo, that Vader was the mastermind behind the raid. The true objective wasn't personal enrichment, but for Vader to secure resources for expanding his forces.
The moment the Imperial light cruiser exited hyperspace and entered orbit around Anthan Prime, Aphra initiated what would later be known as the Son-tuul Pride robbery. She detonated a sizable asteroid using pre-planted explosives and asteroid thrusters. This created a compact asteroid belt that quickly enveloped the Imperial cruiser in an unexpected barrage. Capitalizing on this distraction, Aphra launched an ion charge at the cruiser, granting herself and her team—except for Krrsantan, who lay in wait, concealed in his Auzituck anti-slaver gunship nearby—a mere five minutes to board the ship and extract the massive quantities of credit chips. Clad in space suits, Aphra, Bossk, IG-90, and Beebox exited the Ark Angel via its airlock and traversed the void to the cruiser's underbelly. They infiltrated the vessel, bypassed Imperial security, reached the vault guarded by three Viper probe droids, attached a homing beacon, and then made a hasty retreat to the Ark Angel. This allowed Krrsantan to execute his part: slingshot an asteroid into the cruiser with his gunship, breaching the vault and scattering millions of credit ingots into space. Beetee, positioned on the hull, used magnets to secure a portion of the ingots. However, in accordance with Vader's secret plan, Beetee allowed the majority of the credits to drift away, seemingly lost. Krrsantan collected the remaining credit ingots with his gunship and deposited them on Anthan 13, one of Anthan's many moons.
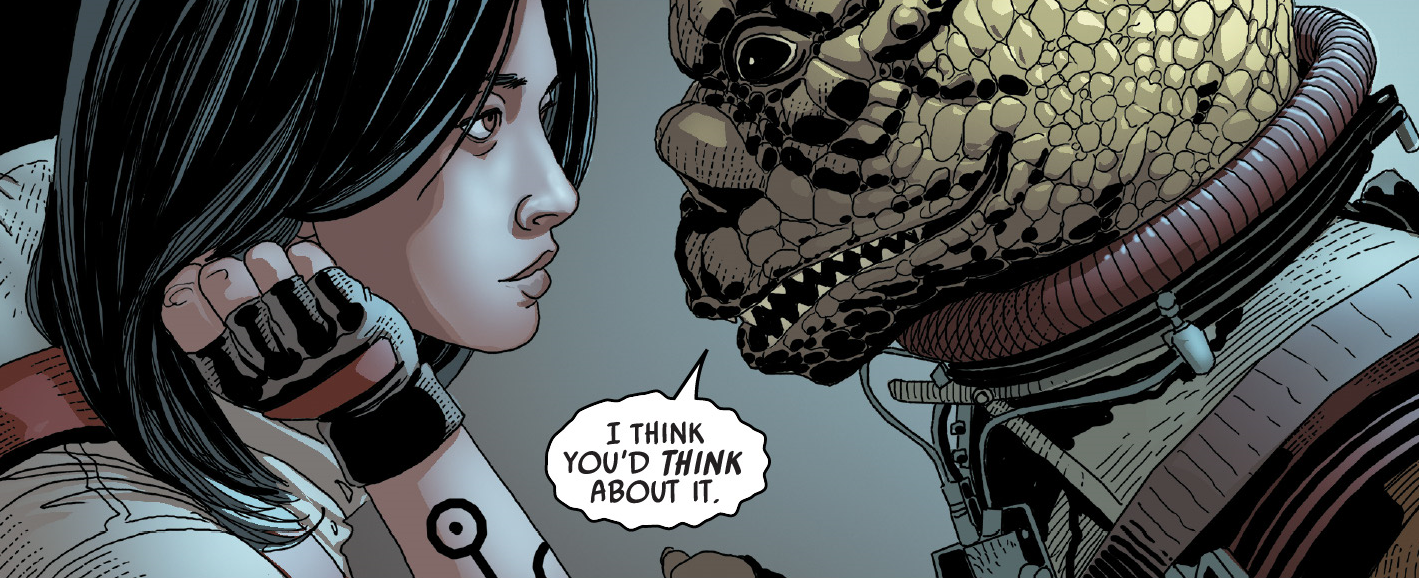
Aphra later gathered the credits Beetee had secured, divided them into five shares, one for herself and one for each hunter, and placed them in boxes. Krrsantan, feigning ignorance to deceive the other hunters, sided with IG-90 and Beebox, who voiced their discontent that, while still substantial, the sum of credits was far less than initially promised. Aphra placated them by promising upfront payment for any future collaborations. Subsequently, Aphra awarded Krrsantan five times his agreed-upon share on Anthan 13, vowing to assist him in locating those responsible for his disfigurement during his forced career as a gladiator. Aphra emphasized that their fates were intertwined due to their deception of the three bounty hunters. After Krrsantan's departure, Vader emerged from the crystalline shadows of the moon's caves, handing her a datachip detailing her next assignment. Darth Vader cautioned that failure to provide new information within a month would result in him initiating contact, an outcome the doctor would find undesirable.
The Naboo Mortician

Within days, Aphra was back on Anthan Prime, but this time, her destination was the Anthan Spire, a city floating amidst the stormy clouds of the gas-rich planet. Due to the appearance of her "heavy-lifter" starship, Aphra was directed to the Spire's Tradesman's Entrance. She then made a brief visit to an old acquaintance, "the Ante," a Givin information broker at his Spire base. The Ante swiftly decrypted the data, revealing that its subject was Commodex Tahn, a retired mortician from the peaceful Mid Rim world of Naboo. Aphra compensated the astute Givin with a sum he considered excessive, but accepted nonetheless. Aphra reasoned that the Ante's methods were far more discreet than using the public HoloNet. Aphra then returned to the Ark Angel with her two assassin droids, and the trio set course for the Naboo system.
Aphra skillfully navigated her starship into Naboo's capital city, Theed. Accompanied by Triple-Zero, Beetee, and a squadron of seven commando droids, she assaulted the luxurious villa of the retired mortician. Under orders to capture Tahn alive for interrogation, the droids attempted to stun him when he armed himself against them. However, Beetee shot the clone trooper-issued DC-15A blaster rifle from Tahn's grasp, drawing blood and displeasing Aphra. Aphra instructed the droids to pilfer valuables from the villa to make the invasion appear to be a robbery. Aphra then turned her attention to Tahn. She reaffirmed what she already knew: that Tahn had prepared the body of former Naboo Queen Padmé Amidala for burial following her death at the end of the Clone Wars. A patriot, Tahn remained steadfast, asserting that he would never betray Amidala, not even her memory. Tahn argued that Amidala had been a good queen, which was why he would not betray her. Annoyed with Tahn's unwillingness to comply, retorted that a strong queen would have beaten out Amidala's good queen act in the end. Observing the affluence of Theed, of which Tahn was a part, Aphra recalled a romanticized version of her memories of how her mother had been killed during the Clone War after her parents had split up, how Aphra had killed a group of raiders with an "awesome cannon" she found, and how her father had returned thereafter; a happily ever ending that did not occur. Feeling pity for Aphra, Tahn digressed his pity for her loss.
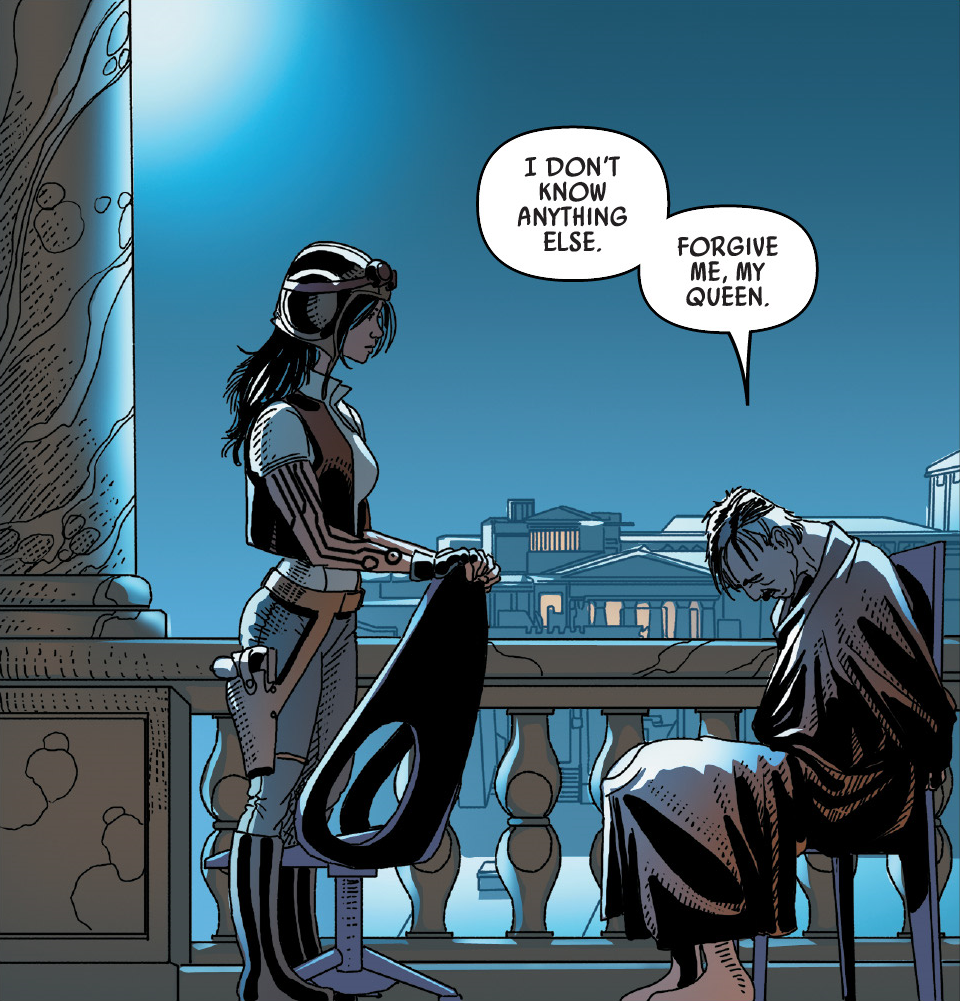
Aphra dismissed it, noting that a galactic war had been raging, and everyone had suffered losses. Returning to the matter at hand, Aphra confronted Tahn, asserting that if Amidala had been both good and strong, she would have avoided her fate, believing that the Empire was both good and strong; which was why she served in the regime. At Aphra's signal, Triple-Zero began his interrogation of Commodex Tahn. Aphra, meanwhile, explored the house, discovering a holovid of the Tahn family. She, in her own way, apologized for having to end Tahn's life, finding comfort that Tahn had lived a good life. Triple-Zero appeared, having violently coerced Tahn into answering Aphra's inquiry. Aphra easily got the battered Tahn to confirm that then-Senator Amidala had given birth to a son who had been taken by a pair of Jedi Knights—Jedi Masters Yoda and Obi-Wan Kenobi—just before she died. Satisfied, Aphra instructed Triple-Zero to "finish up" so they could depart; the protocol droid electrocuted Tahn to death and the team fled Naboo, happy that Vader could now know the full story. Back on Anthan Prime, Aphra reported all she had learned to Vader. Appeased, Vader gave Aphra her next mission: locate the boy who had destroyed the Death Star before another could first, namely Imperial agent Commander Karbin.
Close call on Anthan
Shortly thereafter, Aphra revisited the Ante at his Anthan Spire headquarters. After allowing Triple-Zero and Beetee to engage in games of holochess at the Ante's holochess parlor, the Doctor convened a private business meeting with the Givin [crime lord](/article/crime_lord] in his suite. During their discussion, Aphra explained to the Ante that she needed to ascertain the whereabouts of the Rebel pilot Luke Skywalker family, celebrated for securing the Rebel Alliance's victory at the Battle of Yavin. Unexpectedly, the Ante had already devoted resources to investigating Skywalker and was in the process of selling the information to various other organizations at a price far exceeding Aphra's expectations. Aphra, using the stolen credits from the hijacked Son-Tuul Pride, paid the Ante up front with more than enough credit chips. The Givin infochant deduced that Aphra was responsible for the recent robbery of the Son-Tuul Pride's treasure, but nonetheless revealed to Aphra that Skywalker was on the planet Vrogas Vas.
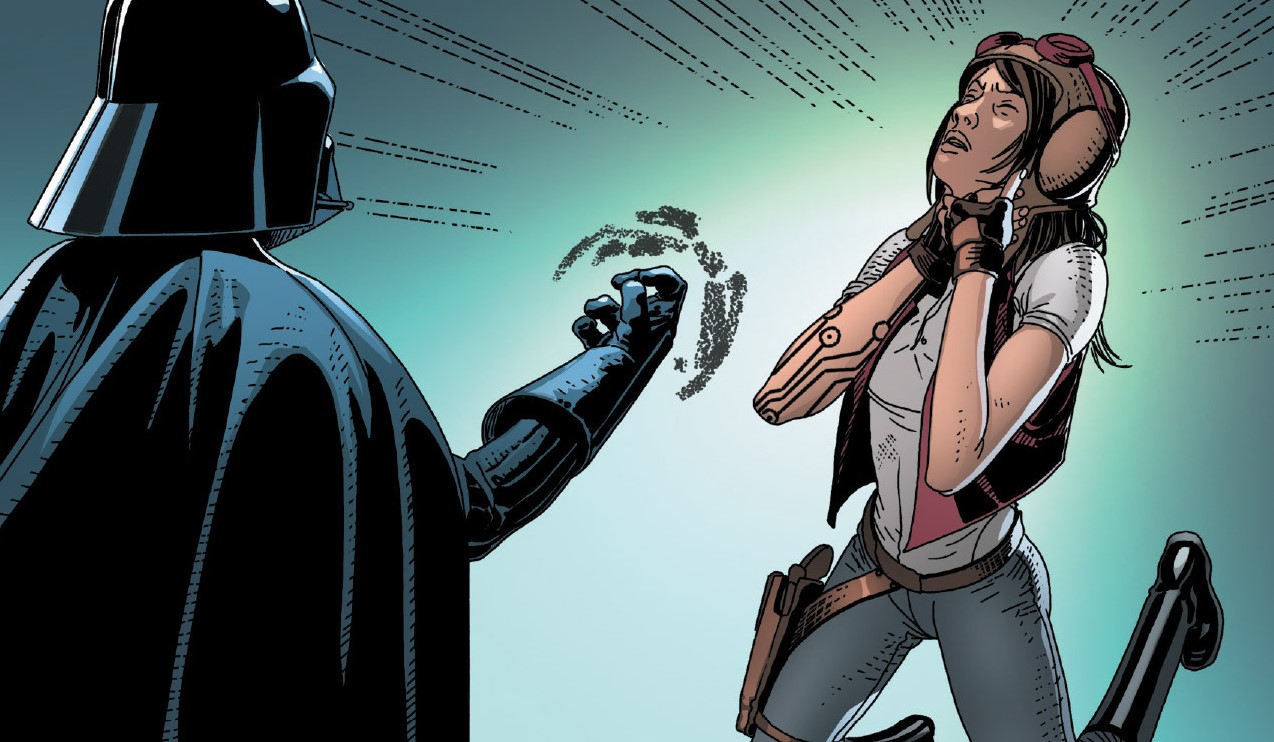
Immediately after, an alarm blared, signaling the imminent arrival of an Imperial strike force to the city. Reacting swiftly, Aphra contacted her two droids, instructing them to return to the Ark Angel immediately. Aphra evaded blaster fire from stormtroopers as Spire patrons fought back against the forces of Imperial Inspector Thanoth and Darth Vader. Vader ensured the Ante's demise in the crossfire to prevent either Vader or Aphra from being implicated in the Son-Tuul Pride robbery. Aphra reached her docked ship, only to be confronted by Vader himself. Aphra was caught well off-guard when the Sith Lord activated his lightsaber and grabbed her by the neck in a Force choke, ready to kill her. The Doctor eked out that she had, in fact, learned the location of Skywalker, and Vader released her. But Aphra, essentially blackmailing Vader, said that should would only tell her "boss" later—ensuring her survival for at least a little longer. With Inspector Thanoth and his troopers not far behind, Vader let her board the Ark Angel and escape out into Anthan Prime's gas storms with her two assassin droids. However, a blockade of Imperial ships put in place by Thanoth prevented Aphra from escaping the system, forcing her to brave Anthans beautiful-but-dangerous storms of lightning and wind in order to hide.
Co-leading the mission with Thanoth, Vader persuaded Thanoth to let the Ark Angel escape "Imperial justice" in order for the Imperials to assault the subterranean base of the Plasma Devils, a Rebel Alliance cell who operated from the Thanteen Substrata on the moon Anthan 1—a time sensitive issue, because the Plasma Devils would certainly evacuate their base upon hearing that the Spire had been compromised by the Empire. Thanoth agreed with Vader's reasoning (thus saving the Empire face in the propaganda game), and left his pursuit of Aphra, a "common thief," in order to annihilate the rebels; which allowed the Doctor to escape to one of Anthan's moons and wait there to report to her employer.
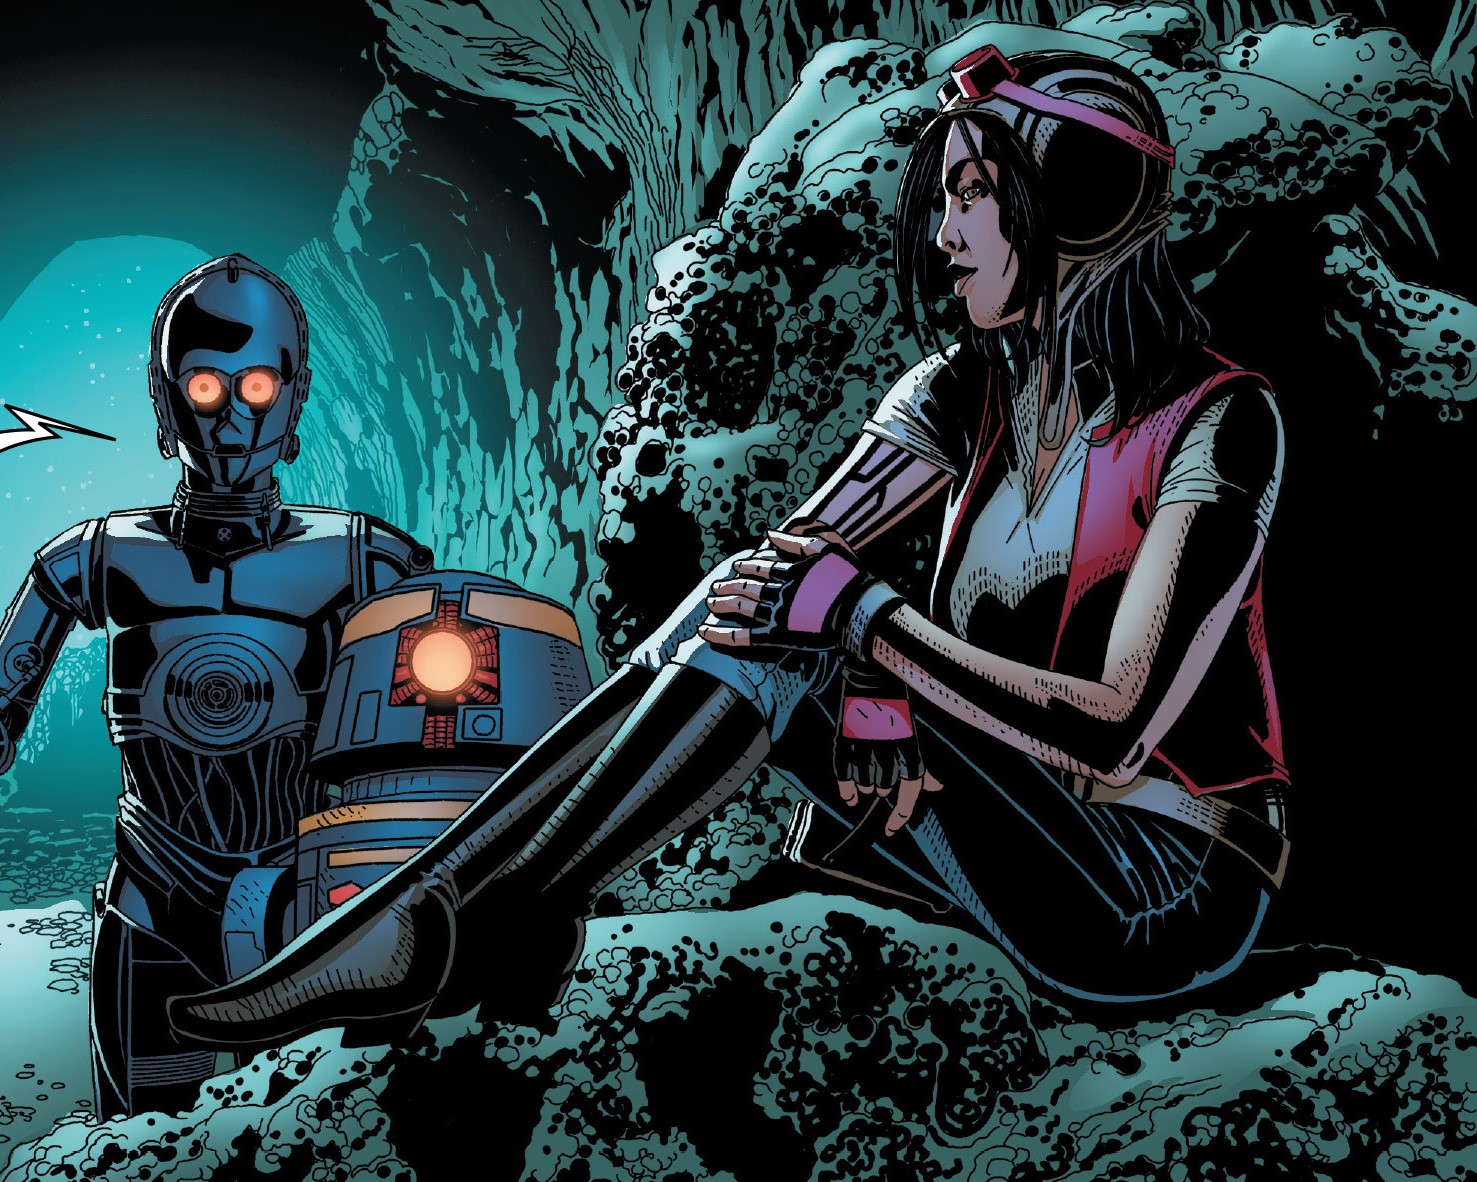
With Triple-Zero and Beetee at her side, Aphra waited nervously for Vader's presence, well aware that he might kill her for her close call with Thanoth and the Ante. When Vader soon arrived, Aphra first told Vader Skywalker's location on Vrogas Vas, and second, that she had decided not to run and hide from the Dark Lord in order to prove to him that she was trustworthy. The last several days of espionage around Anthan and Naboo had given Vader an appreciation of Aphra's abilities, so he decided that he would spare her life for the time being and made preparations to intercept Skywalker at Vrogas Vas.
Around this time, Aphra heard word that "the last of the Jedi" was scheduled to fight gladiatorially on Hutt Clan-controlled Nar Shaddaa, the "smuggler's moon," in the Palace of Grakkus the Hutt. The "last Jedi" turned out to be none other than Skywalker himself, who had been kidnapped by Grakkus's forces and forced to fight against Kongo the Disembowler, a massive roggwart from the dolovite mines of the volcanic world of Mustafar. Doctor Aphra expected the outmatched Skywalker to perish in his duel with the massive rogwartt, so she bet credits that Kongo would prevail over Skywalker in the ensuing duel, but Skywalker was rescued by his team of Rebel compatriots before he could lose, and as a result, Aphra lost the credits she gambled in favor of Kongo. Concurrently, Vader, after a short mission on the Mid Rim mining world Shu-Torun, made a stop on Nar Shaddaa in order to learn what he could about Skywalker, then turned his attention to Vrogas Vas.
Captured on Vrogas Vas

Via a comlink transmission from aboard her Ark Angel, Chelli Aphra communicated intelligence pertaining to Vrogas Vas to Lord Vader: the desolate, gaseous planet housed an ancient Jedi Temple, and that Commander Karbin had been dispatched by Emperor Palpatine and Doctor Cylo to hunt down Skywalker—though she believed the Mon Calamari commander had not been able yet to identify Skywalker and would not interfere with Vader's own hunt. Vader soon emerged from hyperspace in Vrogas Vas's star system in his TIE starfighter where he was met with three unsuspecting Rebel Alliance starfighter squadrons—Blue Squadron, Red Squadron, and Yellow Squadron. Caught off guard, Vader suspected Aphra had set him up to be killed, but Aphra insisted otherwise. Aphra urged Vader to flee the several dozen Rebel X-wing starfighters, but Vader refused—he sensed through the Force that the Ante had been correct; Skywalker was near. Due to the ensuing skirmish, Aphra lost contact with Vader's TIE Advanced starfighter. Determined to prove her worth to the Sith Lord, Aphra made up her mind to attempt a rescue mission after learning from intercepted Rebel Intelligence transmissions, that Vader had crash landed on Vrogas Vas.
The archaeologist contacted Black Krrsantan and requested that he join her on her mission, and he accepted—as long as he would be compensated. Triple-Zero and Beetee, having researched Skywalker on the journey, explained to Aphra who they might encounter on the world below: Rebel leader-Princess Leia Organa of Alderaan, the smuggler [Han Solo](/article/han_solo]—who was wanted by the Hutt Clan—R2-series astromech droid R2-D2, Skywalker's personal mechanic, and a protocol droid of the same chassis model as Triple-Zero, C-3PO. With new knowledge of her adversaries, Aphra set the Ark Angel down near the ruins of the Vrogas Vas Jedi Temple. Aided by macrobinoculars, Aphra spied Skywalker and R2-D2—"Artoo"—in the temple grounds, and knowing that killing Skywalker was not an option, and that Skywalker owned a Jedi lightsaber that he had fought off Boba Fett with, decided instead for a more delicate approach in her attempt to kidnap the Jedi in training: she painted Triple-Zero's armor plates gold with an airbrush, thus disguising her droid as Skywalker's gold-plated C-3PO—"Threepio."
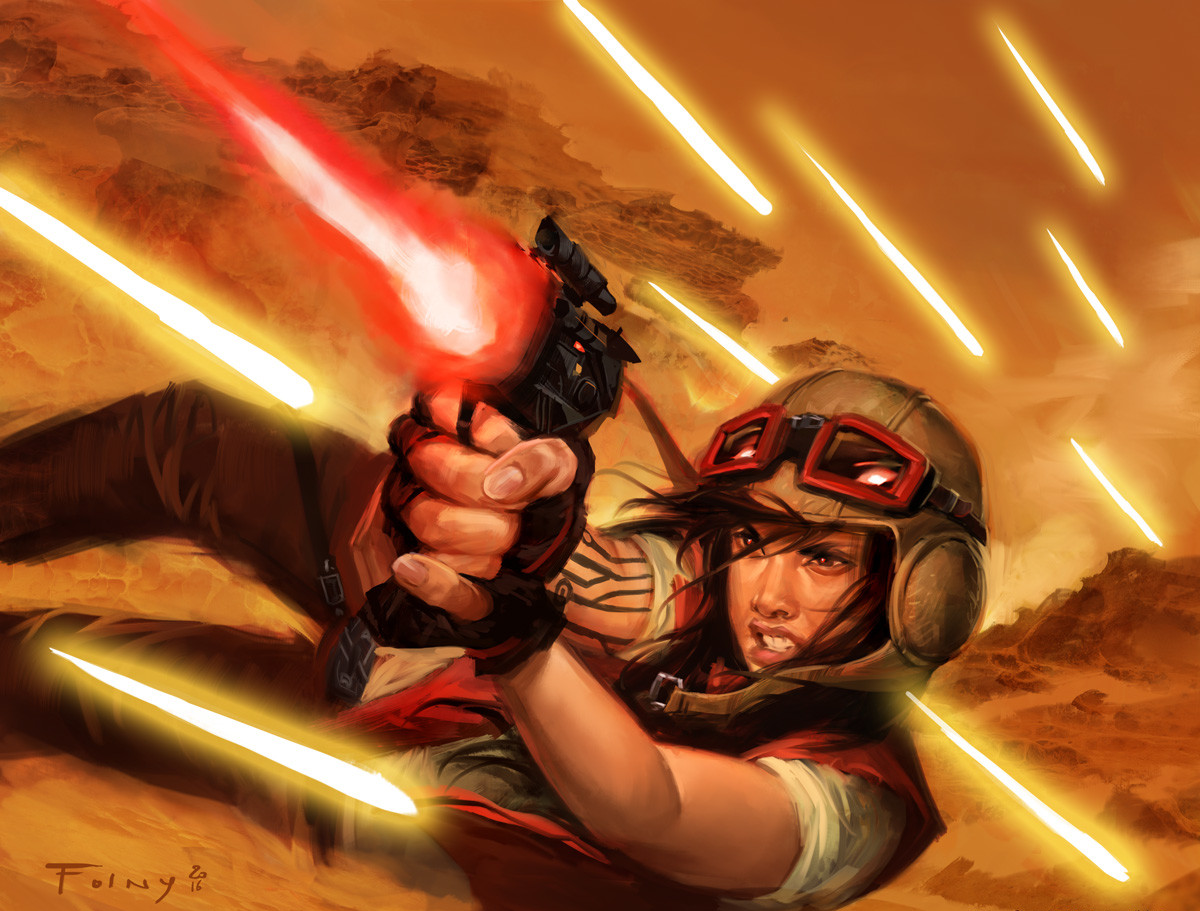
The golden Triple-Zero drew Skywalker's attention. Upon approaching closely, he unleashed an electric shock, rendering Skywalker unconscious. Aphra and Triple-Zero observed Beetee's engagement with R2, which ended in the latter's retreat. Later, Aphra directed Triple-Zero to carry Skywalker, but they were intercepted by Captain Solo. While Chewbacca, Solo's co-pilot, engaged Triple-Zero, Aphra became embroiled in a firefight with Solo. Despite being pinned down, Aphra managed to target and shoot a hive full of Wasp-worms. However, the wasp-worms knocked both her and Solo out. Aphra was revived by Beetee and Triple-Zero, and she had them follow Skywalker and to keep him alive. Meanwhile Aphra returned to her ship and used it to assist Lord Vader in defeating Karbin, but it was badly damaged in the battle, forcing her to eject from to survive its destruction. Aphra ordered Beetee and Triple-Zero to lay a mine field around the Millennium Falcon. She then tried to force Skywalker, Solo, and Chewbacca to drop their weapons, but she was punched by Princess Leia and taken aboard the Falcon. With Aphra captured, Lord Vader had a bounty placed on her alive or dead. Beebox tried to collect the bounty on her by claiming he disintegrated her, but Lord Vader saw through his lie and Force choked him.
Escape from Sunspot Prison
Alliance Intelligence interrogated Aphra for weeks, but she divulged no information. Subsequently, she was transported aboard the Volt Cobra, where she managed to break free from her restraints. However, Leia and her escort maintained their aim on her. As she attempted to bypass Leia and her guards, Aphra was knocked unconscious by Starros. She was then taken to Sunspot Prison. Aphra attempted to bribe Starros for her release, but to no avail. Later, Aphra was attacked by an IG-RM droid but was saved by Leia and Starros. Aphra was then given a blaster by Leia despite Starros' concerns.
Together, Aphra, Leia, and Starros fought another IG-RM droid and made their way through the prison and into IG-RM droids. After taking out the last droid, they came upon R2-D2 and C-3PO in the prison's command center. They then went to the hangar where a bounty hunter had captured Solo and Skywalker. The bounty hunter demanded that Leia shoot Aphra, who was then held at gunpoint by Starros, but Leia told Starros not to shoot her. The bounty hunter, former rebel spy Eneb Ray then started a count down to kill them. However, Aphra and the others were saved when R2 turned off the prison's gravity. Aphra was then strangled by Starros until she apologized for leaving her, and was then tossed by Starros away from her.
After bumping into Ray, Aphra made her way to the prison's escape pod. However, she was confronted by Leia, who warned her that Vader was dangerous. She was then pushed into the escape pod by Starros and was warned not to come back to the prison.
Aphra's capture
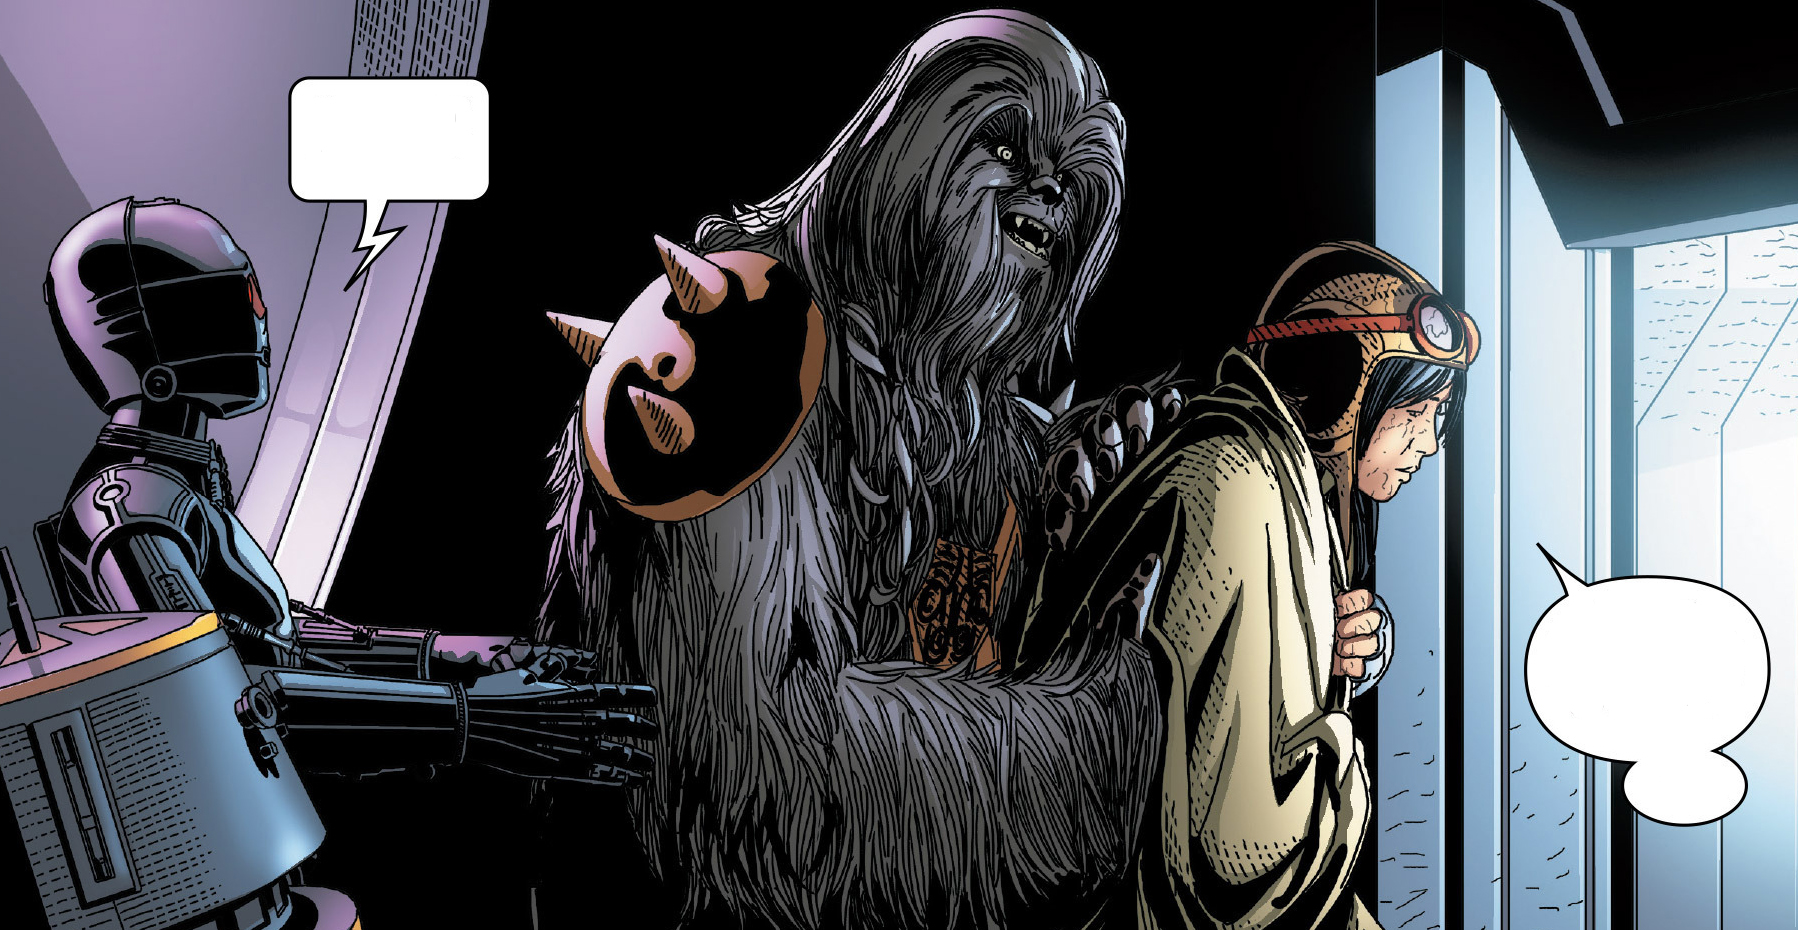
Aphra journeyed towards the Cosmatanic Steppes, becoming a regular at a certain establishment there. During one of her visits, while enjoying some Corellian whiskey, she came to the startling conclusion that Skywalker was, in fact, Vader's offspring. Aphra understood that Vader, aware of her near discovery, would never grant her freedom. Ultimately, Beetee, Triple-Zero, and their commando droids apprehended her. Aphra asserted to the droids that she had not divulged any information to the Rebels, successfully persuading them to cease their witness elimination efforts. Aphra's attempt to bribe Krrsantan proved futile, and she was subsequently transported to the bounty hunter's vessel. From there, she was delivered to Lord Vader's new command ship stationed at Kuat.
Upon their arrival in the Executor's docking bay, a pair of stormtroopers took custody of her. While under escort, Aphra managed to transmit a revised priority directive to Beetee and Triple-Zero, instructing them to facilitate her escape. The two droids successfully liberated her from confinement, and the trio proceeded towards Black Krrsantan's gunship. However, she was acutely aware that Vader would not permit her to escape. Accompanied by Krrsantan and her droids, she engaged in combat with Dr. Cylo's forces, eventually finding herself before Emperor Palpatine.
Following Lord Vader's triumph over Dr. Cylo, Vader, Palpatine, and Aphra convened. She recounted their shared missions to the Emperor, who expressed his admiration. After the Emperor's departure, Aphra informed Lord Vader that she had disclosed their alliance to the Emperor as a demonstration of her loyalty. Despite his earlier promise to use his lightsaber on Aphra, Vader instead propelled her into an airlock, ejecting her into the void of space, presuming her demise.
Nevertheless, Black Krrsantan, Beetee, and Triple-Zero rescued Aphra, bringing her aboard Krrsantan's gunship. Having anticipated Vader's attempt on her life, she had prepared by utilizing equipment acquired during the Son-tuul Pride heist. Subsequently, she was placed in a bacta tank to facilitate her recovery.
The Quest to Recover the Sword of Khashyun
Contracted by Dok Ondar
At one point, Aphra endeavored to retrieve the ancient Sith relic known as the Sword of Khashyun from Moraband, the ancient Sith home planet. She located its location using a map she pilfered from the University of Bar'leth. Intending to auction the sword, she traveled with Triple-Zero and BT-1 to Black Spire Outpost on Batuu, where she approached the pirate Hondo Ohnaka to present her proposal and request a starship. However, she was instead engaged by the Ithorian collector Dok-Ondar, who sought the ancient artifact for his collection. The two journeyed to Moraband aboard Ondar's vessel, accompanied by Triple-Zero, Beetee, and several Shistavanen mercenaries employed by Ondar.
During their voyage to the Sith homeworld, Aphra argued that ensuring Ondar's survival on Moraband would be a challenging task, potentially warranting additional compensation. The Ithorian, however, maintained his confidence in the adequacy of his payment and the strength of his Shistavanen contingent. Aphra then analyzed the Sword of Khashyun, recalling its legendary status. Following a brief interruption by Ondar, she mentioned the stolen maps in her possession. The rogue archaeologist reminded Ondar that she was losing out on potential earnings by being unable to auction the sword, but the collector countered that he was financing the mission. Aphra diffused the situation by advising him to prepare for landing, as Ondar's ship had arrived at a Sith temple on Moraband.
The Search for the Sword
Upon disembarking from Ondar's ship with BT-1 and two Shistavanens, Aphra led her companions into the temple, cautioning them about traps detailed in ancient scrolls she had studied. She halted the group at a location where she suspected a trap was set. After identifying a pressure plate, the rogue archaeologist allowed one of the Shistavanens to step on it while feigning an adjustment to her boot. The trap triggered the appearance of a phantom Sith Warrior, which promptly killed the mercenary and turned its attention to Aphra. Aphra, however, evaded the warrior's attacks and attached a thermal detonator to it, destroying the phantom Sith.
The surviving Shistavanen, enraged by the death of his comrade, seized Aphra by the throat. The rogue archaeologist persuaded the mercenary to release her, assuring him that she had not definitively anticipated a sentry. Aphra guided her two remaining companions down a level. Meanwhile, she instructed Beetee to jam signals to Ondar, while Triple-Zero attempted to assassinate the collector and his guards aboard his ship. Aphra directed BT-1 to deploy a drone to scout for traps. After the drone was destroyed by laser traps, she opted for an alternate route.
After further exploration, Aphra and her companions discovered the mummified remains of a Dowutin Sith, with the Sword of Khashyun positioned before it. As the Shistavanen retrieved the sword, the rogue archaeologist detected a wind-like noise, which BT-1 identified as an ultrasonic frequency. Aphra surmised that it was an animal call, and at that moment, a Tuk'ata, a Sith hound, was unleashed. She and her cohorts fled from the hound, and the rogue archaeologist instructed BT-1 to trip the final Shistavanen, sacrificing the mercenary to the Tuk'ata. The pair then lured the beast into the laser trap from before, guiding the hound to its demise.
Ondar's Retaliation
Aphra hauled the Sword of Khashyun out of the temple, only to discover that Ondar and his Shistavanen guard had subdued Triple-Zero. Confronting Aphra, the collector gloated about having disabled Triple-Zero for several hours. Aphra sarcastically expressed her disappointment at Ondar's lack of trust and attempted to assure the Ithorian that they could reconcile their relationship. Ondar declined the offer, stating his desire to prevent anyone else from possessing the sword. In response, the rogue archaeologist threatened his life and ordered BT-1 to attack.
As Ondar's Shistavanen returned fire, disabling BT-1, Aphra impaled the guard. Ondar aimed his blaster at Aphra, who pointed out that he would not risk damaging the Sword of Khashyun. The collector fired at her regardless, shattering the sword into its blade and hilt and incapacitating the rogue archaeologist. Upon regaining consciousness, Aphra found that Triple-Zero and BT-1 had reactivated. She inquired about what had transpired, only to witness Ondar's ship departing, leaving her stranded with the droids, although they eventually managed to escape.
The Rur Saga
The Historical Art Heist
Aphra made her way back to the Cosmatanic Steppes. There, she procured an artifact from Ulbik Tan after ending his life, and subsequently traveled via speeder to Fulan Ro, where her vessel, the Ark Angel II, was nearing completion. After reuniting with Black Krrsantan and her droids, Aphra was approached by Soo-Tath and his two Gigoran bodyguards. They demanded payment or the artifact from Aphra. Knowing they intended to sell it for a higher price, she refused and attempted to resist, but was knocked unconscious by one of the Gigorans.

Krrsantan intervened and rescued Aphra. She then offered Soo-Tath a proposition: if his bodyguards could defeat Krrsantan, she would double her payment. Soo-Tath accepted the challenge but was defeated when Krrsantan overcame the Gigorans. Following the battle, Aphra assured Soo-Tath that he would receive his payment after she sold the artifact. Subsequently, she and her crew traveled to Archaeo-Prime, where Aphra attempted to sell her artifact, but was unsuccessful due to the suspension of her doctorate. As she departed, Aphra was approached by her own father, who was aware that she had fabricated the discovery of the abersyn symbiotes on Boothi XII. Her father informed her that she could regain her doctorate by finding her "spiritual salvation."
Aphra considered her father's offer to study the Ordu Aspectu. She then led him to the Ark Angel II. There, Aphra brandished her blaster and demanded that her father clear her name. Her father initially believed she was bluffing until Aphra instructed Triple-Zero and Beetee to carry out her threat. However, she was unable to proceed with the act. Instead, Aphra agreed to listen to her father's accounts of the Ordu Aspectu, which they debated their respective interpretations of.
Incursion at Yavin 4
Aphra, her father, and her crew journeyed to the Yavin system, where her father instructed her to proceed to the fourth moon. Upon arrival, they discovered the Great Temple occupied by Imperial Stormtroopers, AT-ATs, and AT-STs. Aphra was surprised that her father was unaware that the Rebels had used the Massassi temple as their base, or the true cause of the destruction of Jedha City and the Temple of the Kyber. Aphra, her father, and her crew then devised a plan to divert the Imperial forces.
While Black Krrsantan distracted the storm and scout troopers, Aphra and her father had the droids infiltrate the temple. The two of them then utilized Beetee's cables to ascend into the temple. Once inside, they inserted the Massassi pieces into the keyholes. Initially, the pieces appeared to be ineffective, and Aphra blamed her father for various issues, including her mother's departure. However, the temple was subsequently activated.
As her father took readings, Aphra instructed Krrsantan to prepare the Ark Angel II for departure. Meanwhile, Aphra incapacitated an Imperial officer and had Beetee and Triple-Zero delay the stormtroopers. The group navigated through the temple's throne room, firing their weapons at several stormtroopers. Aphra, her father, and the droids were then confronted by an AT-AT, Captain Magna Tolvan, and her remaining stormtroopers, who forced her to drop her weapons. As Tolvan ordered her forces to open fire, the AT-AT was destroyed by the Ark Angel II. Aphra, her father, and the droids boarded the Ark Angel II and departed from Yavin 4. Aphra then agreed to accompany her father to the Citadel of Rur. Together, they located it.
The Ordu Aspectu's Demise
Once inside the Citadel of Rur, while her father examined the remains of the Jedi, Aphra collected several lightsabers from the remains. Aphra and her father then discovered a door and utilized their last Massassi piece to unlock it, gaining access to the Citadel's logs on the immortal Rur. As they entered, Aphra, her father, and Krrsantan were attacked by several snowtroopers under the command of Captain Tolvan. While Krrsantan held off the snowtroopers, Aphra and her father attempted to locate a safe location for the Ark Angel II to retrieve them. Together, they discovered and crossed a Force bridge. They searched for the Citadel's computer core, but Aphra and her father were abandoned by Krrsantan and the droids.
After eliminating several snowtroopers, Aphra and her father discovered an elevator that transported them to the core. There, they found the remains of Rur. However, the core was non-functional, and they realized it was missing a crystal. Aphra searched through Rur's remains while she and her father discussed his shortcomings as a parent and husband, and eventually she located a crystal. With the crystal, Aphra reactivated the computer core. Upon reactivation, a voice emerged, claiming to be Rur. Initially, the pair refused to believe it until the voice reactivated one of the Citadel's droids.
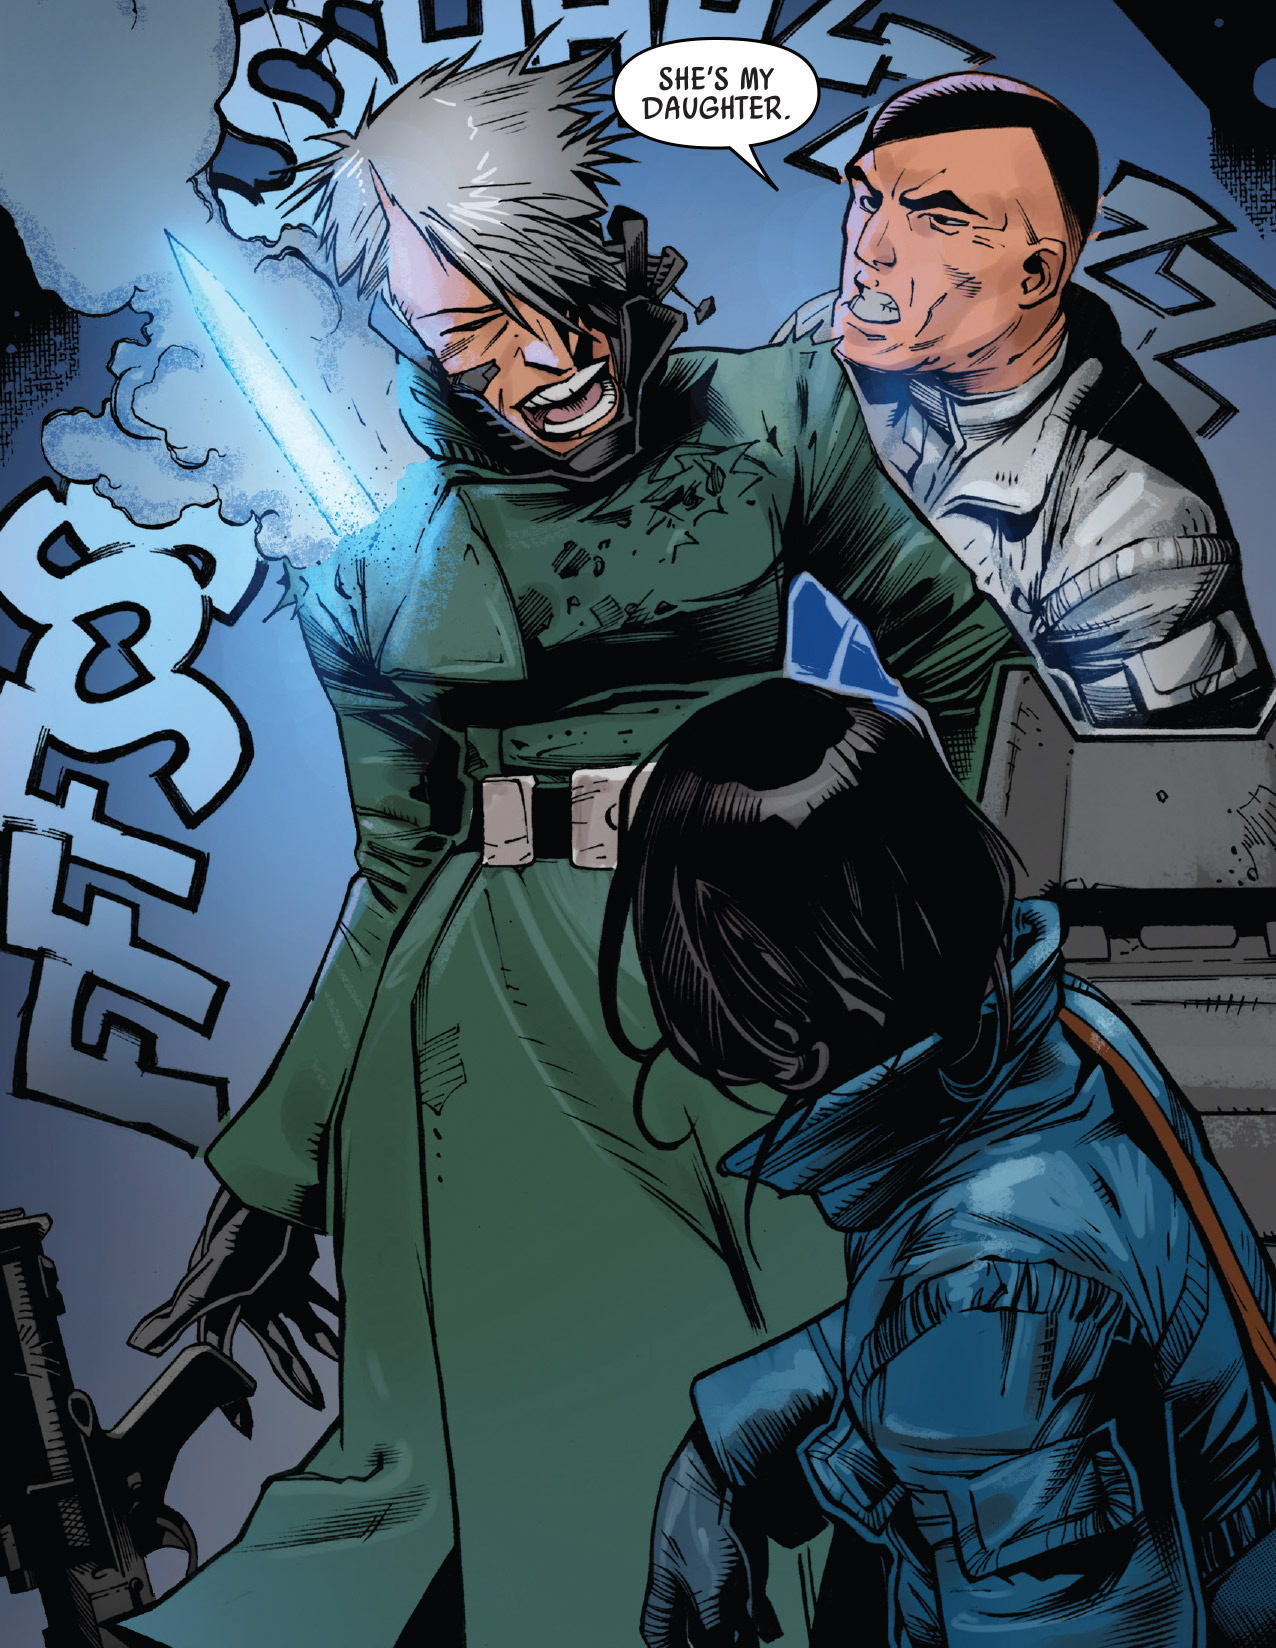
It demanded to know the current year and threatened to torture Aphra and her father. Aphra managed to negotiate a deal with Rur in exchange for information about what had occurred. After learning of Rur's attempts to copy himself into the computer core, Aphra informed Rur that over a thousand years had passed since the Ordu Aspectu's Doom. Rur then resolved to punish the living, starting with Aphra and her father. Aphra shot one of Rur's droids and was instructed by her father to destroy the console and retrieve the crystals. She succeeded in doing so with one of her salvaged lightsabers, despite Rur's warning about destroying the Citadel. Aphra then took one of the Citadel's crystals.
Aphra attempted to persuade Tolvan and her snowtroopers to follow them back to their ship. Aphra, her father, and Tolvan managed to reach the shuttle. However, as they escaped from the Citadel, they were attacked by the shuttle's RA-7 protocol droid that had been possessed by Rur. Eventually, Rur lost control of the droid, and Aphra, her father, and Tolvan were able to escape the Citadel's destruction. Tolvan demanded to know Aphra's identity until her father wounded her and incapacitated her with one of the salvaged lightsabers. Aphra and her father abandoned Tolvan and her protocol droid on a planet in the Outer Rim. Despite Aphra's belief that the crystal contained Rur and could be utilized, she agreed with her father to transport it to Quarantine World III for safekeeping. After depositing the crystal, Aphra and her father concurred that it was in a secure location. She informed her father that they needed to dispose of the stolen Imperial shuttle so she could regain her doctorate and return to the Cosmatanic Steppes.
After regaining her doctorate, Aphra was able to sell the lightsabers for profit and returned to the Cosmatanic Steppes bar. There, Aphra repaid her debt to Soo-Tath's brother and was reunited with Black Krrsantan and her droids. She revealed that she had retained the crystal and had planted a fake at Quarantine World III instead.
Rendezvous on Ktath'atn
Aphra journeyed to Horox III, where she encountered Luke Skywalker at a bar and became embroiled in a brawl, which was resolved by Black Krrsantan's intervention. Aphra convinced Skywalker to accompany her and Krrsantan aboard the Ark Angel II, where she informed Skywalker about the crystal from Rur's citadel and her belief that he could reactivate it. Luke was unable to reactivate the crystal, and Aphra decided to take it to one of the gatherings of the Queen of Ktath'atn as an alternative.
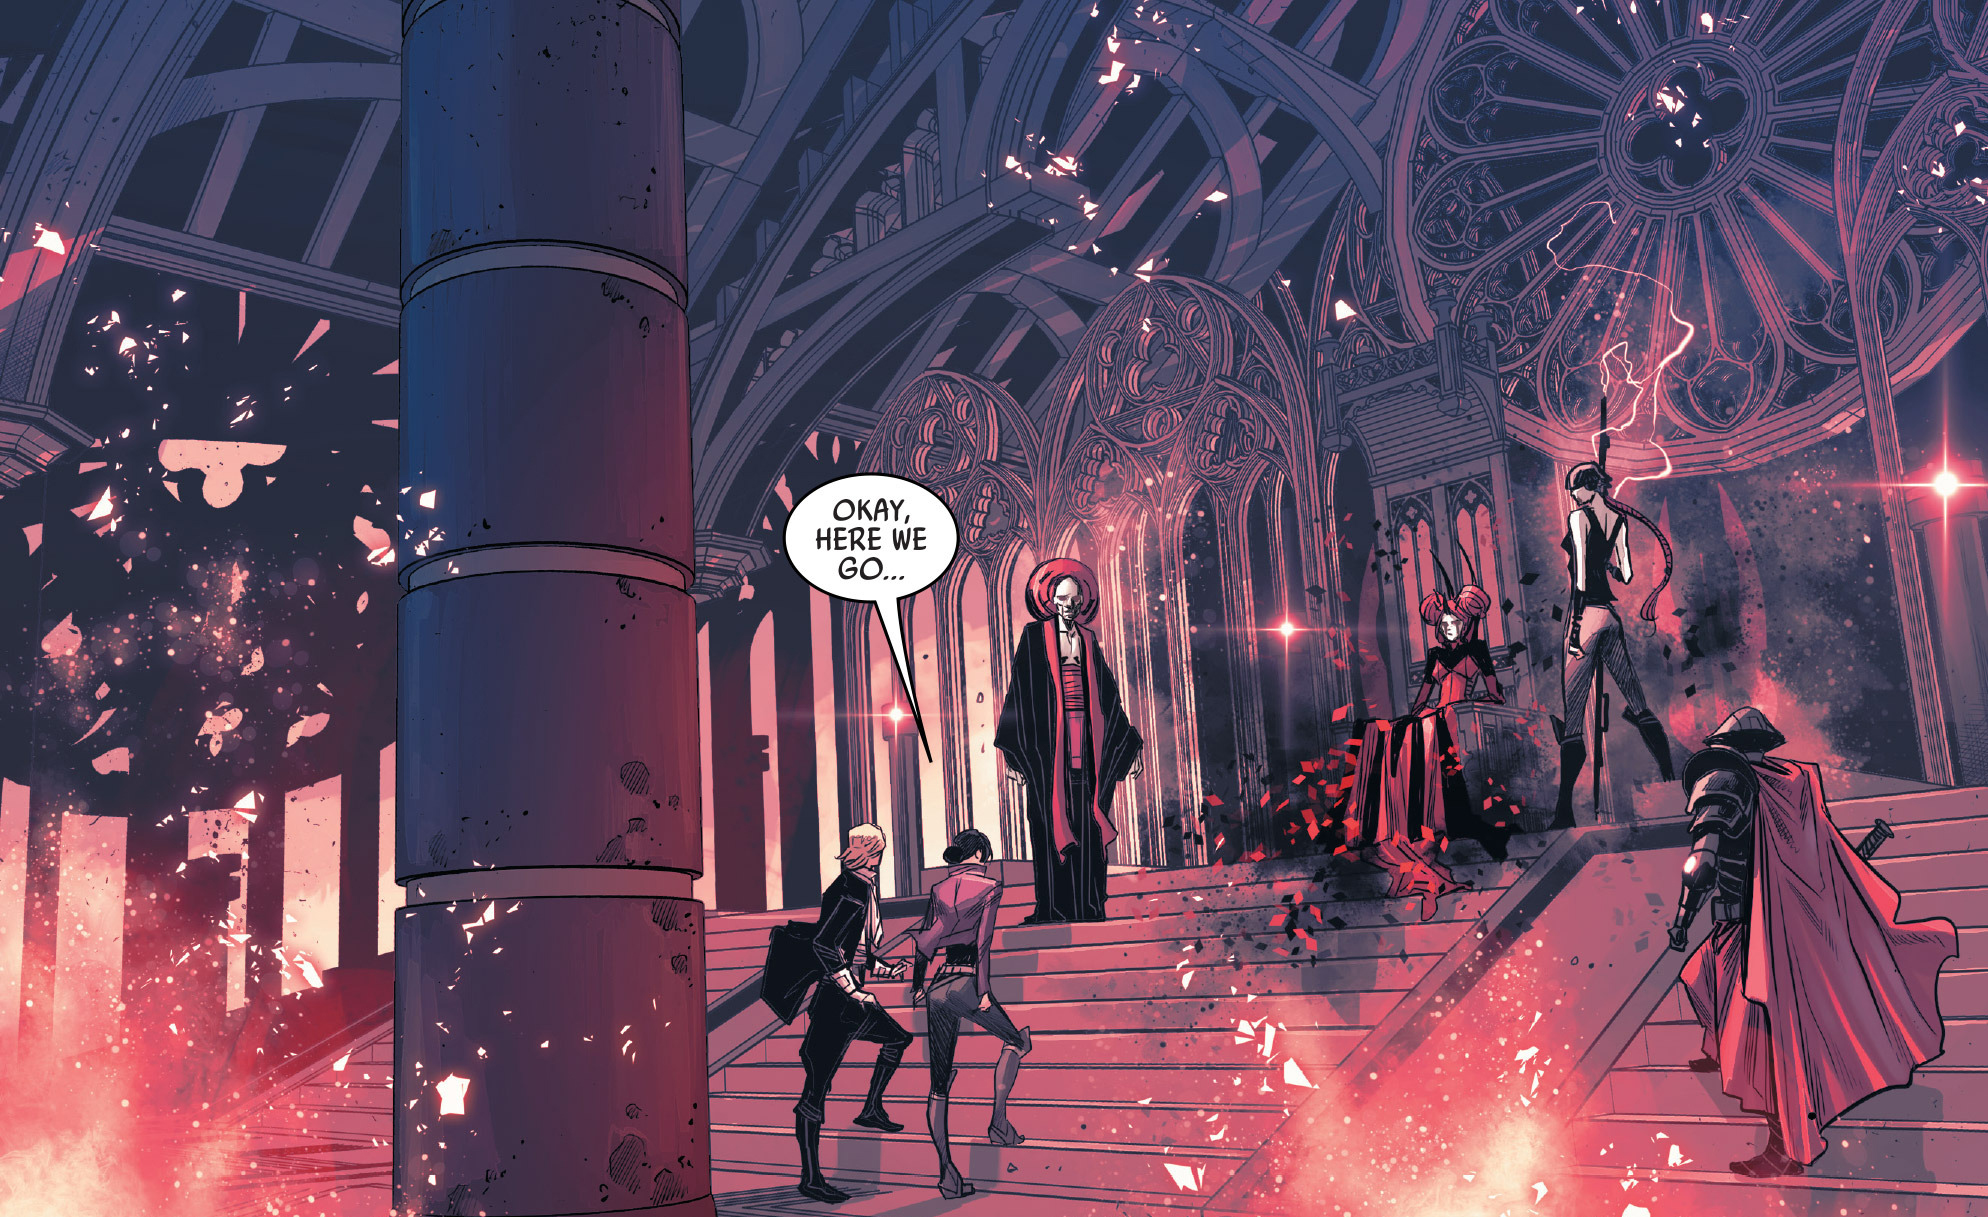
Aphra, Skywalker, and her crew then landed at the Ktath'atn's Citadel. There, Aphra and Skywalker were greeted by Ktath'atn's people, who requested food, and Aphra responded by instructing Krrsantan to provide them with some. The group was then intercepted by the Queen's guards, who informed Aphra that Wookiees were not permitted at the Queen's meeting. As they were escorted to their quarters, Aphra told Skywalker how she had located him after leaving a message for Starros at the Horox III rebel outpost.
Aphra and Skywalker changed their attire to attend the meeting. Subsequently, they proceeded to the Citadel's throne room, where they met the Queen. After the other attendees presented their items to the Queen, Aphra presented Skywalker as her offering. Initially, the Queen rejected him until Skywalker used the Force to push someone, and Aphra and Skywalker were then instructed to meet the Queen in the morning so she could hear their request. The following morning, Aphra and Skywalker joined the Queen for breakfast, where Aphra recounted how she had captured him. Meanwhile, Aphra observed as the Queen ordered Vespinax to coerce Skywalker into using the Force. Aphra then informed the Queen about the Ordu artifact.
Aphra watched as Skywalker moved a tray to strike Vespinax and made their escape from the Queen and several abersyn symbiotes. She then summoned Triple-Zero to extract them, but the duo came under attack by several of the Queen's zombies. When Aphra and Luke finally reached the Ark Angel II, they were met by Solo, Leia, and Starros. Starros attempted to shoot Aphra, but Skywalker prevented her from doing so. After Skywalker chose to follow Aphra, she began examining more of the symbiotes until she and Skywalker were confronted by the Queen and her guards.
As Leia, Starros, and her droids escaped, Solo was captured and taken by the Queen, leaving Aphra to contend with her. Aphra was confronted by the Queen, who instructed her to depart and gave her the Rur crystal, which had been activated by the Queen. Aphra inquired about Skywalker's future but decided to leave despite his pleas. She was then provided with a ship to depart. Aphra listened to Rur's voice, which advised her on abandoning Skywalker. Aphra heeded Rur's words and rescued Skywalker from the Queen. She intentionally infected Skywalker with a parasite in order to transform him into the hivemind's king, capable of challenging the Queen.
Aphra observed as a possessed Skywalker confronted the Queen, and then watched as Skywalker freed himself and killed the Queen with the aid of the crystal. After Han disbanded the zombie hive, Aphra instructed her droids to incinerate the Citadel and suggested they contact the Empire to contain the symbiotes. Before departing, Aphra spoke with Starros about their past disagreements. She then offered Skywalker access to the Rur crystal, although he was aware that Rur was not a Jedi. Aphra, Black Krrsantan, and her droids then departed aboard the Ark Angel II.
Rur's Auction
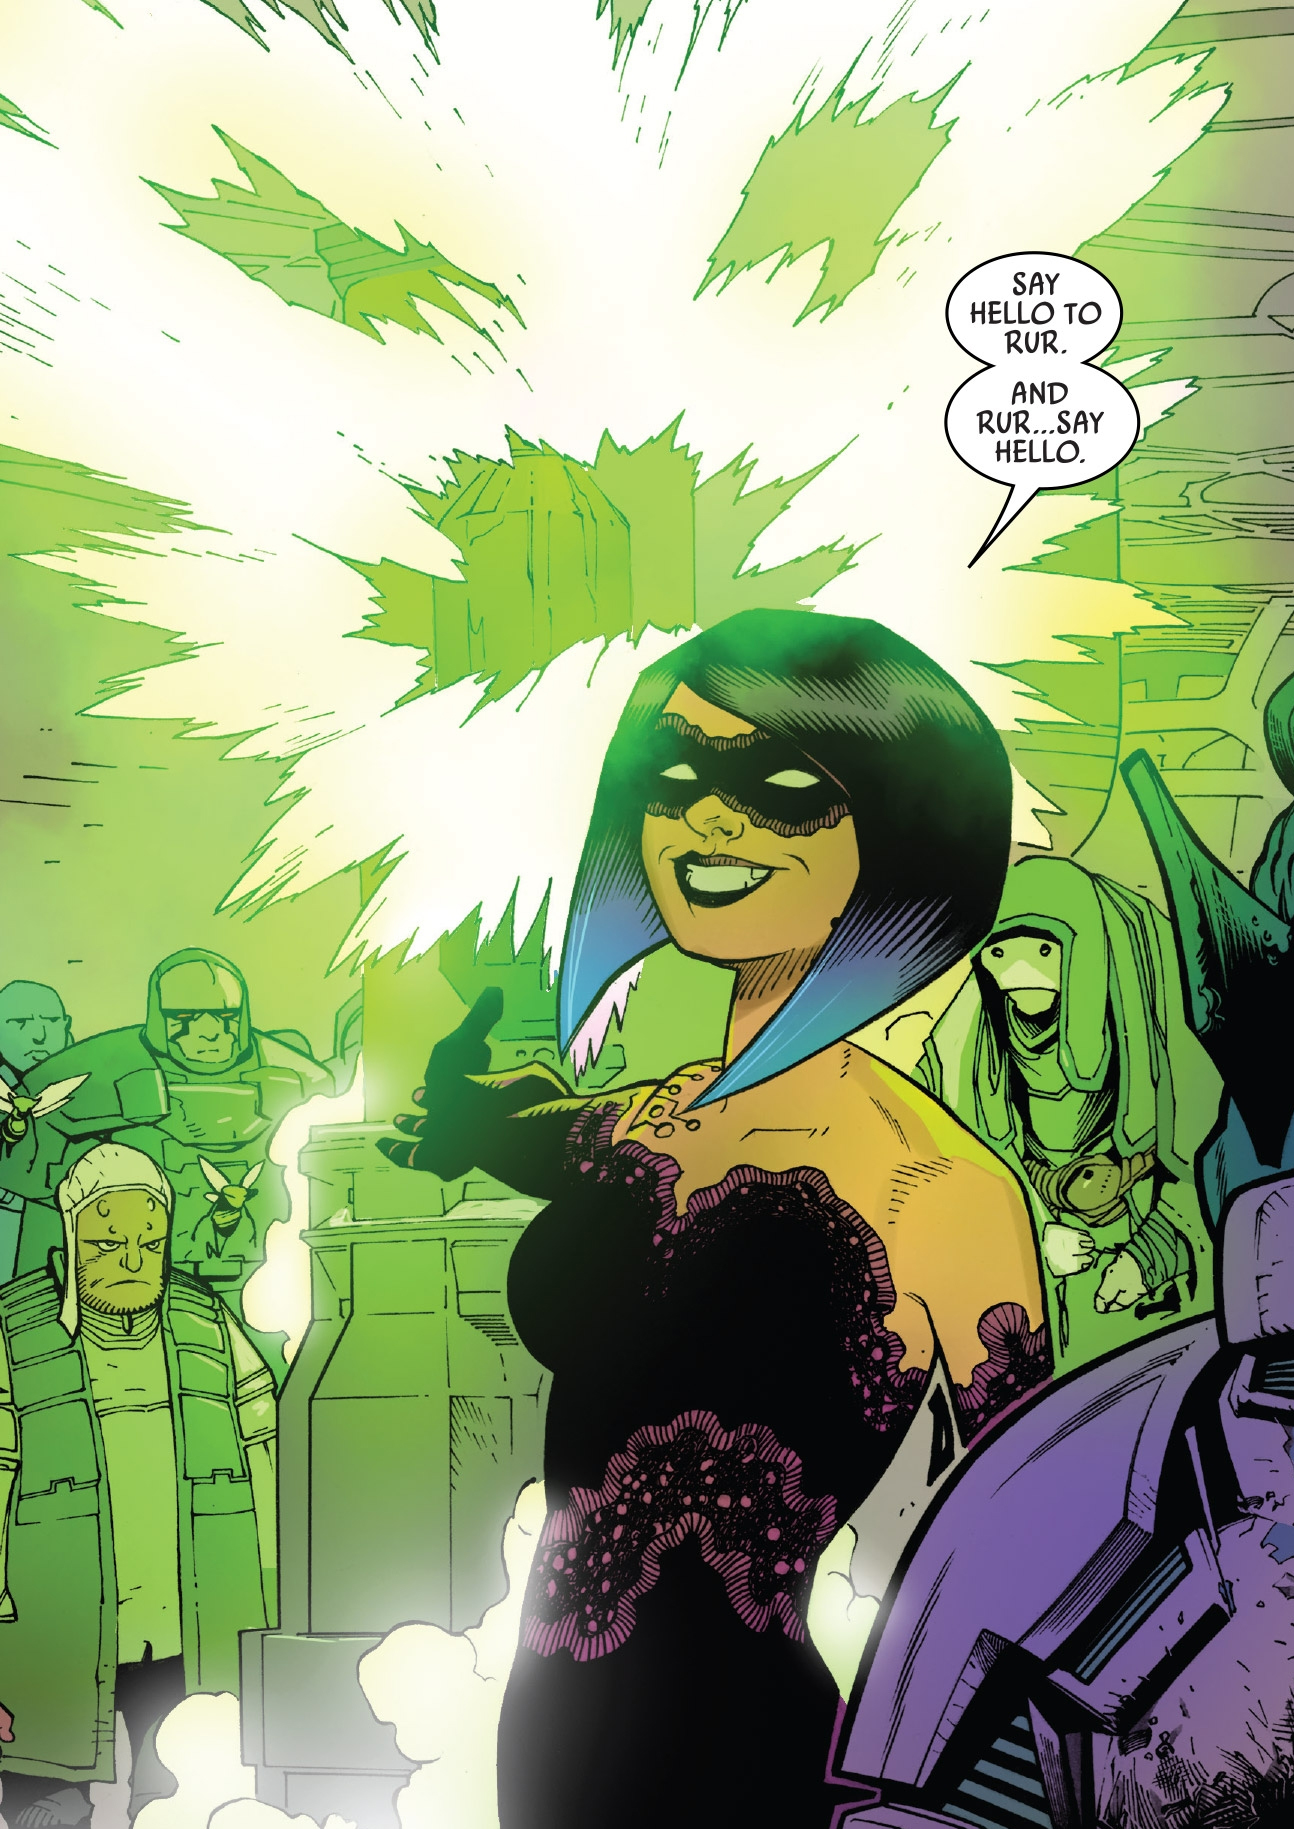
Some time later, Aphra infiltrated the Isolate-4 Lab to activate the Rur crystal. Using the alias "Sulan Do" and posing as Black Krrsantan's "agent," Aphra arranged for two journalists, Dixnet Dat and Domthro Rus, to meet with Black Krrsantan so that they could learn the story of Black Krrsantan's origins. Unbeknownst to the journalists, their meeting with Black Krrsantan was a distraction—Aphra broke into their ship and with the help of Triple-Zero and Beetee, used it to transmit hundreds of messages on the undervine. The messages advertised the auction of a rare alien artifact.
Several weeks later, Aphra hosted an auction to sell off the Rur crystal. As Aphra demonstrated the crystal and its abilities to the auction guests, Rur attempted to kill her again by possessing a droid. However, Aphra was saved when Krrsantan shot the droid down. Aphra spoke with Yonak and showcased her security systems to alleviate his concerns. Then, she informed her guests that she would speak with them individually and ensured that her two droids would not murder anyone without her orders.
The auction resumed, and Aphra listened as her guests, such as Thomas Toov, attempted to outbid each other. Aphra demonstrated to her guests how she could repair several of them. Aphra was then approached by the Ezaraa Dominion, who offered her 0.00001% of her Imperial revenue for her and ten of her descendants. She then met with the Shadow University, who offered to allow her to continue to have access to the crystal in addition to a fortune. However, when she was blackmailed by them, Aphra declined their offer. As she spoke with Papa Toren, Krrsantan had a confrontation with the Kthoo-Ra, which was halted by Beetee on Aphra's orders. She then rejected the Xonti Brothers' offer, who were Kthoo-Ra's employers.
In the medical bay, Aphra was strangled by Krrsantan out of anger. However, she was able to convince him to release her. Aphra was then informed that the Shadow University had increased its bid. She then addressed her fellow guests and announced that the Shadow University had purchased the crystal. However, Rur had taken over another droid and attacked Aphra's guests. Aphra protected the Shadow University's guests from Rur and then realized that someone else was controlling the guns. Unfortunately, Aphra and her droids were unable to deactivate the guns. Meanwhile, Krrsantan still desired to kill the Xonti brothers. Aphra fought Rur's possessed droid and was nearly killed by it until Beetee and Triple-Zero used the guns on it. Aphra then joined her droids, who revealed that Lord Vader had arrived.
As Vader arrived, Beetee and Triple-Zero revealed to Aphra that they had contacted him to force her to remove her leashes from them. Aphra agreed and removed their leashes from them. After Beetee and Triple-Zero departed, Aphra was joined by Krrsantan. She joined what remained of her guests, who wanted to use her as bait for the Imperial troops. Aphra attempted to escape by deceiving the Xonti Brothers into believing she was double-crossing Krrsantan. In reality, Aphra rigged a nearby droid to explode, killing the Xonti Brothers and allowing Krrsantan to board a ship. Despite having the opportunity to escape, Aphra decided to return for the Shadow University's ship instead. Aphra fled when she came face-to-face with a droid possessed by the spirit of Rur; in doing so, she led Rur to Darth Vader and his troops. Aphra hid while Rur and Vader battled in a lightsaber duel.
Due to Vader and Rur being distracted by their duel, Aphra was able to escape. Upon discovering some of her remaining guests, Aphra used Sutha as a human shield, which eventually resulted in Sutha's death. After Vader disabled and defeated Rur, Aphra was able to escape on the Shadow University's ship. Although Vader sensed her presence, he did not investigate further, considering it to be of little consequence. Following her escape, Aphra returned some of the priceless artifacts to the Shadow University and the others to the Museum of Bar'leth to double her profit. Afterwards, Aphra retreated to Zeltros to vacation and celebrate her liberation from Triple-Zero, Beetee, Krrsantan, and Darth Vader. While relaxing on the beach, however, Aphra was confronted by a man named Tukan, who wanted to bring her to trial for her murder of Dukan. Aphra casually fired at Tukan, killing him, only to discover Tukan was not alone, and she was outnumbered.
On X3-299-11, Aphra was devoured alive by a Shadowfang Beast when she attempted to retrieve a idol. She contacted and hired hunters Nokk, Winloss and several other hunters to help her escape the beast. Aphra guided the hunters to her and the beast's location past several traps. Winloss and Nokk were able to kill the creature. Aphra was then able to escape from the creature. She then used a jetpack to make her escape without paying the hunters.
A New Allegiance
The Somelik Heist
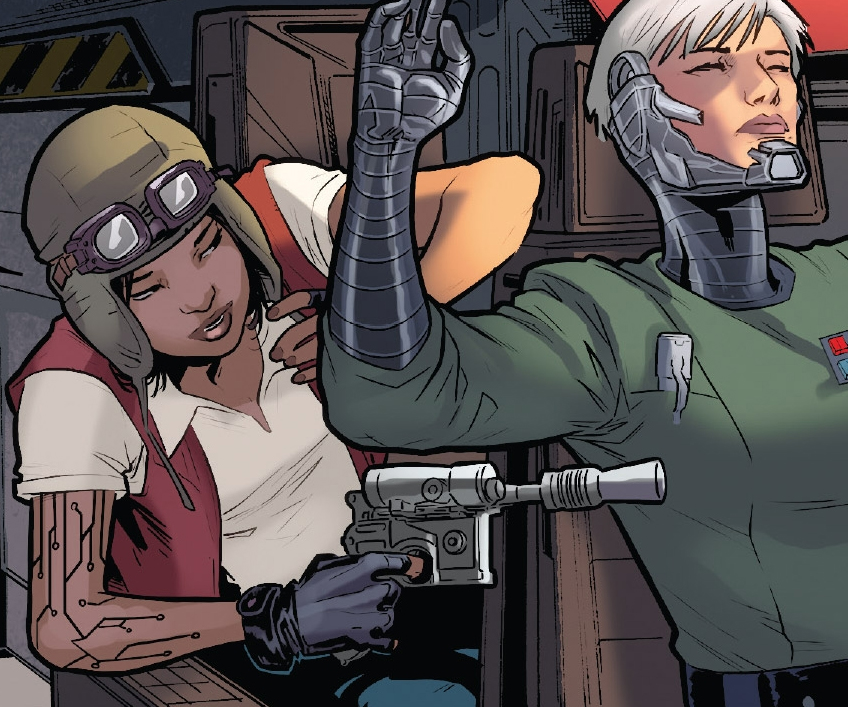
After successfully evading Dukan's former allies, Aphra found herself strong-armed into servitude under Triple-Zero, who had risen to power as a crime boss following his takeover of the Son-tuul Pride base. Triple-Zero threatened Aphra with death or exposure to Darth Vader if she refused his demands. Complying with Triple-Zero's commands, Aphra played a key role in leading an attack against an Imperial base located on Someilk. To her surprise, Aphra discovered Magna Tolvan present at the base upon their arrival. When Tolvan attempted to seize control of Aphra's crew's vessel, Aphra responded by holding her hostage at gunpoint. During the wait for her team to finish their assignment, Aphra engaged in casual conversation with Tolvan, leading to a tentative connection between them. Anxious to conceal her true identity, Aphra fabricated the alias "Joystick Chevron" when asked for her name. Aphra reiterated her attraction to Tolvan, and when Tolvan highlighted her disfigurements, Aphra countered by noting the similarity to her own electro-tattoos, which she argued made them both "interesting." Learning that Tolvan's demotion was a direct consequence of Aphra's past actions, Aphra offered an apology. Driven by loneliness and her infatuation with Tolvan, Aphra chose to merely stun her instead of killing her, expressing her willingness to be captured by Imperial forces as long as Tolvan was the one to apprehend her. Aphra left Tolvan unconscious in the base's landing zone. Aphra was taken aback when, after her crew's departure, Rexa Go obliterated the entire Imperial base. This act filled Aphra with remorse, yet she remained bound to Triple-Zero's service.
Mission to Skako Minor
Under Triple-Zero's direction, Aphra modified some "weird" droids for an as-yet-unknown purpose. Inspired by a childhood pet, she also experimented with a relic splicer rig, resulting in a cloned and modified tooka, which Aphra christened Flufto. Triple-Zero then instructed Aphra to lead a group of mercenaries on a mission to Skako Minor. Prior to their departure, Aphra confronted Triple-Zero and Beetee, arguing that the droids wouldn't risk drawing Imperial attention and asserting her ability to simply flee.
Aphra assessed her mercenary crew, which included Tam Posla among others. As Aphra prepared to depart for Skako Minor, she was informed that she had to choose one crew member to abandon. Aphra discussed with Rexa the potential benefits of uncovering Triple-Zero's true plan or acquiring a larger ship. Following this discussion, Aphra discovered that Triple-Zero had been eavesdropping. As punishment for questioning his threats, Triple-Zero alerted Imperial forces to the "stolen" ship, forcing Aphra to select someone to leave behind in order to ensure their escape. With reluctance, Aphra chose to abandon Viscount Rabael Dir Glorio.
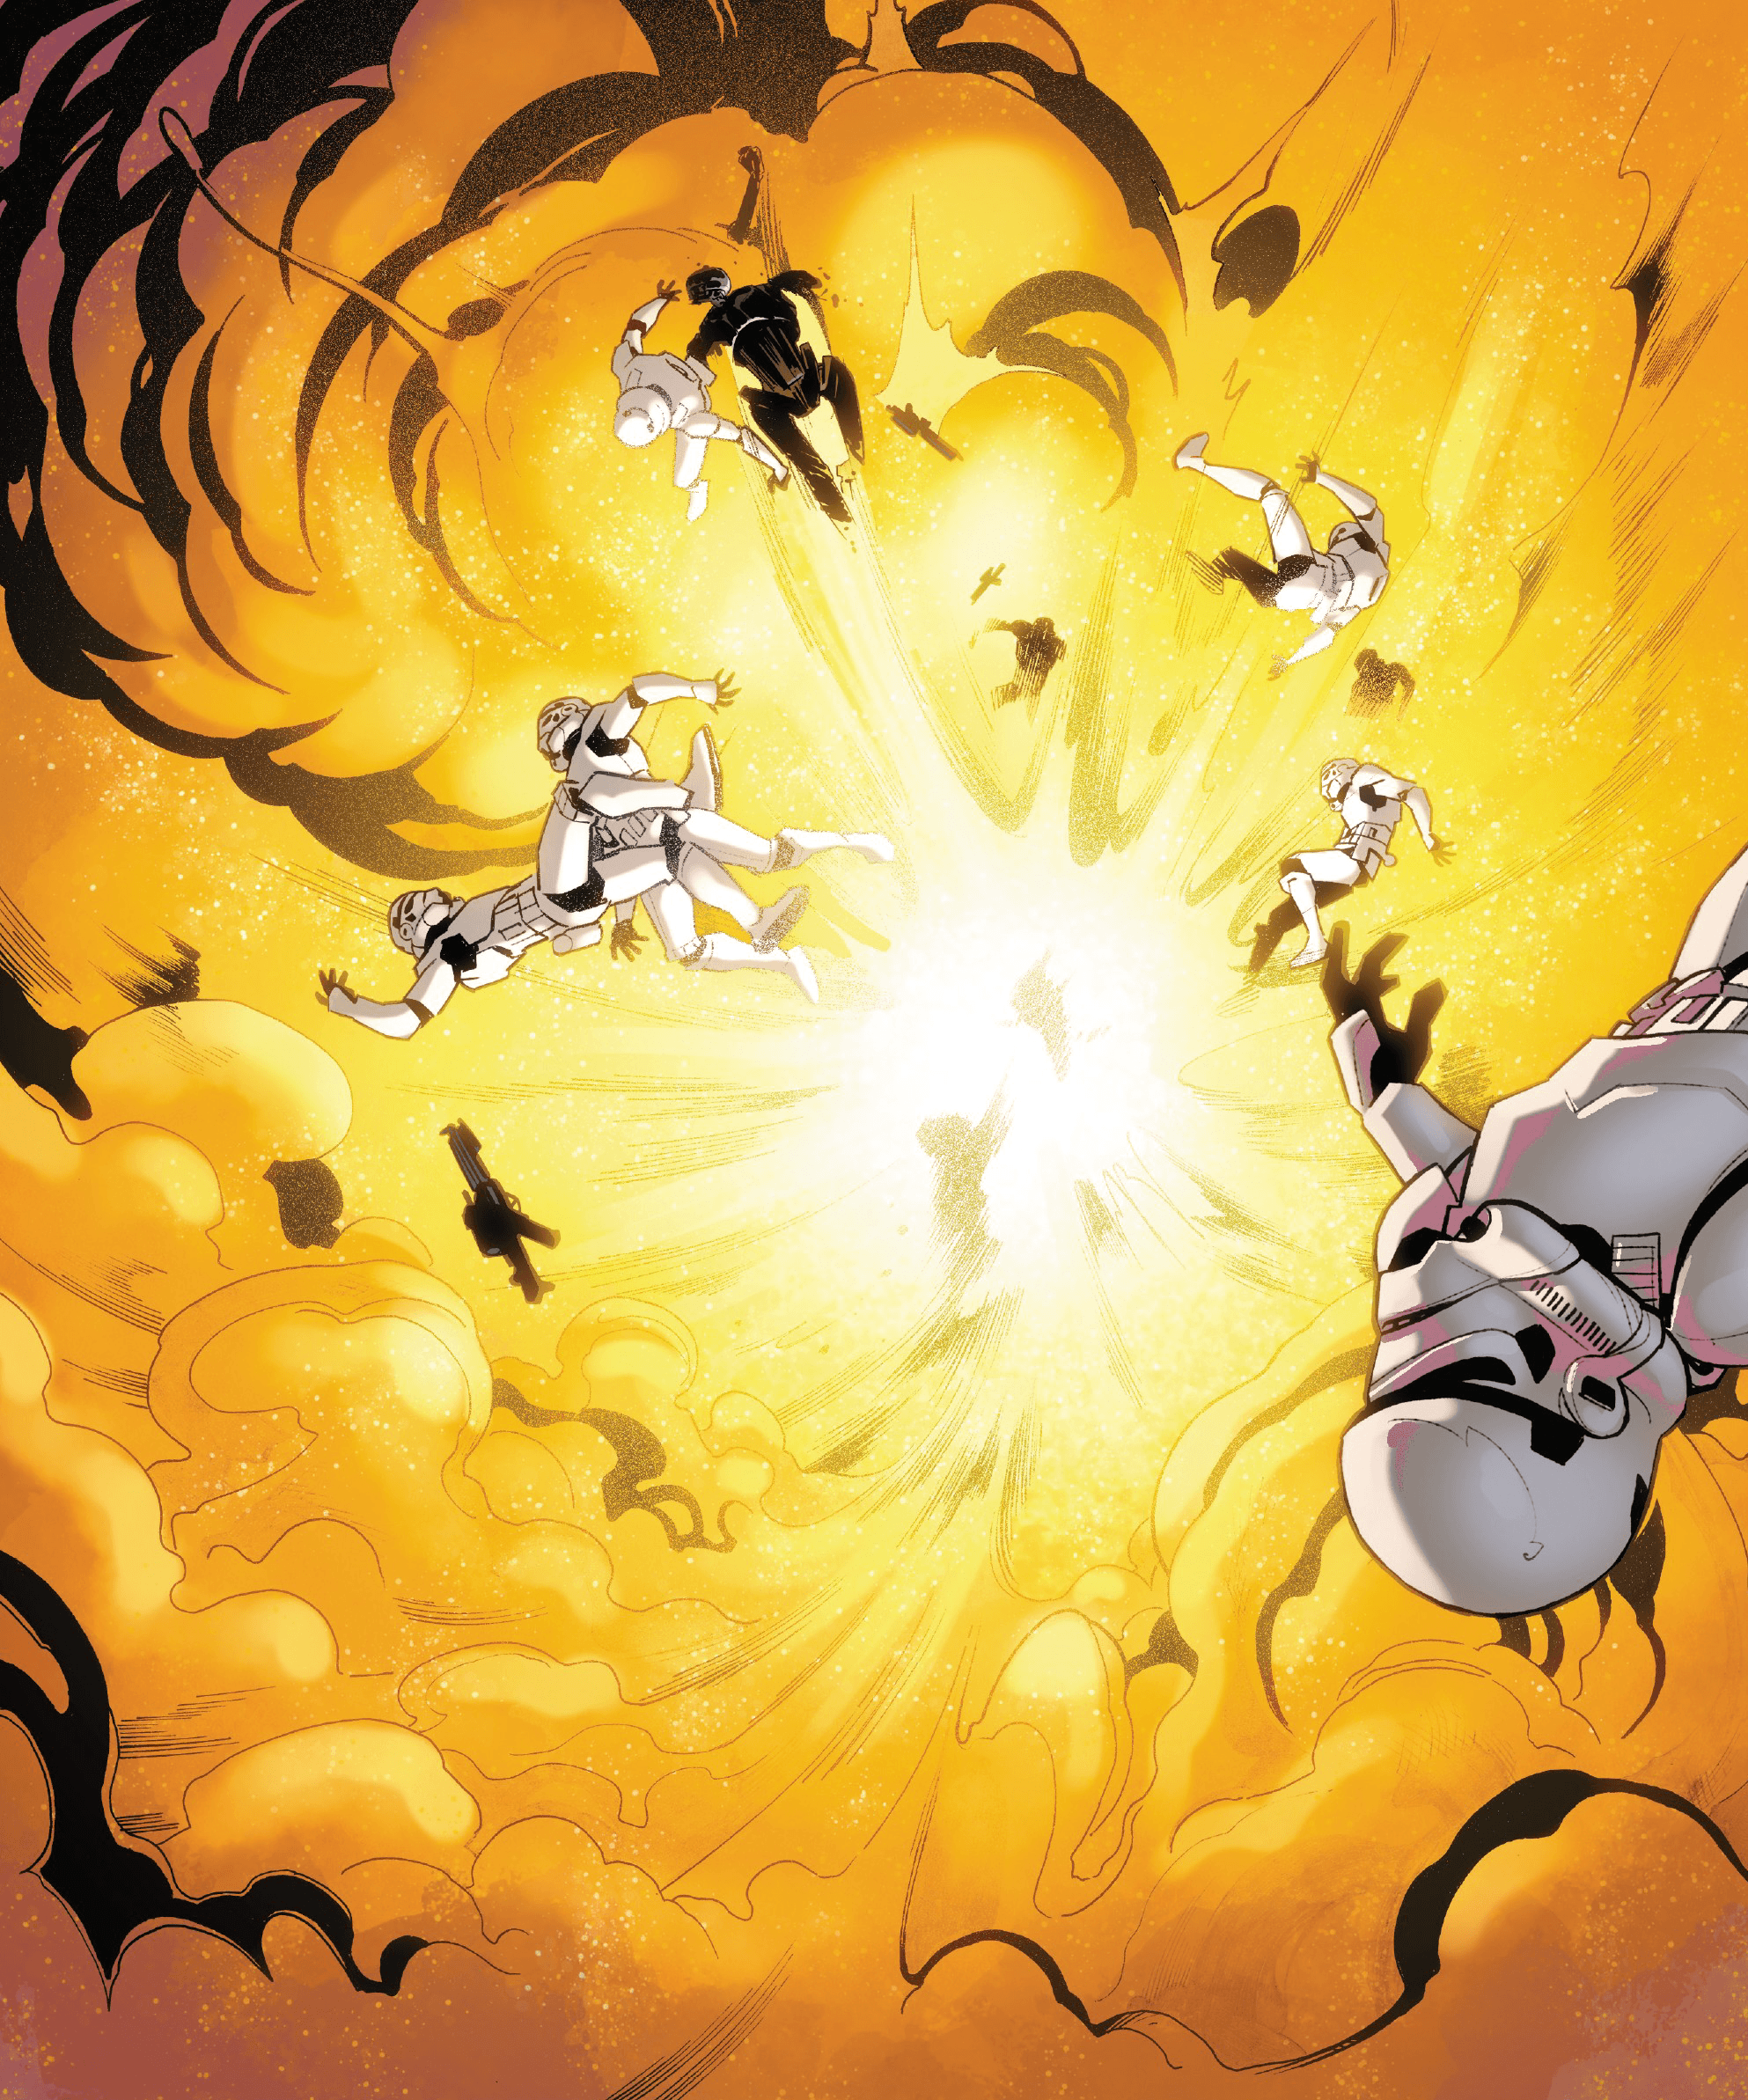
En route to Skako Minor, Aphra correctly surmised that Triple-Zero intended to raid the private workshop of Wat Tambor of the Techno Union. Believing the Empire to be ignorant of the workshop's location, Triple-Zero enlisted Hallio Bas, a Skakoan, to guide Aphra and her team to it. However, it was revealed that Hallio had previously struck a deal with the Empire, promising to hand over any looters in exchange for the Empire ending its occupation of Skako Minor. As Imperial troops prepared to execute Aphra and the mercenaries, Aphra gave Flufto to Hallio, stating that it wouldn't be fair for Flufto to die. Unbeknownst to everyone, Aphra had modified Flufto with the ability to detonate upon hearing the code phrase "snugglebum oogiewoogie." Flufto exploded, eliminating all Imperial forces.
In the aftermath of the explosion, Aphra revealed that she possessed an entire crate filled with shrink-frozen Tooka clones, all programmed with the same verbal self-destruction code. Aphra led the way into Wat Tambor's workshop, aiming to locate all files pertaining to the Triple-Zero matrix. Aphra explained to Rexa that the task would be challenging, given the workshop's array of defensive droids and its construction around a Hellhulk station from the Hundred-Year Darkness. Aphra cautioned her crew against touching the "pointy sparkly thing" (an ancient techno-totem that controlled a Chthonic worm god, which guarded the workshop), emphasizing the likelihood of traps throughout the workshop.
Unbeknownst to Aphra, Magna Tolvan had tracked her location, resulting in her ship crash-landing inside the workshop and damaging the techno-totem. Tolvan ordered her stormtroopers to open fire on Aphra's crew; however, the damage to the techno-totem caused the worm god to awaken. As the worm god wreaked havoc on both Aphra's and Tolvan's crews, Tolvan and Aphra briefly held each other at gunpoint before being disarmed by the creature. Tolvan and Aphra managed to find refuge in a mechanical shaft after using one of Aphra's Tooka clones to create an explosive diversion, but the worm god continued its pursuit.
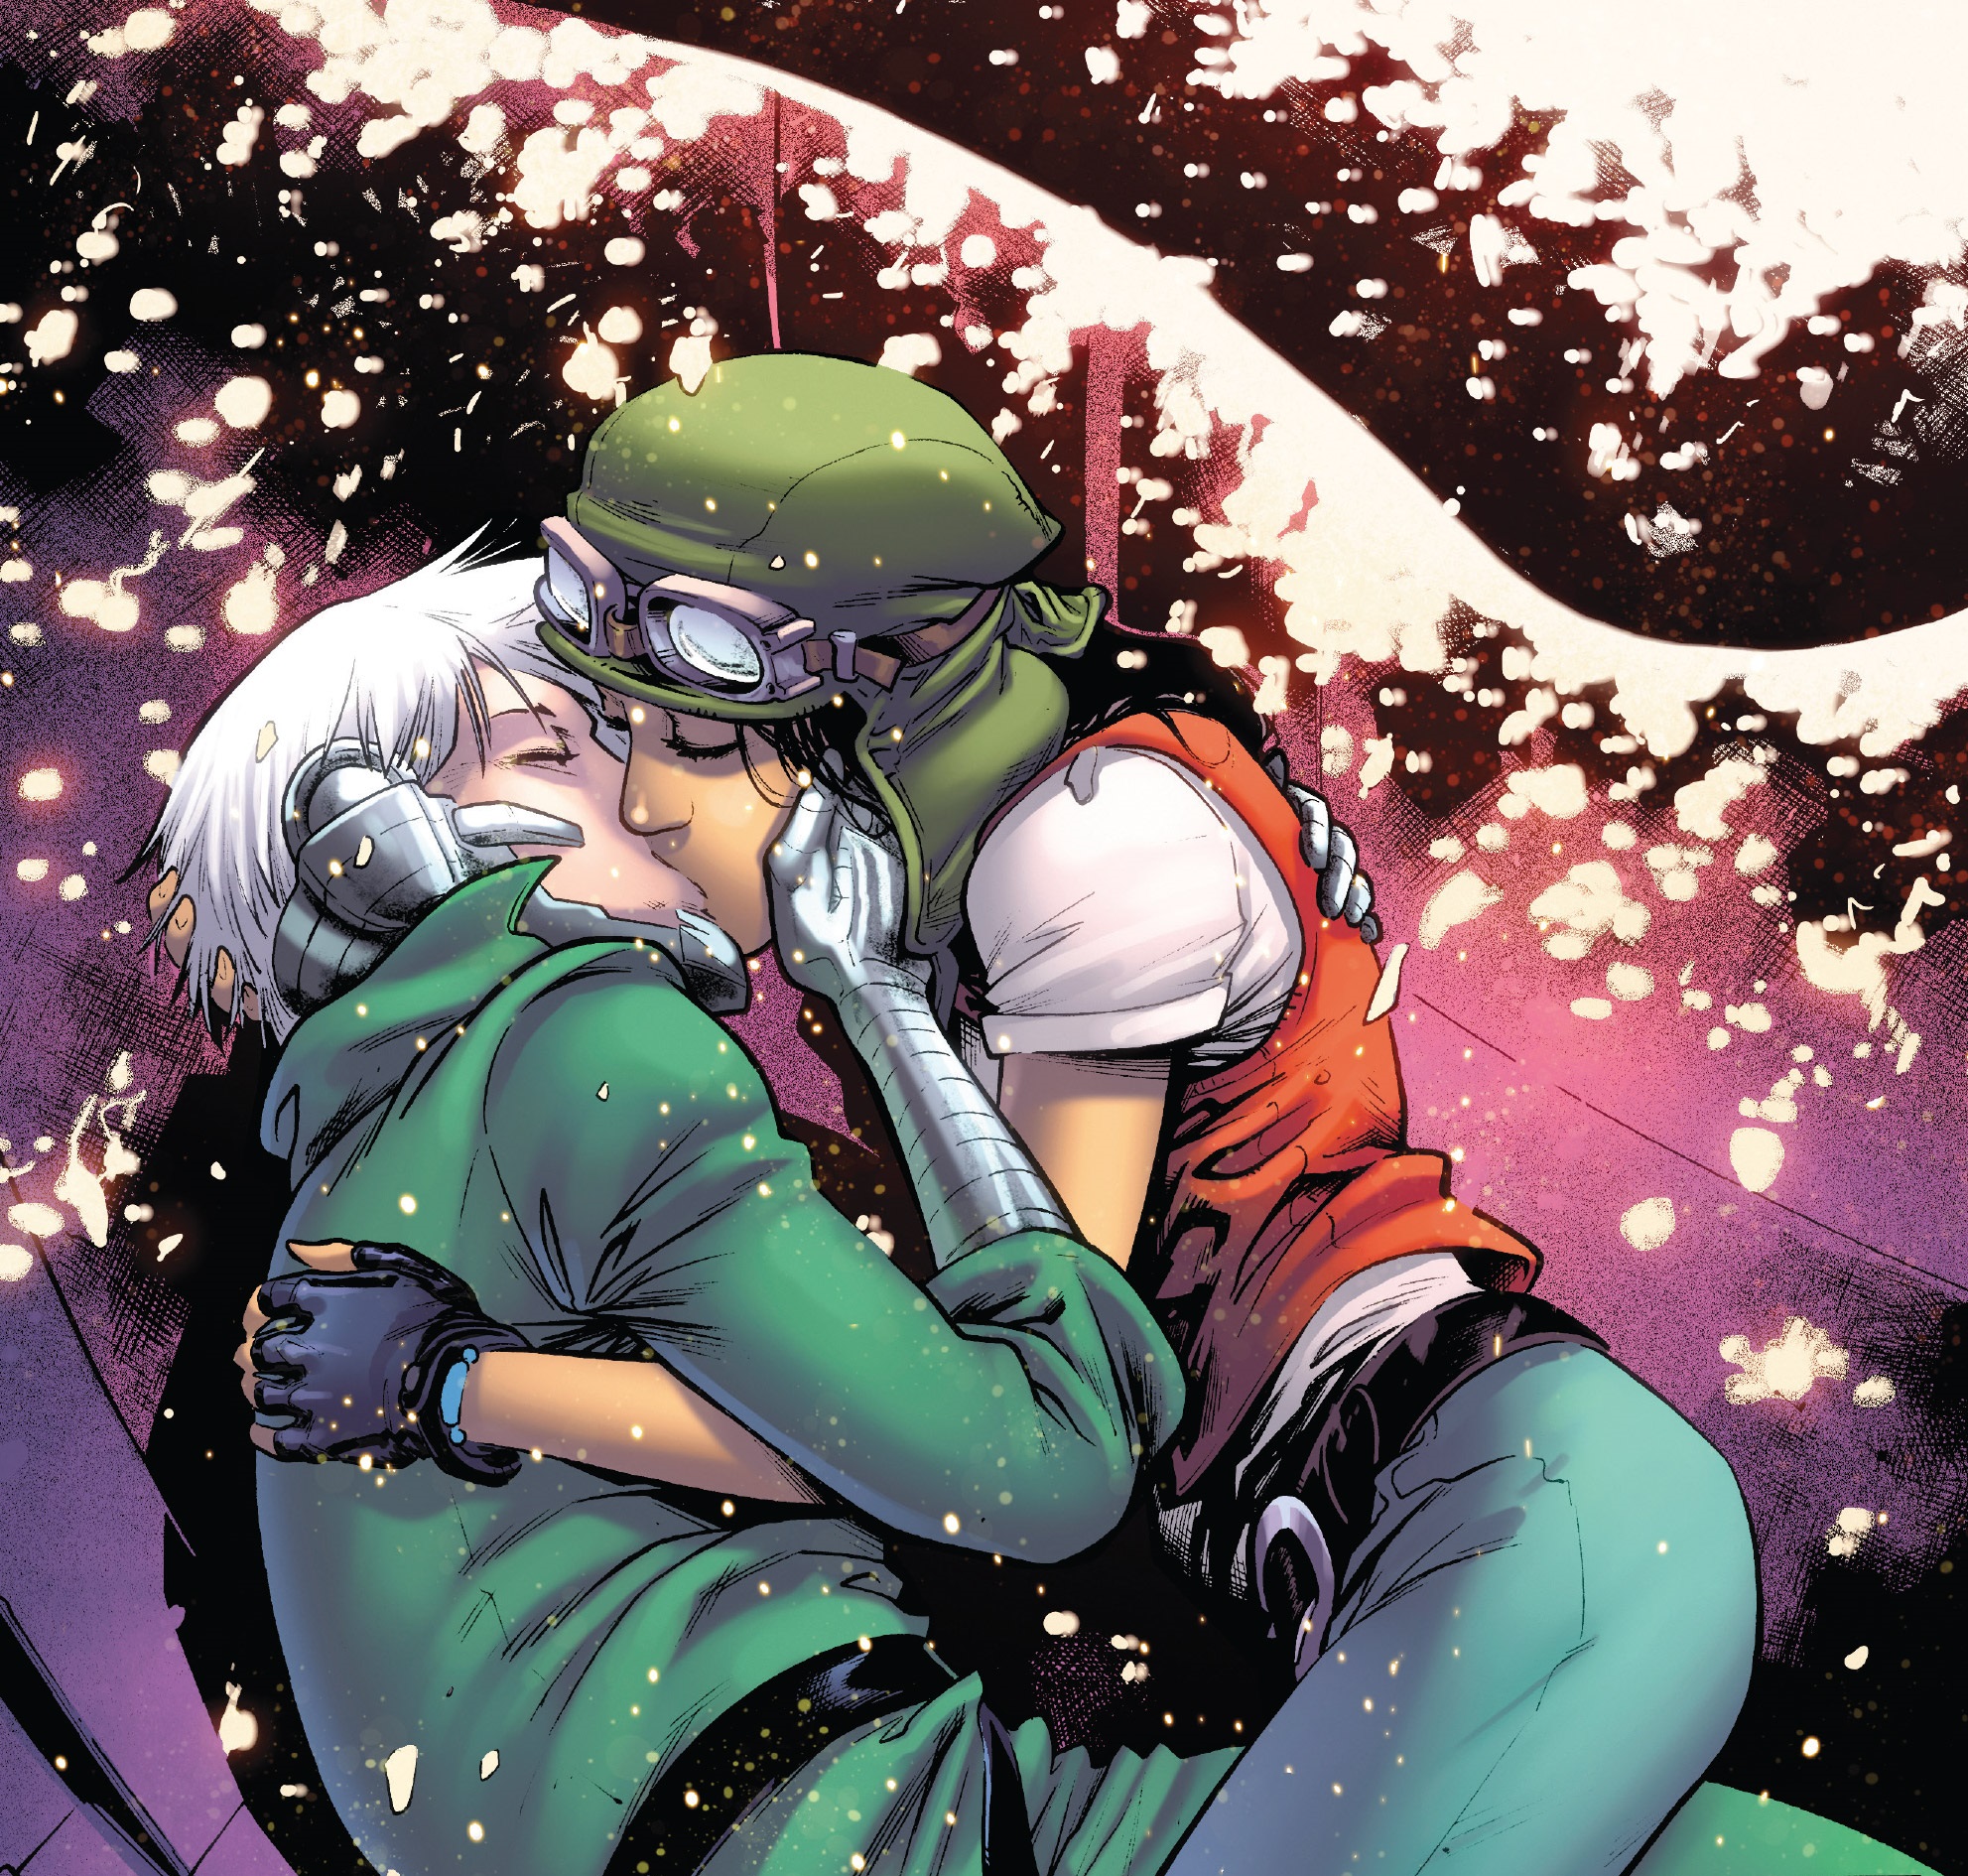
Confined within the mechanical shaft, Tolvan and Aphra engaged in a heated argument. Aphra blamed Tolvan for inadvertently awakening the worm god, while Tolvan countered that Aphra was responsible for her demotion and near execution. Tolvan declared Aphra "the worst thing alive" and vowed to see her imprisoned. A moment of shared laughter occurred when they realized the ancient techno-totem had ended up in the shaft with them. Aphra then somberly remarked that they were doomed. With the worm god closing in, and believing it to be their final moments, Aphra and Tolvan shared a passionate kiss.
Aphra's droideka, Dek-Nil, inadvertently caused a stormtrooper to misfire; the stray shot struck the workshop's ceiling, causing debris to fall and crush the worm god, thus saving Aphra and Tolvan. Tolvan requested Aphra to reveal her real name. Tolvan explained to Aphra that Aphra's file was flagged in Imperial records, and she feared intervention from higher authorities. Aphra suggested that Tolvan was simply afraid of being murdered, a common practice among Imperials, though she conceded that her own line of work operated similarly. Aphra advised Tolvan to stay away from her for her own well-being. She urged Tolvan to leave, but Rexa spotted them. Aphra then shot Rexa, allowing Tolvan to escape unnoticed.
Aphra restored the techno-totem to its original position and instructed her crew to loot the workshop. Back on her ship, Aphra informed Triple-Zero that Wat Tambor had acquired the Triple-Zero matrix nearly a century prior, intending to study it. However, Wat Tambor deemed the Triple-Zero matrix too dangerous and placed it in quarantine, where Aphra later stole it. Aphra explained that while Wat Tambor had preserved all of Triple-Zero's memories, the Separatists' R&D had been absorbed by the Empire after the Clone Wars. Aphra further explained that all data was now stored in Hivebase-1, a component of the Tarkin Initiative and one of the largest archives ever constructed. Aphra noted that approaching it was impossible without a clearance pattern, and Hivebase-1 served as a gravity anchor for a billion-strong swarm of acid larvae. Despite this, Aphra realized that Triple-Zero intended for her to attempt a raid on the base. She resigned herself to devising a plan for the raid.
When Triple-Zero inquired about casualties among Aphra's mercenary crew during the Skako Minor mission, Aphra falsely reported that there had been none. After ending her communications with Triple-Zero, Aphra returned to check on her crew. Unbeknownst to Aphra, Tolvan had managed to sneak aboard Aphra's ship by disguising herself using the skin of a murdered Glahst Ombra, another mercenary.
Capturing General Syndulla
Aphra and her team discovered the location of the Lucrehulk Prime, which had been repurposed as the Rebel Alliance's flight school. They infiltrated the school by posing as new recruits, with Flufto in tow. They were accepted and awaited the commencement of the recruitment assessment. Aphra instructed "Ombra" to blend into the shadows aboard the ship. During the tour, Aphra released the Tooka, which had been genetically engineered with bio-explosives.
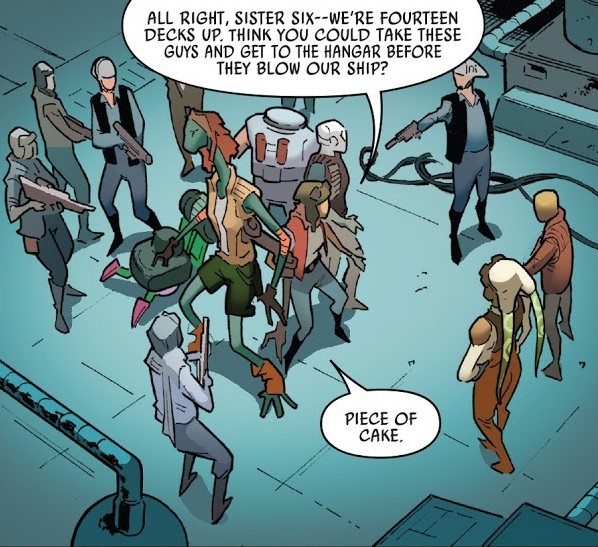
Aphra encountered General Hera Syndulla, who shot Flufto. Aphra and her crew then revealed themselves as mercenaries rather than Rebel Alliance recruits. Syndulla and her forces surrounded Aphra and her team, leading to their arrest and confinement in the brig. There, Aphra was approached by "Ombra," who revealed herself to be Tolvan. Aphra attempted to persuade Tolvan to join her, but Tolvan refused. The two shared a kiss, but Tolvan demanded that Aphra reveal her name or face being shot. Aphra was saved when Dek-Nil stunned Tolvan, inadvertently deactivating the brig's shields. Aphra had Tolvan returned to the vent. Aphra and her crew remained in their cells.
Aphra and her crew were escorted to the hangar, where Syndulla offered them their ship to leave. Aphra countered with a proposal: she and her crew could help them infiltrate Hivebase-1. As Syndulla considered this, Aphra signaled Bog to provide Sister Six with her blasters. Aphra had Syndulla taken aboard her ship. Witnessing the kidnapping of Syndulla, Posla decided to resign. Aphra, however, allowed Posla to remain with them. Aphra contacted Hivebase-1's officer and offered to deliver Syndulla to the Empire.
Infiltrating Hivebase-1
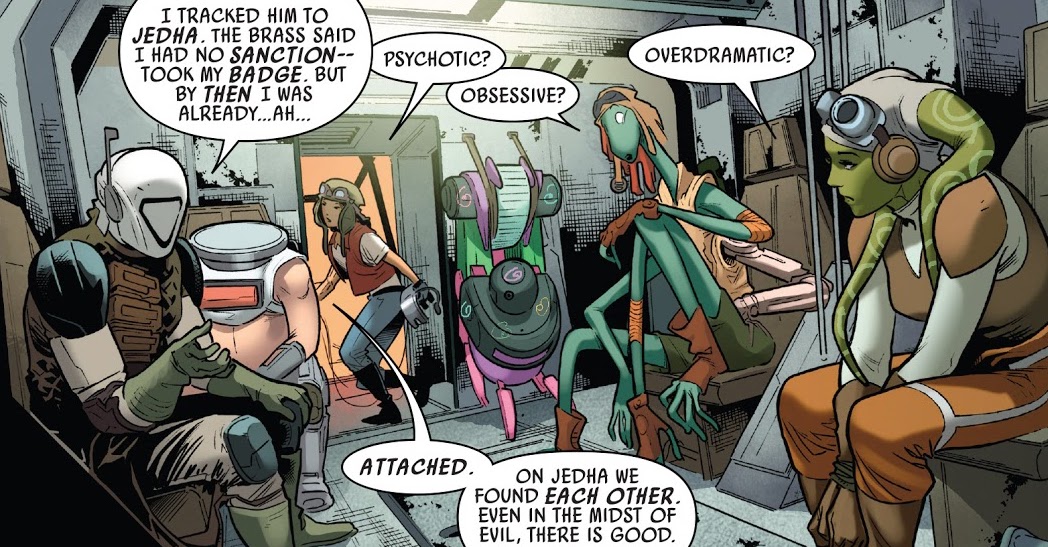
Aphra conducted a diagnostic on Bog and attempted to contact 0-0-0 and BT-1 without success. She learned about Bog's surgeon, Dr. Cornelius Evazan, his experiments, and how Posla lost his badge during his pursuit of Evazan on Jedha before the destruction of Jedha City. As their ship neared Hivebase-1, Aphra revealed to Syndulla that she was aware of the tracker in her rank patch. Aphra offered to disable Syndulla's signal. When the Lucrehulk Prime caught up with their ship, it was attacked by a Scaraphyte swarm.
After landing the ship on the base, Aphra and her crew ventured deeper into the base to investigate. Aphra instructed Posla to stay with Syndulla, stating that she had fulfilled her role. Aphra, her crew, and Syndulla encountered numerous rejects from the Tarkin Initiative. Aphra was fascinated by the various obscenities, much to Syndulla's disgust. Aphra compared it to the Rebels recruiting farmboys. During this time, Tolvan subdued the Lucrehulk Prime's crew and seized control of the ship from the rebels. Aphra contacted her and managed to convince her to simply capture the ship and its crew, despite Commander Yewl's orders. However, Tolvan betrayed her and alerted Yewl to her crew's presence.
The rejects surrounding Aphra and the others defrosted, and Aphra suggested to Posla that she could use his cybernetic weapons. Posla refused, arguing that the rejects were innocent victims. The rejects opened fire on them and disabled Dek-Nil, prompting the others to seek cover. Aphra continued to plead for Posla's assistance, but he remained unmoved. Aphra then resorted to enacting her plan B and instructed the group to return to the ship. As they retreated, she activated a bug she had installed in Bog during his diagnostics. This caused Bog to charge at the rejects and be killed. Posla witnessed this and activated his cybernetic weapons. Aphra and the remaining members of her team left Posla to face the army of rejects alone.
The rest of them reached the data core of Hivebase-1 and began searching for 0-0-0's memories. Posla caught up with them, distraught by the death of his soulmate. Syndulla had noticed her activating Bog's bug and confronted her about it. However, they were soon intercepted by Yewl and his soldiers. A firefight ensued, and Aphra had the others defend her while she continued at the console. There, Aphra took control of the Lucrehulk Prime using the bug she had implanted in its control core when she met Syndulla. The Lucrehulk Prime latched onto Hivebase-1 and used its tractor beam to extract the data core. Dek-Nil, who had been feigning deactivation, began firing at the Scaraphyte swarm to induce erratic behavior. The remaining shrink-frozen Tooka's also escaped from their container and roamed Hivebase-1 until one of the officers over the comm was tricked by an altered firing registry into saying the code word that set them off, destroying Hivebase-1.
Syndulla congratulated Aphra and her team on acquiring the data core and prevented her top officer, Bini, from killing them. Aphra had Posla search for Tolvan in the vent of the Lucrehulk Prime, where he was ambushed, tied up, and had his armor stolen by her. Tolvan informed Syndulla of Posla's location in his armor, and Sister Six joined the rebellion. Aphra and Tolvan departed the Lucrehulk Prime and shared a kiss aboard the shuttle.
Attack on the Son-tuul Pride
Aphra returned to 0-0-0 and presented him with the datadisk containing his memories. 0-0-0 thanked her but indicated that he wasn't finished with her. Aphra assumed he intended to kill her, but he believed he already had. After recounting the terrible things Aphra had done to retrieve his memories, he suggested she enjoyed it. Aphra attempted to justify her actions but failed. 0-0-0 finally declared that love was murder and ordered his men to kill her. At that moment, the Son-tuul Pride was ambushed and a large firefight erupted. 0-0-0 and BT-1 escaped, but the rest were either killed or captured, including Aphra. A stormtrooper brought Aphra to their superior, Tolvan, who had bugged Aphra. She then had Aphra put on Shuttle Six with Dek-Nil and they were taken away.
Accresker Jail
Imprisonment
Tolvan had Aphra imprisoned at Accresker Jail, a wreckage-prison held together by an attractor node and pulled by a prison tug, an Arquitens-class command cruiser. During her incarceration, she and the other prisoners were required to serve in the prison's convict army, the Accresker Penal Legion. She was required to stay close to her hubdroid, otherwise a micro-implant inserted into her by the Jail's superiors would detonate. The hubdroid also provided her with food and a weapon for each battle. In addition to Aphra, Dek-Nil had been taken to Accresker Jail, but instead of serving in the legion, he was made a hubdroid. Although the Imperials placed a restraining bolt on him, his control circuit was a decoy, with his real one concealed behind beskar plating.
Escape attempt
Approximately a week after her imprisonment, she and the Penal Legion were dispatched to clear out a crippled EF76 Nebulon-B escort frigate. During the engagement, she deceived her hubdroid by claiming that rebel commandos were ahead, causing it to malfunction. While Aphra conversed with an alien named "Lopset Yas," who was actually Cornelius Evazan in disguise, the hubdroid exploded, killing everyone in her squad except for her and Yas. Their micro-implants began emitting warning beeps, and Yas panicked. However, Dek-Nil arrived in time and transferred them to his now empty squad. Following this, Aphra led the two back to the wreckage prison, explaining to Yas her connection with Dek-Nil and the fact that his restraining bolt was not controlling him.
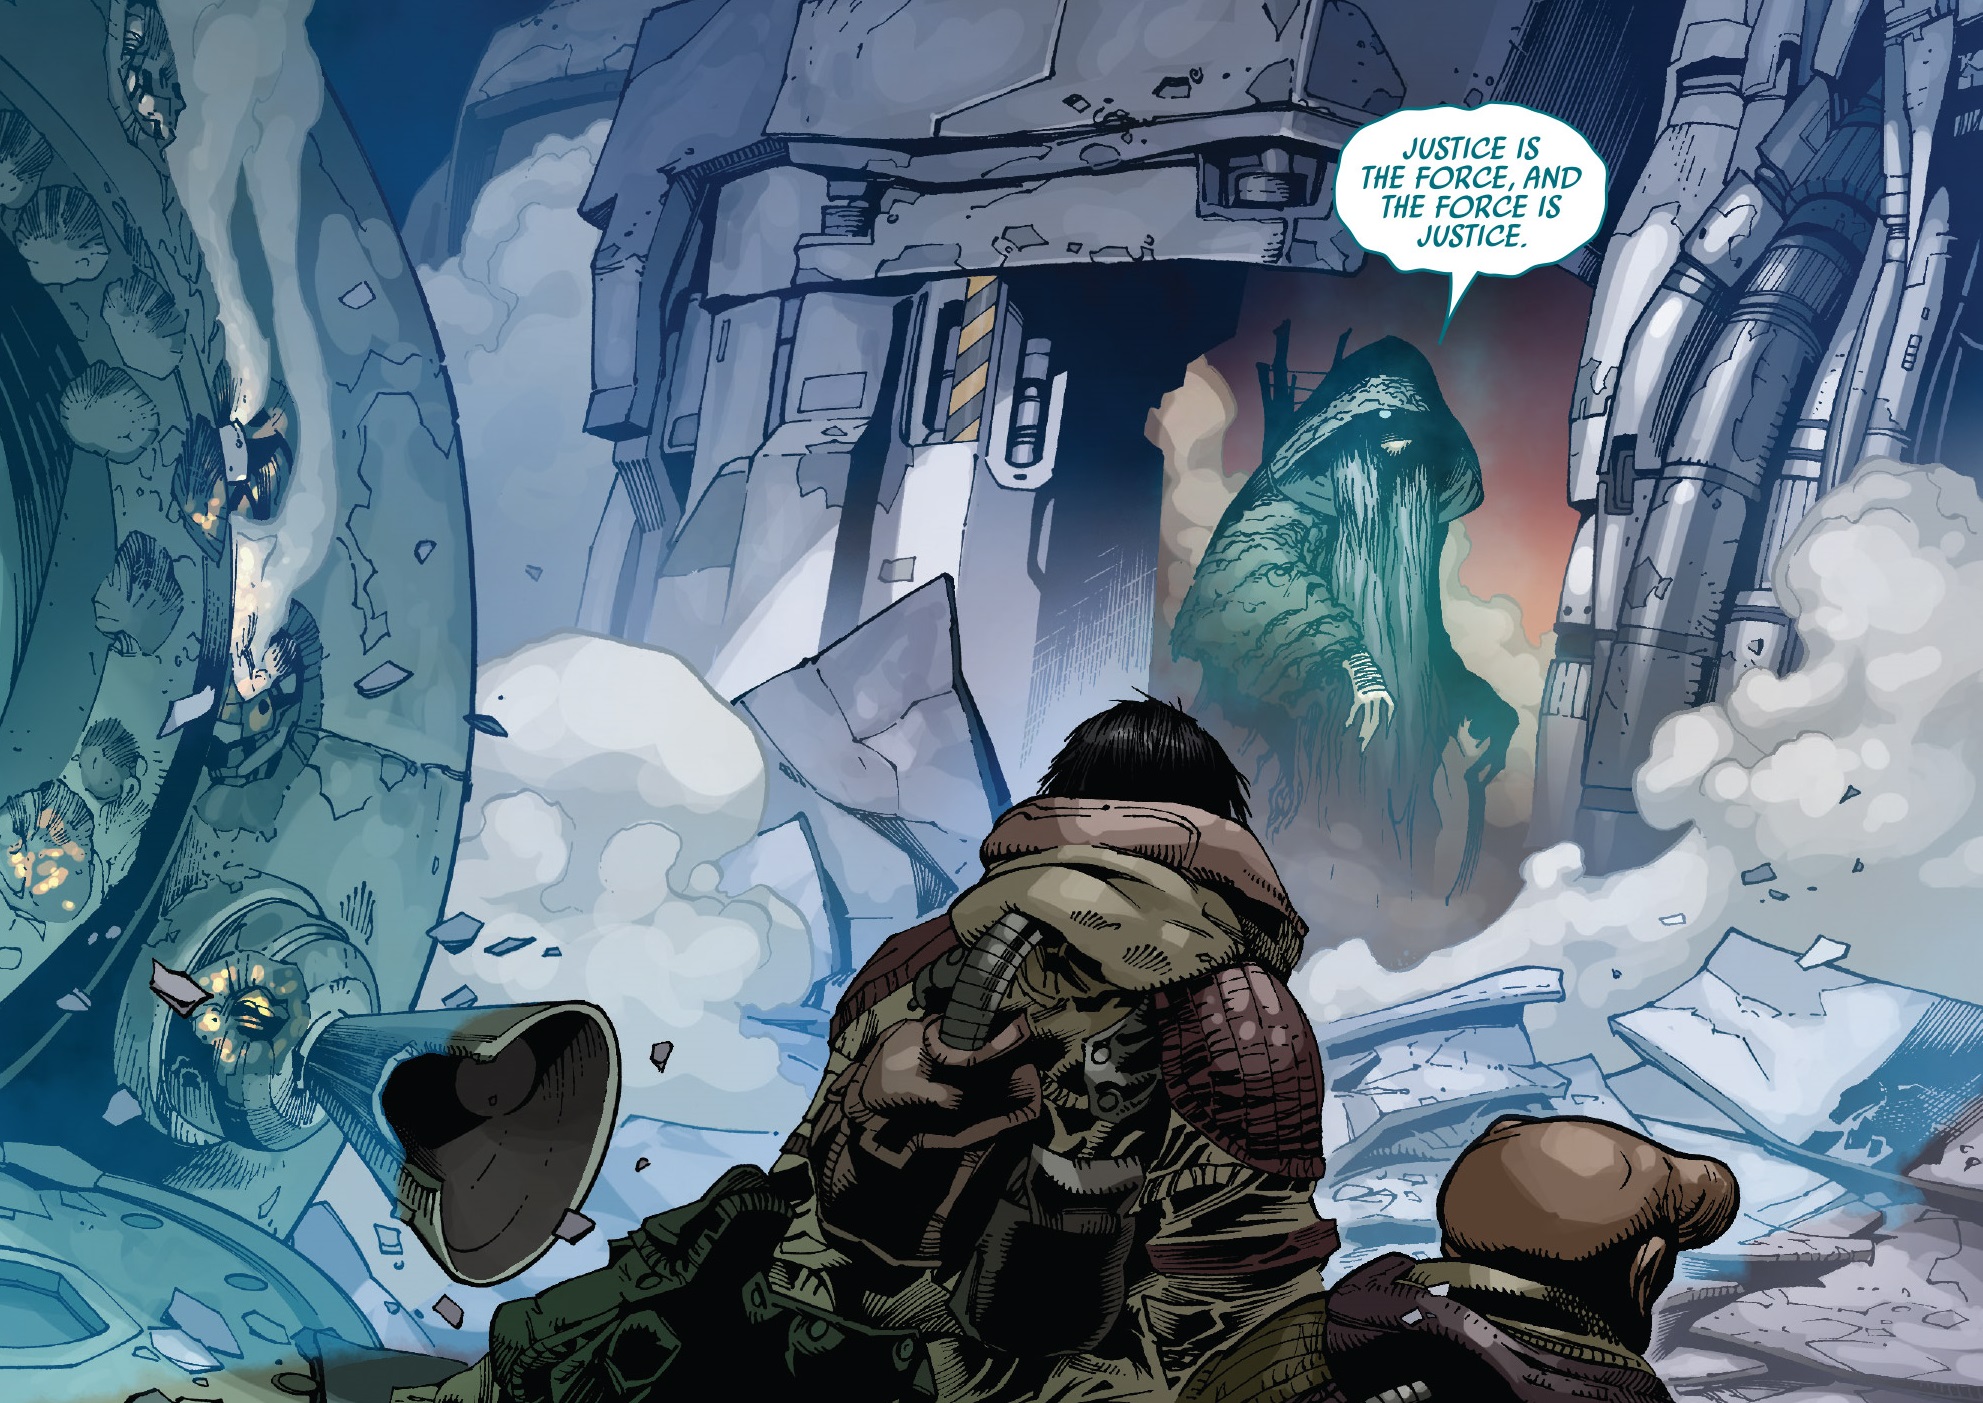
After navigating a few corners, they discovered an escape pod with a protocol droid and astromech droid nearby. Aphra and Yas shot down the droids, and Aphra questioned whether he was worth taking with her. However, Yas noticed Dek-Nil's restraining bolt glowing and moving across his metal plating. Once it moved, the Imperial programming within it seized control of him, and he identified and destroyed the escape pod. Aphra and Yas were thrown to the floor by the explosion, and as they looked up, they saw a Force spirit nearby. Dek-Nil then forced the two to return to the prison before they could investigate what they had just witnessed.
Interrogation
Following the battle, Aphra was interrogated by the prison's Interrogation Officer and his Lieutenant on the prison tug. They had Aphra recount her experiences at Accresker Jail and the events on the Nebulon-B frigate. The Lieutenant noticed that she was lying frequently and concluded that she was concealing something significant. However, she couldn't reveal what it was, and the Interrogation officer decided that more effective methods might work on Aphra. After returning to the prison, Yas provided Aphra with a transmitter he had managed to repair during his time at Accresker Jail. Aphra used it to contact Tolvan in an attempt to secure her release. Tolvan stated that it was impossible, but Aphra argued that if the Interrogation officer managed to break her, they might uncover the secrets she possessed about Vader's plot to replace the Emperor. Aphra informed Tolvan that her knowledge put them both at risk, as Tolvan was also aware of it. Aphra pleaded with her to come and rescue her.
After speaking with Tolvan, Aphra spotted the Force spirit she had seen during her escape attempt. She called for Yas, who may have seen it as well, but realized he was trapped under debris. Part of his head was molding, and she helped him escape. After being freed, Yas explained that he was convinced Accresker Jail was haunted, recounting inexplicable events he had encountered. Aphra dismissed it with laughter and told him it didn't matter. She then confronted him about his shape-shifting ability. Yas admitted to it and transformed into the forms of his former users to show Aphra what he had done. However, he explained to her that people only sought to exploit him for his ability. Aphra agreed with him and recalled something her mother used to say.
Second escape attempt
Aphra was taken back to the prison-tug and placed in a holding cell with Dek-Nil and the Interrogator's Lieutenant guarding her with two stormtroopers. Tolvan suddenly entered the room and ordered everyone to leave. The Lieutenant stated that it was protocol for her to remain, so Tolvan ordered her to hum audibly to herself in the corner. Tolvan then approached Aphra, and they began plotting her escape.
Twelve hours later, Accresker Jail arrived at its next target, a crippled pirate station. Aphra and the Penal Legion were sent in, and they laid siege to the pirates. As they did so, Aphra used the Imperial authority code 6690B1 on Dek-Nil to seize control of his restraining bolt. She then had him take her and Yas to a rendezvous point to meet Tolvan.

They reached the designated meeting spot where Tolvan was awaiting their arrival in a TIE fighter. Just as they were about to board, the Force spirit materialized once more and disabled the sensor disruptors that were preventing the TIE from being detected by scanners. Tolvan urgently told Aphra to get on board immediately, but Aphra's attention was captured by the Force spirit. As she pursued it, she observed it heading towards a Penumbra-1 shattersprite, an ancient Jedi starship. Driven by a desire to uncover hidden riches, Aphra, accompanied by Dek-Nil and Yas, approached the ship, while Tolvan repeatedly implored her to return. Suddenly, Tolvan found herself under attack from behind. The assailant was none other than Sana Starros, a rebel mercenary tasked by General Syndulla with capturing Aphra. Starros's vessel, the Volt Cobra, inflicted severe damage on Tolvan's TIE, causing it to explode. Tolvan managed to eject just in time, armed with a rocket launcher, and fired upon the Cobra. The rocket tore through the Cobra's hull, causing it to crash.
In the meantime, Aphra and her companions encountered the Force spirit yet again, and it proceeded to dismantle Dek-Nil. The spirit had assumed the guise of Aphra's deceased mother, but Aphra remained unfazed and fired at it. The spirit retreated back to its origin, which Yas identified as gundravian hookspores. The spores began to advance towards them, but their shots had no effect. Despite this, the spores retreated to safeguard the remains of a Jedi it had once controlled. Aphra expressed her desire to claim the Jedi's lightsaber, but they were compelled to return to the prisoner berths. Yas retrieved Dek-Nil's central processor, and they fled from the retracting airdome in search of Starros and Tolvan. The two had discovered their shared goal of rescuing Aphra, a realization that did not please Aphra. The group was then approached by a hubdroid, who confiscated all of their weapons. Subsequently, it escorted Aphra away for her next round of interrogation.
Accresker Jail: End of Service
Aphra was brought before a Bor of the Mairan species, named Bor Ifriem. The Bor immediately delved into her mind, revealing a series of her past experiences. Aphra admitted that she was preoccupied with thoughts of her mother, and the Interrogation officer informed her that the Bor had the ability to erase those memories. Succumbing to the pressure, Aphra revealed the existence of the hookspores. The Lieutenant was astonished to learn that her claim was true, and Accresker command promptly decided to decommission Accresker Jail. The decision was announced to the prisoners, who were informed that the prison would be propelled towards a rebel planet. As the announcement concluded, an individual clad in protective gear shoved Aphra into the midst of the prisoners.
Now more desperate than ever to escape, Aphra and her allies devised a new strategy. Aphra contacted Tam Posla, with whom she had a strained relationship following their previous encounter. Aphra demanded that Posla rescue her and presented Yas, who had assumed the form of Cornelius Evazan. Posla fell for Yas's impersonation and agreed to Aphra's demands. Unbeknownst to Posla and Aphra, however, 0-0-0 had planted a bug on Posla's ship and was eavesdropping on their conversation. Both Posla and 0-0-0 were now en route to her location. Meanwhile, Starros and Tolvan observed escape pods departing from the prison-tug. Aphra and Tolvan quickly deduced that the prison was being abandoned, and they began to flee. The cruiser then collided with Accresker Jail.
Aphra and the others discovered that the convicts were engaged in a riot. One of them recognized Aphra and, aware that she had been interrogated, blamed her for the prison's impending destruction. The group attempted to evade the rioters, but upon turning a corner, they encountered a towering alien wielding a heavy weapon. The alien was suddenly attacked by the Force spirit, which had begun to wreak havoc on the convicts. Tolvan inquired if Aphra could guide them to the prison-tug and identify a potential escape route. Aphra began to investigate, while Starros suggested that the alien's weapon might be capable of breaching the cruiser's hull. The four of them seized the weapon and fired it at the side of the ship, creating a hole.
A Fresh Escape Strategy
The group made their way into the prison-tug and reached the control center. Aphra examined the ship's systems and discovered that the Imperials had left behind an escape pod. However, it was located behind sealed bulkheads that they were unable to reach with the weapon, and the escape pod was incapable of escaping a gravity field like the one on Accresker Jail. Aphra realized that if she could hack into the ship's systems, she could reduce the gravity field generator's output and unlock the bulkheads, allowing them to proceed. After spending a few minutes hacking into the nearby terminal, Aphra gained access to the systems and reduced the prison's gravity to half, causing Accresker Jail to shift much of its wreckage and even jettison some of it. After opening the bulkhead, they traveled towards the launch deck to find the escape pod. The gravity alteration, however, had moved Penumbra-1 shattersprite in their way and the Force spirit confronted them. The hookspores then possessed them but felt they were not of use to it and rejected them.
Aphra reasoned that it might be seeking another heroic figure to control, following the demise of the Jedi it had imprinted on. Starros then accused Aphra of deliberately positioning the Jedi ship in their path in order to acquire the Jedi's lightsaber. Aphra ignored her and speculated that the hookspores might target Posla upon his arrival. Fortunately for them, Posla was approaching Accresker Jail in his ship. Aphra and the others continued towards the escape pod, and upon finding it, Starros and Tolvan climbed inside. Aphra then attempted to eject the escape pod with the two of them inside, but Tolvan jumped out at the last moment, leaving Starros inside as it launched. Aphra had intended to escape alone, which Yas questioned, but she was forced to accept Tolvan into her plan.
Aphra led the other two to the hanger of the prison-tug, and she told Yas to remain on the grille below him. Yas then realized she was using him and confronted her for it. Aphra told him it was the only way to survive and he reluctantly complied, shape-shifting into Dr.Evazan. Aphra then revealed the grille to be a coolant grille and she froze Yas in Evazan's form. Posla then arrived in the hanger on his ship. He brought with him an escape shuttle to trade for Evazan and began inspecting the frozen individual, once again not realizing it was Yas. The hookspores had detected Posla and approached him from behind. Tolvan then froze the fungus as it tried to possess him and he took the ice chunk, housing Yas, away.
Enemies on All Sides
With the hookspores frozen, Aphra returned to the Penumbra-1 Shattersprite to retrieve the lightsaber belonging to the Jedi corpse. She then returned to the escape shuttle Posla had given her, with Tolvan, and attempted to flee Accresker Jail. 0-0-0, though, arrived on his touring ship and shot down the shuttle. Aphra and Tolvan fled from their pursuers and 0-0-0 was slowed down by a group of prisoners. As the two managed to make some distance from the murderous droid, Aphra realized that Accresker Jail was about to hit Tiferep Major. At the last moment, however, the prison stopped falling. Aphra realized it was a tractor beam that had saved the clump of wreckage and noticed a shuttle arriving. That shuttle delivered Darth Vader, whom Tolvan had contacted as a last resort.
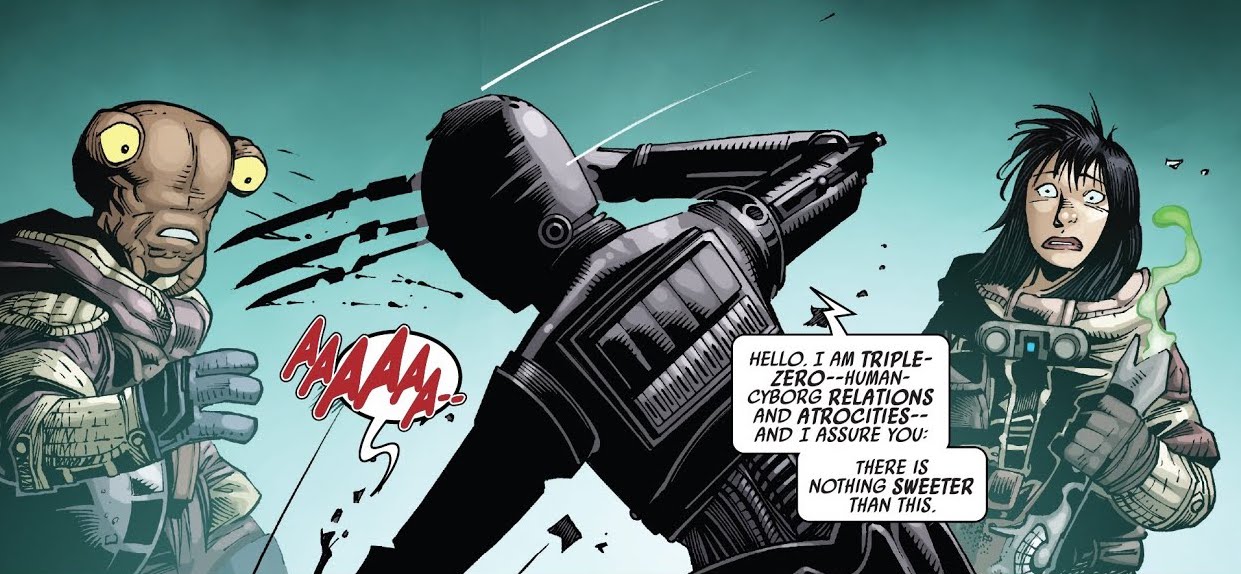
As Vader searched for them, Aphra led Tolvan back to find Bor Ifriem and told her to erase her memory with it. Tolvan refused and convinced Aphra to erase her (Tolvan’s) memory of Vader's conspiracy instead. Aphra agreed and seemingly did so. Vader, though, was catching up with them and found Tolvan. Aphra watched him interrogate her through a cam droid, feeling ashamed for having manipulated Tolvan’s memories instead of erasing them. Fortunately, Aphra’s deception saved Tolvan’s life; Vader spared her after she admitted to having murdered Aphra (which she now believed she’d done).
Yas appeared. Aphra was confused about this but realized why when Posla stepped out and pointed his blaster at her. Aphra activated the ancient lightsaber to counter him, but it deactivated due to its degrading age. Posla then attempted to arrest her when 0-0-0 attacked him from behind. Aphra and Yas watched in horror as Posla was mauled to death by the droid. 0-0-0 then captured Aphra and Yas escaped.
0-0-0 dragged Aphra towards his touring ship to find it destroyed. 0-0-0 called for BT-1 but Yas appeared and claimed to have seen the droid's parts scattered around. Yas then shot 0-0-0, deactivating him. Aphra thanked him for saving her but he stunned her, taking her and 0-0-0 back to Posla's empty ship. Aphra woke up hours later, chained to a wall in the ship. She asked Yas why he had done this and he revealed himself as Cornelius Evazan, wearing a pluripleq from Thannt to disguise himself. Evazan told her that he had placed a proximity bomb inside of 0-0-0, meaning the pair had to stay alive and with each other to avoid exploding. Evazan also patched into a live feed from 0-0-0's eyes so he could monitor them both. Proudly asserting himself a ‘monster’ he then accused Aphra of being one herself for having manipulated her lover’s memories to think she’d killed Aphra; selfishly saddling Tolvan with horrible guilt in order to secure her own freedom. Evazan laughed, telling Aphra that she and 0-0-0 truly deserved each other. His ship docked with another ship, manned by Evazan's partner in crime, Ponda Baba. Evazan set 0-0-0 to reboot and left Aphra with him.
Pursuit on Milvayne
Aboard Posla's vessel, Aphra and 0-0-0 came to terms with their precarious situation and started formulating a plan. By accessing a computer system on the ship, Aphra uncovered details about Posla's personal cyberneticist, Doctor Rajam Nuss, who was located on Milvayne. Aphra was convinced that he possessed the expertise to disarm their proximity bombs, leading the duo to embark on a journey to Milvayne. Upon their arrival at Milvayne City, Aphra made an attempt to bribe a city official, but her efforts were unsuccessful. As a result, she resorted to allowing 0-0-0 to administer an electric shock to the official. As they made their way into the city, they were promptly identified by officers of the Milvayne Authority. Aphra endeavored to evade the incoming blaster fire while simultaneously commandeering a speeder. However, she soon realized that 0-0-0 was nowhere to be found. Despite the activation of her bomb, she made a swift dash towards the maniacal droid, preventing its detonation just as it was seizing control of a different speeder. Aphra vehemently insisted that they needed to cooperate in order to survive, but 0-0-0 vehemently disagreed. As they found themselves surrounded, Aphra reluctantly handed over the ship's security fob to 0-0-0, only to be horrified when he intentionally self-destructed their vehicle as a diversion for the officers. Inside, Aphra utilized the local holonet to locate directions to the doctor, but when she began to instead search for information on Tolvan, 0-0-0 called her out. Failing to find a record, Aphra began looking for Nuss and soon located him. Arriving at his lab, they paid him to remove the bombs.
As they prepared for the operation, Aphra apologized to 0-0-0 for encrypting his memories as part of her attempt to convince 0-0-0 to not kill her as soon as the procedure was done. Nonetheless, the droid promised to kill her "exceedingly slowly" after she got a five minute head start. After going under for an hour, Aphra awoke to see Doctor Nuss asking for his payment. She rose and instead ran for the door as 0-0-0 reminded her of the five minutes. However, Aphra realized with horror that the bombs were still inside them and had been armed once again. As she frantically found 0-0-0 again, she announced that they had only ten hours before they detonated regardless of their physical distance, but she found 0-0-0 standing over the bloodied corpse of Doctor Nuss.
In the meantime, Evazan, disguised as Princess Leia, enlisted the services of Winloss and Nokk to eliminate Aphra, who were eager to exact revenge on her for abandoning them at X3-299-11's temple. Meanwhile, Aphra devised a plan to seek out Dr. Nuss' mentor, Professor Prexo, in order to disarm the bombs. She once again accessed the local holonet and employed her slicetech skills, cross-referencing suspected criminal activities with bus schedules, in order to identify a driver who would be amenable to accepting a bribe. Throughout this process, she attempted to persuade her droid companion to embrace her plan, but the droid remained resistant due to its lack of any element of murder. When Aphra attempted to shift the blame onto 0-0-0 for their predicament, asserting that it was his fault for killing Nuss, 0-0-0 simply retorted that Aphra was the reason they had the detonators in the first place. Conceding defeat, Aphra pleaded with 0-0-0 to give her plan a chance, and she successfully bribed the driver. However, she refused to allow 0-0-0 to ride alongside Aphra. When Aphra bartered with her to have her droid ride near her, not telling her that her life depended on it and claiming it was for "warranty reasons," the driver said that he could sit with the luggage. 0-0-0 took offense, and after threatening to kill her, the driver called Informahub, and 0-0-0 was tossed into the Underworld, where they had seen criminals been thrown into only moments earlier. Aphra decided to grab the driver's blaster and take her chances following 0-0-0, knowing her chances of surviving without him were zero, diving off the platform after him.
Down in the heap of garbage, she met the young girl Vulaada Klam and her pet qaberworm Gurtyl, the latter of whom had grabbed 0-0-0. Aphra convinced Klam to tell her pet to drop the droid, and then promptly prevented 0-0-0 from killing the girl. Aphra was able to convince Klam to give her and 0-0-0 a ride on Gurtyl across the undercity in less than nine hours and thirteen minutes, which was how much time 0-0-0 calculated they had before their bombs detonated, with Aphra promising Klam that she could have the protocol droid afterwards. When 0-0-0 glanced at her, Aphra whispered that it was a white lie, to which 0-0-0 responded that she would predictably betray someone again, either backstabbing him or cheating her new companion Klam.
As they rode, they attacked by Tam Posla, who had been reanimated by the gundravian hookspores. As Posla gloated that he had tracked them using 0-0-0's transponder signature, a reanimated BT-1 appeared and brandished his weapons on the pair. Aphra and 0-0-0 attempted to run away from the two to no avail. However, they were saved by Winloss and Nokk. They attempted to kill Aphra, but were stopped by BT-1. Aphra and 0-0-0 continued running away. Aphra searched and found for Klam and Gurtyl. They made their way to one of the Empire's bloatbarges. Unfortunately, Posla and his fellow lawmen found them. Aphra and 0-0-0 were then knocked out by Klam.
Aphra and 0-0-0 were then tried by the Milvayne Authority cops and Posla and found guilty. As Poslan and his fellow officers prepared to execute Aphra, she was able to convince the cops to turn and arrest Posla for desertion. As the cops shot Posla, Aphra and 0-0-0, on her back were able to escape. They made a stop at a fuelstop where Aphra reattached 0-0-0's legs. 0-0-0 and Aphra then boarded a transport. They were then pursued by Winloss. Despite losing Winloss, Aphra and 0-0-0 were trapped by Nokk aboard their ship. Unfortunately, Winloss and Nokk's ship was damaged by the Empire. Aphra and 0-0-0 survived the crash.
They were then confronted by Captain Okma of the Coalition for Progress and his stormtroopers. Okma offered to remove the bombs from her and 0-0-0 in exchange for getting Milvayne back under Imperial control. However, Aphra refused and killed Okma and his stormtroopers with 0-0-0's seismic pulse. She then discovered that Tolvan and Starros had joined the Rebellion and was declared a turncoat. Aphra then gave 0-0-0's his memories back. The two were then confronted by Winloss and Nokk, but they decided to give up their hunt for her. Aphra then comforted 0-0-0 when he remember his first moment of creation, to no avail. 0-0-0 decided to terminate himself by detonating his and Aphra's bombs.
Aphra found BT-1, reactivated him and was able to convince 0-0-0 from terminating himself. They were then joined by Klam and Gurtyl who agreed to take them to Prexo. When they arrived at Prexo's officer, he was away on a work trip and confronted by stormtroopers and Milavayne cops. Luckily Aphra, 0-0-0, and BT-1 were able to take them out except for Posla. As Posla attempted to shoot Klam, Aphra saved her by taking the shot. Aphra and 0-0-0 discovered that their bombs had gone inert. 0-0-0 and BT-1 left her and Aphra was taken in by Klam.
Serving the Rebellion
Reunion with Tolvan
For the next two months, Aphra took Klam as her ward, laid low and took her to the Slinani Migration Shrine known as the Red Mist. During this time, she sneaked off to several spacer bars without Klam. Aphra accepted a job to steal an item from the shrine. Aphra and Klam were to steal a cape from one of the Shrine's droids. However Aphra and Klam then found the real prize: the Farkiller of Oo'ob the Apostate. As Klam distracted the droids, Aphra made her way to the Ark Angel. There, she met up with Klam and went to a Abandoned Spice Mine on Unox. Aphra was then approached by Extraction Team Misericorde of Alliance Intelligence. Aphra met up with Sister Six and her commanding officer, Captain Tolvan.
Aphra and Tolvan, realizing what Bor Ifriem did to her memory, stunned her and took her to Trading Post Sh'ung-tesk to meet with General Airen Cracken. There, Cracken told her how her theft forced the Slinani into negotiating an alliance with the Empire. Cracken and his droid Teezee-Too told Aphra about the history of the Farkiller. Aphra was allowed to watch as Tolvan did a field test on the Farkiller by eliminating a M.I. cell. Despite the success of the test, Aphra told Cracken that it could not work practically as a field piece. She objected to the idea of dismantling the Farkiller in order to reverse engineer it. Cracken told her about Rebel Intelligence's plan to assassinate the Emperor.
Aphra discovered that the M.I. cell's targets was not Mon Mothma but Aphra herself. Cracken offered her and Klam a chance to join the Rebellion but they chose to leave. She and Klam went to Arbiflux to law low. She was contacted by Cracken, who warned her that several mercenaries under Black Krrsantan were coming after her and Klam. However, Krrsantan found her, demanded her go give him his money and gave her hug. Several stormtroopers were coming up after them. Krrsantan carried her while Klam rode Gurtyl away from the stormtroopers. They were able to make it to the Ark Angel II where Krrsantan revealed his employer as Pitina Mar-Mas Voor, Imperial Minister of Propaganda.
Aphra, Krrsantan, and Klam were able to evade several TIE fighters. She, Klam and Gurtyl met up with General Cracken and Indigo Squadron. She was then taken to a lab by Teezee-Too. Once in the lab she was able to hijack Teezee-Too in order to access security systems. Aphra attempted to take the Farkiller, but was held at knife point by Tolvan. Despite this, Aphra told Tolvan to put on a breath mask. Krrsantan was able to break in and attacked Tolvan. When told Tolvan had Krrsantan at knife point, Aphra told her the Farkiller's purpose and it's role in a assassination attempt on the Emperor. Despite that, Tolvan chose to stay with the Alliance. However, she allowed Aphra to leave with it and asked her to make her injury look good. Aphra told Klam to leave Gurtyl behind and go to the _Ark Angel _II. She was then given a Imperial command identification by Tolvan and told Aphra that she still loved and hated her. After Krrsantan knocked Tolvan out, Aphra and the Wookiee made their way back to the Ark Angel II.
Working with Voor
Aphra then contacted the Empire at their Communication Relay at Usk Minor and informed them of the Alliance's assassination plot. She gave herself up and revealed the Farkiller to them. She, Krrsantan, and Klam went to the relay and surrendered to the stormtroopers. Vader saw her message and attempted to order the stormtrooper's officer to eliminate her. However, the message was jammed and a Imperial shuttle arrived with Minister Voor. Aphra, Krrsantan and Klam were hailed as heroes by her and taken to the Coalition for Progress headquarters on Centax 3. There, Aphra was given a tour of the headquarters by Voor. Aphra asked for a pardon, passage to the Outer Rim and money paid to Krrsantan. Aphra threatened to have Krrsantan destroy the Farkiller if their price was not met. She agreed to pay the Wookiee. After the Wookiee left, Voor told Aphra and Klam her plans to assassinate the Emperor.
Voor revealed to them that she was using the rebels to find Aphra and retrieve the Farkiller to carry out the assination. Aphra realized that the Farkiller won't be bomb and that the Emperor would up end up as either comatose or a corpse. She also knew Voor would place the blame on the Rebels when they would reclaim Coruscant. Despite the plot, Aphra revealed that she was aware of this and warned the Emperor of the plot. She also knew that the Rebels, as well as the Empire and the entire galaxy would know of Voor's plot. Aphra revealed that Krrsantan had hijacked the cameras. Aphra and Vulaada stood by as Vader arrived and executed Voor for her treason.
Return to Vader's service
Aphra was then taken to the Executor, where she shared quarters with Vulaada on a bunk bed. Sleeping at the bottom of the bunk, Aphra dreamed of being jettisoned out of an airlock by Darth Vader and, having been deprived of gas supply, choking to death in the coldness of space. The airlock-fearing human rudely awoke, rising up and letting off a scream before regaining control of herself. Above, Vulaada greeted Aphra as she laid back down and recovered from her worst nightmare, and queried whether Aphra had the nightmare involving Vader's Force choke or the one involving the impalation of her eye by Vader's lightsaber.
When Aphra replied the nature of her imagined death, Vulaada teased that that dream must have been worse than the one in which Vader bound Aphra to the front of a TIE fighter, although before the girl could finish her sentence, Aphra interrupted her in annoyance and confirmed the horridness of her own airlock dream. Vulaada thus expressed her thought that Aphra should sleep more, but acknowledging that both of them knew that she would not, the girl reminded Aphra that her shift would begin in twenty minutes.
With a steaming cup of beverage in hand, Aphra gathered alonside other archaeologist consultants aboard the Executor in the Arkanis sector. There, General Maximilian Veers introduced himself as their new supervisor as part of Project Swarm—an effort to find the Rebellion's hidden base—and considering that his predecessor, Major Yaltza, was dispatched of by Lord Vader for the project's delays, he stressed that he wanted results. Dismissing Veers' use of "gentlemen" in addressing her group of archaeologists, Aphra questioned whether the general would receive better assignments if he changed his name to "Maximillian Staysontarget."
The archaeologist's witticism stunned those around her, although when one of Veers's subordinates reminded the general that she was the infamous Doctor Aphra, Veers responded that he liked wit—albeit only in the right context. The general then shocked Aphra with an electro-shock prod, knocking Aphra's beverage out of her hand. As Aphra recovered on her knees, Veers handed the floor over to Professor Rupo Ud.
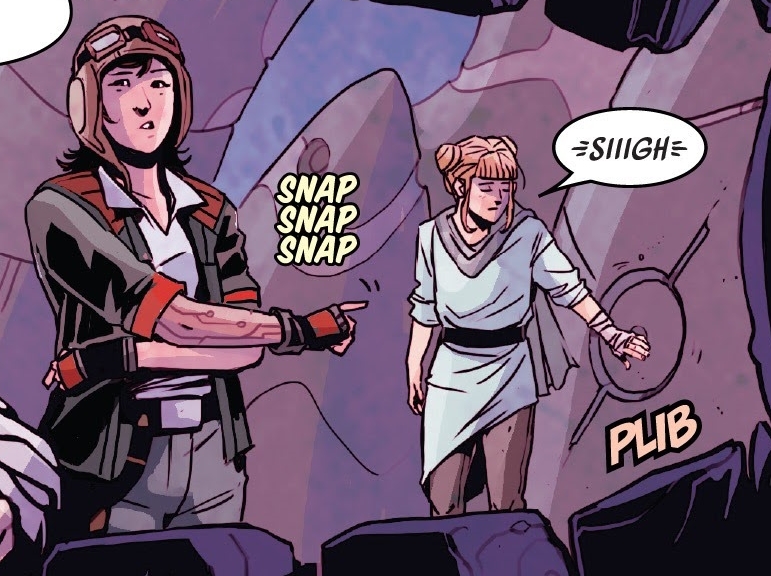
Aphra was under the impression that the Rebels would not revisit an old location. Consequently, she approached Vader, but he dismissed her. Following this, she volunteered for a mission to investigate Ash Moon 1 in the Kartovian Formation for any indications of a Rebel base. Upon arrival, she and Vulaada began their exploration. During the exploration, Aphra callously allowed Professor Ud to meet his end by triggering an ancient trap. Subsequently, she encountered a man who had been incapacitated by General Veers and his forces, abandoning Vulaada in the process. Aphra and her team then returned to the Executor, where she received orders to participate in the interrogation of the captured man, who shockingly revealed himself to be Aphra's father.
Aphra successfully manipulated Vader into believing her father was merely a harmless academic. To her dismay, she then encountered Vader's interrogation specialists, BT-1 and Triple-Zero. Fortunately, the droids had undergone memory wipes and had restraining bolts installed. Despite this, Vader permitted the droids to interrogate Korin. Aphra attempted to persuade her father to disclose any information he possessed regarding the Rebellion to the Empire. Korin expressed his disdain for the Rebels' use of pristine temples as bases and voiced his eagerness to assist the Empire. Aphra then informed Vader and Veers that her father had been investigating the Asteroid Helix 13-v near Karga. Subsequently, Vader and Aphra journeyed to the asteroid, where she and her father surveyed the site for Rebel activity. Following the exploration, Aphra and her father were escorted to a shuttle, where one of them was to be executed. Korin ultimately chose to sacrifice himself. However, at the last possible moment, Captain Tolvan and her team intercepted the shuttle.
The Unnamed then took the captured shuttle on board. Aphra attempted to flee by concealing herself within the shuttle's cannon system. She navigated her way through the ship to the ops room, where she hoped to discover the location of the Rebels' new base. However, she found herself surrounded by Tolvan and her crew. Aphra managed to utilize Teezee-Too to impede Tolvan's search and confine Tolvan's crew within the ops room. She then contacted BT-1 and instructed him to extract her father from the brig. Tolvan shot Aphra, attempting to convince her that the Rebellion was not as treacherous as the Empire. Despite their differing viewpoints, the two confessed their continued affection for each other, shared a kiss, and spent the night together. While Tolvan was asleep, Aphra discovered the rebels' location: Hoth. Rather than betray the rebels to Vader in an attempt to gain favor with the Empire and save herself, Aphra instead chose to protect Tolvan by deliberately misleading Vader, hoping her actions would buy the rebels enough time to establish defenses and devise an escape strategy. Aphra boarded an escape pod with BT-1, leaving her father aboard the Lambda on a course for Klam, and sent a message to Triple-Zero and Vader.
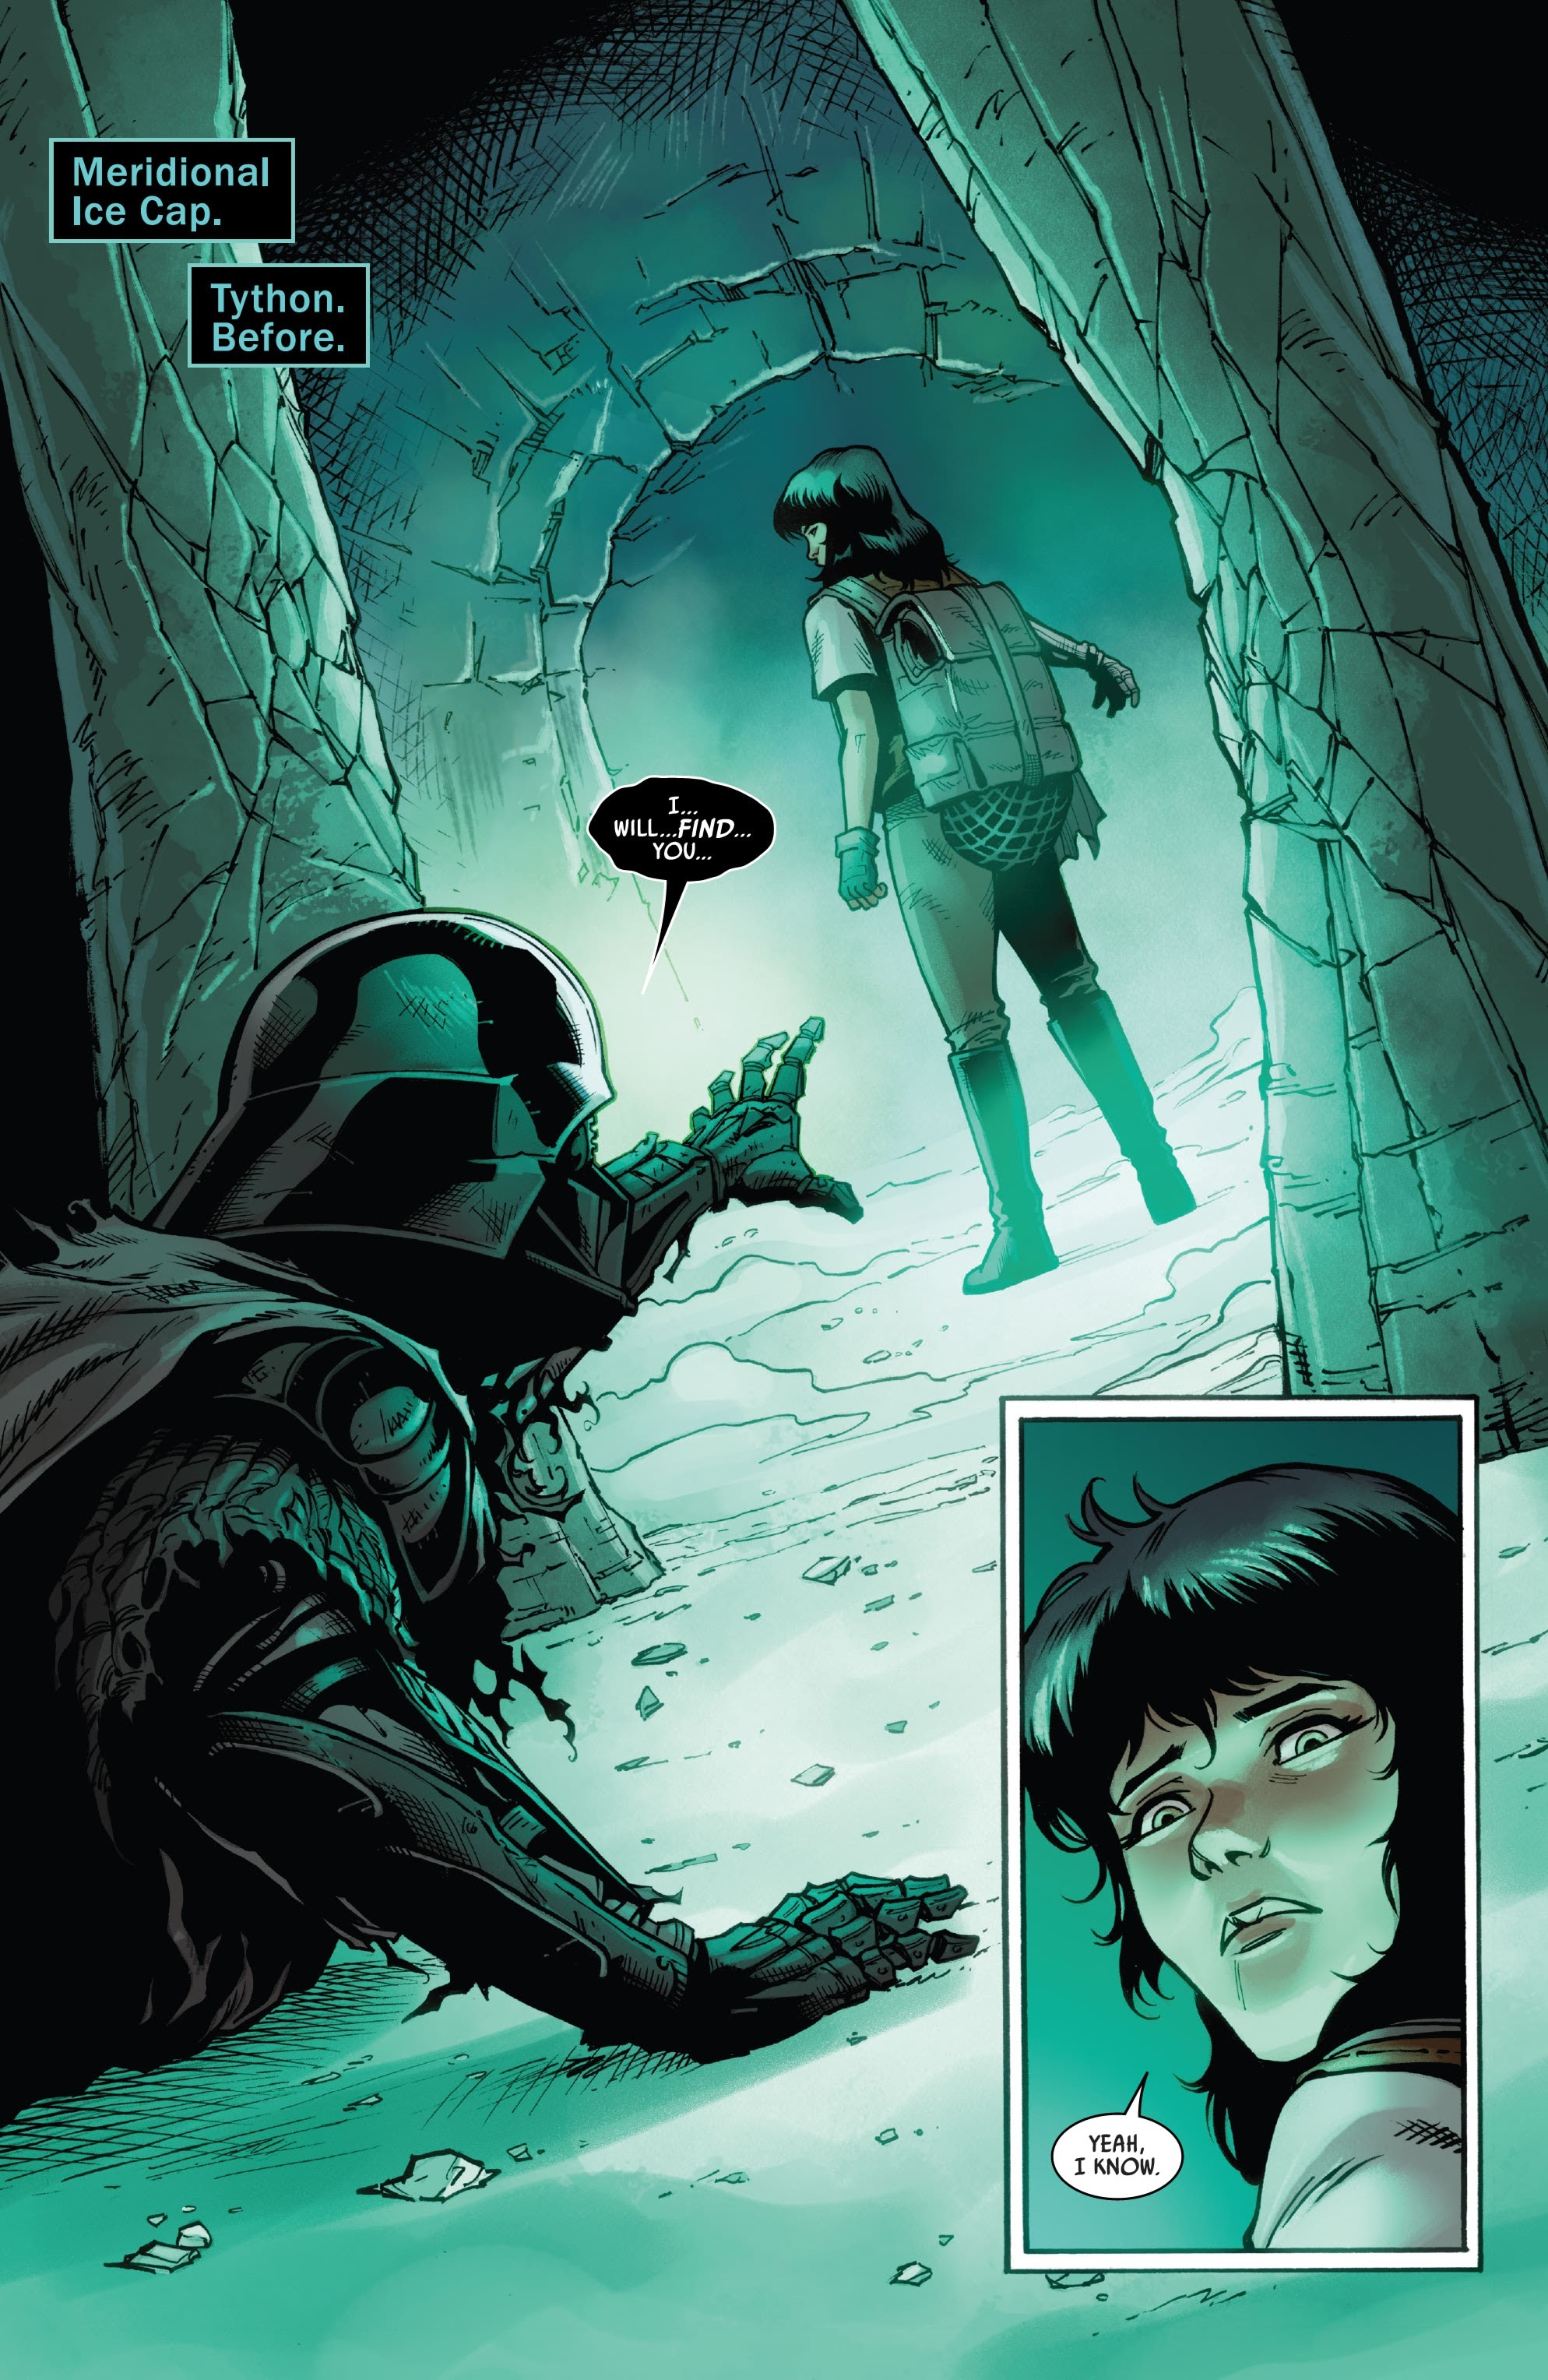
Aphra ensured that Tolvan's crew would follow the Lambda, knowing that Tolvan, her father, and Vulaada would eventually reunite. She then rendezvoused with Vader on the planet Tython's Meridional Ice Cap within the Martyrium of Frozen Tears, where she was observed by Triple-Zero. Aphra successfully removed BT-1's and Triple-0's restraining bolts, facilitating their escape. Vader and his snowtroopers pursued them. Aphra and 0-0-0 utilized tracers to create illusions of Vader's past, before incapacitating him with electricity, leaving him severely injured.
Using Vader's vocoder, she altered the Executor's probe droids' records to safeguard the rebel base, where she anticipated her loved ones would gather, for a few additional weeks. She then departed, leaving the heavily damaged dark lord behind, knowing that he would undoubtedly kill her if she were to get too close. Although she was aware that he would relentlessly pursue her and anticipated a short lifespan, she bid farewell to the man who had haunted her, expressing her hope that he would one day "do something good," like she just had, before claiming he had ended up being the best thing to ever happen to her. Aphra then commandeered an Imperial ship with 0-0-0 and BT-1 and escaped. She also sent a message to Tolvan, her father, and Vulaada, telling 0-0-0 and BT-1 they could use the Imperial ship to see everything in the galaxy.
Reunions on Burnin Konn
Shortly after the Empire discovered and invaded Hoth in 3 ABY, Aphra reunited with Black Krrsantan to embark on a new endeavor. The doctor also heard a rumor that the infamous bounty hunter Nakano Lash had resurfaced for the first time since killing her own client during a mission on the planet Corellia. Aphra and her Wookiee companion decided to visit the Carbon Score Cantina on the planet Burnin Konn for a drink. There, Bossk was loudly complaining at a table that Boba Fett had beaten him to capturing Han Solo, who had had a bounty placed on him by Jabba. Aphra mocked the Trandoshan's loud behavior and suggested to her Wookiee companion that they seek out a different establishment.
Enraged, Bossk attacked Black Krrsantan, and the two engaged in combat until the Trandoshan pinned his Wookiee opponent at knife point. Aphra stealthily stole Bossk's blaster and demanded that he release her companion, stating that she needed the Wookiee for a job. However, the Trandoshan dismissed her, claiming she was out of her depth. The doctor then pointed Bossk's own blaster at him and revealed that she knew about Bossk's involvement in the botched Corellia mission with Nakano Lash, offering the Trandoshan information on Lash's reappearance. Aphra's intelligence led Bossk to the graveyard planet Galmerah.
Search for the Rings of Vaale
Aphra and Krrsantan partnered with the Kubaz mercenary Tubleek Ruz and the sharpshooter Just Lucky to undertake a mission to steal goods from the rebel base on Hoth, which the Empire had successfully invaded. After eliminating a stormtrooper detachment, Ruz attempted to seize Aphra and claim the bounty on her head. Fortunately, Just Lucky eliminated Ruz as Aphra and Krrsantan came under attack by an AT-AT. They managed to return to the Ark Angel III with several containers of rebel contraband. Aphra, Krrsantan, and Lucky transported a Fork-nosed ice worm fossil to the Shadow University. At a bar, Aphra and her current crew encountered a grad student named Detta Yao. Yao shared her doctorate dissertation on the Rings of Vaale, their curse, and asked Aphra to accompany her on an expedition to locate them.
Aphra, her crew, and Yao traveled to the Ruins of Kolkur to meet with Aphra's former flame, Dr. Eustacia Okka, and her droid TA-418. Initially, Okka refused to assist until Ronen Tagge's forces, led by Kiehart and Venters, appeared. Aphra, Okka, and her crew successfully fought them off and returned to the Ark Angel. Okka then agreed to join Aphra, Yao, and her crew in their search for the rings. Despite the legends Okka had heard about the rings' curse, Aphra decided to proceed to Dianth. En route, Aphra and the expedition received a message from Tagge via TA. He warned them that he would destroy them if they interfered with his plans, due to Aphra's theft of several items from Tagge's collection.
Upon the Ark Angel's landing on Dianth, Aphra and the expedition discovered the lost city of Vaale. As they entered the city, Aphra and Okka stumbled upon a mural that led them to the Workshop of the Architects of Vaale. Inside, they encountered an explorer who urged them to leave while they still could. Ignoring this warning, Aphra shot the explorer. She then examined the carved faces on the workshop's door and discovered a key slot. Yao found a pattern that triggered a cacophony of screaming until Krrsantan and Lucky shot at the pattern. Unfortunately, their blaster fire caused Krrsantan, Lucky, and Okka to fall through a hole. Aphra wanted to follow them but was held at gunpoint by Tagge's forces.
With the loss of three members of her crew, Aphra and Yao reluctantly agreed to work for Tagge. However, Aphra managed to activate a trap that eliminated Kiehart and her forces. The trap also opened the door to the workshop. Unfortunately, the rings were not there. Aphra realized that Yao intended to take the rings for herself. When Okka arrived with the Ring of Fortune, Yao attempted to seize it, but Lucky beat her to it. Aphra shot Yao when Lucky dropped the ring, but Lucky reclaimed the ring and joined forces with Kiehart's remaining troops.
War for Han Solo
Encounter with Durge
Aphra and Starros journeyed to find Ebann Drake aboard the Volt Cobra. At Kaderin, they discovered only corpses aboard the Opal Empress, including Drake's. However, Aphra found a hologram-playing invitation from the re-emerging Crimson Dawn syndicate on his corpse, revealing an auction for Han Solo. During the Imperial takeover of Cloud City on the planet Bespin, Solo had been frozen in carbonite and entrusted to Boba Fett for delivery to Jabba the Hutt. However, Crimson Dawn forces stole the carbonite block containing the smuggler on the moon of Nar Shaddaa, as Lady Qi'ra intended to use Solo as bait to lure in the various factions the smuggler had impacted. Watching Qi'ra's hooded message from over Starros's shoulder, Aphra remained indifferent to the smuggler's fate. When Starros questioned whether they could help him, Aphra said it was okay if she tried to.
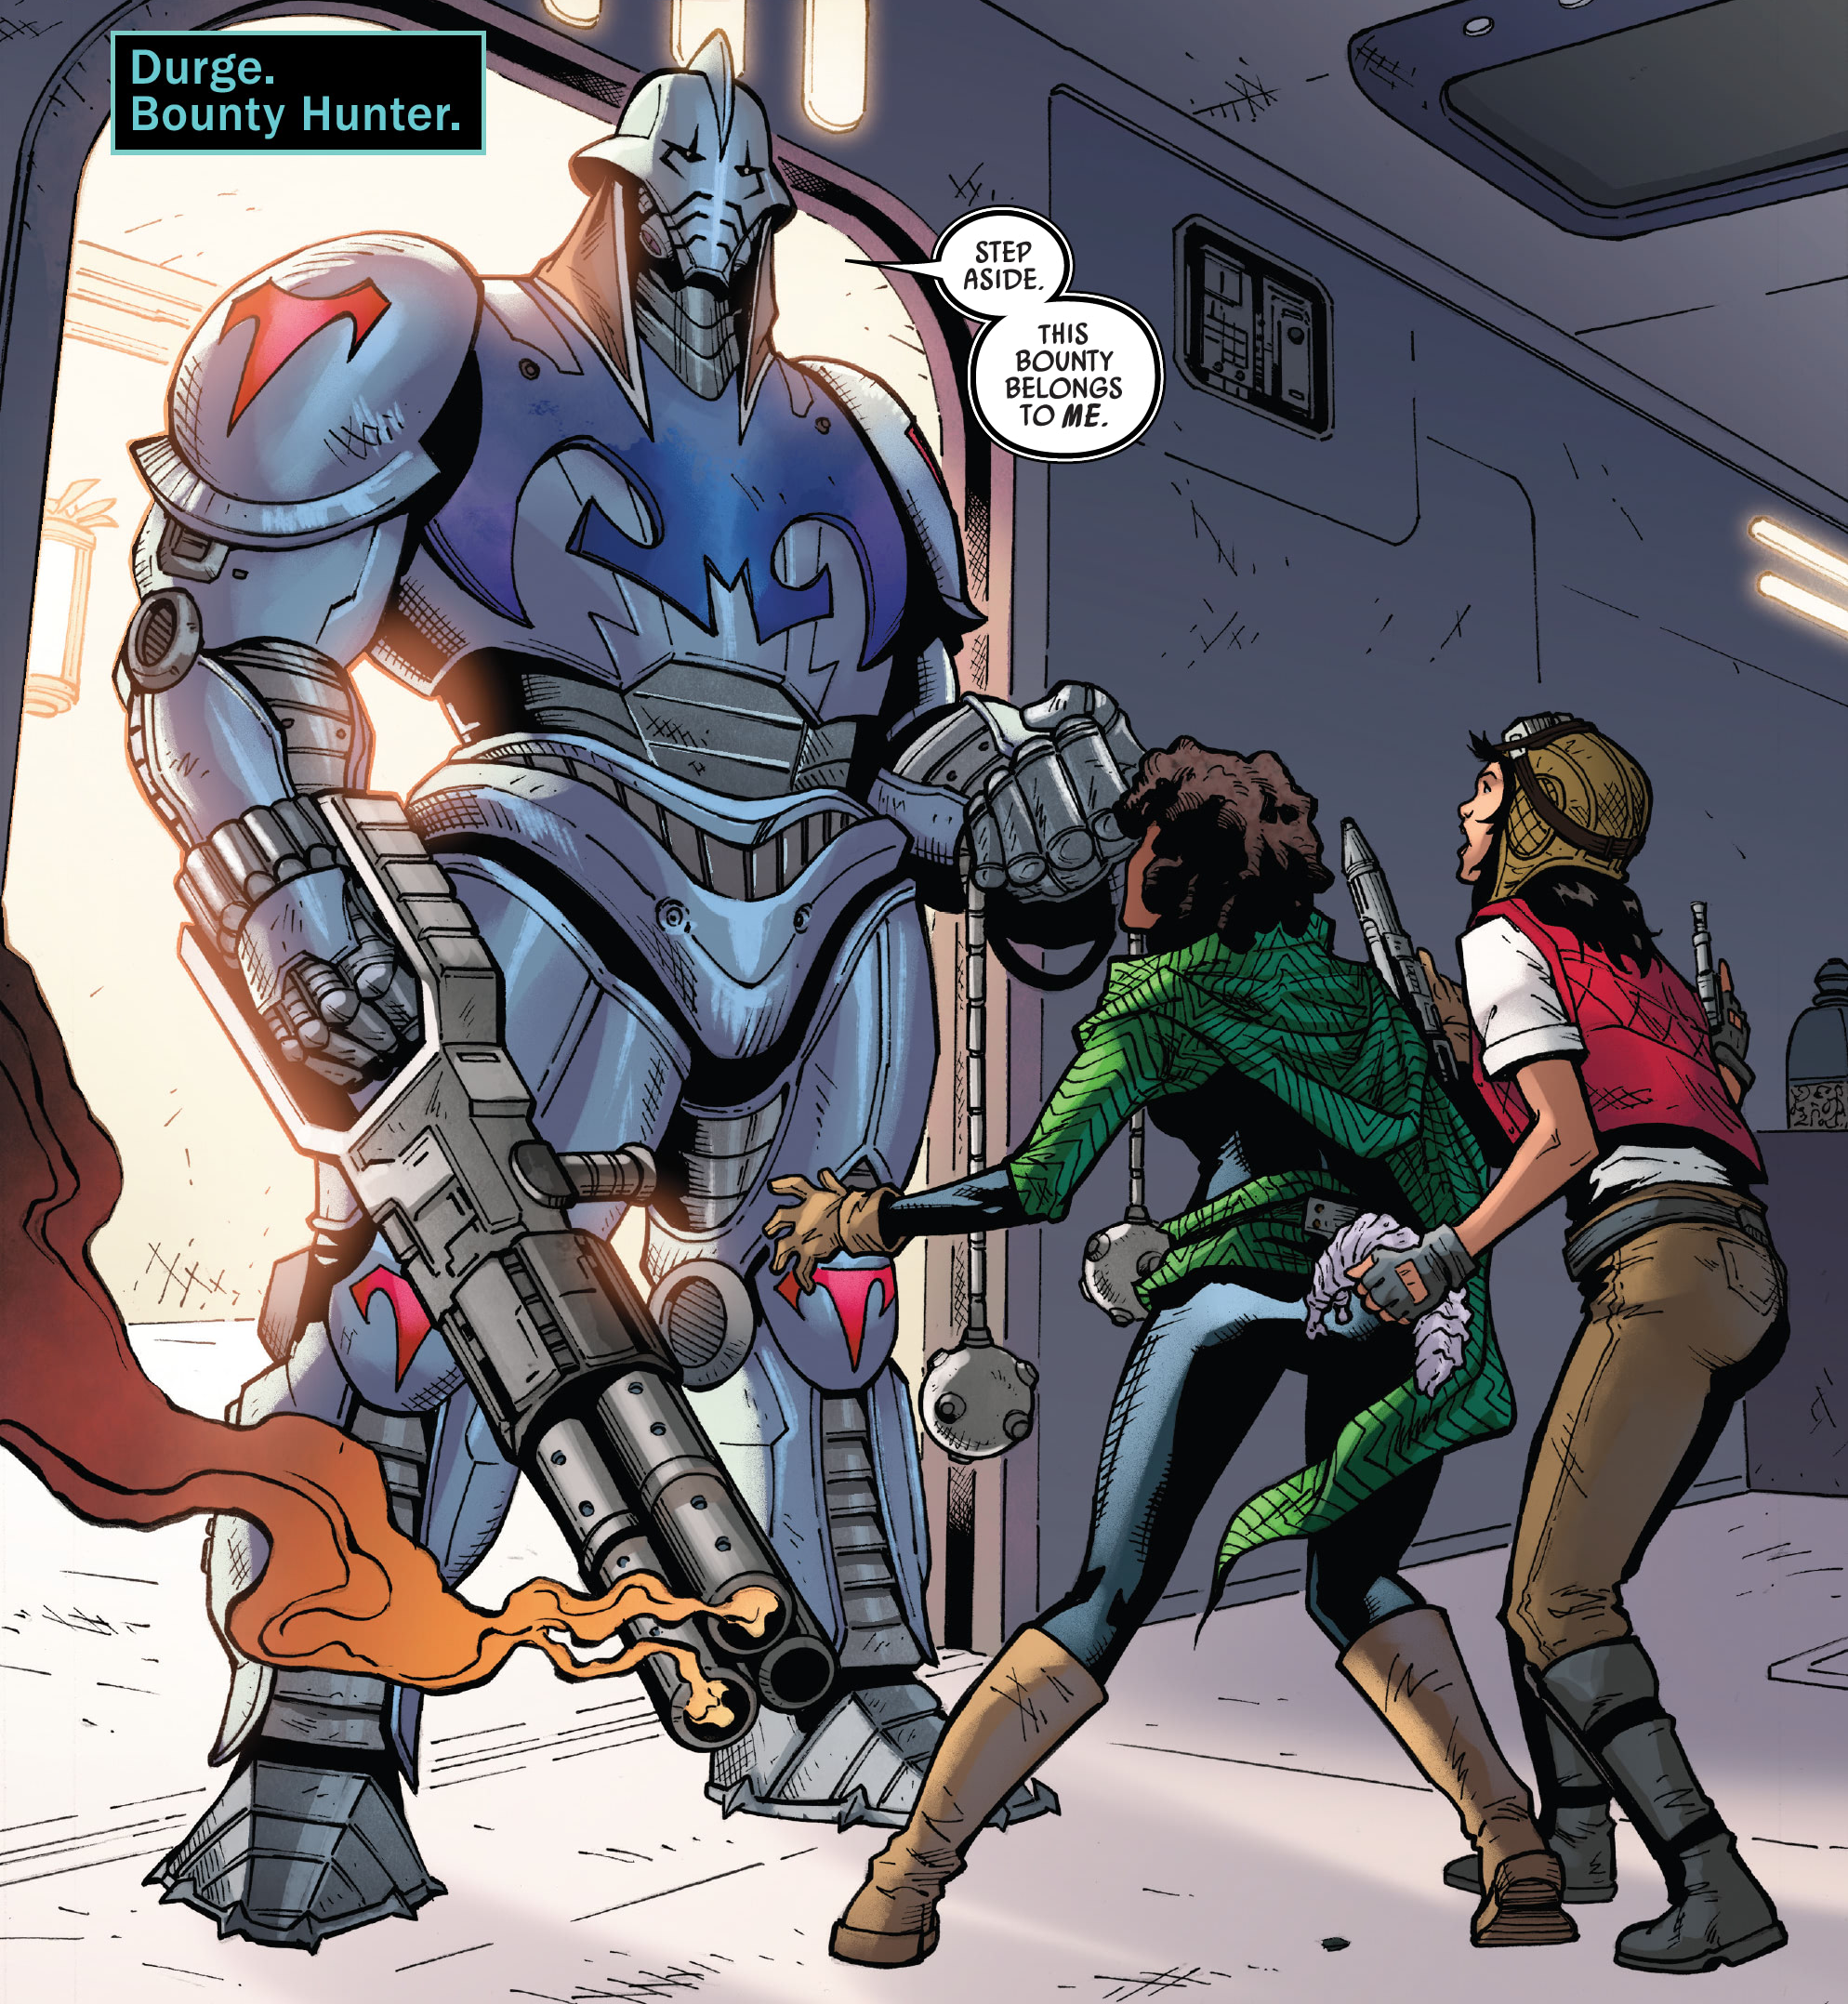
Aphra and Starros then encountered Durge, who was there to collect the bounty on Drake. Durge initially believed they had killed Drake, but Aphra managed to convince him to spare them. They were then attacked by Cymotes, which had killed the crew. Aphra, Starros, and Durge fought them off as they attempted to leave the Empress. Aphra then devised a plan to lure the cymotes into an airlock to eliminate them. However, Aphra held Starros back as Durge entered the airlock. She then ejected both Durge and the Cymotes into space. Aphra and Starros departed the Empress and contacted Lady Tagge. Tagge instructed Aphra and Starros to use the invitation to attend the auction in Drake's place, with the mission of gathering information on Crimson Dawn, their headquarters, and the auction's attendees.
Auction of Solo
She and Starros traveled to the Vermillion on Jekara. There, Aphra spilled a drink on Xet of Black Sun, attempted to steal her necklace, and planted a device on her. She then encountered Fett, who threatened to expose her to Lady Qi'ra. She and Starros then awaited Fett's signal as the various factions bid on Solo. When Aphra received Fett's signal, she wanted to leave when Vader arrived. She began to hyperventilate and dropped one of Xet's data crystals. Aphra and Starros then searched for a hiding place to avoid Vader and Fett. She and Starro searched for a escape route.
Aphra recounted her last encounter with Vader on Tython to Starros, explaining how she had left him there to conceal Echo Base's location. Aphra was relieved that Starros believed her. She and Starros then stole Xet's data-crystal necklace and seized her droid. They also discovered that Xet was a Crimsond Dawn spy. Aphra then put Xet's neckalce on herself. Aphra, despite Starros' concerns, decided to search the Vermillion to clear their debt to Tagge. As they entered a vault, they were attacked by a droid that stole Aphra's necklace and took them both to the brig.
In the brig, Aphra reunited with Just Lucky and Ariole Yu. After listening to Sixth Kin's lieutenant, Gallin Crae's deal, Aphra devised a plan to use an A3L-N sentinel droid to escape. To execute this, Aphra punched Lucky, prompting Crae and his droid to return. As Crae fought just luck, Aphra rewired the sentinel droid's head and aimed its weapons at Crae. She demanded that he reveal how to escape the Vermillion. Aprha left Lucky and Yu to escape while she and Starros went after the necklace. However, Yu and Lucky joined them and found a weapons locker. Together, they eliminated several more Hylobon Enforcers and made their way to the art gallery. There, they hid while Lady Qi'ra and Margo placed the necklace in a case.
Aphra and the others were attacked by Deathstick. Aphra and Lucky fired shots at her to no avail. She was then held at knifepoint by Deathstick until Starros and Yu shot at her. As Aphra went to retrieve the necklace, more enforcers arrived to assist Deathstic. Aphra decided to use an Ascendant thought dowser against them. She was able to get Deathsitck and the enforcers to drop their weapons. However, the dowser had a powerful voice/effect that rendered Aphra unconscious and dropped it. She came to when Starros picked up. Aphra asked Starros to get the necklace. As Aphra, Starros, Yu, and Lucky made their way to the Volt Cobra, they all pointed guns at each other. Despite them all agreeing to go their separate ways, Aphra tossed a bomb at Lucky's ship. Aphra and Starros were able to leave the Vermillion. Onboard the Cobra, Aphra told Aphra about the Ascendants technology. She then examined one of the data crystal in Xet's necklace. She and Starros discovered that Crimson Dawn had a network of agents embedded everywhere in the Galaxy.
Hunt for the Spark Eternal
Beginning the hunt
Starros transported Aphra to Corellia, where slicer doctor Murl treated her burns from the thought dowser for 50 credits. However, he was unable to repair her electro-tattoos. Despite her hesitance, Starros convinced Aphra to visit Lady Tagge to see if she could repair her electro-tattoos. Aboard the Acquisitor, Aphra gave Tagge Xente's necklace, which revealed Crimson Dawn agents in her competitors' organizations. She told Aphra and Starros they did a good job, despite not enough information on the Crimson Dawn's agents' identities. However, Tagge was interested in the Ascendant technology she found on the Vermillion. Aphra told her about the Ascendant's history, their extinction and how most of their dark artifacts were destroyed by the Jedi. She also knew that a few survived in smuggling networks. Tagge, in exchange for examining Aphra's burns from the dowser, agreed to have her doctors repair her electro-tattoos.
After the doctors repaired her tatoos, Aphra and Starros went to Coruscant. There, she and Starros broke into the home of the Coruscant Museum's curator, Tase Somer. However, all they found were several severed arms around a thought dowser imprint. Aphra and Starros were then confronted by Kho Phon Farrus, who had the thought dowser. As Starros fought Farrus, Aphra was able to use one of the severed arms to knock Farrus down. Aphra was able to grab the dowser, but her arm was grabbed by Farrus' Whip of Sorrows. She lost feeling in her arm and the dowser to Farrus. Aphra tried to apologize to Farrus, claim to be trying to be a good person and told her someone was behind her. The trick worked and Aphra pulled out her blaster. She demanded Farrus to give her the dowser and other ascendant artifacts. However, Farrus was able to use a ascendant artifact to re-animate the severed arms and threw them at Aphra. Starros tried to stop her but Farrus escaped.
Starros and Aphra then examined the ritual Farrus was doing. After examining Somer's arm, Aphra came with an idea to find ascendant artifacts by tracking down Somer's clients and sources. The two of them then went to Corsin to find Somer's clients, but Farrus got there before Aphra and Starros. Aphra examined the bodies, found a interconnected electromagnetic field and figured out who's Farrus was going after next: Beol De'Rruyet. De'Rruyet, despite his last encounter with Aphra, agreed to let her and Starros be his bodyguards against Farrus in exchange for his list of black market contacts. Aphra and Starros were able to track Farrus to Midarr. There, Aphra, Starros, and De'Rruyet found her trying to steal one of D'Rryyet's fake thought dowsers. Farrus then told them a little about the Spark Eternal's tomb, but decided through several crates. Farrus also intended to use them in a sacrificial ritual and recited a poem. However, Farrus left but Aphra realized where the tomb was in the poem; University of Bar'leth.
Aboard the Volt Cobra, Aphra urged Starros to get to Bar'leth as fast as possible. She told Starros about the spark, it's ability to give anyone impossible powers and transcend the limits of flesh and machine. The two of them were able to find Farrus and Sava Iglan'tine Nos beneath the university. Nos shot every several blasts Aphra and Starros before Farrus grabbed her. However, Aphra was able to use magnetic gloves to take Farrus' blaster.
Possessed by the Spark Eternal
Aphra demanded Farrus to summon the spark so she could take it. However, the two them got into a fight As Farrus used the thought dowser, Aphra told Starros to activate her magnets. Sava Nos then completed the summoning. However when she grabbed it, Aphra fell down. However, the Spark Eternal took over body. The spark introduced itself to Starros and told her that she had Aphra's consciousness locked away. Starros attempted to shoot Aprha's body to rid her of the spark, but to no avail. The Spark then introduced itself to Farrus and Nos. Starros continued in her attempts in freeing Aphra from the spark using the Whip of Sorrows and the Calling gloves. Aphra then used the Thought Dowser on Farrus to make her fight Starros. However, Starros was able to knock her out. attempted another shot at Aphra and mader her escape.
The spark then went through her memories of killing Ulbik Tan inside Aphra's Memory box. Aphra tried to fight the spark but the spark confined her in her memory of Bor Ifriem's interrogation. The Spark told Aphra that it was searching for something in her memories. The Spark then found her memory of a trip with Just Lucky on Sva'leer. The Spark found out that the ascendant technology had been taken to Crimson Dawn's flagship, the Vermillion. The spark then had Aphra take the Ark Angel V to the Vermillion.
Before boarding the Vermillion, Aphra was able to use her memory box's version of the thought dowser to look into the spark's memory box. In it, Aphra and the Spark witness Miril protecting the spark from the Sith during their attack on the Ascendant. The spark told her about how Miril sacrifice herself to seal the spark way from the sith. Aphra refused to assist the spark in it's search for more Ascendant technology. However, the Spark learned of the location of of 0-0-0 and BT-1. The Spark then board the Vermillion.
On board the Vermillion, the spark spoke with The Archivist about her artifacts. The Archivist, knowing that the spark was a Ascendant and not Aphra, asked the spark what it wanted. The spark said it wanted everything. The Spark then contacted Lucky and Ariole Yu. The spark then had Aphra in her memory box remember a chase on Rudun III. There, Aphra met the spark, appearing as Miril. The spark then took Aphra to it's memory box of Miril's encounter with the Darkseekers.
Personality and traits
Overview
Having endured a challenging upbringing, Aphra maintained a considerable distance from others and prioritized her own needs and survival above all else. Aphra frequently engaged in rash decision-making, often fueled by avarice, which frequently led to unfavorable circumstances for her, such as her attempt to auction off Rur to various criminal syndicates. Aphra's primary concerns and loyalties were directed toward herself, and while she often betrayed her allies, she occasionally felt compelled to offer assistance to others. Despite the fear he inspired in her, Aphra referred to herself as Vader's biggest fan, even after he attempted to kill her.
Relationships
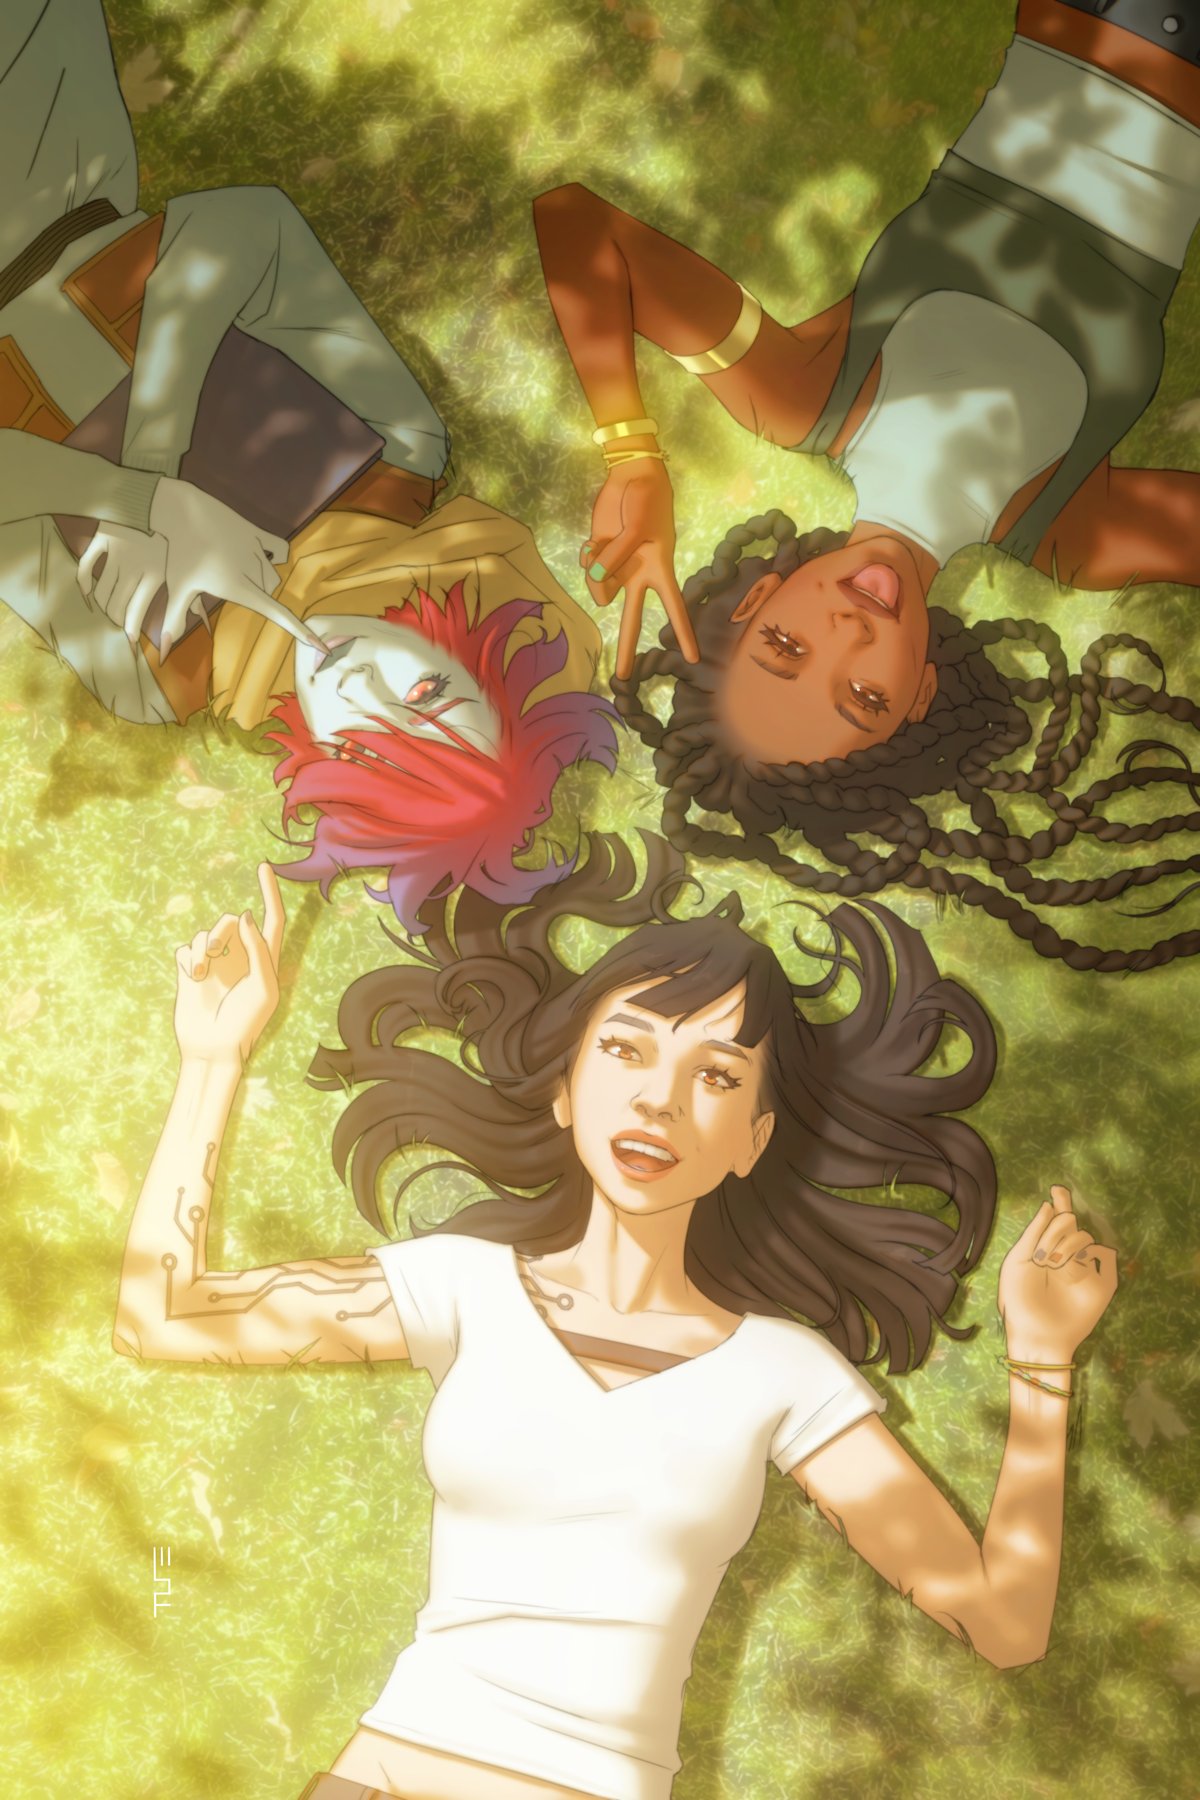
When Luke Skywalker was left to the mercy of the Queen of Ktath'atn by Aphra, Rur perceived her internal state, discovering she was deeply burdened by guilt. Rur commented that such remorse was "uncharacteristic" for Aphra. Due to her untrustworthy nature and profound disloyalty to everyone except herself, Aphra found it difficult to form friendships and meaningful relationships. Despite Aphra's betrayal, Luke once called her his friend and still believed she was a good person at heart, although Aphra's father, Korin, considered Luke to be overly idealistic. Aphra confided in Magna Tolvan that her work for Triple-Zero left her feeling isolated and longing for companionship. While she didn't view herself as sentimental, Sana Starros concurred with this assessment. Indeed, when they discovered Han Solo had been captured by Crimson Dawn, Aphra showed no concern, offering assistance only if Starros desired it.
Aphra was once romantically involved with Sana Starros, but the relationship ended badly when Aphra left without a word. This abandonment enraged Sana to the point where she repeatedly attempted to kill Aphra. Aphra once commented on the attractiveness of the mercenary Sister Six. She frequently expressed attraction and romantic interest in Tolvan, an Imperial officer, whom Aphra encountered on two separate occasions. These feelings were mutual, and Aphra and Tolvan eventually shared a kiss on Skako Minor, believing they were about to die.
Career
Aphra's reputation as a criminal was widespread across the galaxy. During their confrontation on Vrogas Vas, Han Solo recognized her as a formidable and intelligent adversary. Even Darth Vader acknowledged and valued Aphra's skills. Aphra admitted to her father that she had considerable experience with breaking into places to steal artifacts. Aphra possessed remarkable intelligence and resourcefulness, demonstrating exceptional survival skills by evading death at the hands of Darth Vader after being ejected from an airlock.
Behind the scenes
The character of Chelli Lona Aphra was conceived by writer Kieron Gillen, artist Salvador Larroca, and editor Heather Antos for the Star Wars: Darth Vader comic series published by Marvel Comics. This character's popularity led to a spin-off comic series titled Star Wars: Doctor Aphra. Gillen has stated that Aphra was created to be the archaeological opposite of Indiana Jones, the main character of Lucasfilm's Indiana Jones franchise. This was confirmed by Star Wars - The Official Magazine 91, which noted that her only similarities to Jones are her interest in archaeology and her tendency to find herself in "absurd situations" while searching for artifacts.
January LaVoy provided the voice for Aphra in the audiobook version of the short story "The Trigger." In the 2020 audio drama Doctor Aphra: An Audiobook Original, Aphra's voice was performed by Emily Woo Zeller. At the 2018 New York Comic Con, Hasbro announced that a Doctor Aphra action figure was scheduled for release in the spring of 2019.
When questioned about Aphra's sexuality, Kieron Gillen stated, "I usually describe Aphra as a lesbian. I have never depicted her with any romantic interest in men." He and co-writer Simon Spurrier observed that some readers interpreted Aphra's interactions with Darth Vader as flirtatious, but Gillen wrote her as "primarily romantically interested in women." He further explained that the Star Wars universe lacks the same terminology and homophobia present in the real world, suggesting that characters might express and understand their sexuality differently. Sana Starros remarked in-universe that "guys and Aphra don't exactly mix" in Gillen's Star Wars 61. On March 18, 2021, StarWars.com revealed that Star Wars comic books published by Marvel Comics in June 2021 would feature Pride Month variant covers showcasing LGBTQIA+ artists paired with LGBTQIA+ characters. Aphra, as a prominent LGBTQIA+ character in the Star Wars canon, was featured on the War of the Bounty Hunters 1 variant cover by Babs Tarr.